How to Draw an Among Us Dead Body: Easy 10-Step Guide
Bring your favorite game moments to life with this fun, screen-free drawing activity. Designed for young artists and fans of the game, this guide uses simple geometric shapes to help you master character proportions. Grab a pencil, an eraser, and some paper to get started on your masterpiece.
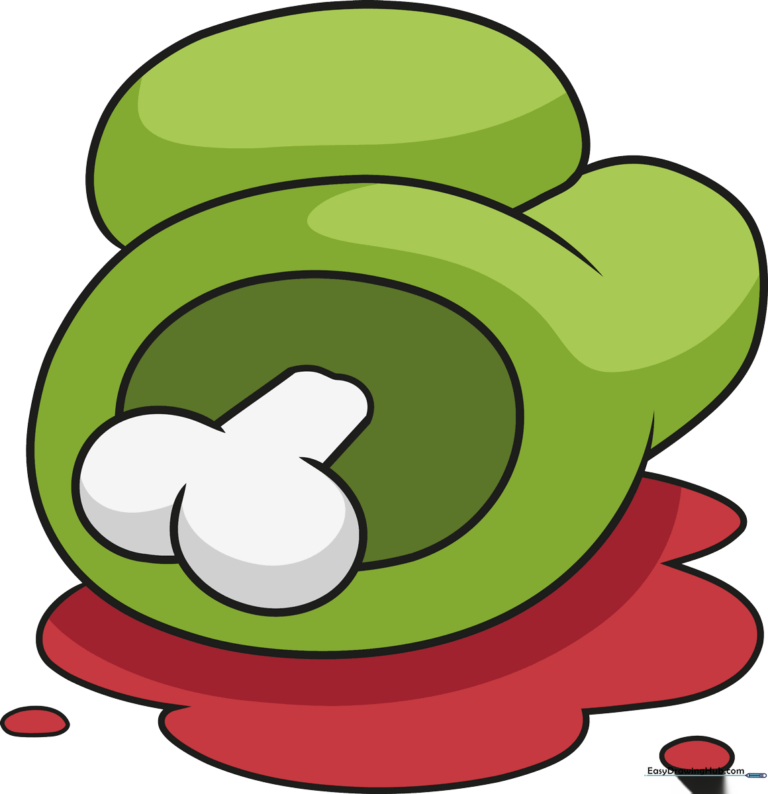
🎯 Final Result
Step-by-Step Instructions
Step 1: Sketching the Main Body
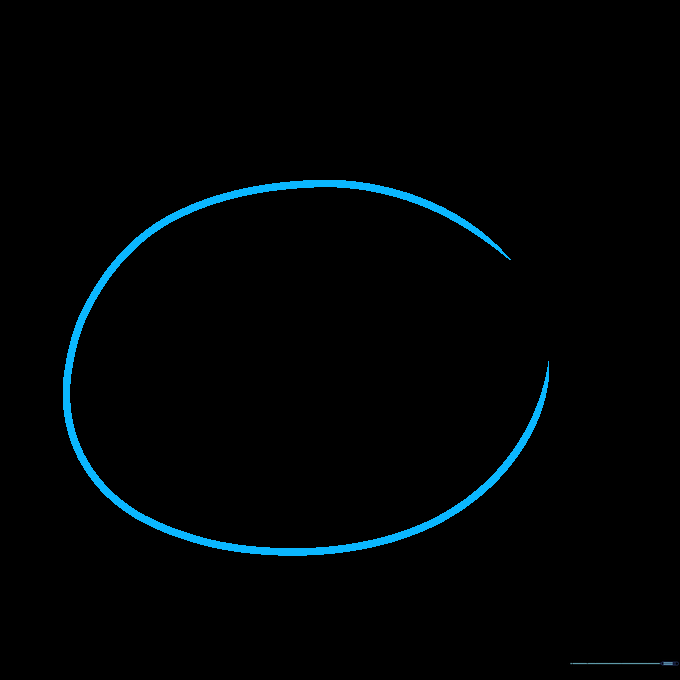
Draw a loose oval that remains open on the right side. Teacher's Tip: Keep your pencil pressure light so you can easily adjust the shape if it feels a bit off-center.
Step 2: Adding the Mid-Section Line
Draw a loose, slightly uneven line through the middle of your shape. Teacher's Tip: Don't worry about making this line perfectly straight; a little wobble adds character to the drawing.
Step 3: Connecting the Segments
Add another open oval and connect it to your previous line with a straight stroke. Teacher's Tip: Use your ruler if you want a crisp, clean look, or go freehand for a more organic, hand-drawn feel.
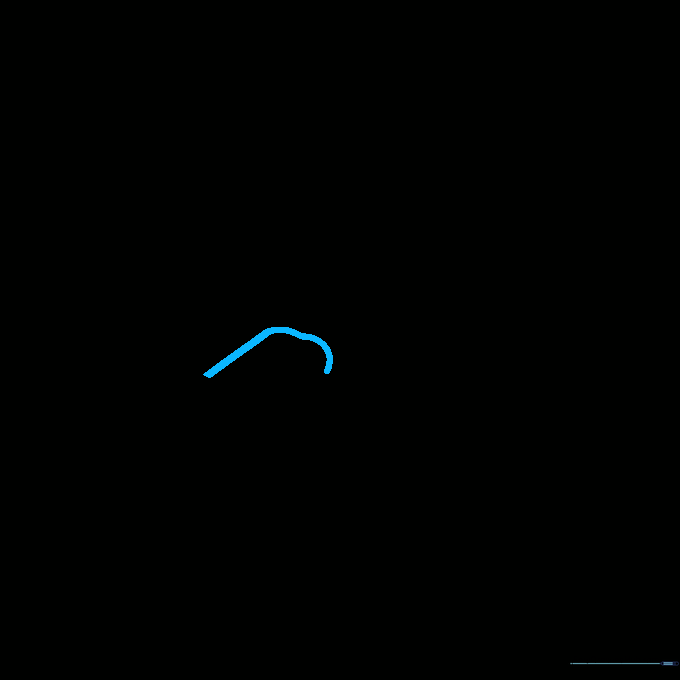
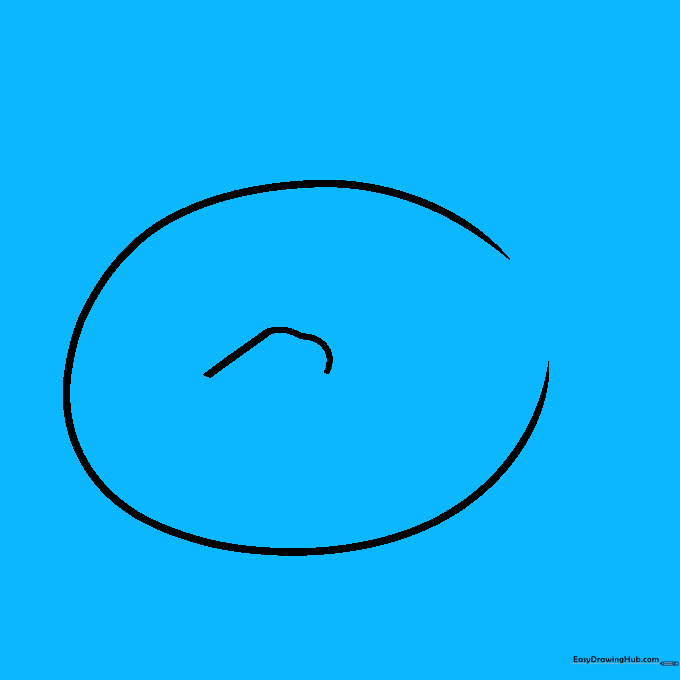
Step 4: Outlining the Bone
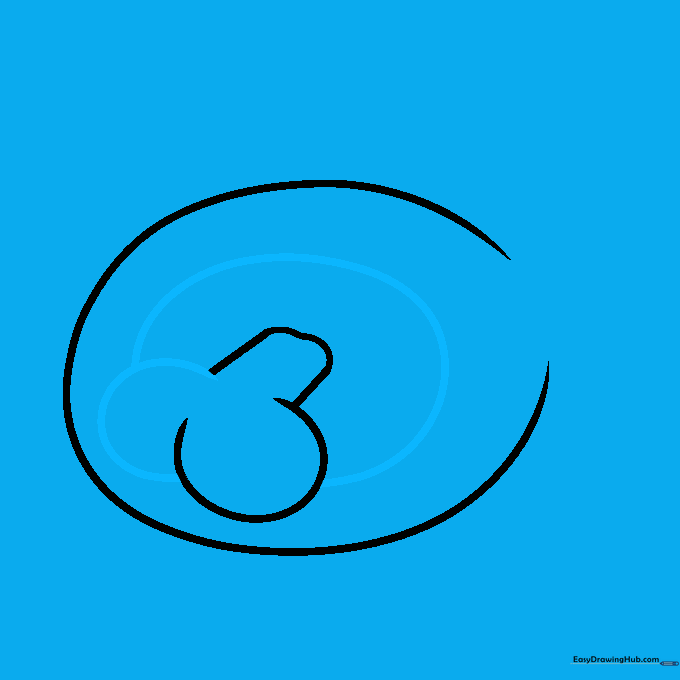
Draw a small oval to define the cartoon bone, then surround the entire shape with a larger oval. Teacher's Tip: Keep the bone shape centered to make the final drawing look balanced.
Step 5: Sketching the Upper Body

Sketch an oblong oval on top of your existing shapes. Teacher's Tip: Imagine you are drawing a rounded rectangle; keep the corners soft and curved.
Step 6: Defining the Legs

Outline the legs using another oblong oval to complete the lower body shape. Teacher's Tip: Make sure the legs align with the body section above to maintain the character's proportions.
Step 7: Adding the Puddle Detail
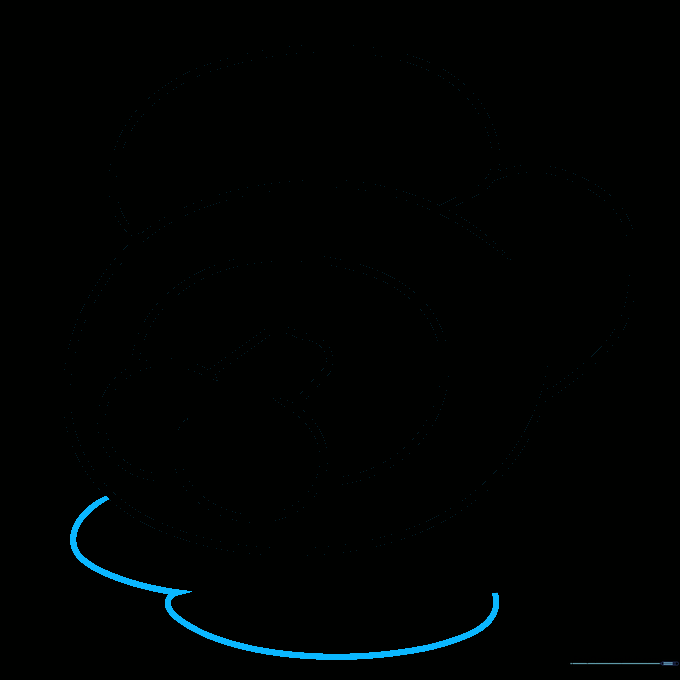
Draw two loops underneath the body to create a puddle effect. Teacher's Tip: Puddles are irregular, so don't worry about making these loops symmetrical—the more random, the better!
Step 8: Refining the Puddle
Complete the puddle shape by adding two more loops. Teacher's Tip: Connect these loops smoothly to the previous ones to make the puddle look like one continuous shape.
Step 9: Finalizing the Outline
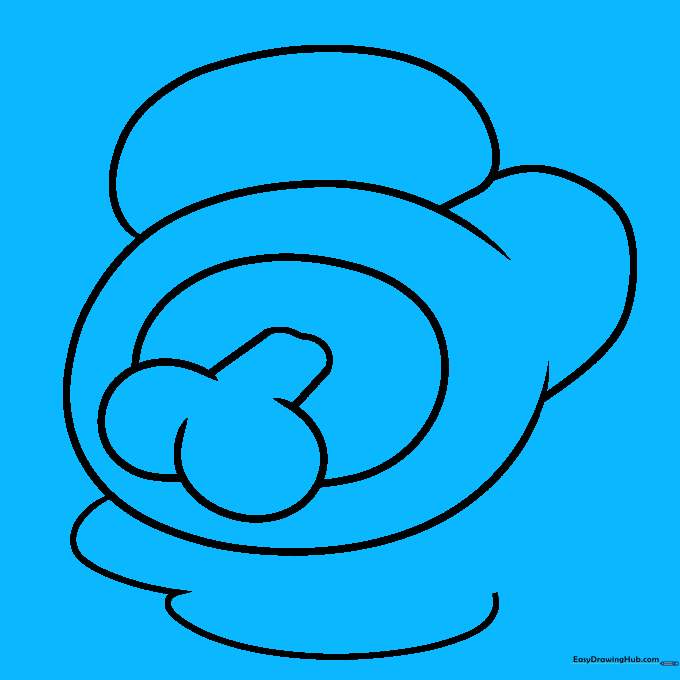
Sketch two final ovals around the main body to define the edges. Teacher's Tip: Use a slightly darker pencil stroke here to distinguish your final lines from your construction lines.
Step 10: Adding Color and Detail
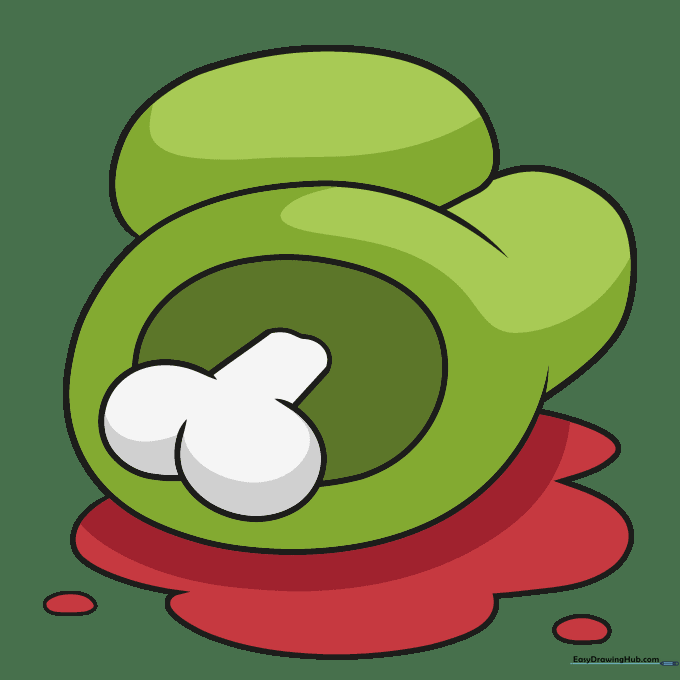
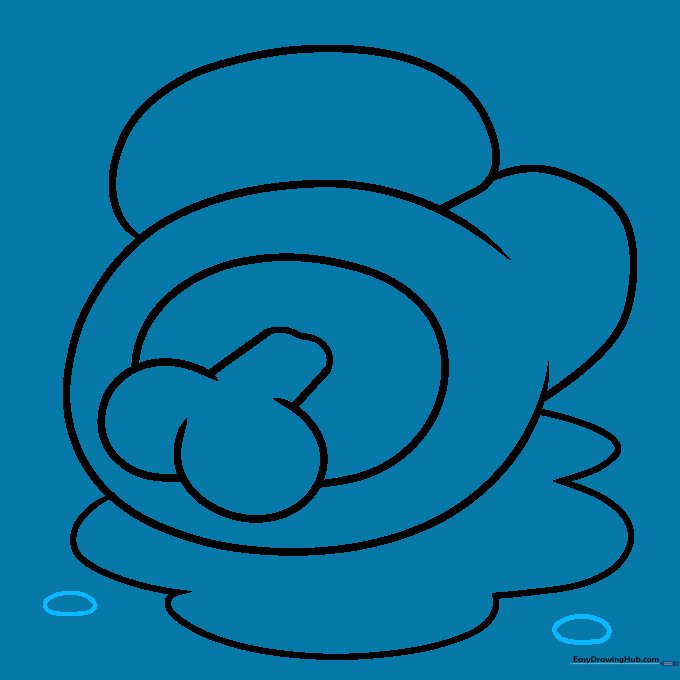
Trace your final lines with a black marker. Color the body in shades of green, use red for the puddle, and white with gray shading for the bone. Teacher's Tip: Use light, circular motions when coloring to keep the texture smooth and even.
More Tutorials


