How to Draw an Almond: Easy 10-Step Guide for Kids
Ready to practice your shading and texture skills? This almond drawing tutorial is perfect for young artists ages 6+ looking to master organic shapes. Grab a pencil, an eraser, and a piece of paper to begin creating your own nut-themed masterpiece.
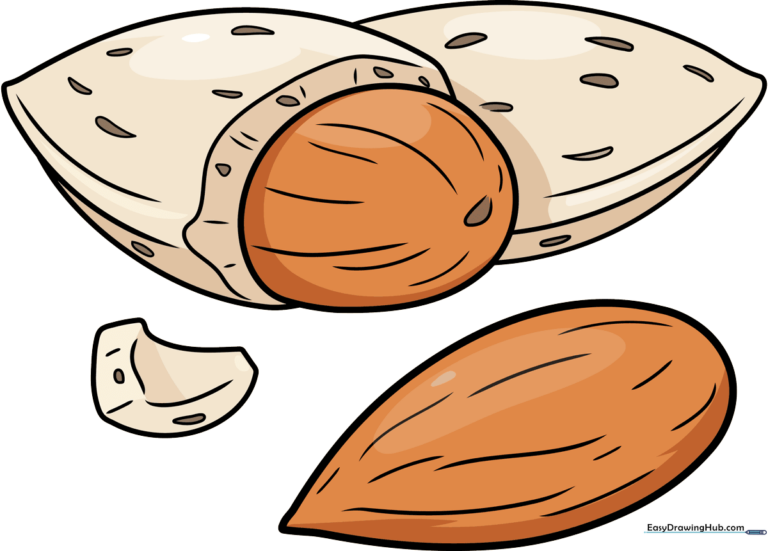
🎯 Final Result
Step-by-Step Instructions
Step 1: Sketching the Outer Shell
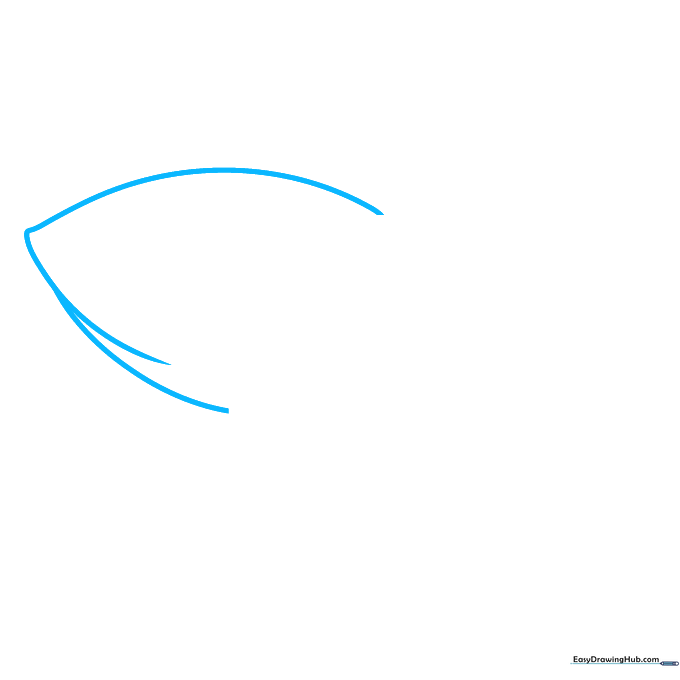
Draw two curved lines that meet at a sharp point to create the almond's silhouette. Tip: Keep your pencil pressure light so you can easily adjust the shape if it looks a bit too pointy!
Step 2: Adding Shell Depth
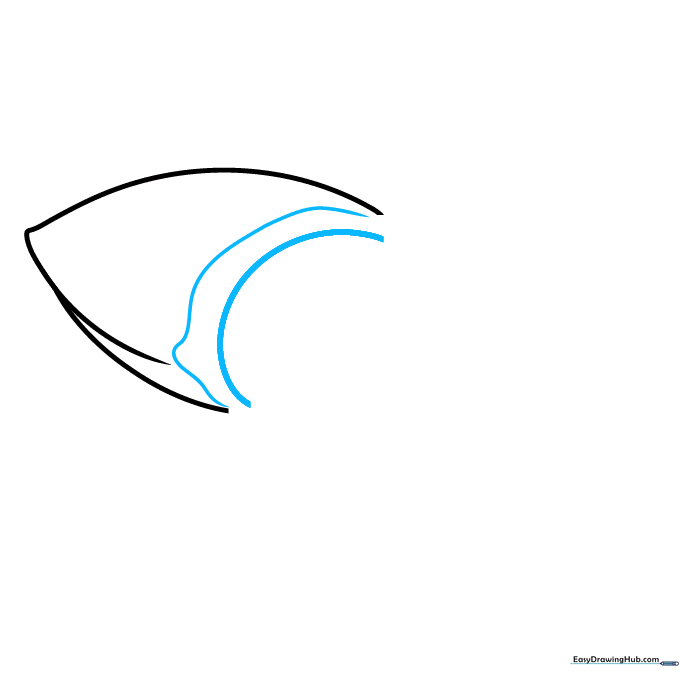
Draw a large 'C' shaped line near the end of your almond, followed by a parallel wavy line. Tip: Don't let these lines touch the outer edge; leaving a small gap creates the illusion of a cracked shell.
Step 3: Defining the Nut
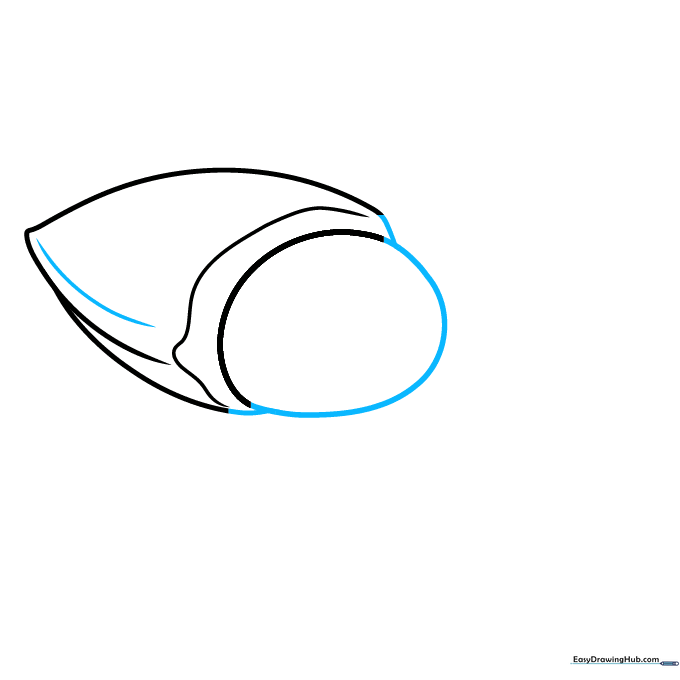
Extend your 'C' line to form an irregular round shape—this is the nut inside. Connect it to the shell with short, crisp lines. Tip: Use short, quick strokes to make the connection look natural and organic.
Step 4: Drawing a Second Almond
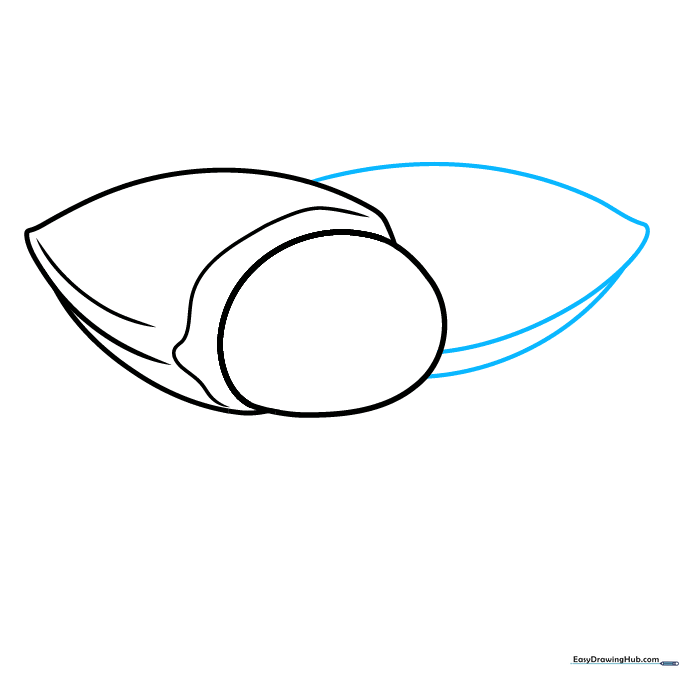
Draw a partial teardrop shape overlapping the first almond. Tip: Overlapping objects is a classic artist trick to create depth and make your drawing look 3D rather than flat.
Step 5: The Shelled Almond
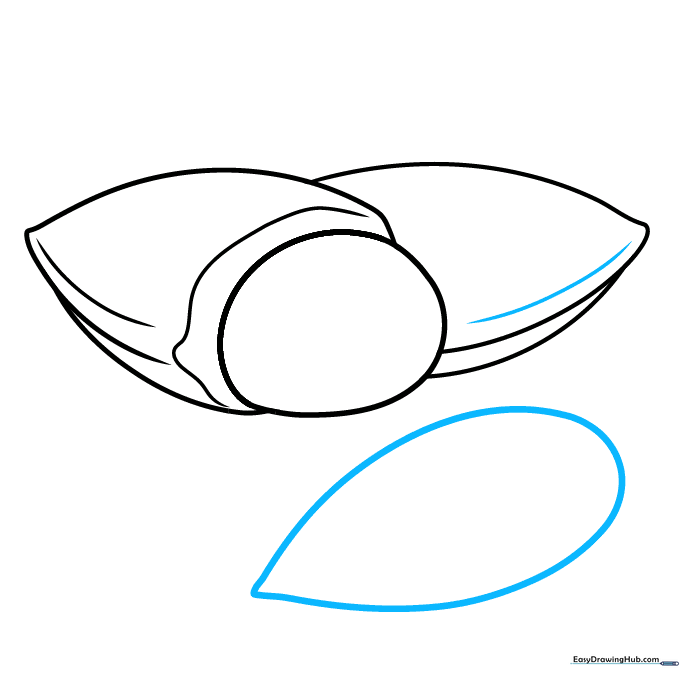
Draw a clean, long teardrop shape to represent an almond that has been removed from its shell. Tip: Keep the curve smooth and continuous for a realistic look.
Step 6: Adding Shell Fragments
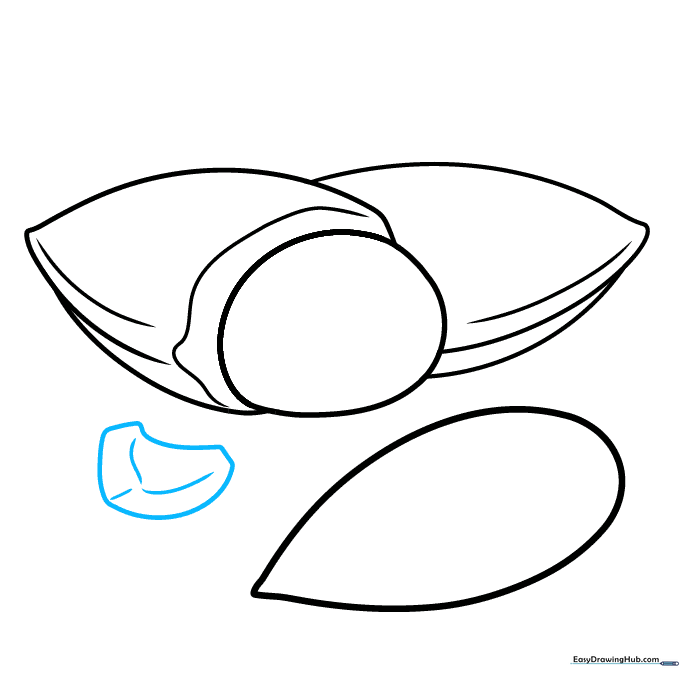
Draw an irregular shape with a few internal curved lines to represent a broken piece of shell. Tip: Nature isn't perfect, so don't worry if your shell fragment looks jagged or uneven!
Step 7: Adding Texture
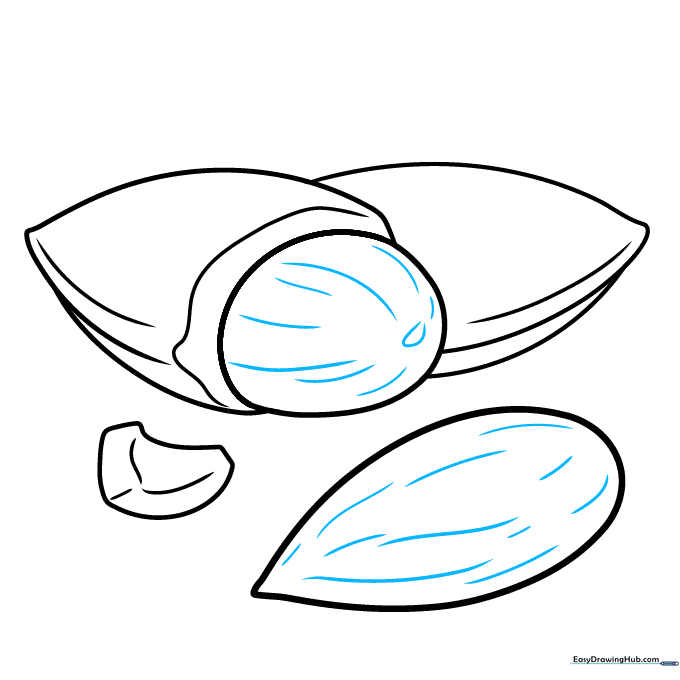
Use a series of long and short curved lines to add texture to your nuts. Tip: Varying the length of your lines makes the surface look more realistic and less like a cartoon.
Step 8: Refining the Shells
Draw narrow teardrop shapes on the shells to mimic their natural, woody texture. Tip: Group these shapes together to create areas of shadow and highlight.
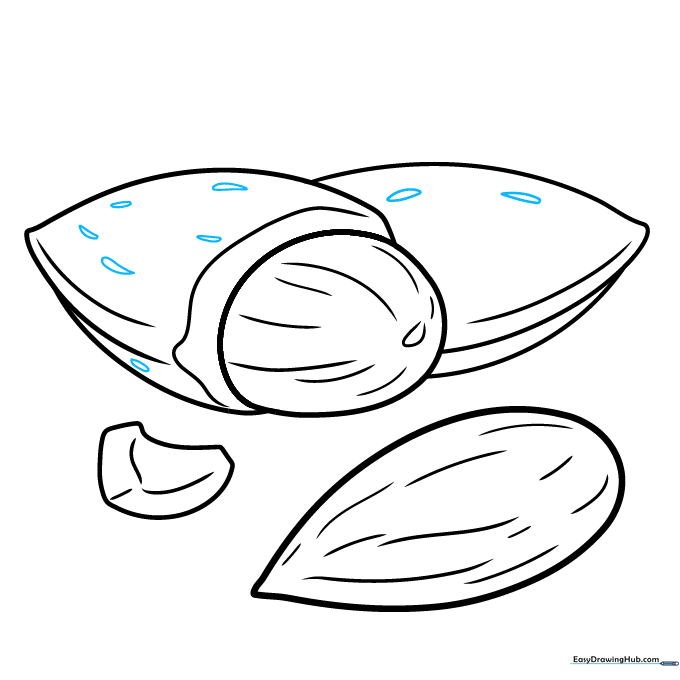
Step 9: Final Details

Continue adding teardrop textures and use short, irregular lines on the broken edges to show depth. Tip: Take your time here; the more detail you add, the more professional your drawing will look.
Step 10: Bringing it to Life with Color
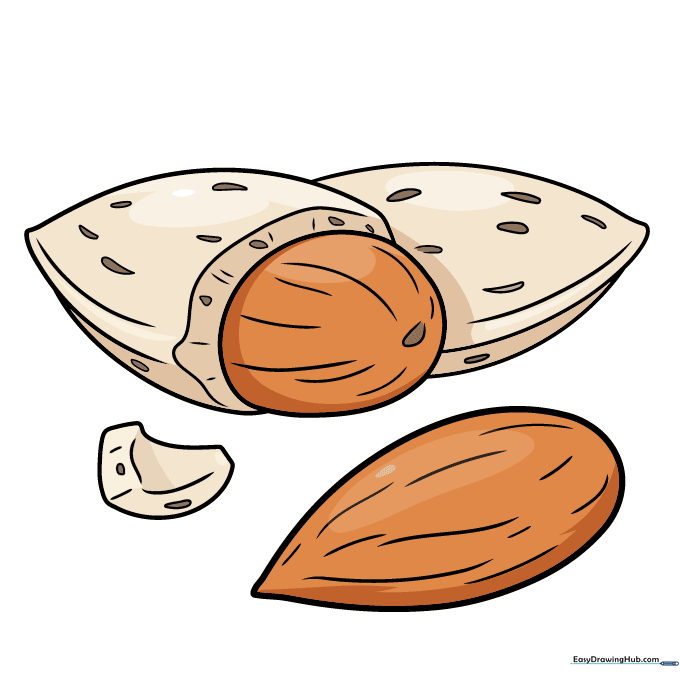
Color your almonds using warm browns and creams. Tip: Use a light tan for the shell and a rich, dark brown for the nut to create a beautiful contrast.
More Tutorials


