How to Draw an Aesthetic Girl: Easy 9-Step Guide
Ready to create your own trendy character? This tutorial is perfect for artists ages 7+ looking to master stylized portraits. You will only need a pencil, an eraser, and a piece of paper to bring this aesthetic girl to life.
🎯 Final Result

Step-by-Step Instructions
Step 1: Sketching the Expressive Eyes
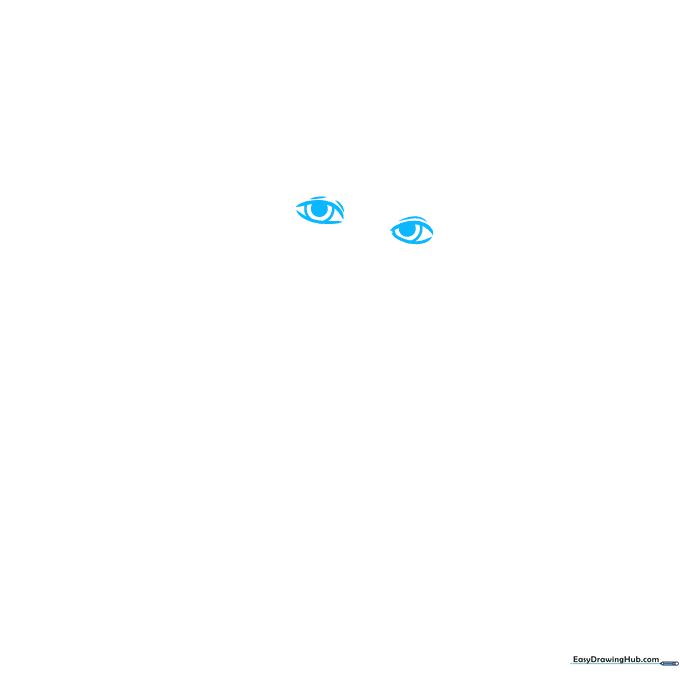
Draw two almond-shaped eyes using soft, curved lines. Leave the corners slightly open for a modern, stylized look. Teacher's Tip: Keep your pencil pressure light here so you can easily adjust the symmetry before committing to darker lines.
Step 2: Defining Brows and Nose
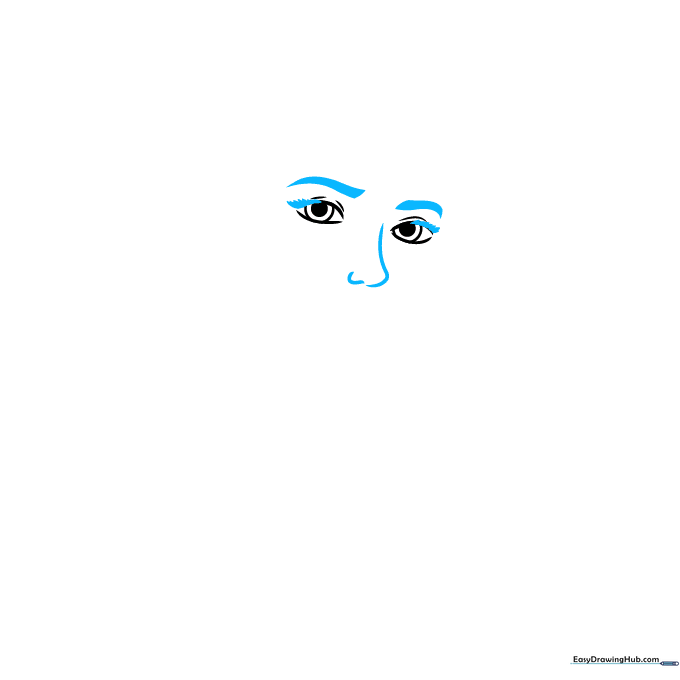
Add sharp, angled eyebrows above the eyes to give your character personality. Use a small, delicate curve for the nose. Teacher's Tip: A tiny nose curve makes the face look more youthful and cute.
Step 3: Shaping the Face and Lips
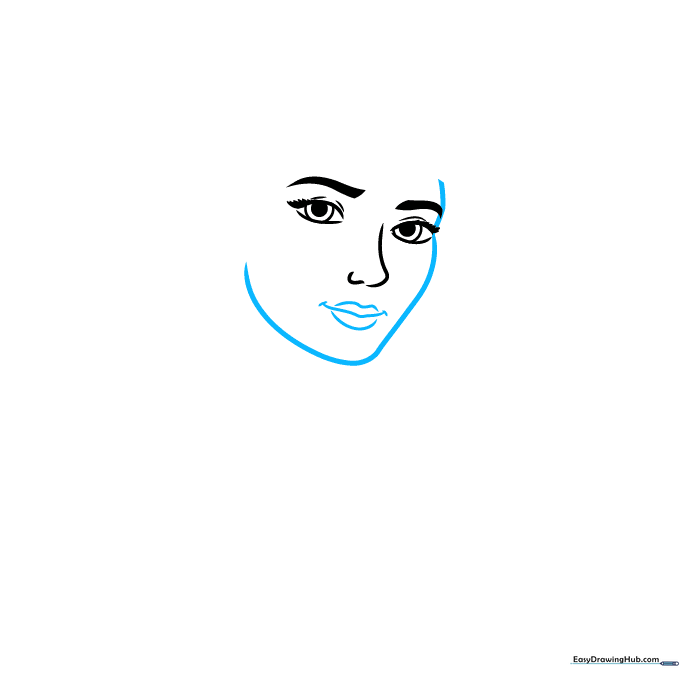
Draw a smooth, continuous line for the chin and jawline. Add a soft mouth with two small lines at the corners. Teacher's Tip: Don't draw the mouth too large; a smaller mouth keeps the aesthetic look balanced.
Step 4: Adding the Baseball Cap
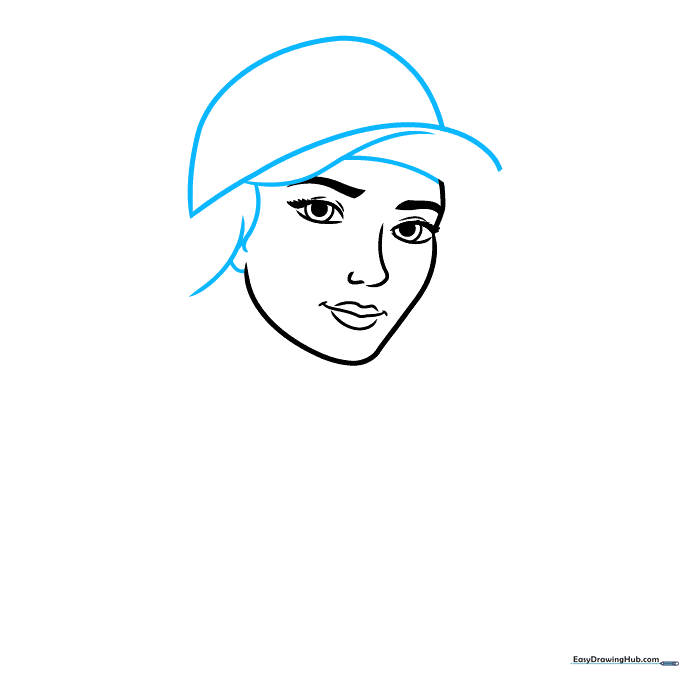
Sketch the brim of a baseball cap using overlapping curves. Add the crown of the hat sitting snugly on the head. Teacher's Tip: Use your eraser to remove the lines of the head that would be hidden under the hat.
Step 5: Drawing the Neck and Shoulders
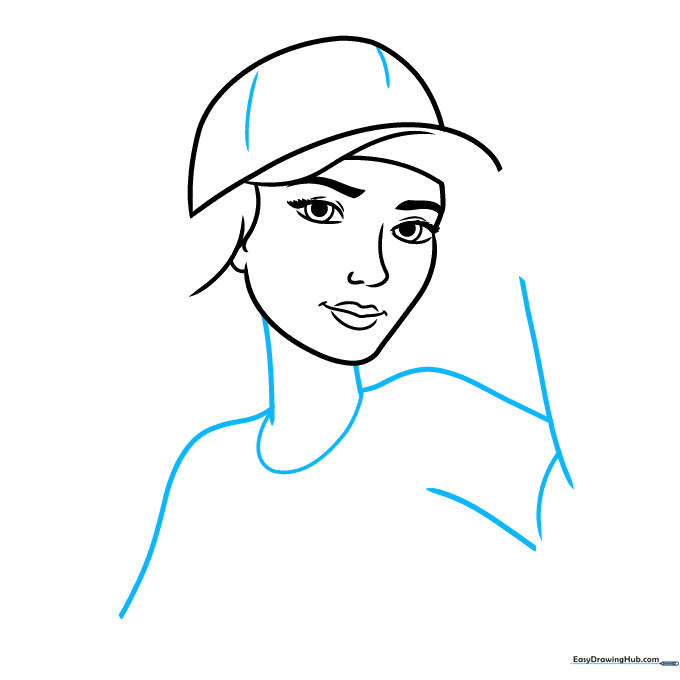
Extend two lines down from the chin to form the neck, then curve them out for the shoulders. Teacher's Tip: Make the neck slightly thinner than the jaw to maintain a stylized, cartoon proportion.
Step 6: Sketching the Arm
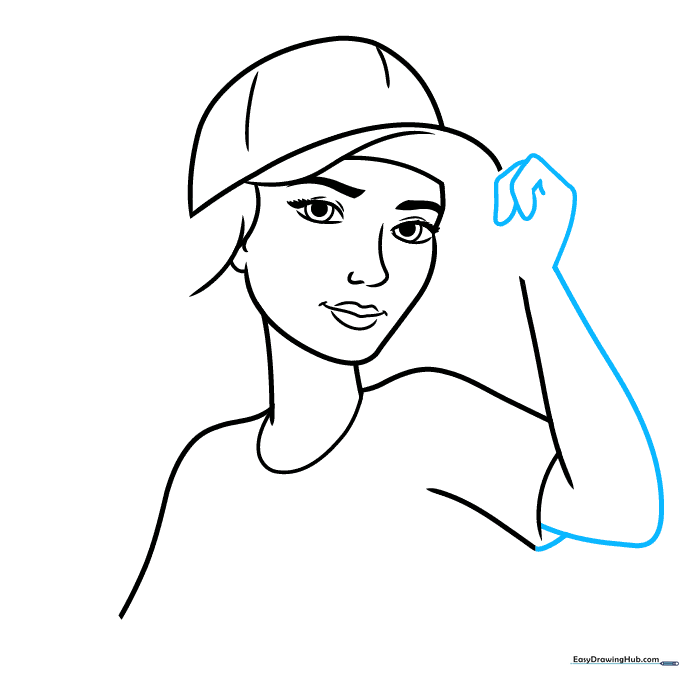
Draw the sleeve and forearm using smooth, flowing lines. Teacher's Tip: Imagine the arm is a soft tube; keep the lines rounded to make it look natural rather than stiff.
Step 7: Adding Hand Details
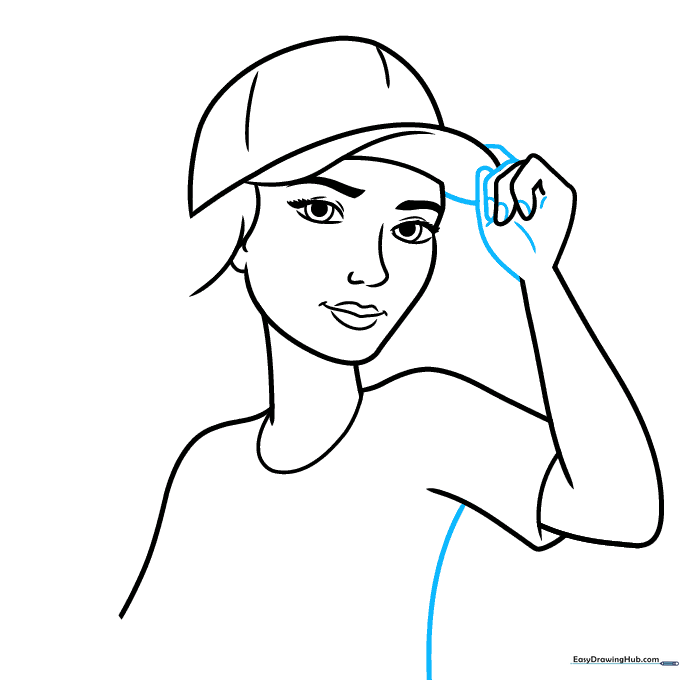
Use small, curved lines to suggest the fingers and palm. Teacher's Tip: Don't worry about drawing every knuckle; simple, rounded shapes are more effective for this aesthetic style.
Step 8: Styling the Hair
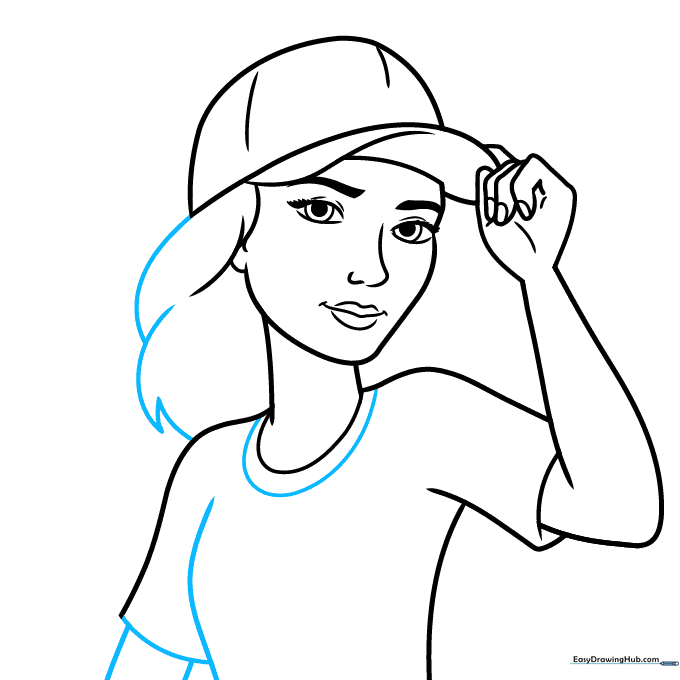
Add hair using jagged, overlapping lines to create volume. Teacher's Tip: Vary the length of your lines to make the hair look more realistic and less like a solid block.
Step 9: Final Touches
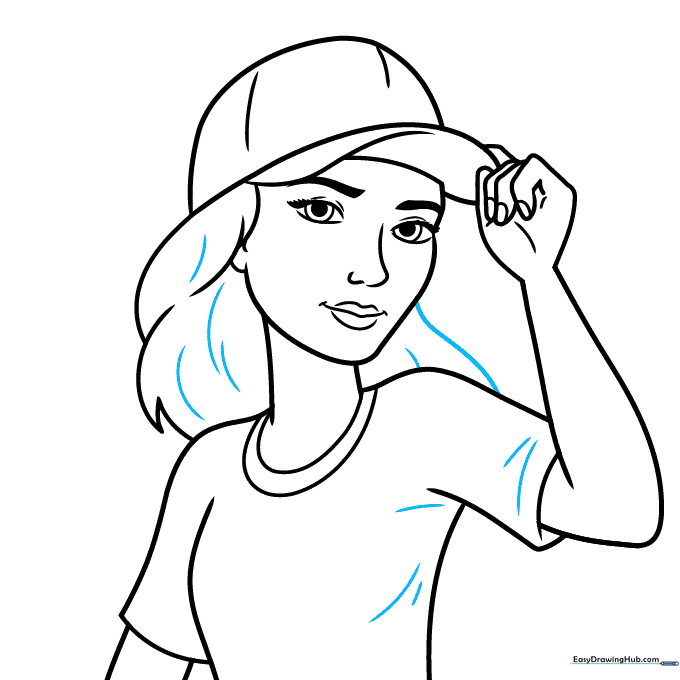
Finish your drawing by adding texture lines to the hair and clothing. Teacher's Tip: Use quick, light strokes to add fabric folds; it brings a professional touch to your character.
Step 10: Coloring Your Creation
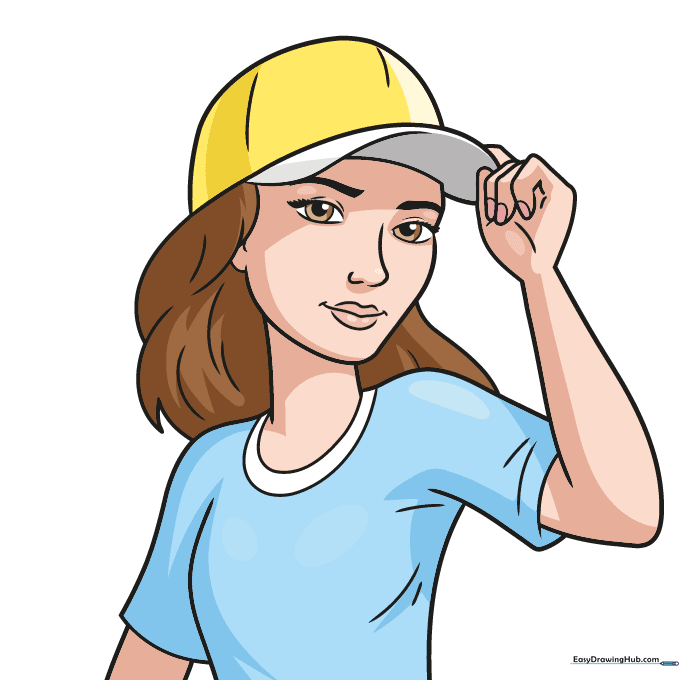
Bring your aesthetic girl to life with color! Use soft pastels or bold team colors for her hat and shirt. Teacher's Tip: Try using a lighter shade for the base and a darker shade for shadows to add depth.
More Tutorials


