How to Draw an Aardvark: Easy 9-Step Guide for Kids
Ready to draw a unique African mammal? This tutorial is perfect for artists ages 5 and up. All you need is a pencil, an eraser, and some paper to bring this curious creature to life.
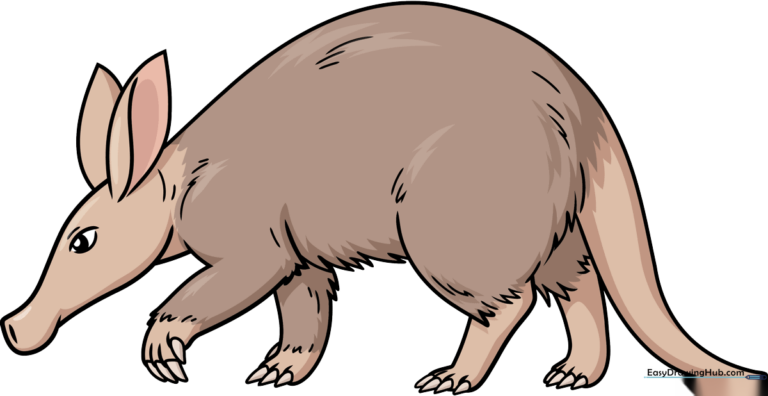
🎯 Final Result
Step-by-Step Instructions
Step 1: Sketching the Snout and Eye
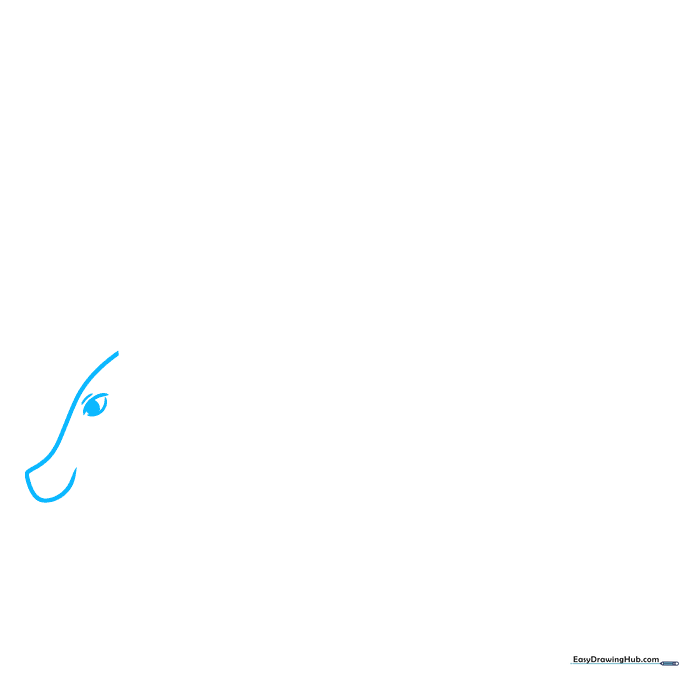
Start by drawing a long, curved line that loops back to create the aardvark's signature pig-like snout. Add an almond-shaped eye above it with a dark pupil. Teacher's Tip: Keep the snout shape rounded and soft to give your aardvark a friendly, cartoonish look.
Step 2: Defining the Head and Ears
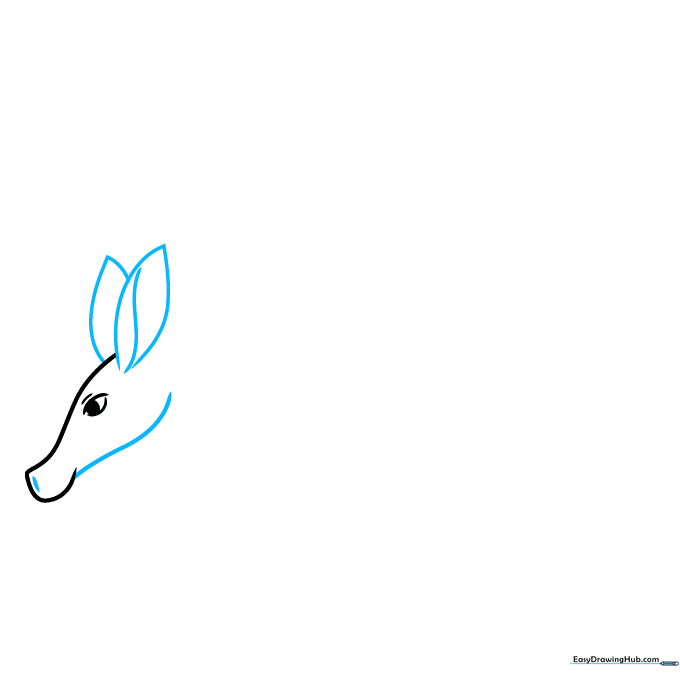
Draw the bottom of the face and add two tall, pointed ears on top of the head. Teacher's Tip: Aardvark ears are quite large compared to their heads, so don't be afraid to make them nice and tall!
Step 3: The Back and Front Leg
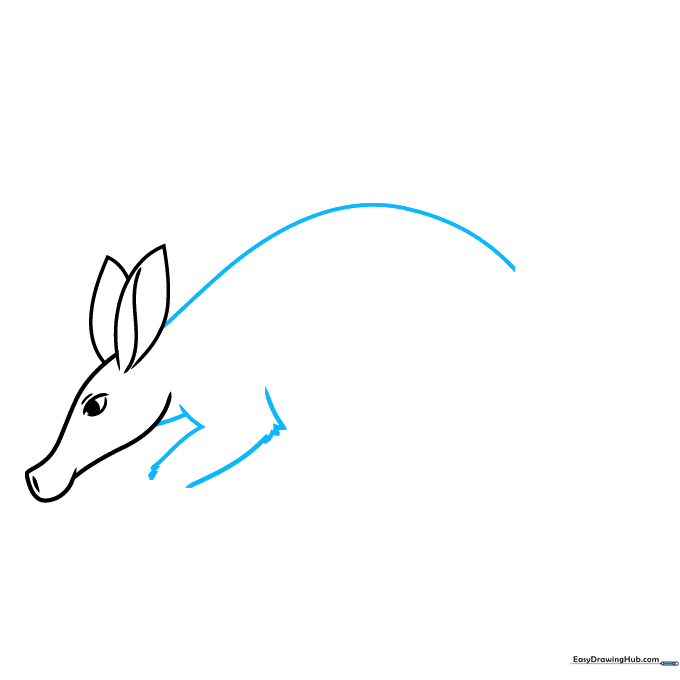
Extend a long, smooth curve for the back and draw the front leg using jagged lines to suggest fur. Teacher's Tip: Use short, quick strokes for the 'fur' lines to make the aardvark look textured and soft.
Step 4: Adding Paws and Belly
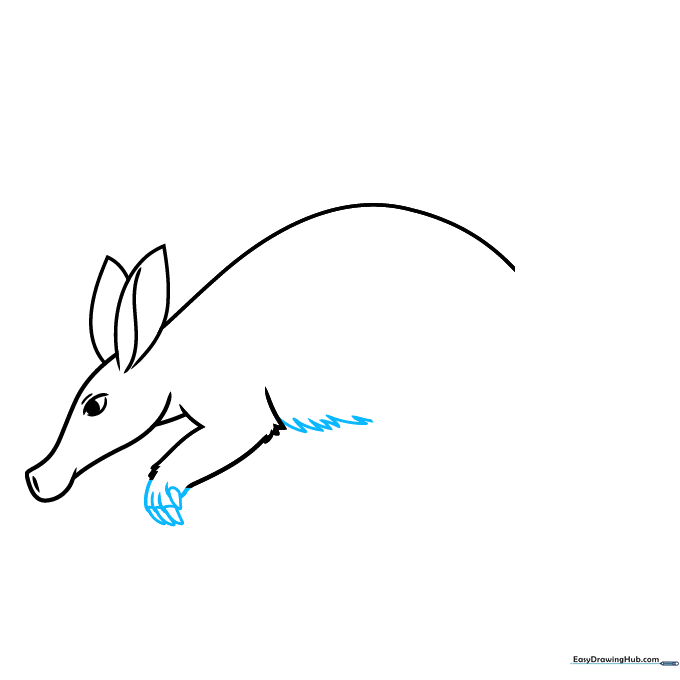
Sketch the toes using overlapping curves and add triangular claws. Connect the leg to the belly with more jagged fur lines. Teacher's Tip: Aardvarks have strong claws for digging, so make them look sturdy and sharp.
Step 5: Drawing the Rear Leg
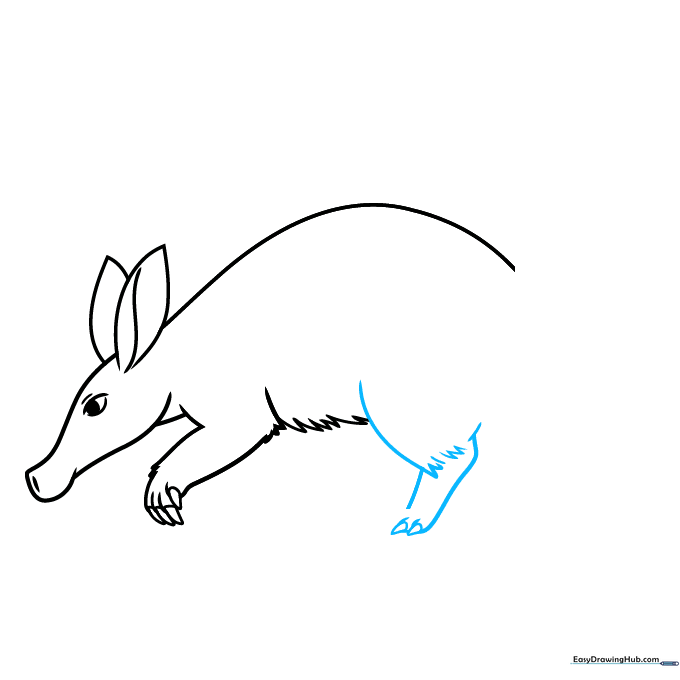
Draw the upper part of the rear leg with a mix of smooth and jagged lines. Add the lower leg and foot. Teacher's Tip: The rear legs are usually thicker than the front ones, so draw them slightly wider.
Step 6: Completing the Feet
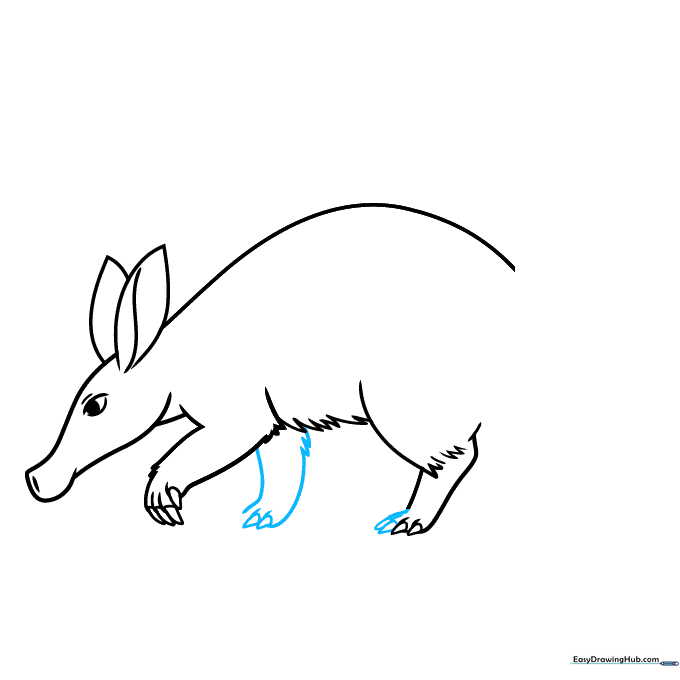
Finish the toes and claws on the rear foot, and add the second front leg. Teacher's Tip: Notice how the legs overlap; drawing the one in the back slightly higher helps create a sense of depth.
Step 7: The Tail and Hips
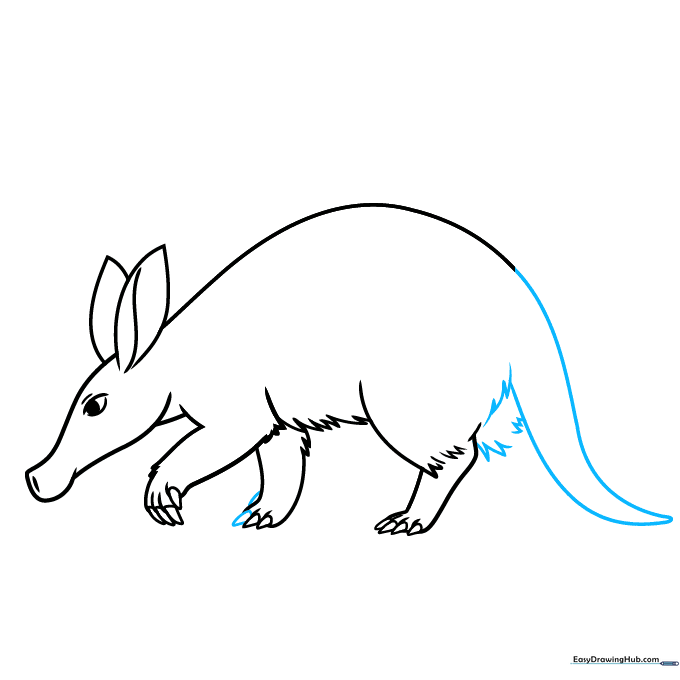
Extend the back line to form a thick, tapering tail. Define the hips with curved lines. Teacher's Tip: Aardvarks have very thick, muscular tails—make sure it looks strong at the base!
Step 8: Finalizing the Legs
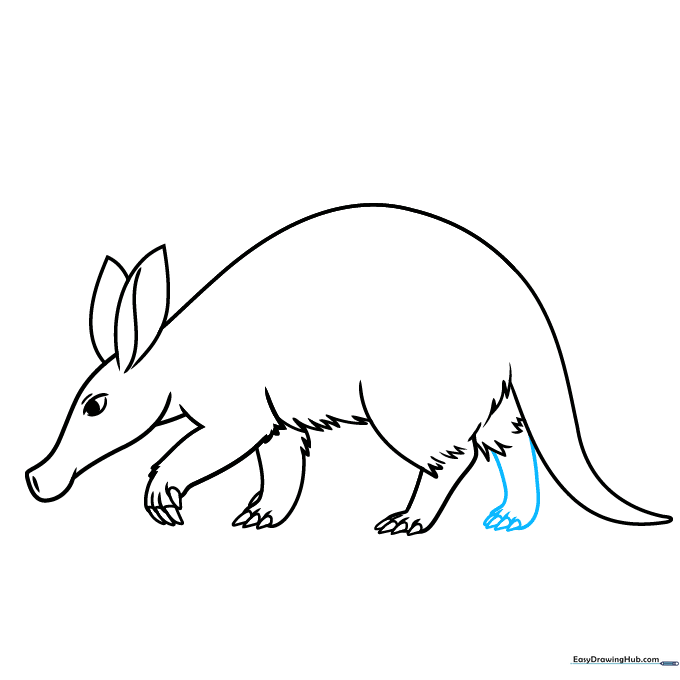
Draw the remaining rear leg to complete the stance. Teacher's Tip: Ensure the claws are consistent in size across all four feet for a balanced look.
Step 9: Adding Texture and Details
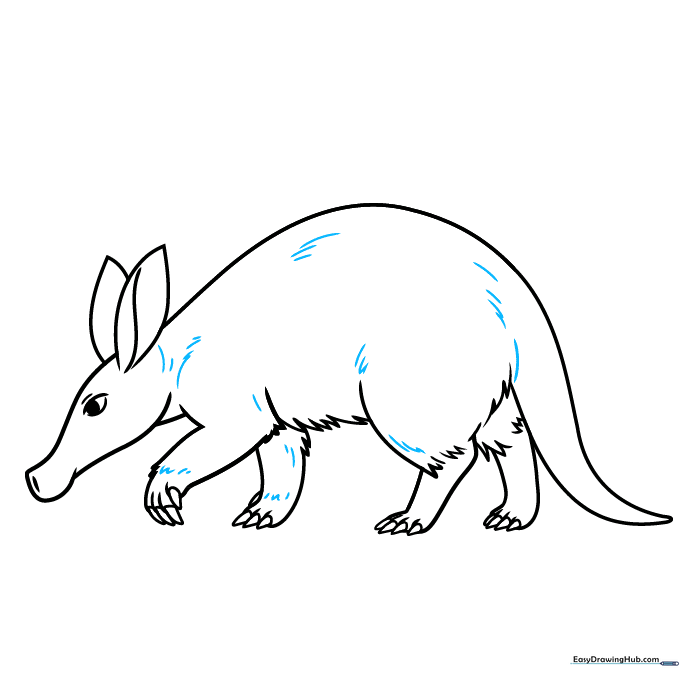
Go over your lines and add small, jagged marks along the body to represent fur. Teacher's Tip: Don't overdo the fur—just a few marks here and there will suggest texture without making the drawing look too busy.
Step 10: Color Your Aardvark
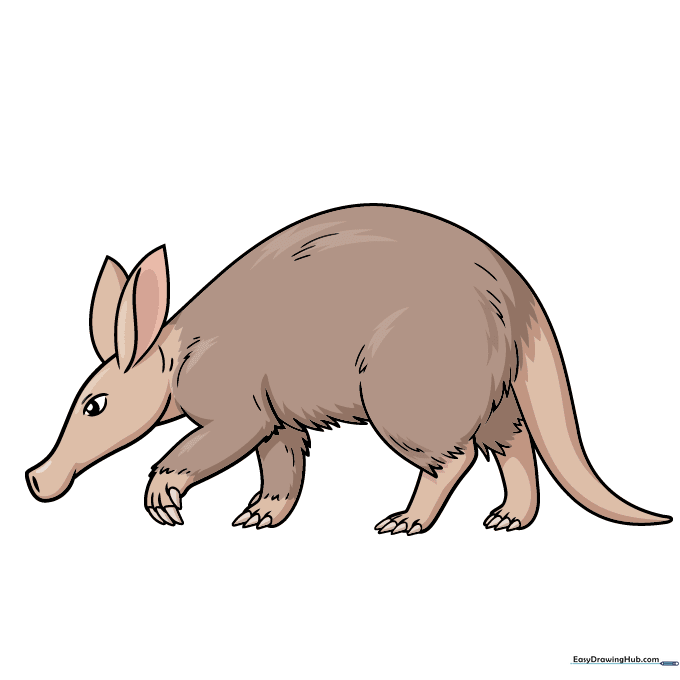
Time to color! Use light brown for the body and a soft pink for the inner ears and nose. Teacher's Tip: Use a darker brown to add a little shading under the belly to make your drawing pop off the page.
More Tutorials


