How to Draw Amelia Earhart: Easy 10-Step Portrait Guide
Celebrate aviation history by drawing the legendary Amelia Earhart. This tutorial is perfect for ages 8+ and requires only a pencil, eraser, and paper. Follow these steps to capture her iconic flying gear and adventurous spirit in a fun, approachable portrait style.
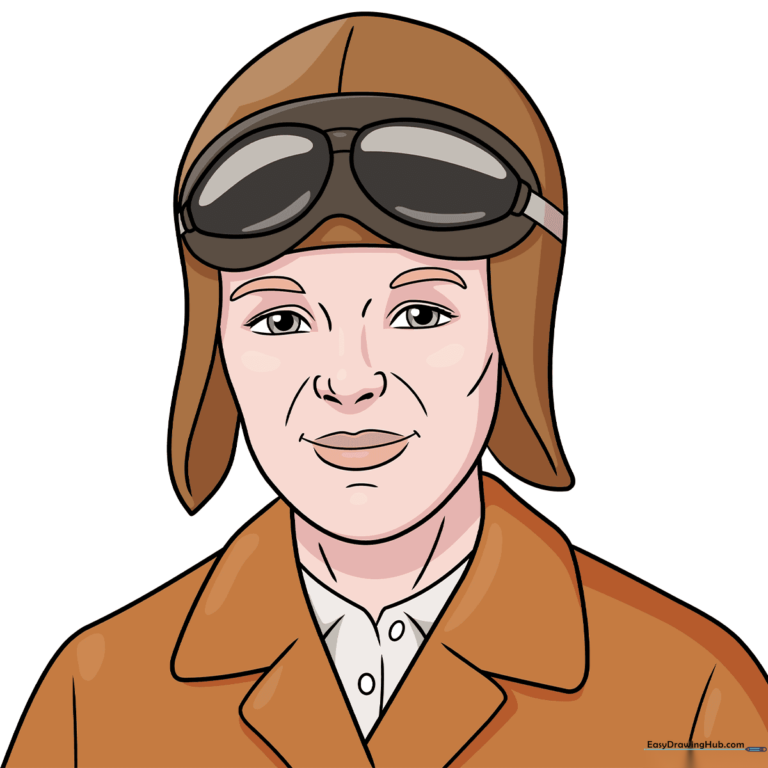
🎯 Final Result
Step-by-Step Instructions
Step 1: Sketching the Eyes

Draw two almond-shaped eyes using soft, curved lines. Inside each, add two smaller circles and shade the center one for the pupil. Teacher's Tip: Keep your pencil pressure light so you can easily adjust the symmetry later.
Step 2: Defining Facial Features

Add curved lines for the eyebrows, eyelids, and the bridge of the nose. Teacher's Tip: Use very light, feathery strokes for the nose bridge to keep the face looking soft and natural.
Step 3: Adding the Smile
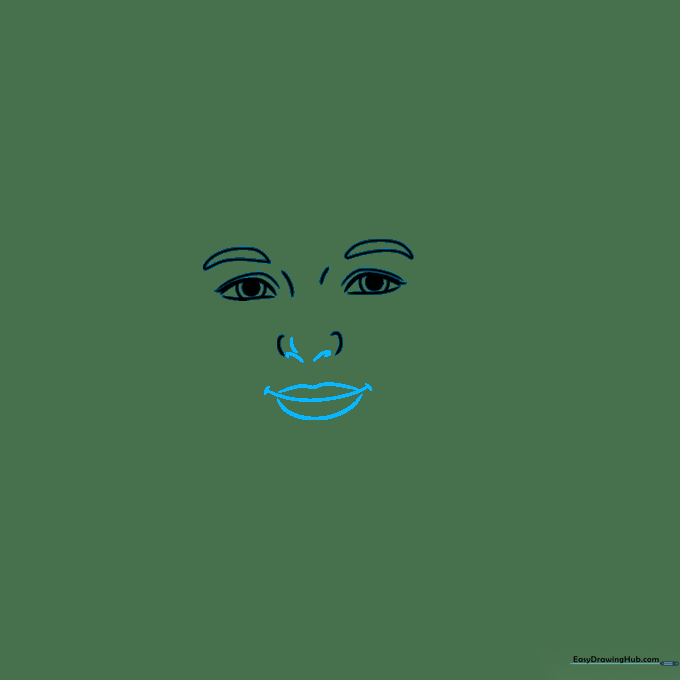
Contour the tip of the nose and draw a gentle, smiling mouth. Teacher's Tip: A slight upward curve at the corners of the mouth gives her a friendly, determined expression.
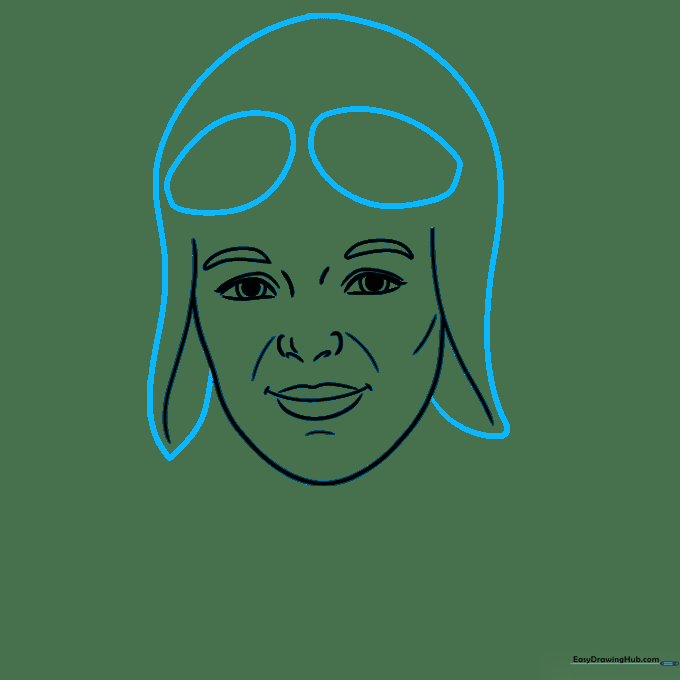
Step 4: Shaping the Face and Cap

Outline the face with a long, smooth curve and add lines on the sides for the base of her flying cap. Teacher's Tip: Ensure the face shape is rounded at the chin for a balanced look.
Step 5: Drawing the Goggles
Draw the top of the cap and two irregular ovals above the eyes for the goggles. Teacher's Tip: Make the goggles slightly wider than the eyes to give them a realistic, vintage feel.
Step 6: Detailing the Goggles
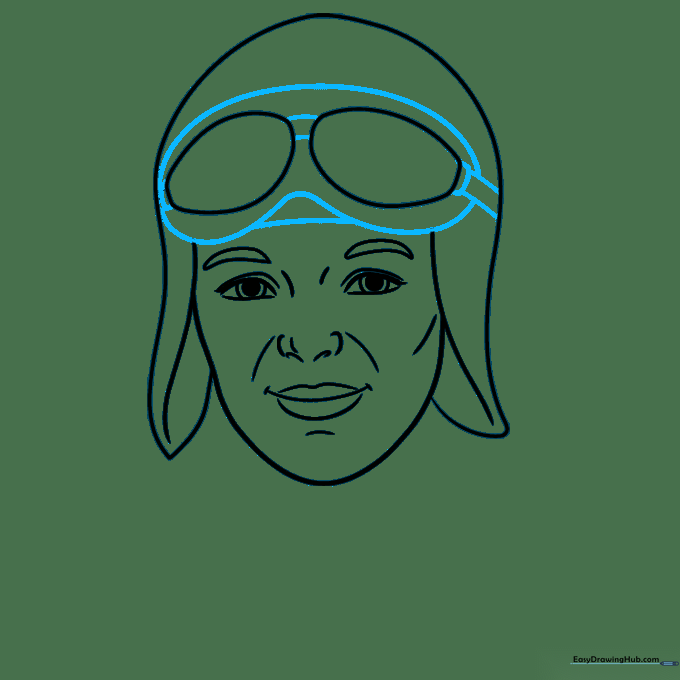
Connect the lenses with curved lines and outline the top and bottom of the goggles. Teacher's Tip: Use a steady hand here to ensure the lines look like sturdy leather straps.
Step 7: Adding the Neck and Collar
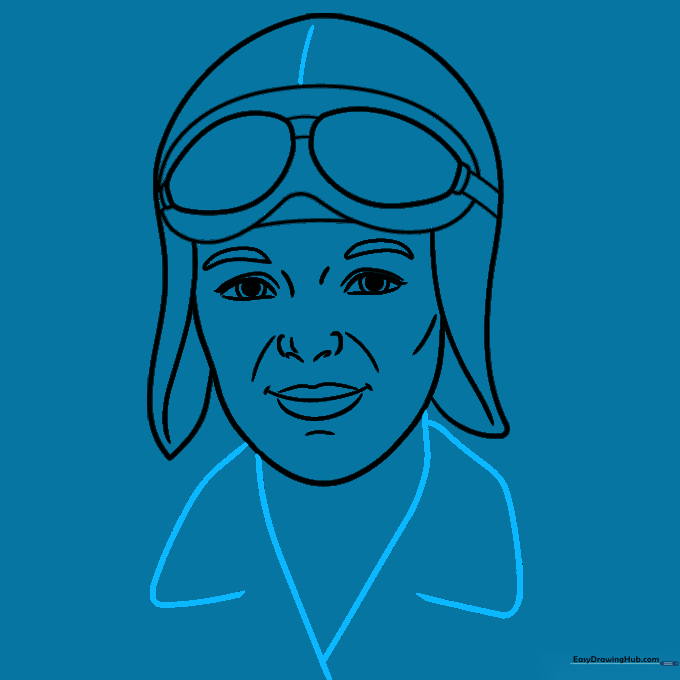
Draw a center line on the cap, then sketch the neck and the collar of her jacket. Teacher's Tip: The collar should be wide to emphasize the heavy material of a pilot's jacket.
Step 8: Drawing the Shoulders
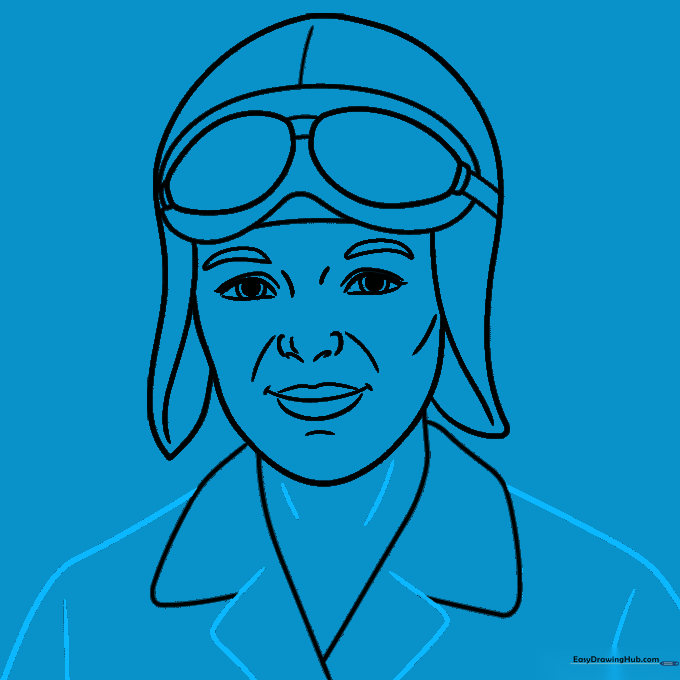
Complete the jacket collar and add the shoulders. Teacher's Tip: Use slightly curved lines for the shoulders to give the jacket a natural, draped appearance.
Step 9: Final Details
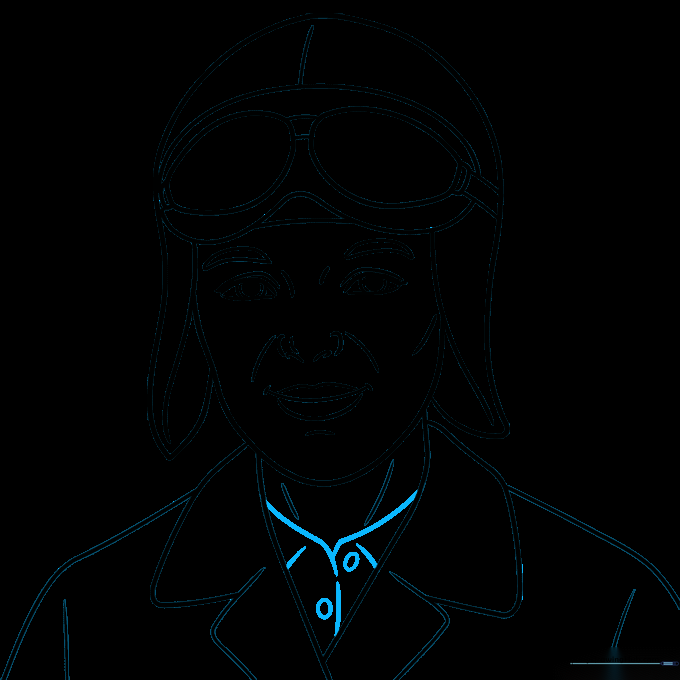
Add the shirt collar beneath the jacket and draw small ovals for the buttons. Teacher's Tip: Keep the buttons aligned to make the jacket look neat and professional.
Step 10: Coloring Your Portrait
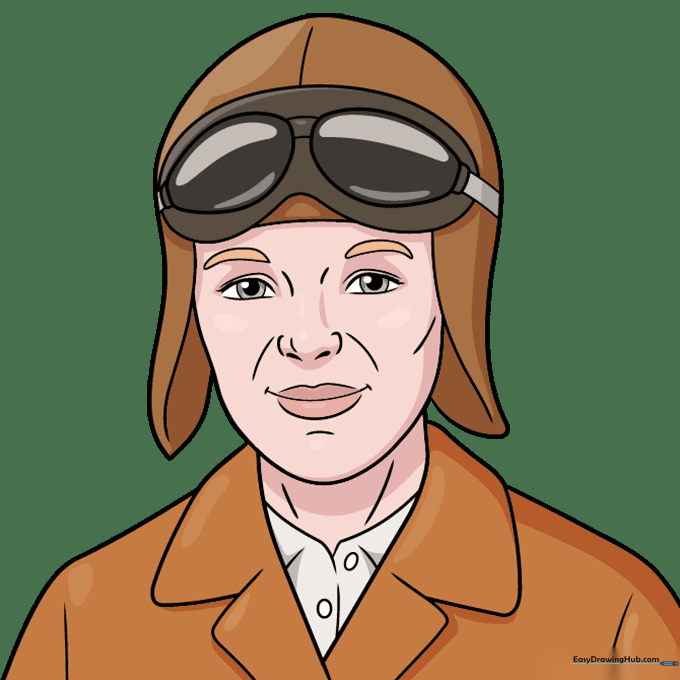
Bring your drawing to life! Use brown for the leather jacket and cap. Amelia was known for her blond hair and gray eyes. Teacher's Tip: Use light shading on the jacket to show texture.
More Tutorials


