How to Draw Alice in Wonderland: Easy 10-Step Guide
Bring the magic of Wonderland to your sketchbook with this easy-to-follow tutorial. Designed for young artists ages 7+, this guide uses basic shapes to build Alice’s iconic look. Grab a pencil, an eraser, and some paper to start your creative journey today.
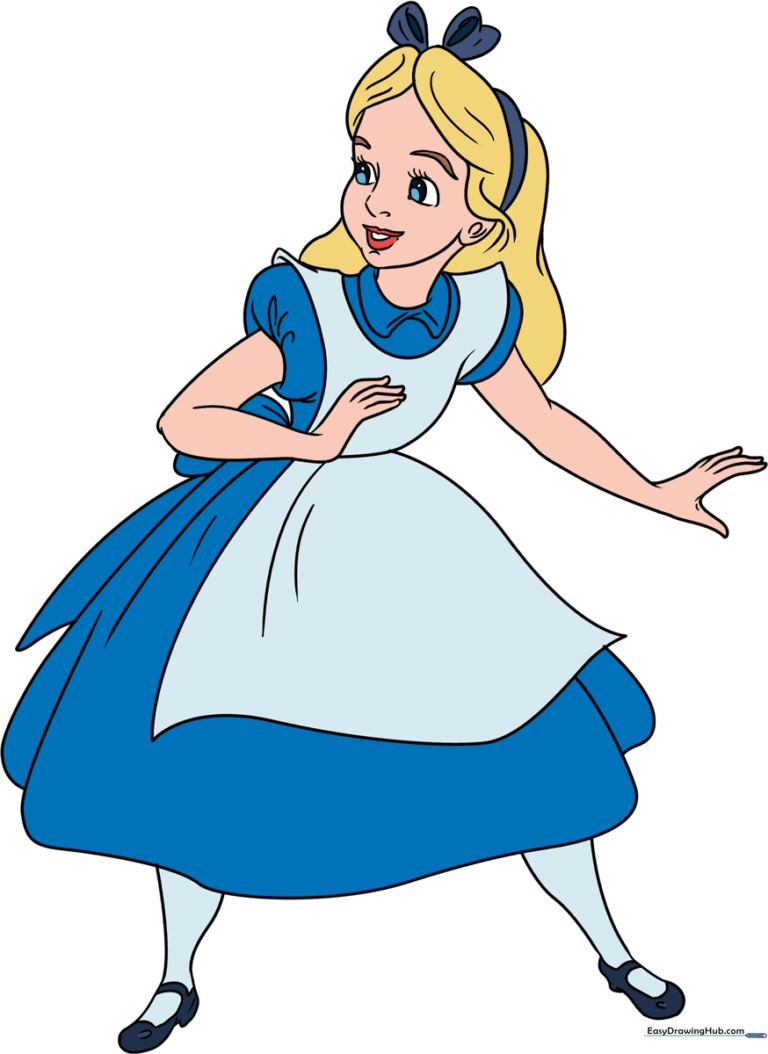
🎯 Final Result
Step-by-Step Instructions
Step 1: Sketching the Face Shape

Lightly sketch the outline of Alice's face, including her brow, cheeks, and chin. Tip: Keep your pencil pressure very light here so you can easily erase the guidelines later if you need to adjust the shape.
Step 2: Adding Hair and Ribbon

Draw the neck and her signature flowing hair. Add the ribbon bow on top using two irregular shapes. Tip: Use long, sweeping strokes for the hair to give it that soft, flowing appearance.
Step 3: Sketching the Apron Collar

Add the rounded triangles for her collar and the 'U' shape for the apron neckline. Tip: Make sure the collar sits snugly against the neck to keep the proportions balanced.
Step 4: Drawing the Puff Sleeve

Draw the puff sleeve on one side using curved lines to show the fabric's volume. Tip: Add small, overlapping lines where the sleeve meets the arm to create a realistic 'puffed' effect.
Step 5: Adding the Second Arm

Draw the other arm and hand. Use narrow 'U' shapes for the fingers. Tip: Keep the fingers small and simple; they don't need to be perfectly detailed to look great in a cartoon style.
Step 6: Drawing the Eyes

Sketch the eyes with pointed corners and add smaller circles inside for the pupils. Add short lines above for lashes. Tip: Symmetry is key here—try to draw both eyes at the same time to keep them even.
Step 7: Adding Facial Features

Gently outline the nose and mouth using soft, curved lines. Tip: Use a very light touch for the mouth to keep her expression sweet and friendly.
Step 8: Drawing the Dress and Apron
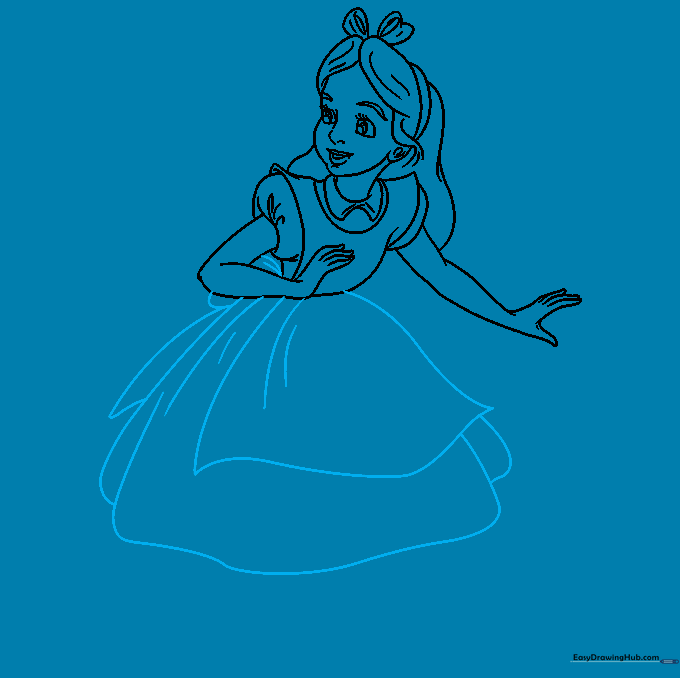
Outline the skirt and apron using long, flowing curves. Add texture lines to show the fabric folds. Tip: Draw the apron slightly shorter than the dress to show the layers.
Step 9: Adding Legs and Shoes
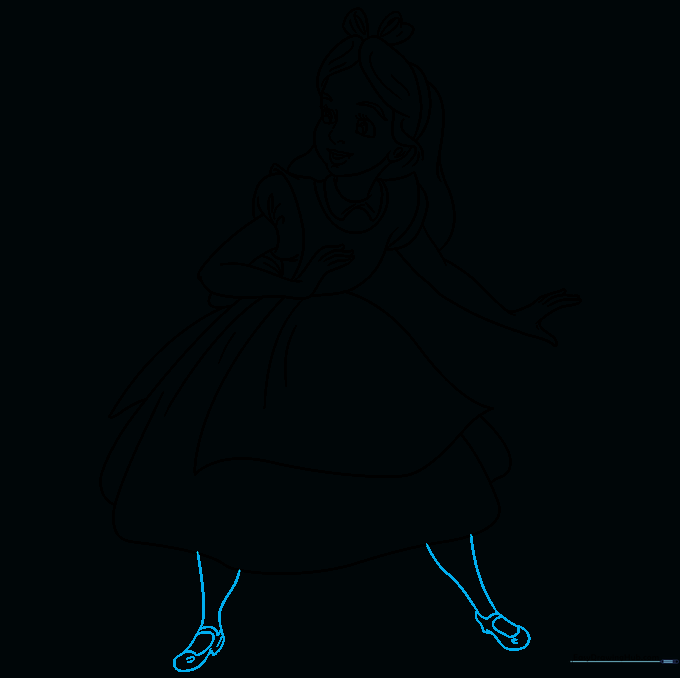
Finish the drawing by adding her legs and shoes. Use curved lines to define the heel. Tip: Keep the legs slender to match the cartoon style of the character.
Step 10: Adding Color
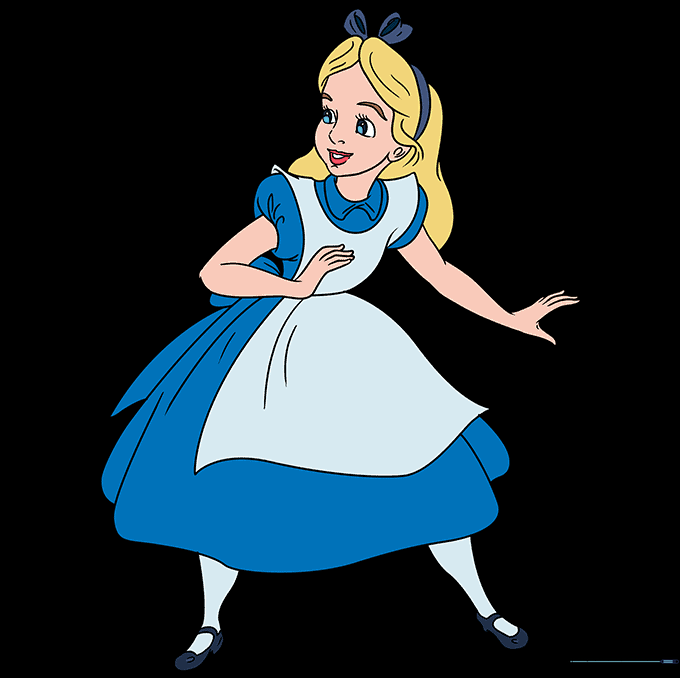
Bring Alice to life with color! Use classic sky blue for her dress and ribbon, and crisp white for her apron and stockings. Tip: Use colored pencils for a soft, storybook look.
More Tutorials


