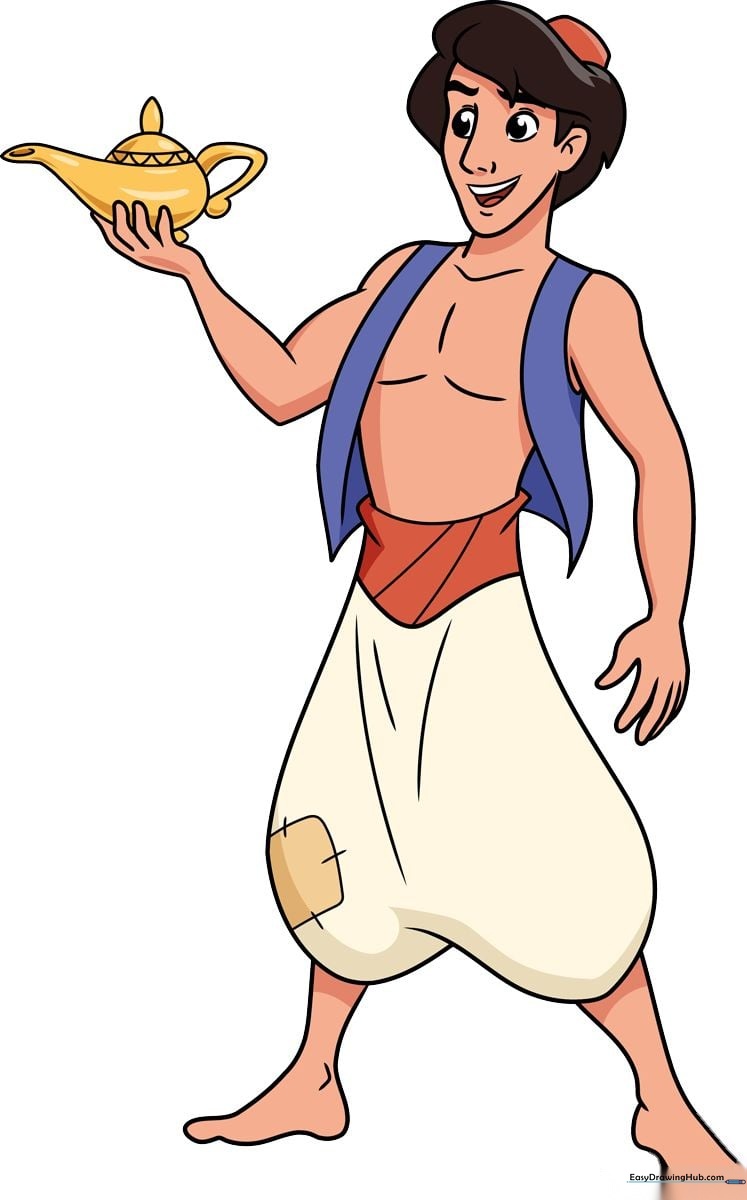
How to Draw Aladdin: Easy 10-Step Guide for Kids
Bring the streets of Agrabah to life with this simple Aladdin drawing tutorial. Designed for ages 5 and up, this guide uses basic shapes to build confidence in young artists. Grab your pencil, eraser, and paper, and let's start sketching our favorite hero.
🎯 Final Result
Step-by-Step Instructions
Step 1: Sketching the Facial Features
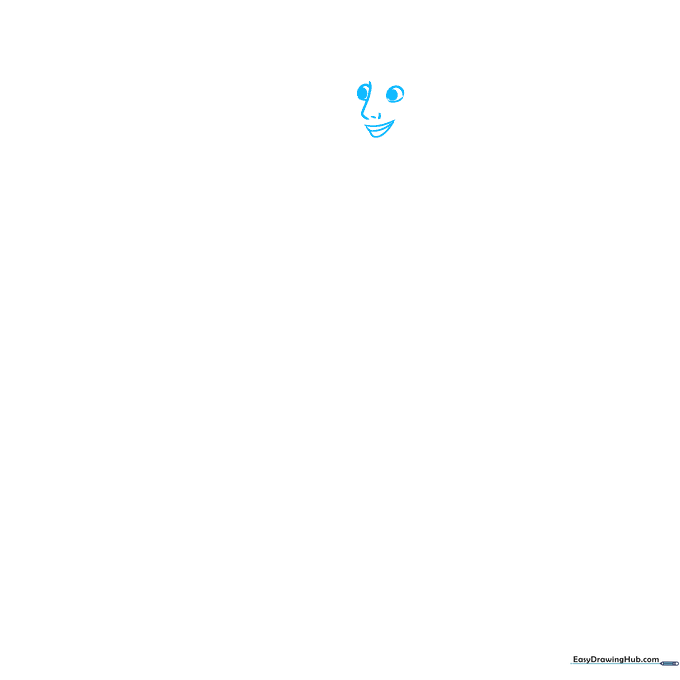
Start by drawing a light triangle for the nose and two small dashes to the right. Sketch a circle and a large lemon shape for the eyes, placing a small circle inside each for the pupils. Teacher's Tip: Keep your pencil pressure light here so you can easily adjust the eye placement if needed.
Step 2: Defining the Brows and Face
Draw two triangles and a curve above the eyes to form the brow line. Use thick, bold strokes for the eyebrows to give him expression, then draw a wavy line around the face to define his jawline.
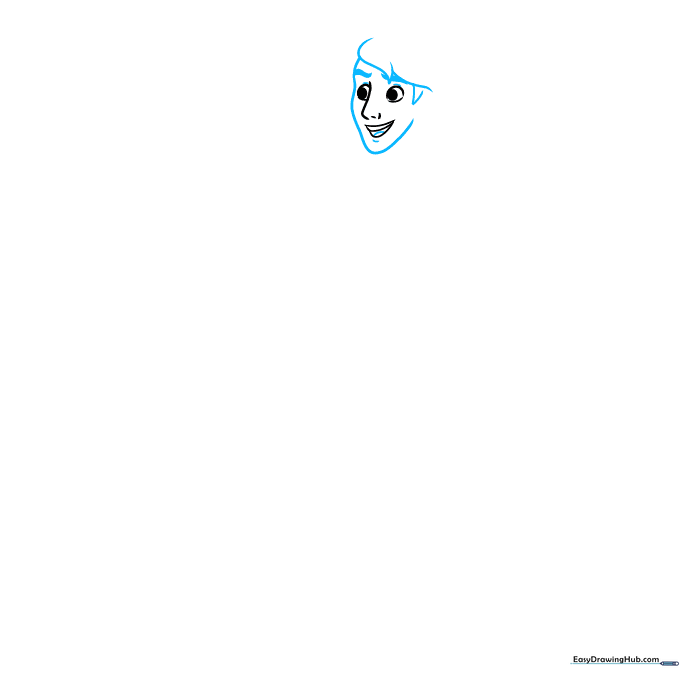
Step 3: Adding the Neck and Hat
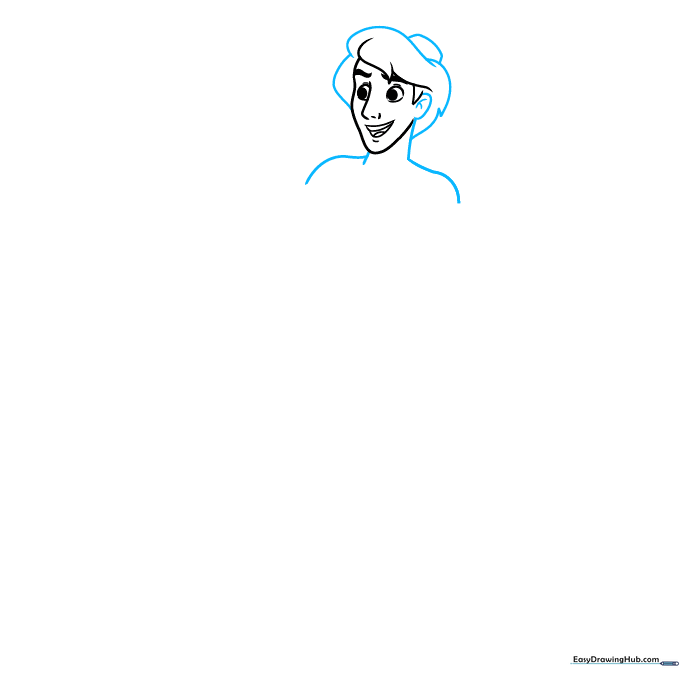
Sketch two straight lines for the neck and curves for the shoulders. Add an ear using an oval and two small curves. Above the head, draw wide, sweeping curves for the hat and a small semi-rectangle on top. Teacher's Tip: Use a ruler if you struggle with straight lines for the neck.
Step 4: Sketching the Arm and Lamp
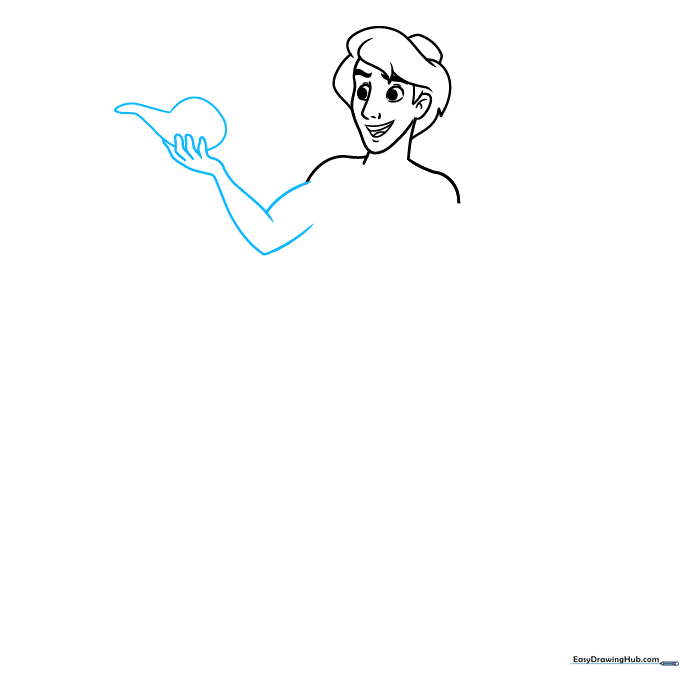
For the arm, draw a V-shape with two curves. Outline the fingers using bent, rounded shapes. Start the lamp with an oval, adding diagonal lines and a small oval at the tip. Teacher's Tip: Think of the fingers as small sausages to keep them simple.
Step 5: Detailing the Lamp
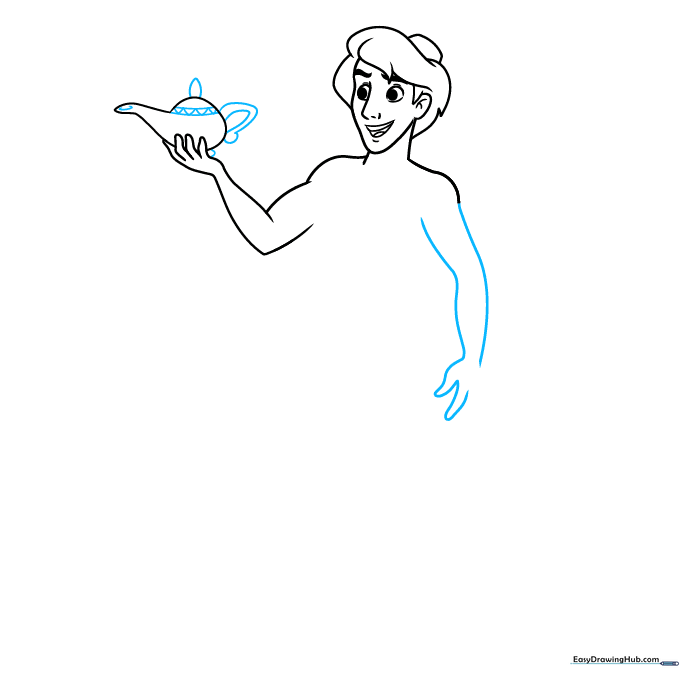
On the right, add wavy lines for the hand. Refine the lamp by adding internal lines, a lemon-shaped top, and a handle made from a circle and two curves.
Step 6: Drawing the Vest
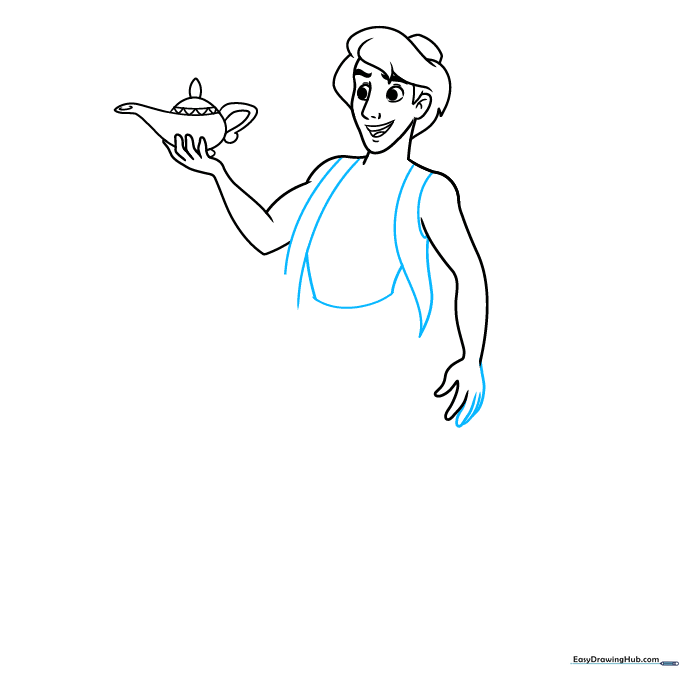
Complete the fingers on the right hand. For the vest, draw two parallel curves on the left and a curvy triangle on the right. Sketch a curve and diagonal lines between these shapes to show the fabric folds.
Step 7: Adding the Waist and Pants
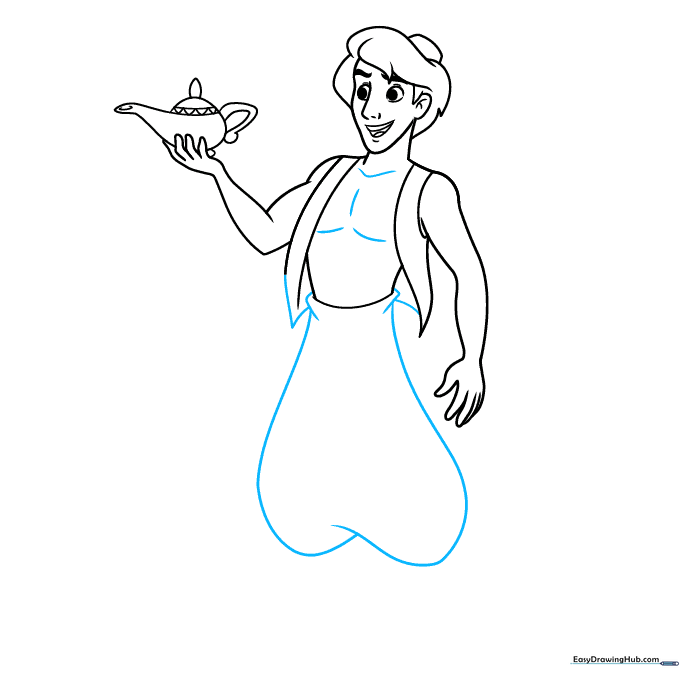
Draw lines inside the chest area. A few inches below, add two large curves and connect them to the body with wavy lines. Complete the vest with a triangle and a curve.
Step 8: Sketching the Feet
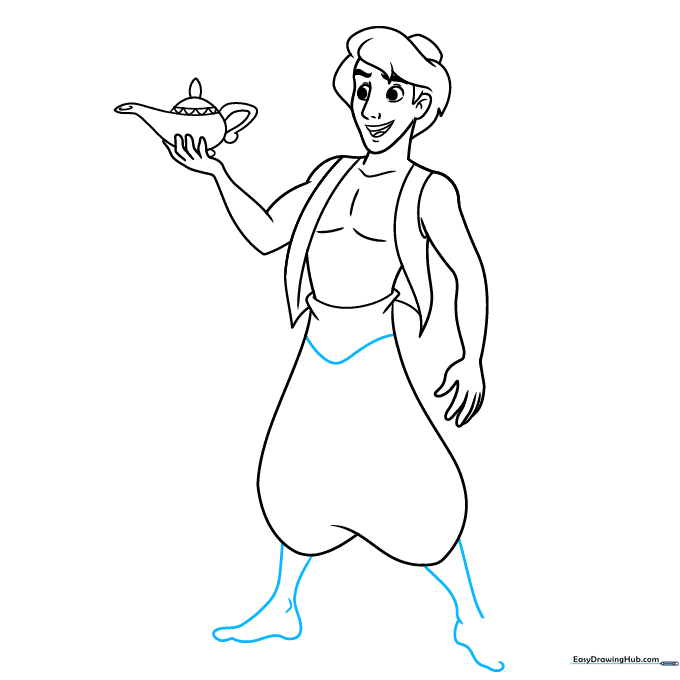
Sketch a V-shape inside the pants to show movement. Draw the left foot with two curves and a wavy horizontal line, then start the right foot with more wavy lines. Teacher's Tip: Wavy lines help suggest the fabric of his pants is loose and flowing.
Step 9: Finalizing the Outline

Add a diagonal line and four curves for the toes. Sketch curved lines inside the pants for texture, then add a square with dashes. Outline your drawing in black ink to make the character pop.
Step 10: Adding Color
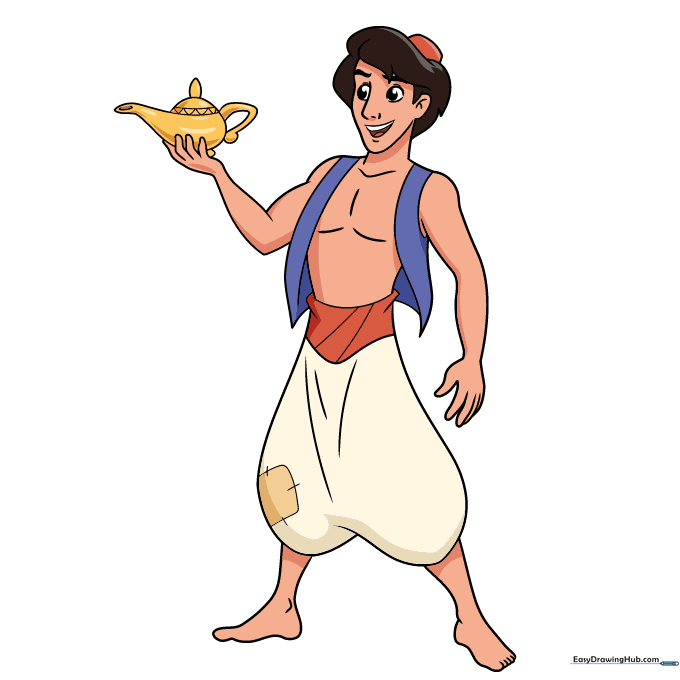
Time to bring Aladdin to life! Use tan for his skin and black for his hair. Color the lamp gold, the vest blue, the hat red, and the pants a mix of red and tan. Add dark red inside the mouth for depth.
More Tutorials


