How to Draw Agent Peely: Easy Fortnite Character Guide
Ready to bring Fortnite's favorite banana agent to life? This tutorial is perfect for young artists and gamers looking to practice character proportions and suit details. Grab your pencil, eraser, and paper, and let's sketch this dapper secret agent together.
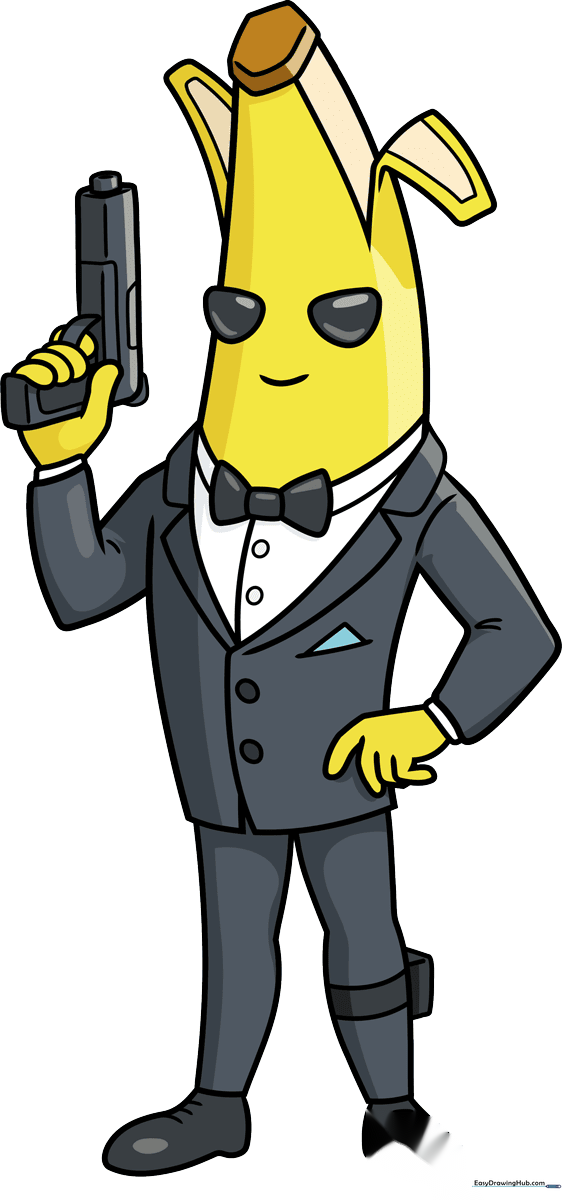
🎯 Final Result
Step-by-Step Instructions
Step 1: Sketching the Face and Peel
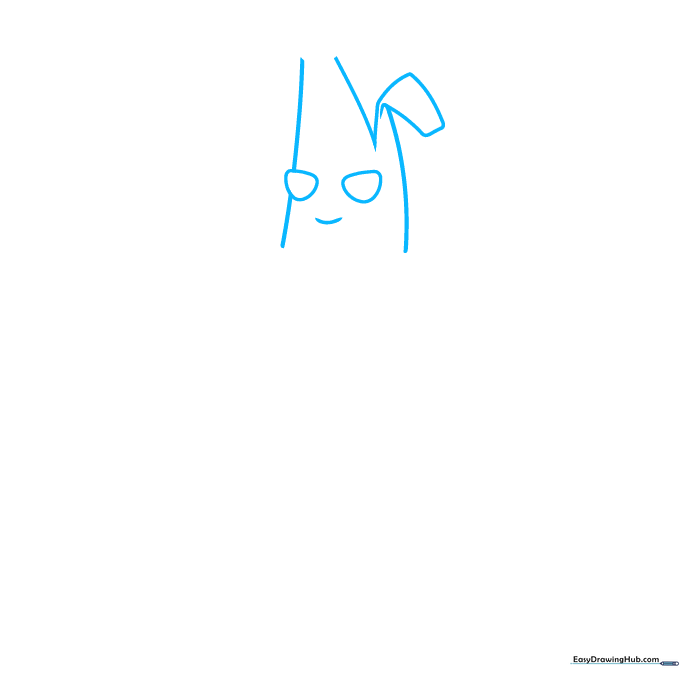
Start by drawing the banana’s head. Use a half-oval for each eye and a simple curve for the smile. Add the rectangular peel sections around the head, meeting in a sharp 'V' shape. Teacher's Tip: Keep your pencil lines light so you can easily adjust the shape of the banana peel later.
Step 2: Adding the Bowtie and Suit Base
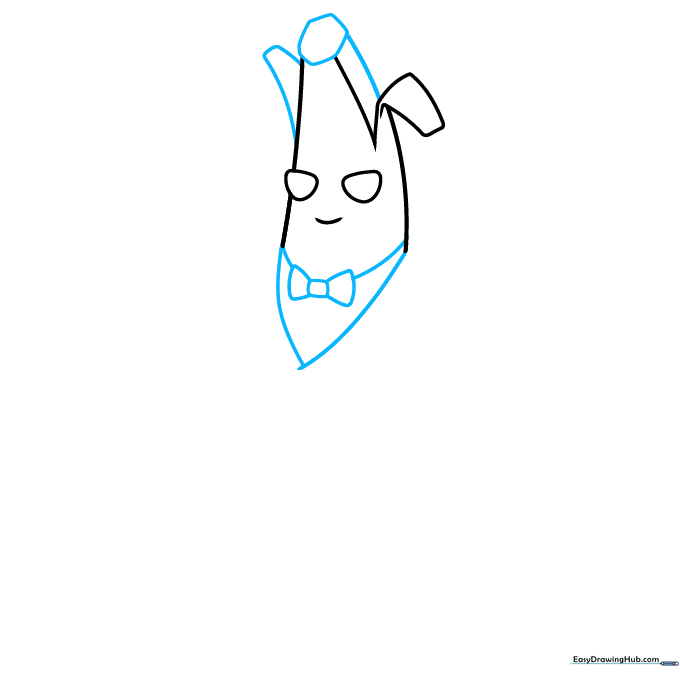
Draw a small hexagon at the top of the head. Below the face, sketch a small rectangle and two trapezoids to form the bowtie. Connect these to the head with curved lines, then add a 'V' shape below the tie to start the suit lapel. Teacher's Tip: Symmetry is key here—take your time aligning the bowtie with the center of the face.
Step 3: Shaping the Suit and Arm
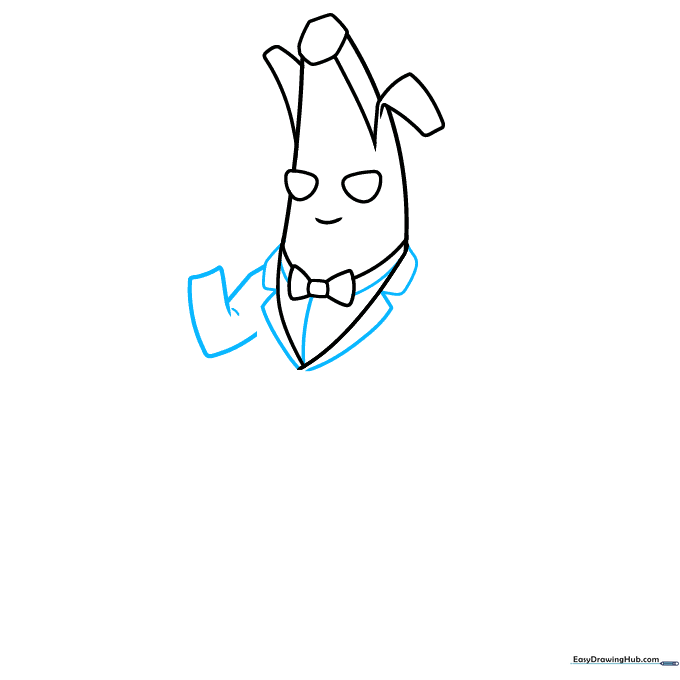
Use curved lines to define the lapels and the sleeve of the suit. Draw the arm bent at the elbow. Teacher's Tip: Think of the arm as a simple tube shape; keep the curves smooth to make the suit look tailored.
Step 4: Drawing the Hand and Grip
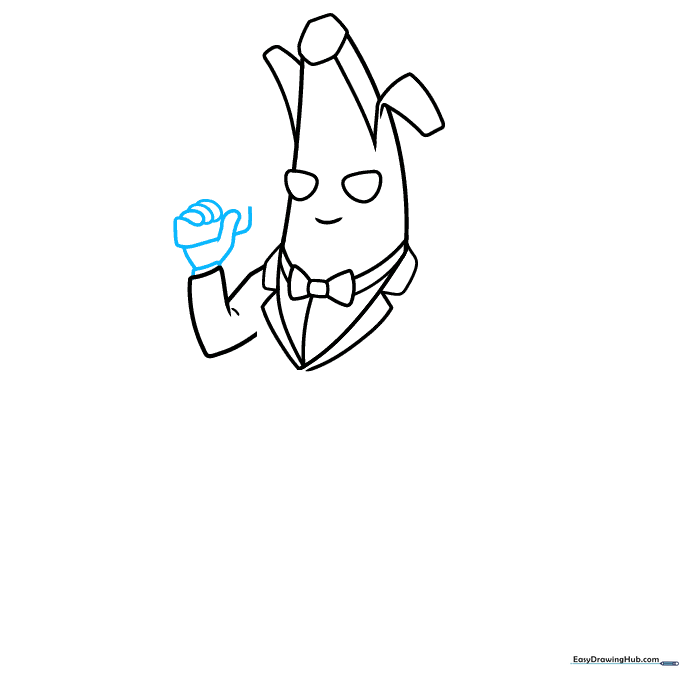
Add the sleeve cuff using curved lines, then sketch the hand grasping a rectangular object. Teacher's Tip: Focus on the 'C' shape of the fingers to make it look like he is actually holding the item.
Step 5: Detailing the Weapon
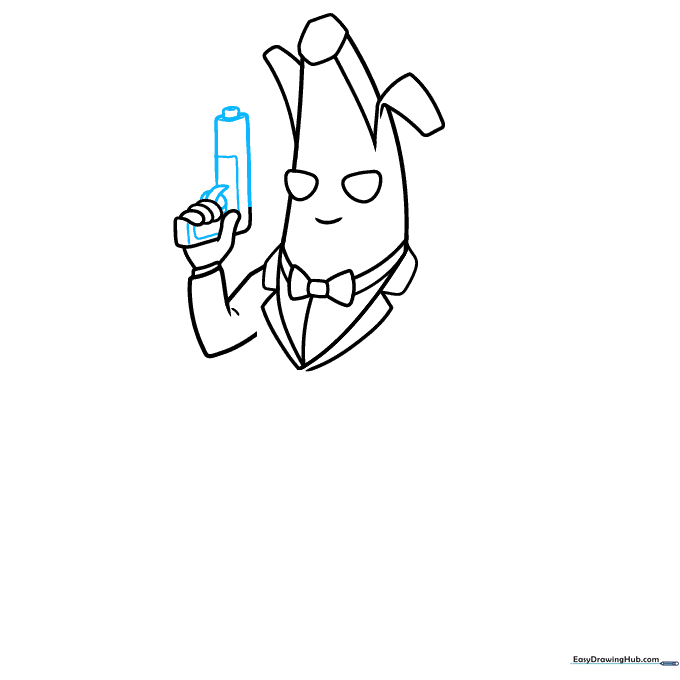
Turn the rectangle into an 'L' shaped gun. Add a small cylinder at the tip and rectangular details on the barrel and handle. Teacher's Tip: Use a ruler if you want the gun to look extra sharp and mechanical!
Step 6: Adding the Second Arm
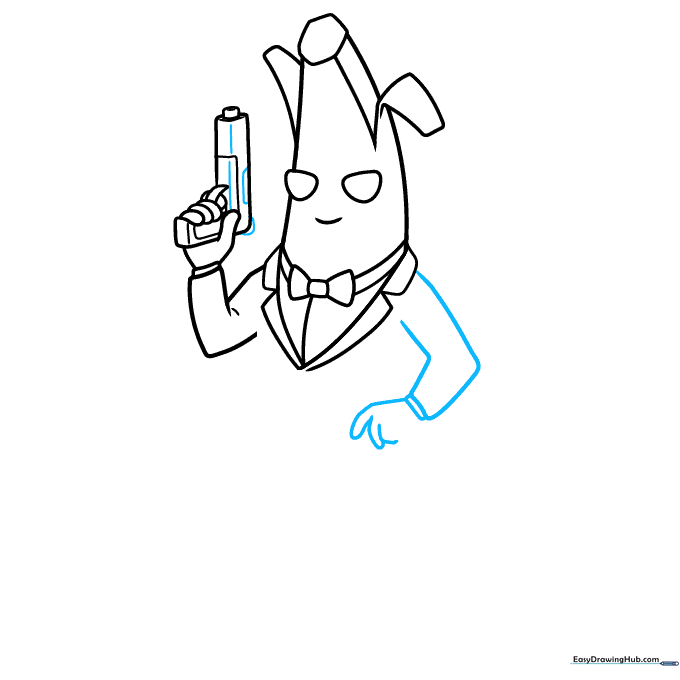
Add more rectangular details to the gun barrel. Then, draw the second arm in an 'L' shape with a sleeve cuff and hand. Teacher's Tip: Ensure the second arm matches the height of the first to keep the character balanced.
Step 7: Drawing the Suit and Legs
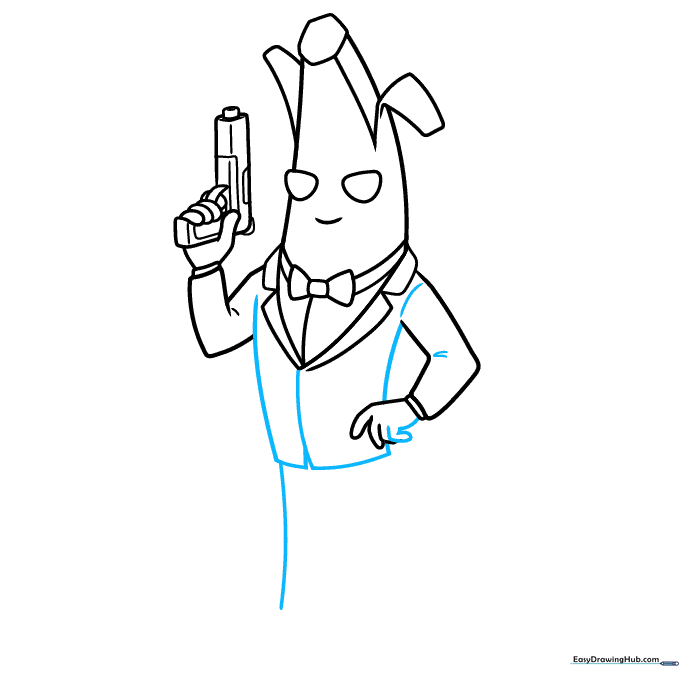
Enclose the sides of the suit and start the first leg of the pants. Add details to the shoulder and finish the fingers on the hand. Teacher's Tip: Use long, smooth strokes for the legs to make them look like professional trousers.
Step 8: Completing the Legs and Shoes
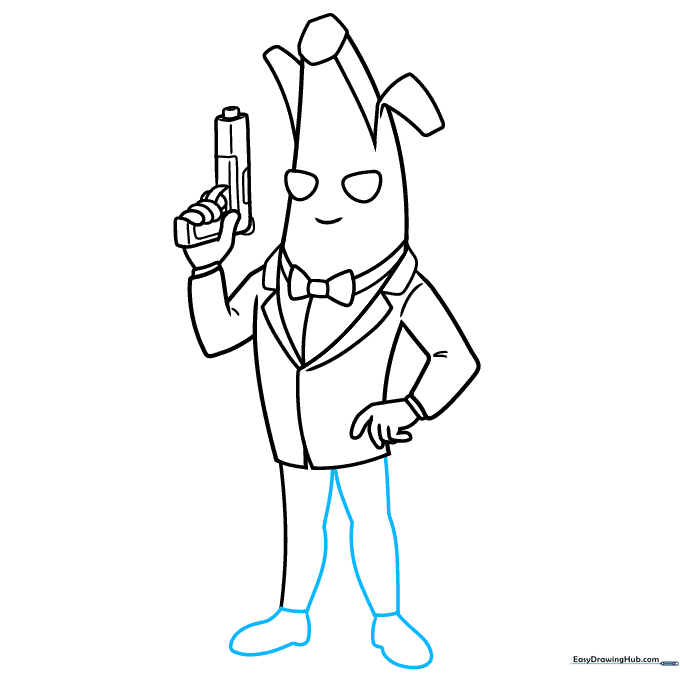
Finish the legs with curved lines and draw the irregular shapes for the shoes at the bottom. Teacher's Tip: Make the shoes slightly wider than the pants to give the character a solid base.
Step 9: Adding Final Details
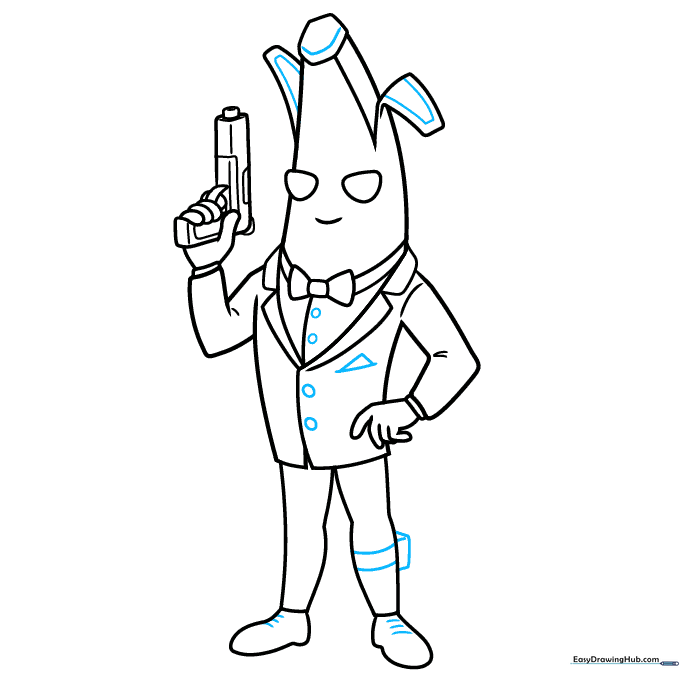
Add the pocket handkerchief, buttons on the suit, and laces on the shoes. Include the cube-shaped object strapped to the leg. Teacher's Tip: Small details like buttons and laces really make your character look 'official'!
Step 10: Coloring Your Agent Peely

Time to bring him to life! Use yellow for the banana peel, and black for the eyes, bowtie, suit, and shoes. You can also try a white suit for a different look. Teacher's Tip: Use a black marker to outline your pencil lines before coloring to make the character pop off the page.
More Tutorials


