How to Draw Afro Hair: Easy Step-by-Step Guide
Ready to master drawing textured hair? This guide is perfect for artists ages 8+ looking to add volume and character to their portraits. Grab a pencil, an eraser, and your favorite sketchbook to begin building these essential facial features.
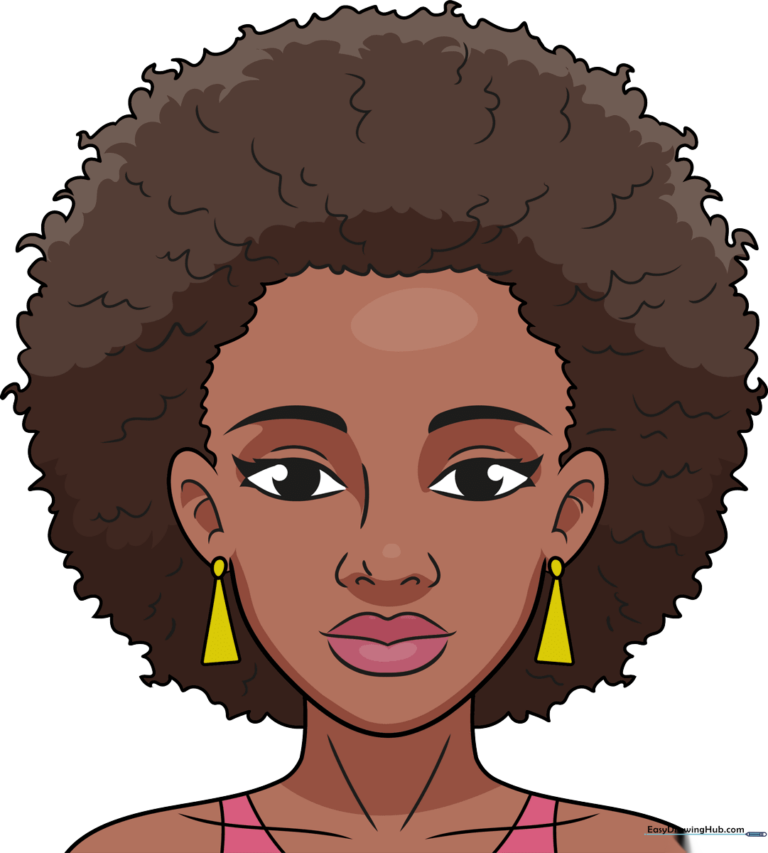
🎯 Final Result
Step-by-Step Instructions
Step 1: Sketching the Eyes
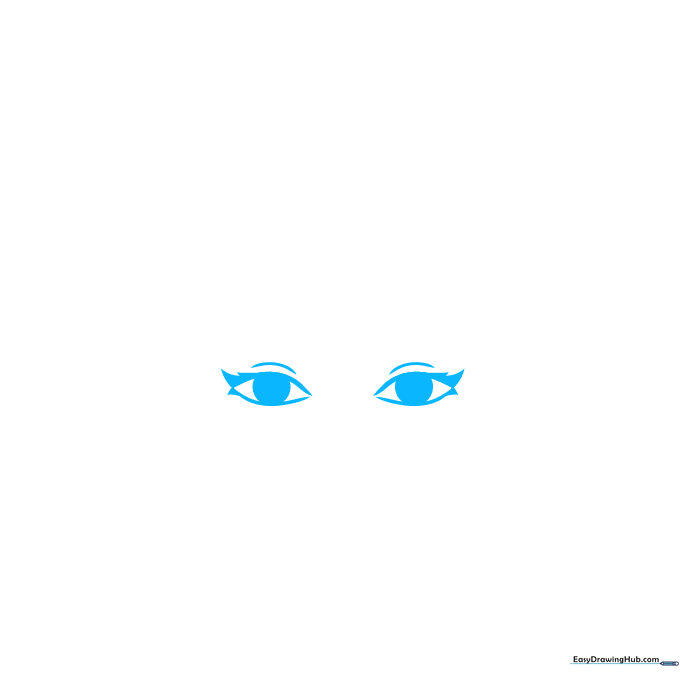
Start by drawing two almond-shaped eyes. Add a partial circle inside for the pupil and small, curved triangles at the corners for eyelashes. Teacher's Tip: Keep your pencil lines light so you can easily adjust the symmetry later.
Step 2: Adding Brows and Nose
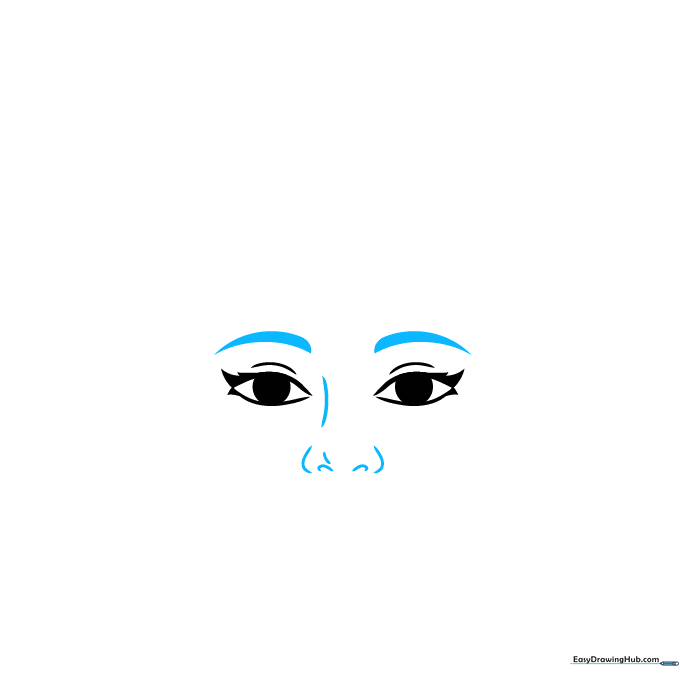
Draw thick, arched eyebrows above the eyes. Use soft, curved lines to define the bridge and nostrils of the nose. Tip: Focus on the curve of the nose tip to give the face a more natural, three-dimensional look.
Step 3: Defining the Face and Lips
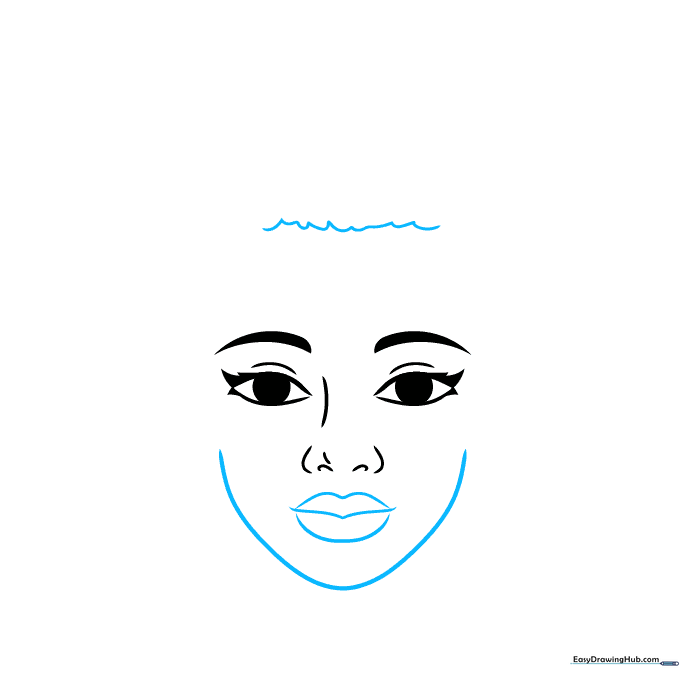
Outline the chin and cheeks with a smooth, continuous curve. Draw the lips with a gentle 'V' shape in the center to show expression. Add the hairline using short, jagged strokes. Tip: Use quick, flicking motions for the hairline to mimic natural hair growth.
Step 4: Drawing the First Ear
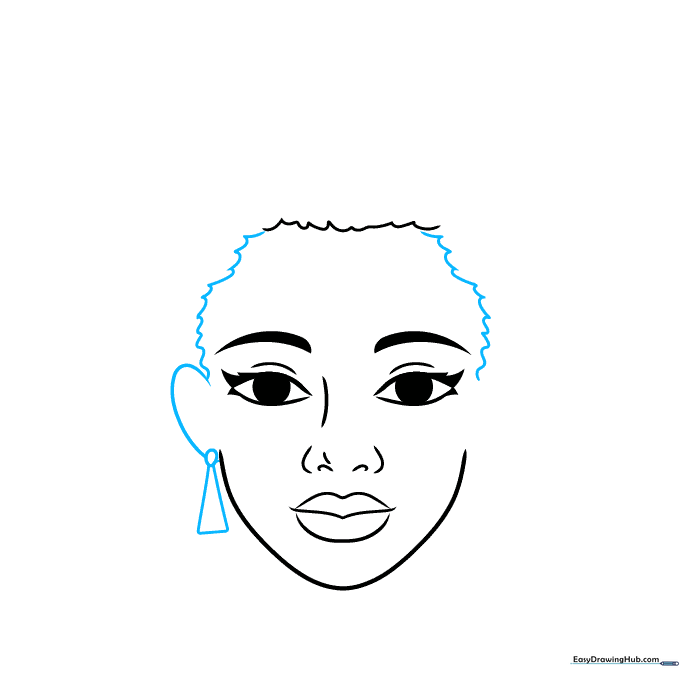
Sketch a 'C' shape for the ear. Add a small circle and triangle to represent a dangling earring. Connect the ear to the hairline with small, rhythmic curves. Tip: Don't worry about perfect symmetry; ears are naturally slightly irregular!
Step 5: Adding the Second Ear
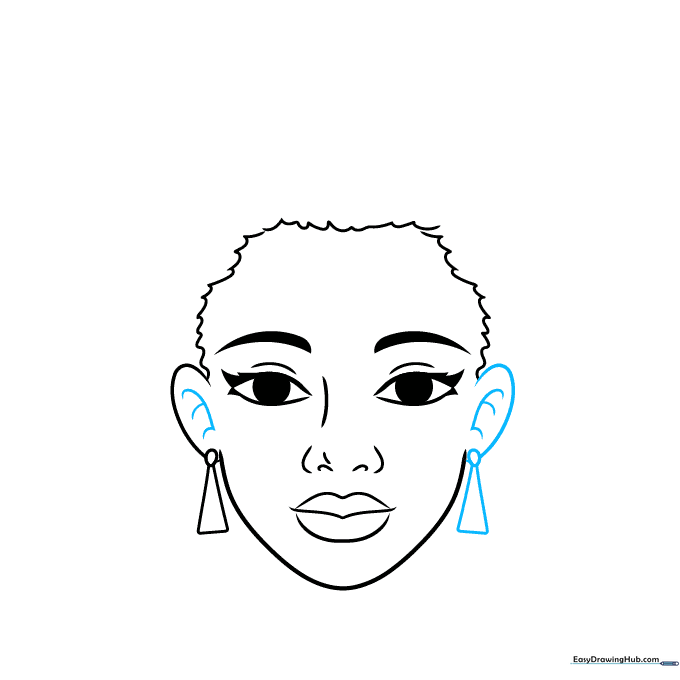
Repeat the 'C' shape on the other side for the second ear, adding the same earring style. Add subtle inner-ear details with three small connected lines. Tip: Keep these lines faint to maintain a clean look.
Step 6: Starting the Afro Shape
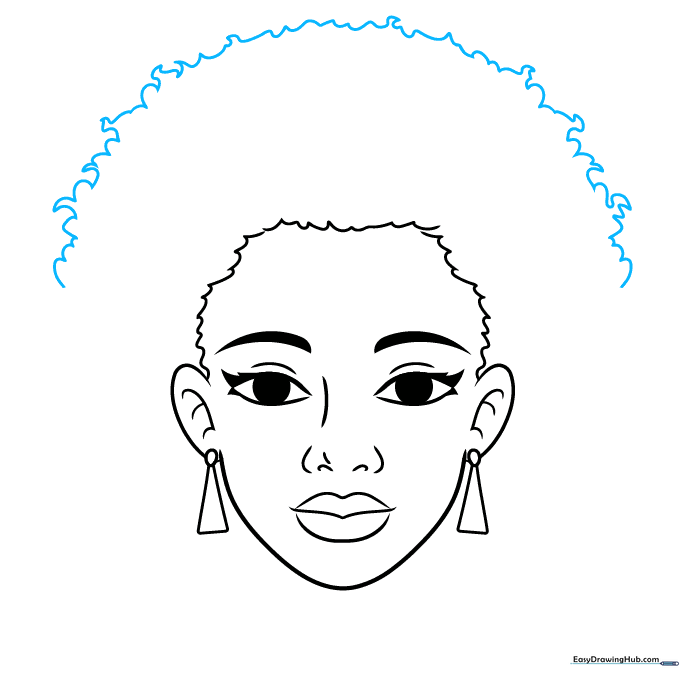
Begin the top of the hair using a series of connected, rounded curves. Aim for a large, circular silhouette. Tip: Think of this as drawing a fluffy cloud around the head.
Step 7: Completing the Hair Outline
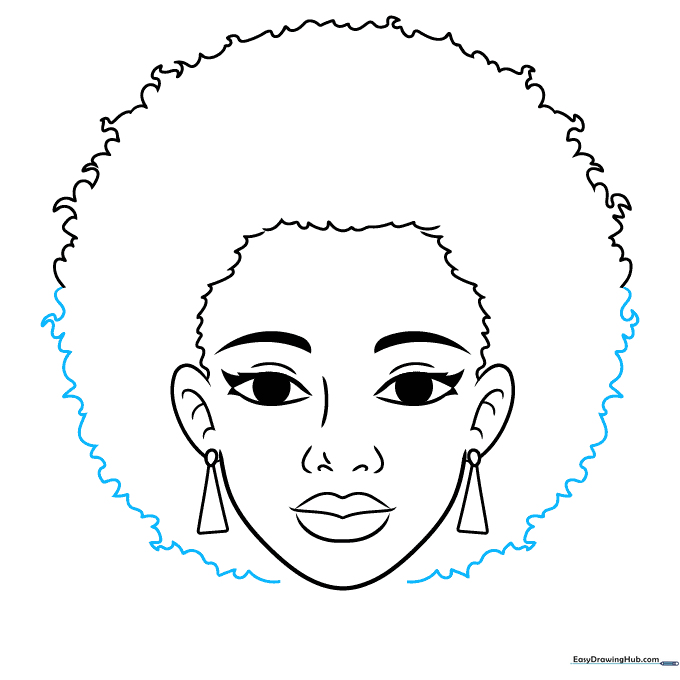
Continue the circular pattern down toward the chin. Ensure the hair looks full and voluminous. Tip: Vary the size of your curves to make the hair look more natural and less like a perfect circle.
Step 8: Adding Texture and Shoulders
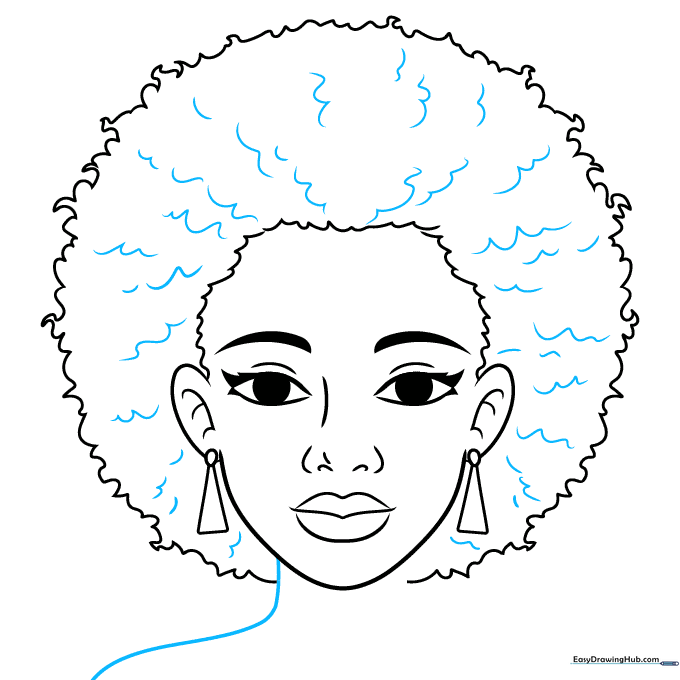
Add wavy lines throughout the hair to suggest texture. Then, draw a long, sweeping curve for the neck and shoulder. Tip: Use different lengths for your wavy lines to create depth and volume.
Step 9: Final Details
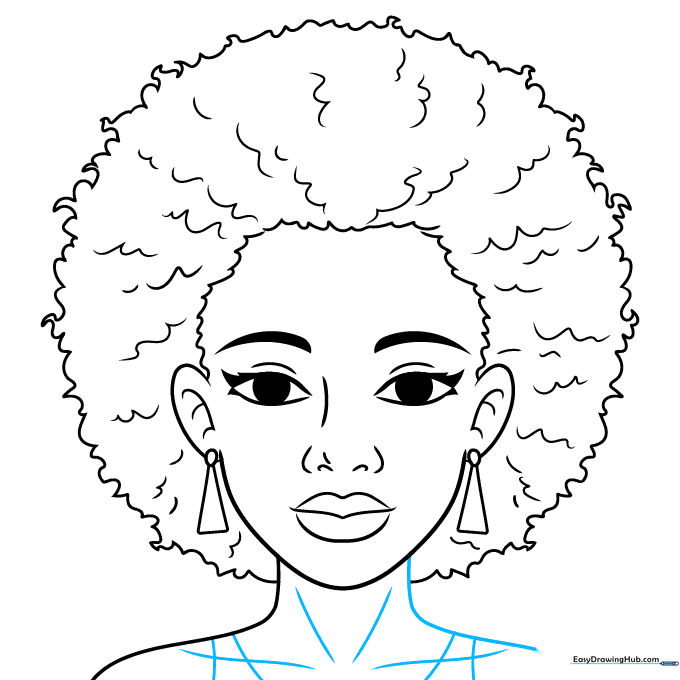
Complete the second shoulder and add collarbone details. Refine the clothing lines to finish your portrait. Tip: Use a darker pencil for your final outlines to make the drawing pop!
Step 10: Color Your Masterpiece
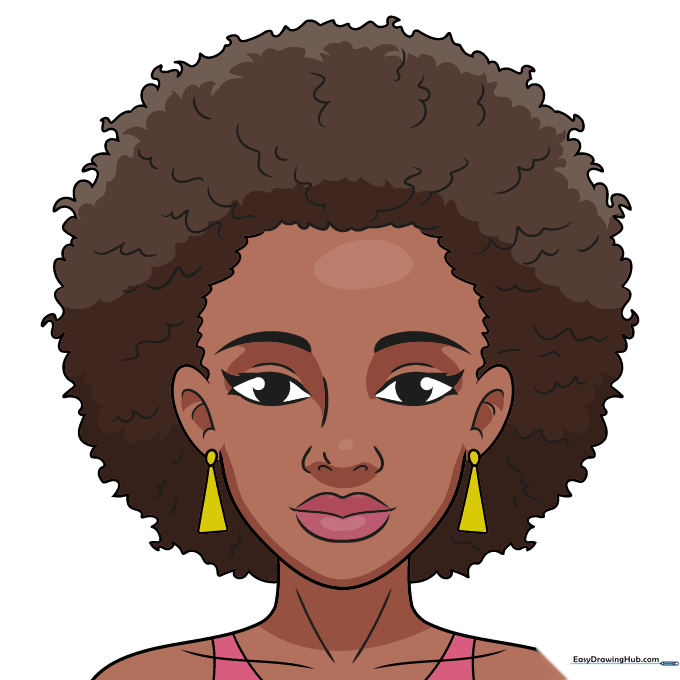
Your outline is ready! Use colored pencils or markers to bring your drawing to life. Tip: Try using different shades of brown or black to add highlights and shadows to the hair texture.
More Tutorials


