How to Draw Acorns: Easy 10-Step Nature Drawing Guide
Capture the beauty of autumn with this simple acorn drawing tutorial, perfect for artists ages 5 and up. All you need is a pencil, an eraser, and a piece of paper to get started. By the end of this lesson, you will have a charming sketch of acorns nestled among oak leaves, helping you build confidence in your line work and natural shapes.
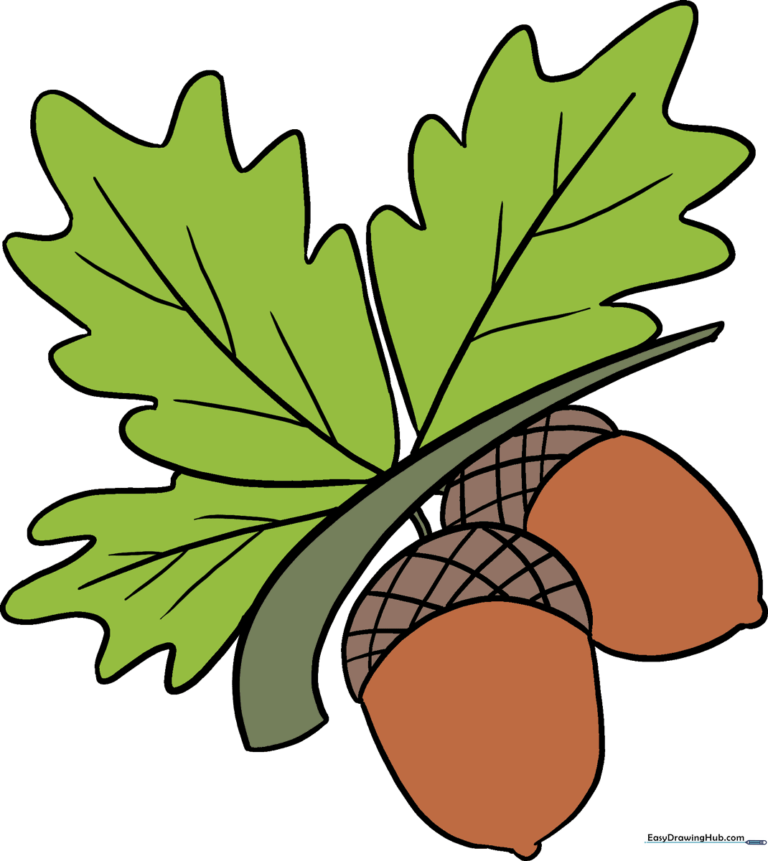
🎯 Final Result
Step-by-Step Instructions
Step 1: Sketching the Twig Base

Draw two long, slightly curved lines that run parallel to each other. Make sure they are wider apart at one end and taper toward the other. Teacher's Tip: Keep your pencil grip loose to ensure these lines stay light and fluid.
Step 2: Adding the Stem

Close off the wider end of your twig with a small curve. Then, draw two short, parallel lines extending from the middle of the twig. This will serve as the anchor for your first acorn. Tip: Think of this as a tiny 'T' shape.
Step 3: Forming the Acorn Cap
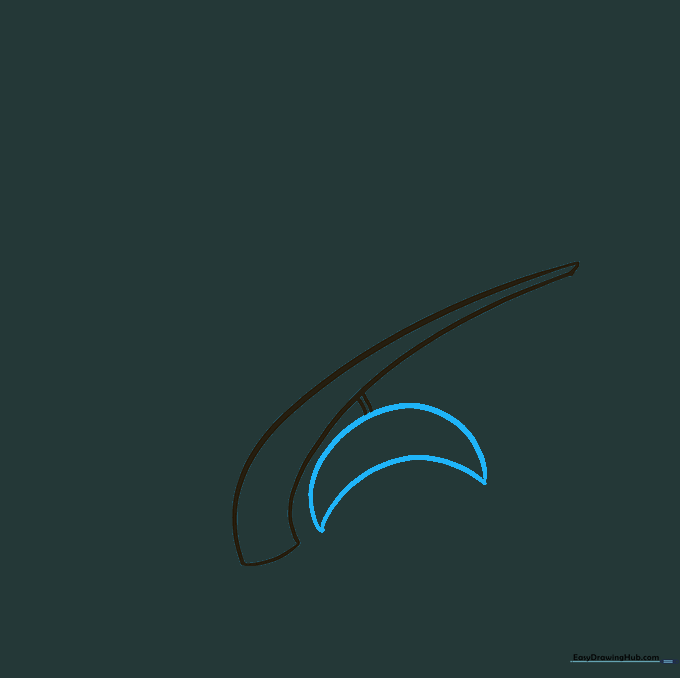
Draw a crescent moon shape dangling from the stem you just created. This is the cupule, or the 'hat' of the acorn. Tip: Make the top of the crescent slightly flatter to give it a realistic look.
Step 4: Drawing the Nut
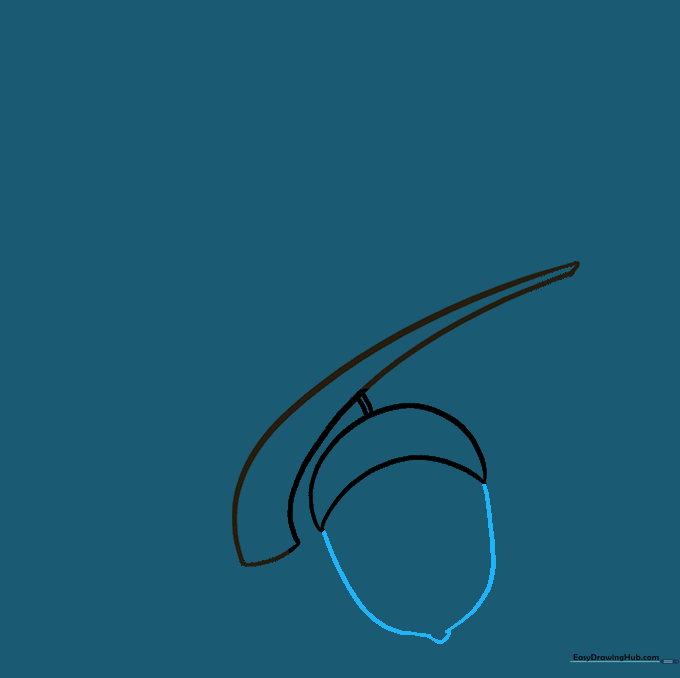
Extend a long, curved line from the cap to enclose the nut. Add a tiny point at the very bottom to represent the remains of the oak flower. Tip: Keep the sides of the nut slightly rounded rather than perfectly straight.
Step 5: Adding a Second Acorn
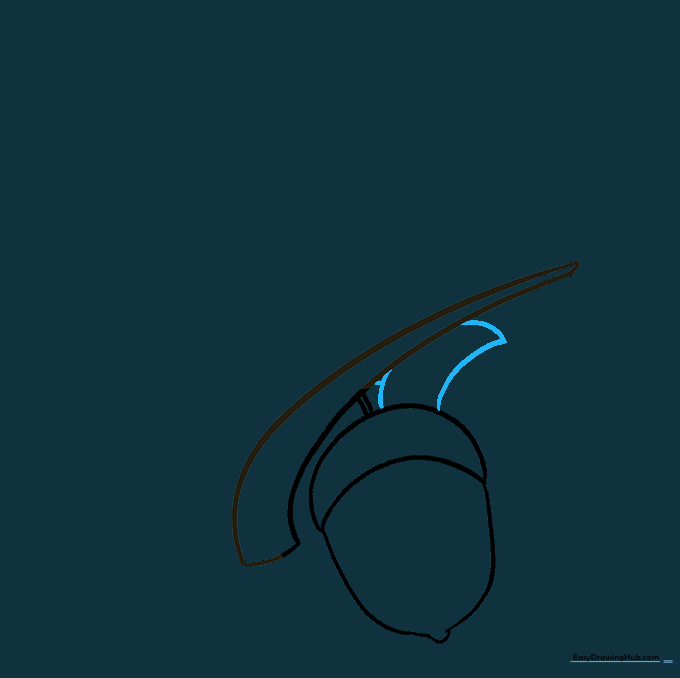
Repeat the process by drawing a second, slightly hidden crescent shape behind the first. Connect it to the twig with a short stem. Tip: Overlapping shapes creates a sense of depth in your drawing.
Step 6: Completing the Second Nut
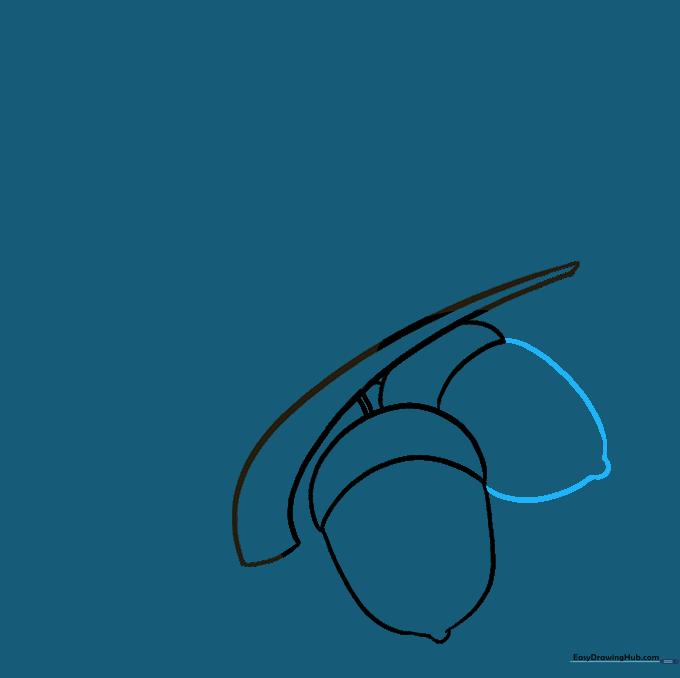
Outline the second acorn nut using a long, curved line. Ensure it follows the same shape as the first one, including the small protrusion at the tip. Tip: If the lines look too dark, use your eraser to lighten them before moving on.
Step 7: Sketching Leaf Veins
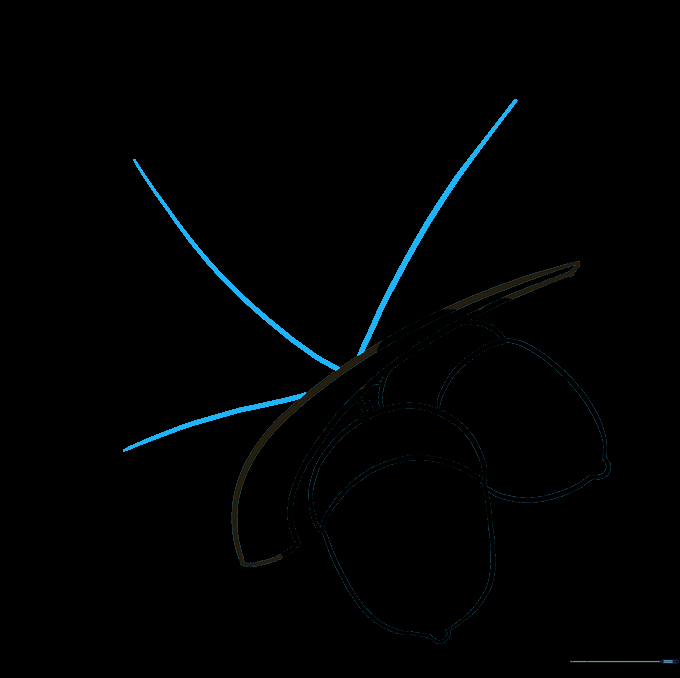
Draw three long, wavy lines extending upward from the twig. These will serve as the central veins for your oak leaves. Tip: Vary the length of these lines to make the leaves look natural and organic.
Step 8: Outlining the Oak Leaves

Use a wavy, lobed line to outline the shape of the oak leaves around each vein. Oak leaves have a distinct, scalloped edge. Tip: Don't worry about making the lobes perfect; real leaves are beautifully irregular.
Step 9: Adding Texture and Detail
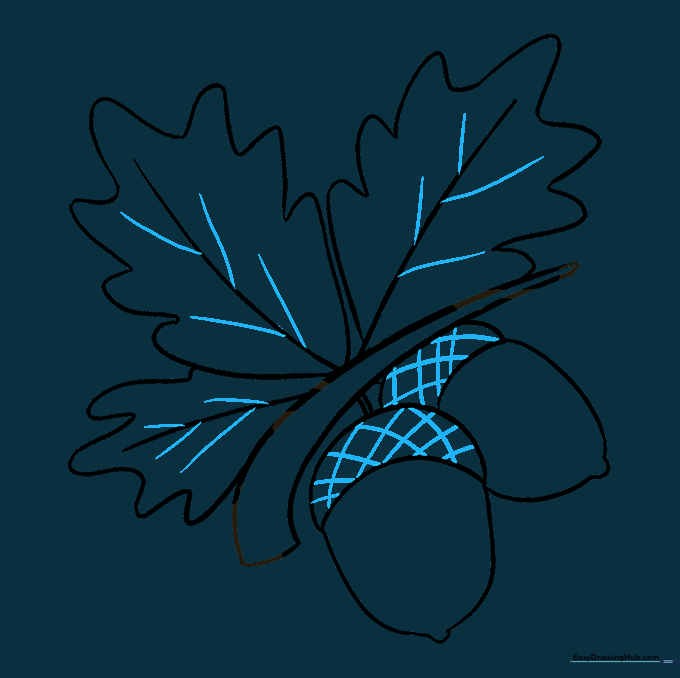
Add secondary veins to your leaves with short, light strokes. For the acorn caps, use a cross-hatching technique (criss-crossing lines) to give them a textured, bumpy appearance. Tip: Use a sharper pencil for these fine details.
Step 10: Bringing Your Drawing to Life with Color
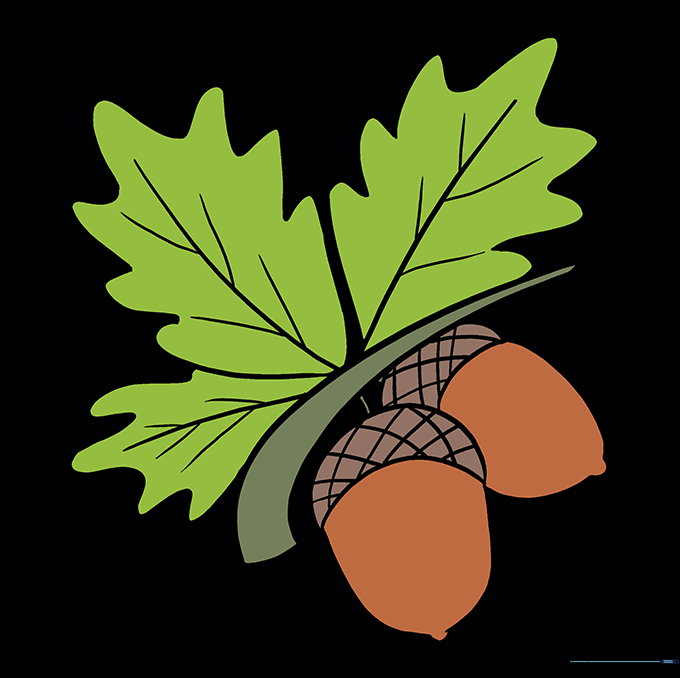
Time to color! Use shades of green for young acorns or rich browns for mature ones. For the leaves, try a mix of autumn colors like burnt orange, deep red, and golden yellow. Tip: Use light pressure with your colored pencils to blend colors smoothly.
More Tutorials


