How to Draw Abs: Simple Step-by-Step Guide for Beginners
Ready to bring your cartoon characters to life? This guide is perfect for young artists ages 8+ looking to master anatomy basics. You'll only need a pencil, an eraser, and a piece of paper to build these defined muscles through simple, geometric shapes.
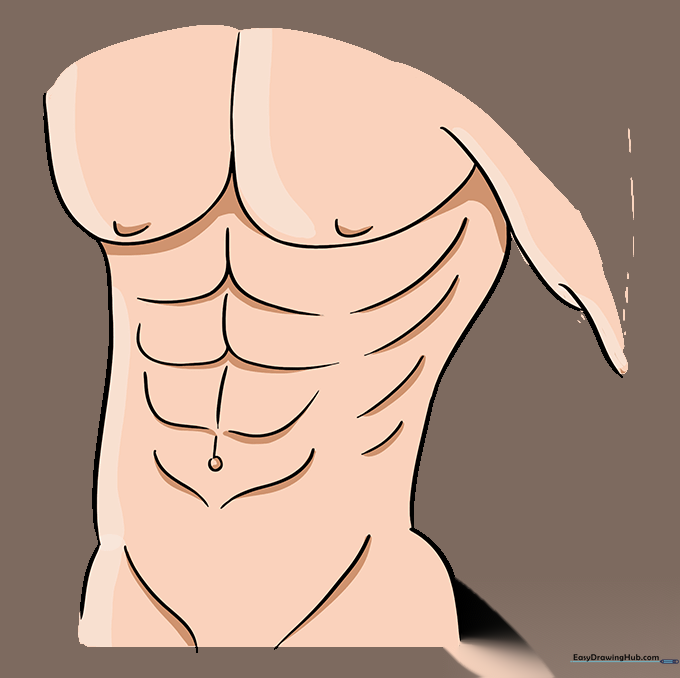
🎯 Final Result

Step-by-Step Instructions
Step 1: Sketching the Pectoral Base
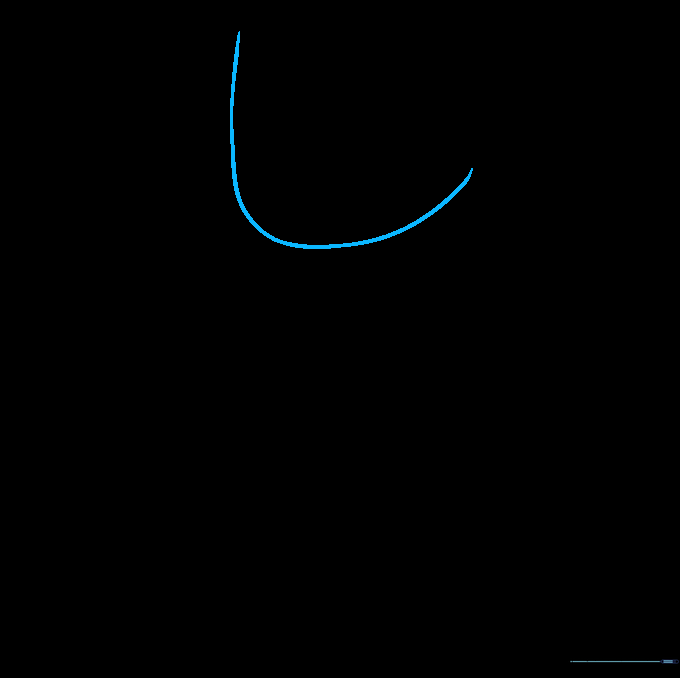
Draw a long, curved line to outline the bottom of the chest muscles. Teacher's Tip: Keep your pencil pressure light so you can easily adjust the shape if it looks a bit lopsided.
Step 2: Defining the Chest
Add a second curved line next to the first to complete the pectoral shape. Tip: Try to make both sides symmetrical to give your character a balanced, athletic look.
Step 3: Outlining the Torso
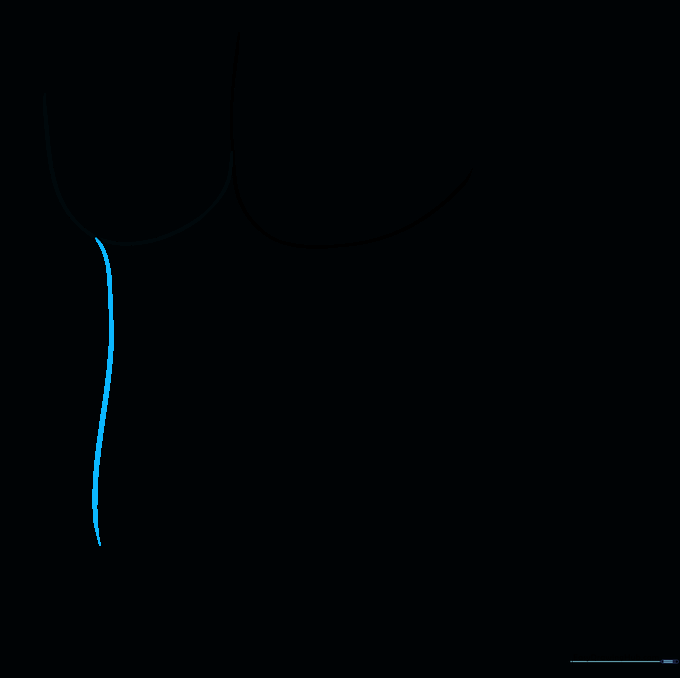
Draw a long, sweeping curved line descending from the chest. This creates the side of the torso. Tip: Use a fluid, continuous motion to keep the line looking natural rather than jagged.
Step 4: Starting the Abdominal Muscles
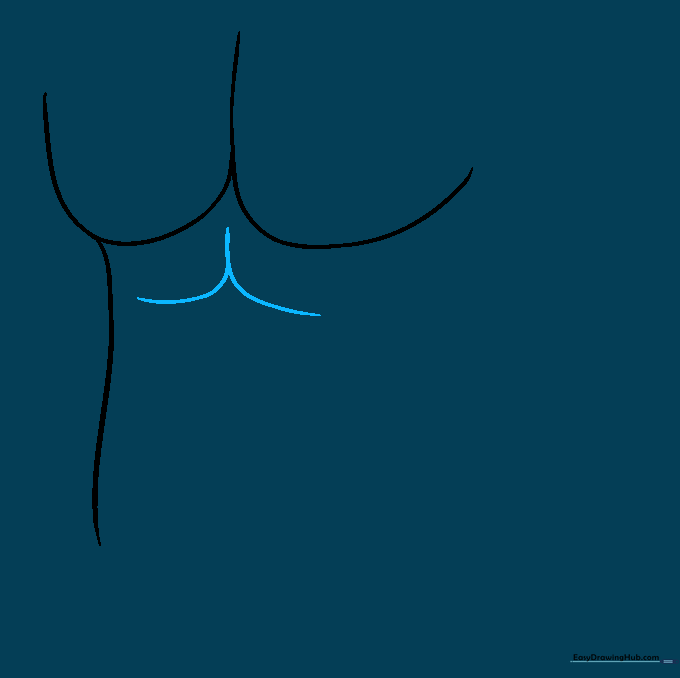
Draw an inverted 'Y' shape just below the chest. This marks the top section of the rectus abdominis. Tip: Think of this as the anchor point for the rest of your muscle structure.
Step 5: Adding Mid-Section Definition
Add two overlapping curved lines to form the middle section of the abs. Tip: Keep these lines rounded to suggest the volume of muscle rather than flat, straight lines.
Step 6: Continuing the Muscle Blocks

Draw a vertical curved line followed by two more curved lines to outline the lower abdominal section. Tip: Ensure these segments look proportional to the ones you drew above.
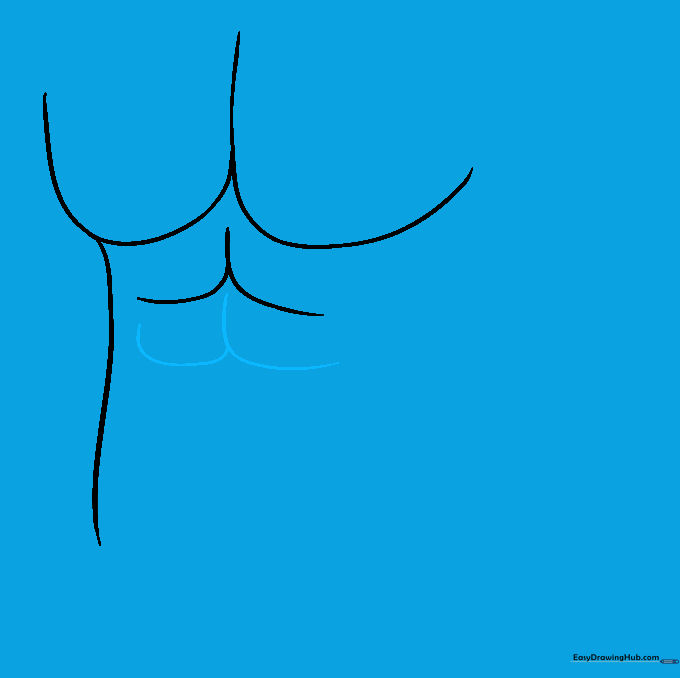
Step 7: The Belly Button and Lower Abs
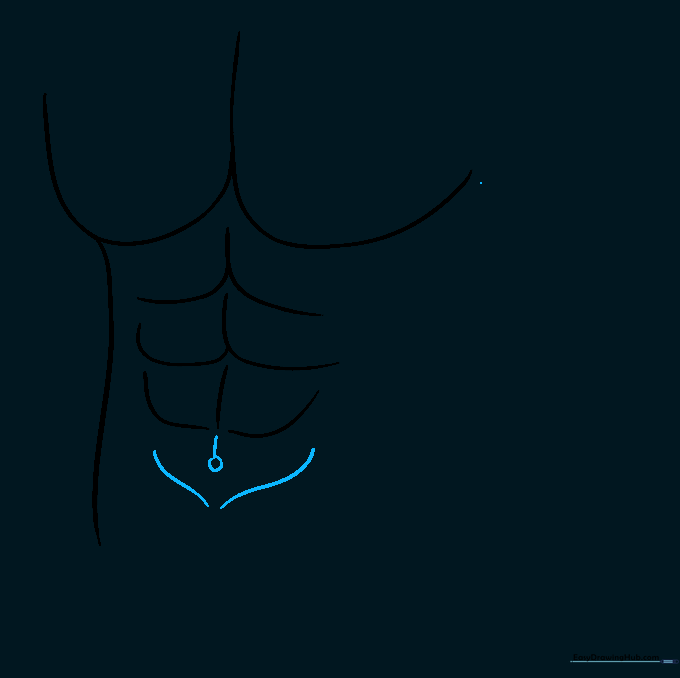
Draw a small circle for the belly button, then finish the bottom with a 'V' shaped curve. Tip: A small circle adds a great sense of realism to your character's torso.
Step 8: Defining the Arms and Torso
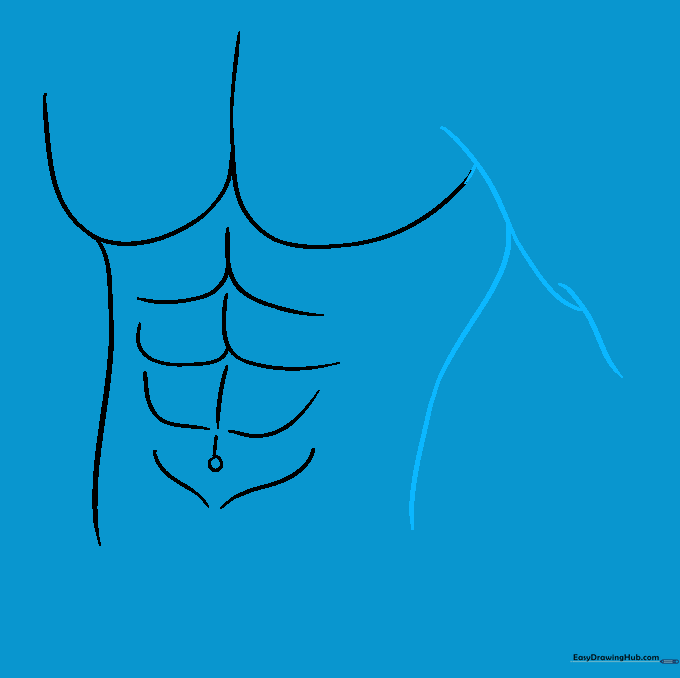
Add curved lines near the chest to suggest the arm muscles and close the side of the torso. Tip: Overlapping lines help create the illusion of depth in your drawing.
Step 9: Adding Final Anatomical Details
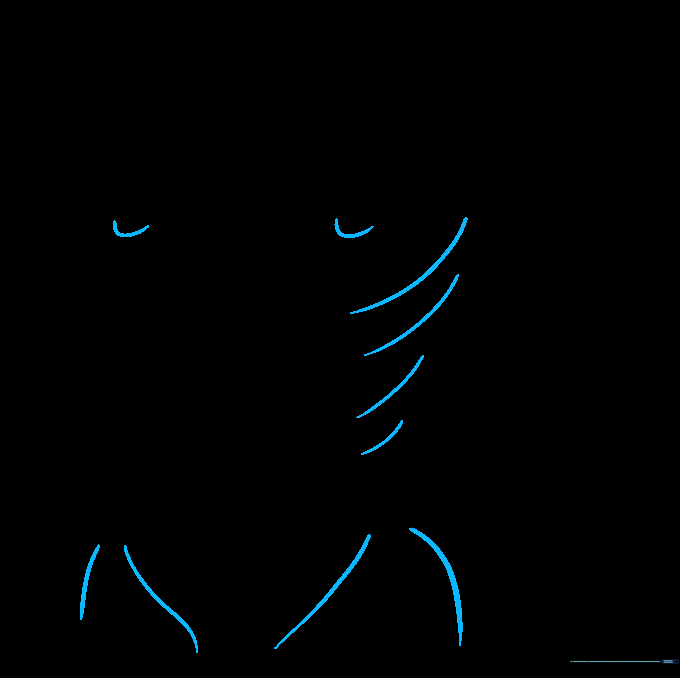
Add 'U' shapes for the chest details and diagonal lines for the ribs and hips. Tip: These small details make your drawing look much more professional and anatomically correct.
Step 10: Bringing Your Drawing to Life
Erase your guide lines and add color! Tip: Use light shading around the edges of the muscle blocks to make them 'pop' off the page.
More Tutorials


