How to Draw Abraham Lincoln: Easy 10-Step Guide
Bring history to life with this simple portrait of Abraham Lincoln, designed specifically for young artists and beginners. You will only need a pencil, an eraser, and a piece of paper to complete this iconic profile. Follow these steps to build confidence in sketching facial features and historical figures.
🎯 Final Result

Step-by-Step Instructions
Step 1: Sketching the Top Hat Base

Start by drawing the top of Lincoln’s signature stovepipe hat using two parallel vertical lines connected by a curved top. Teacher's Tip: Keep your pencil pressure light so you can easily adjust the proportions later.
Step 2: Adding the Hat Brim

Draw a wide 'C' shaped line at the base of the hat to form the brim. Tip: Make sure the brim extends slightly past the sides of the hat to give it a realistic, balanced look.
Step 3: Defining the Hatband

Add a curved line across the bottom of the hat's crown to represent the hatband. Tip: This small detail adds depth and helps the hat look three-dimensional.
Step 4: Sketching Hair and Beard
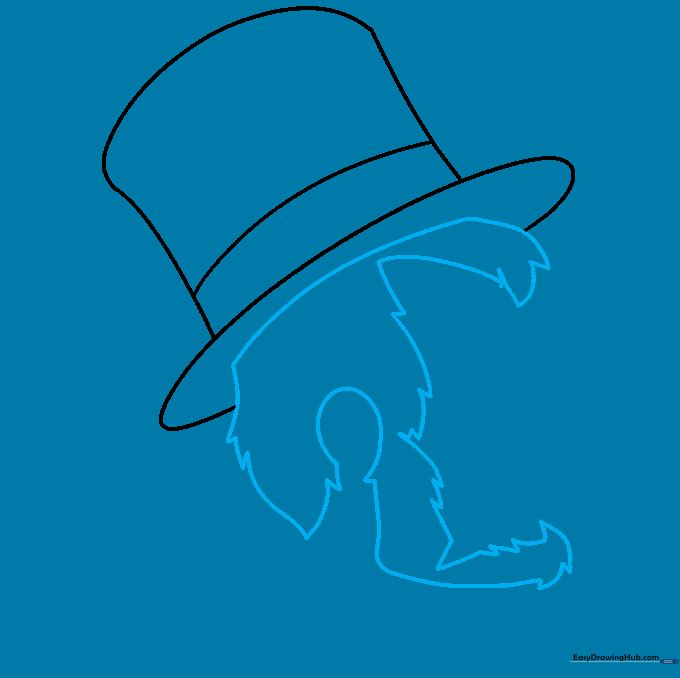
Use jagged, curved lines to outline the hair and the start of the beard. Tip: Think of the beard as an 'L' shape that connects from the ear area down to the chin.
Step 5: Drawing the Ear

Draw a 'C' shaped line for the ear and add small inner curves for detail. Tip: Keep the ear positioned roughly halfway down the side of the head for correct anatomical placement.
Step 6: Profiling the Face
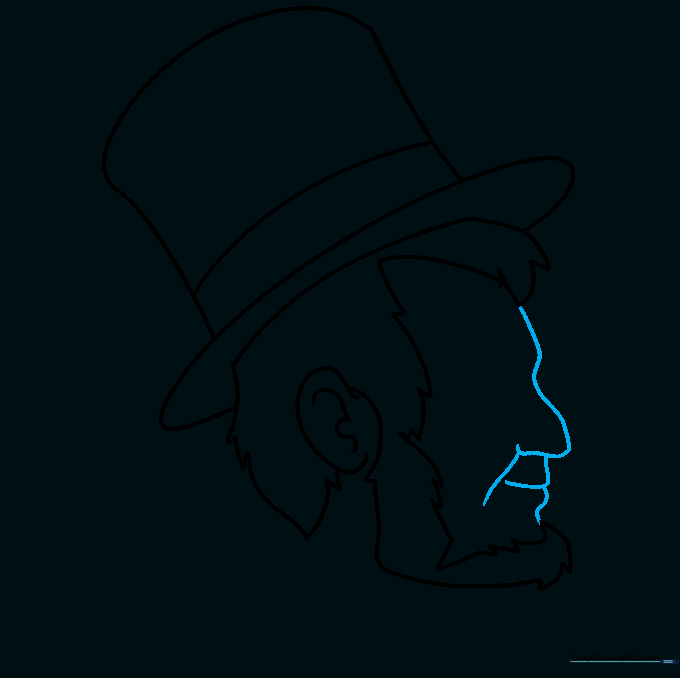
Sketch the profile using a series of connected curves for the forehead, nose, lips, and chin. Tip: Focus on the slope of the nose—Lincoln’s profile is very distinct!
Step 7: Adding the Eye and Brow
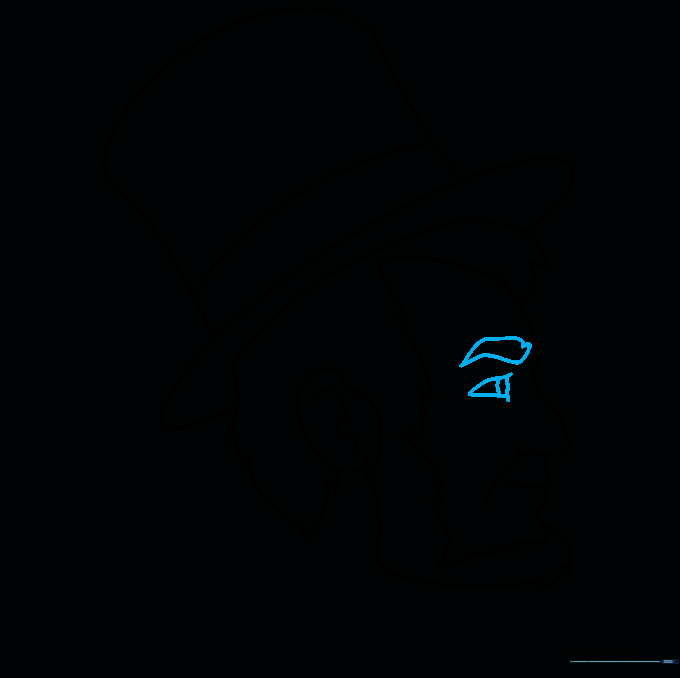
Draw the eye using a 'V' shape and a curved line, then add the pupil and a bushy eyebrow. Tip: Use short, quick strokes for the eyebrow to give it a natural, textured look.
Step 8: Drawing the Collar
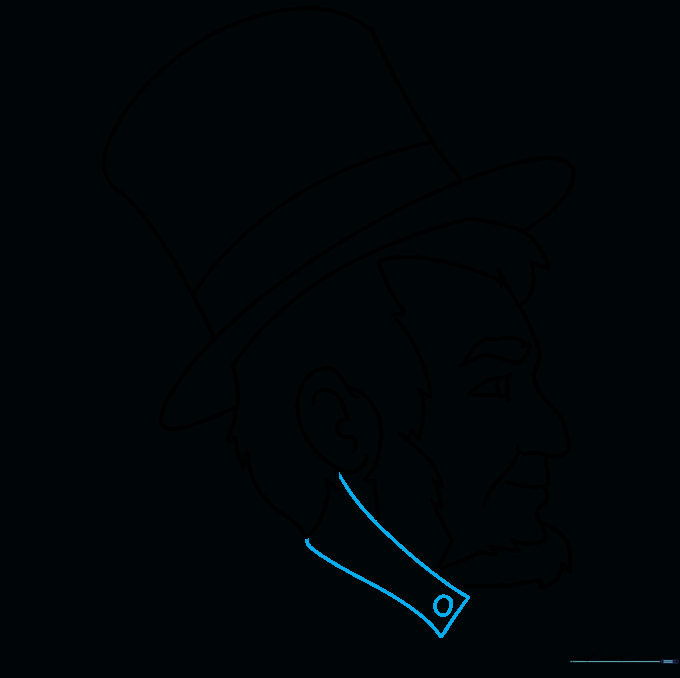
Extend lines from the neck to form a rectangular collar shape and add a small circle for the button. Tip: Ensure the collar lines are straight to contrast with the curves of the face.
Step 9: Completing the Collar
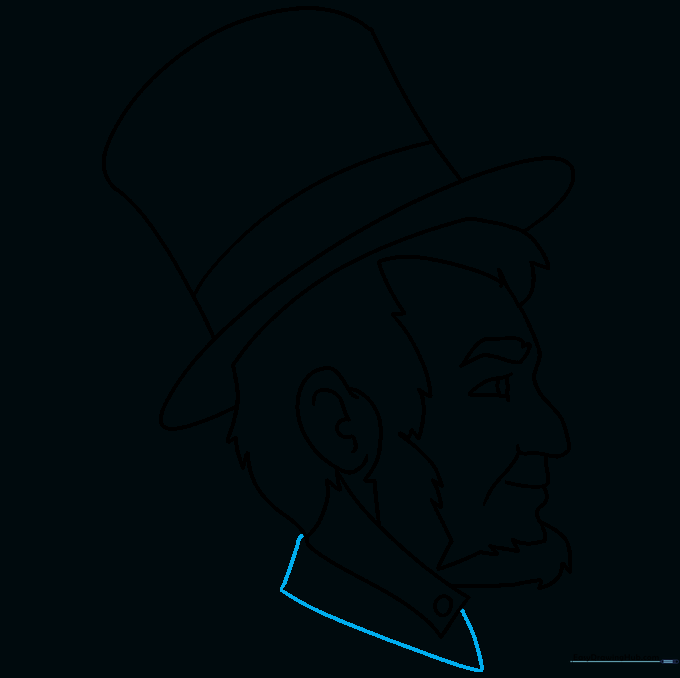
Finish the collar by enclosing the shape with clean, firm lines. Tip: Use your eraser to clean up any overlapping sketch lines inside the collar area.
Step 10: Adding Color

Bring your drawing to life! Use black for the hat and suit, and white for the shirt. If you want a creative twist, use copper and bronze tones to make him look like he's on a penny. Tip: Use light pressure with your colored pencils to blend colors smoothly.
More Tutorials


