How to Draw a ZZ Plant: Easy 9-Step Guide for Kids
Bring a touch of greenery to your sketchbook with this fun, beginner-friendly ZZ plant tutorial. Designed for ages 5 and up, this activity requires only a pencil, paper, and your favorite markers. Follow along to master drawing organic, leafy shapes while practicing your line control.
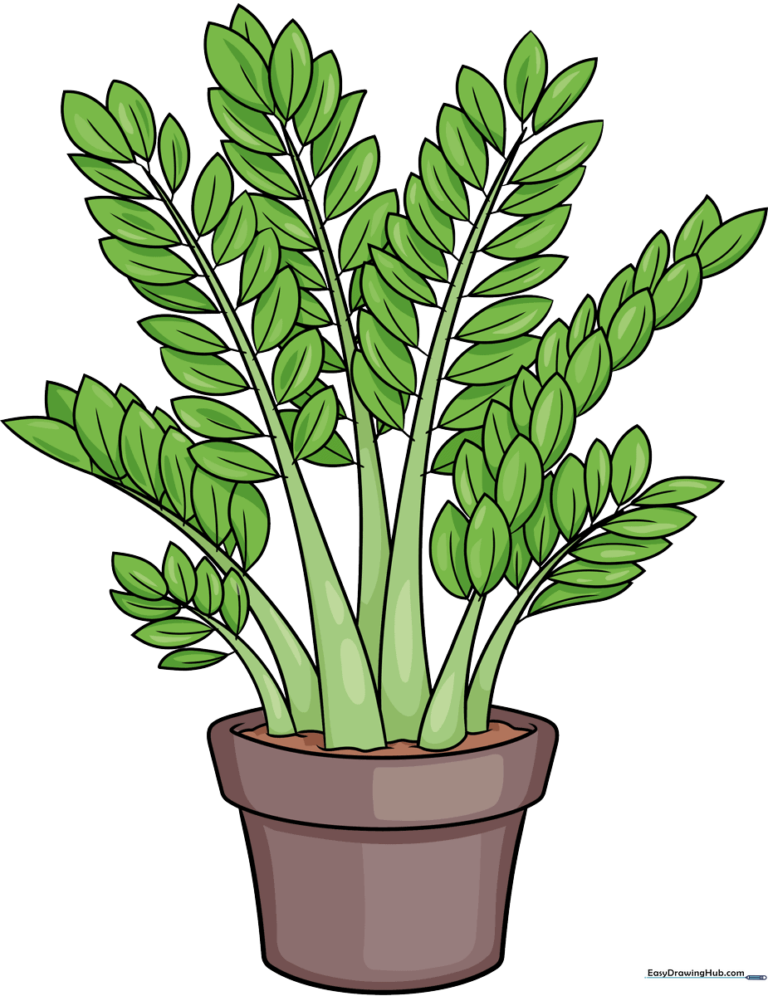
🎯 Final Result
Step-by-Step Instructions
Step 1: Sketching the Pot and First Stem
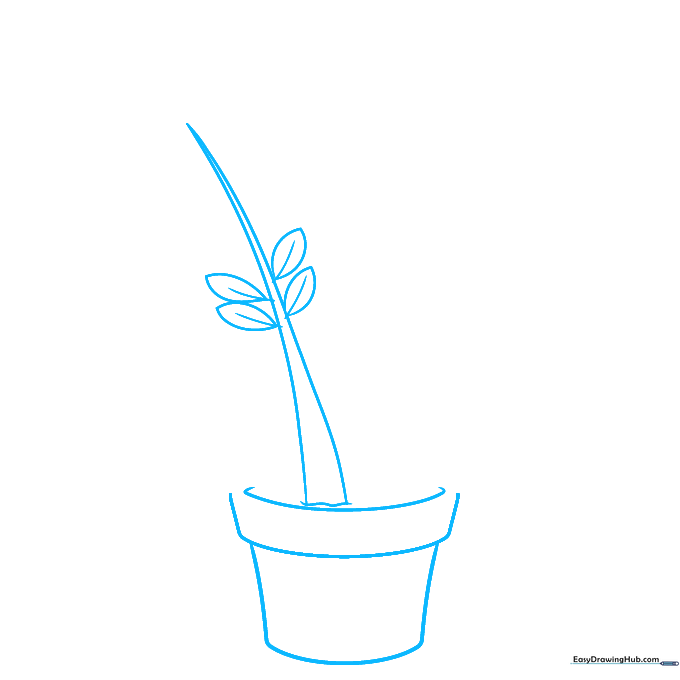
Start by drawing the flower pot using two curved lines for the base and rim. Leave a small gap at the top of the rim for a stylized look. Add a wavy line inside for the soil, then draw two curved lines meeting at a point to create your first stem. Tip: Keep your pencil pressure light so you can easily erase any overlapping lines later.
Step 2: Adding Leaves to the Stem
Add teardrop-shaped leaves along both sides of your first stem. Draw a small curved line down the center of each leaf to represent the vein. Tip: Try to alternate the leaf positions slightly to make the plant look more natural and less like a perfect mirror image.
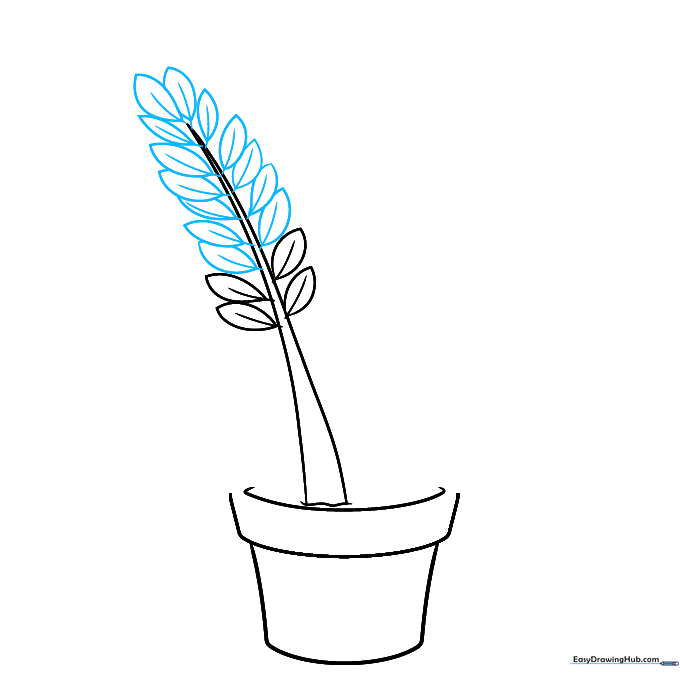
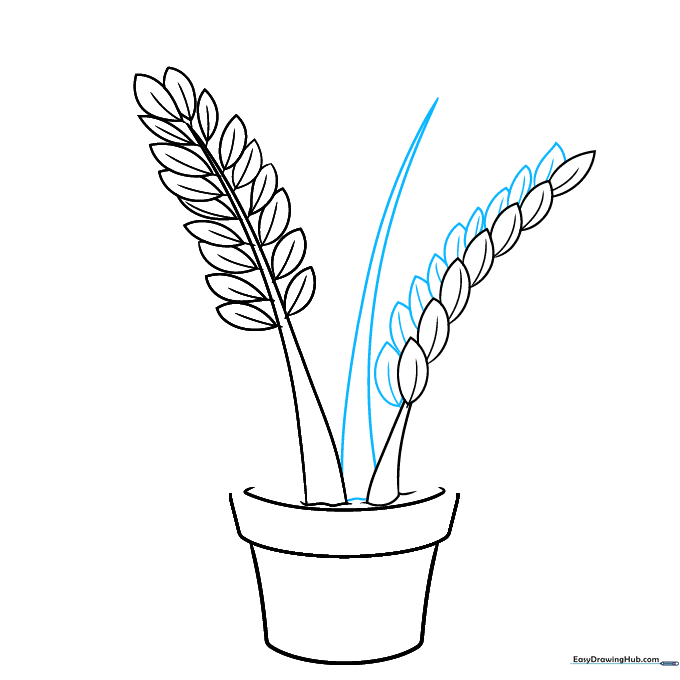
Step 3: Creating the Second Stem
Draw a second stem next to the first using a tall, thin triangular shape. Stack your teardrop leaves along this stem, ensuring they overlap slightly to create depth. Tip: If the leaves look too stiff, curve the stem slightly to give it a more organic, growing feel.
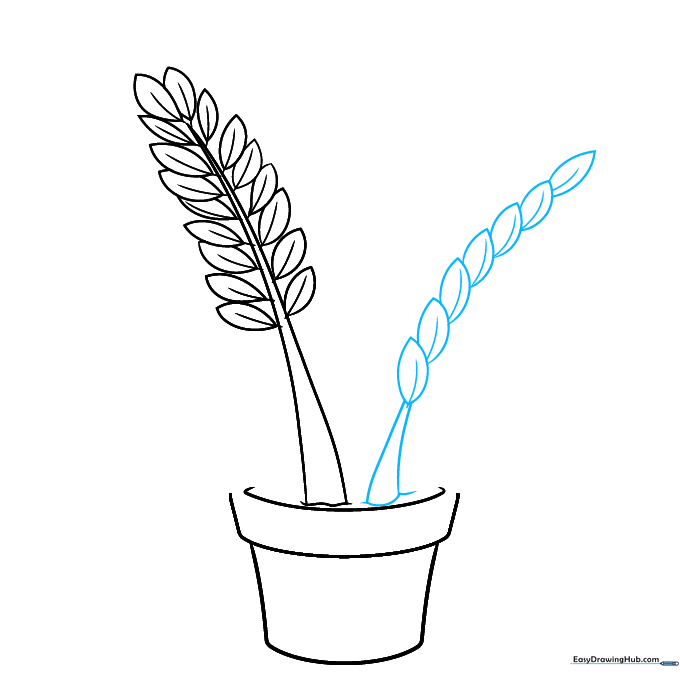
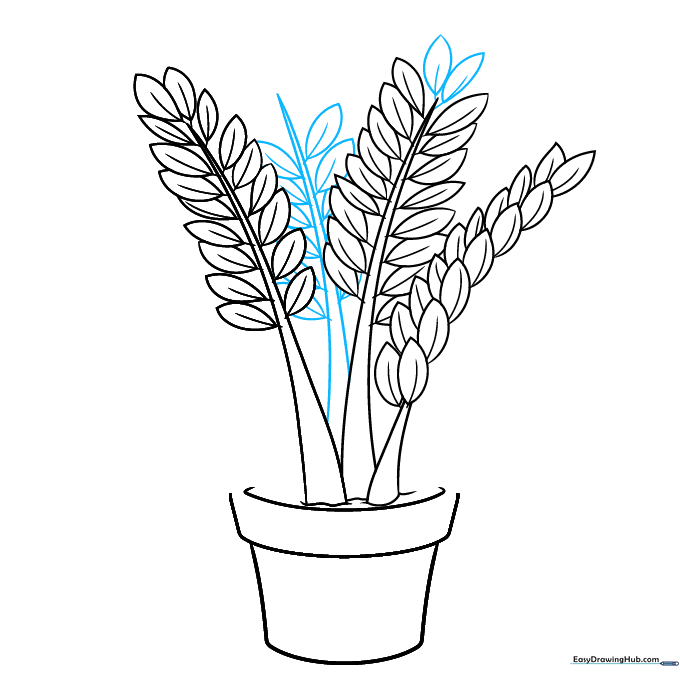
Step 4: Layering the Foliage
Draw a set of leaves that appear tucked behind the first stem. Then, sketch a pair of lines between your two main stems to form a third, smaller stem. Tip: Using overlapping shapes is a great way to teach children about perspective and spatial awareness in art.
Step 5: Detailing the Third Stem

Fill in the third stem with leaves on both sides. Remember to draw that small curved vein in each leaf to keep the style consistent. Tip: Keep your leaf sizes varied—ZZ plants in nature don't have perfectly uniform leaves!
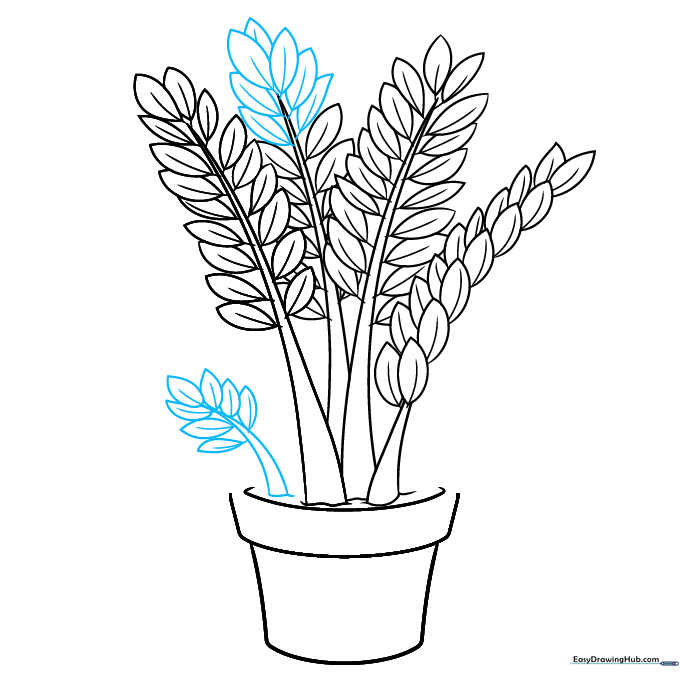
Step 6: Expanding the Plant
Add more leaves to the top of your third stem. Then, start a fourth stem to the side, adding leaves as you go. Tip: If you run out of room on your paper, it's okay to make the leaves slightly smaller as they reach the top.
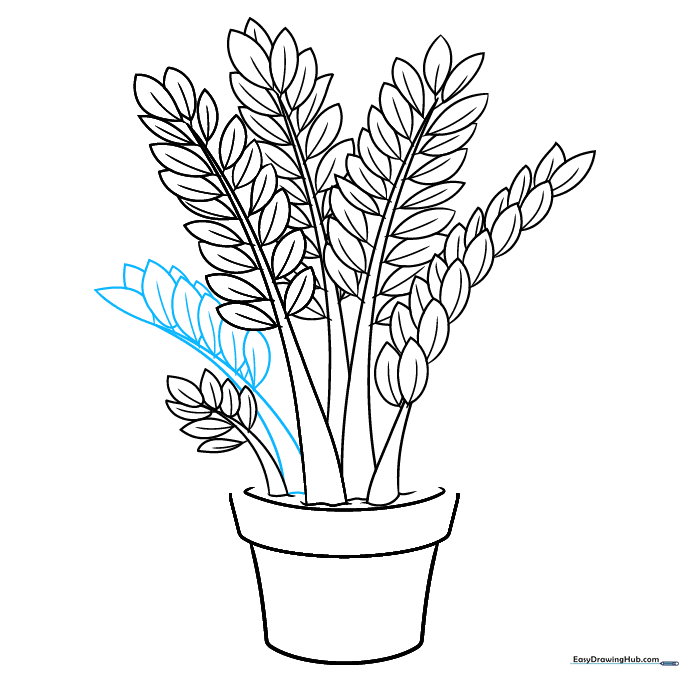
Step 7: Adding Volume
Continue adding leaves to the top of the fourth stem. Sketch a fifth, smaller stem near the base and add its leaves. Tip: Adding smaller stems near the bottom makes the plant look fuller and more realistic.
Step 8: Filling the Pot
Draw a sixth stem and its leaves to fill out the center of your plant. Tip: Don't worry if the leaves overlap; that's exactly how real ZZ plants grow!
Step 9: Final Touches
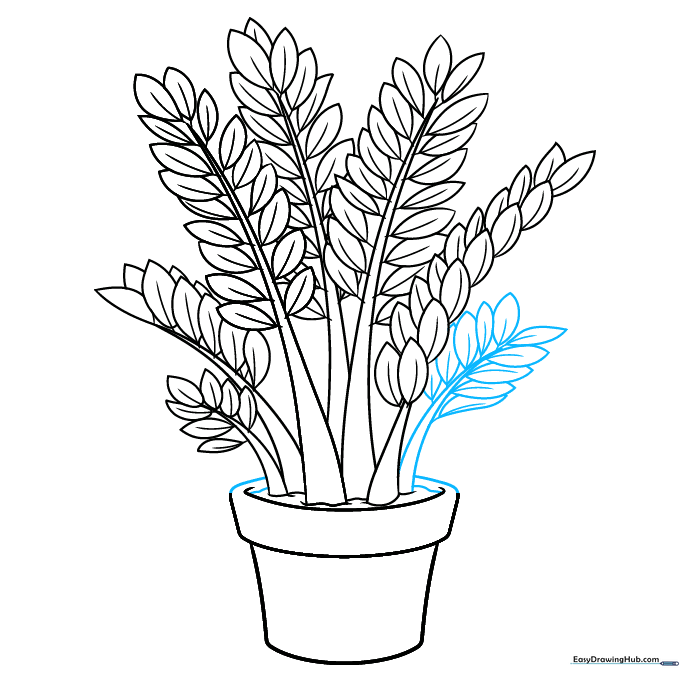
Add your final seventh stem and leaves. Finish by closing the lines at the top of the flower pot to complete the structure. Tip: Use a fine-liner or dark marker to trace your final lines before erasing your initial pencil sketch.
Step 10: Bring Your Plant to Life with Color
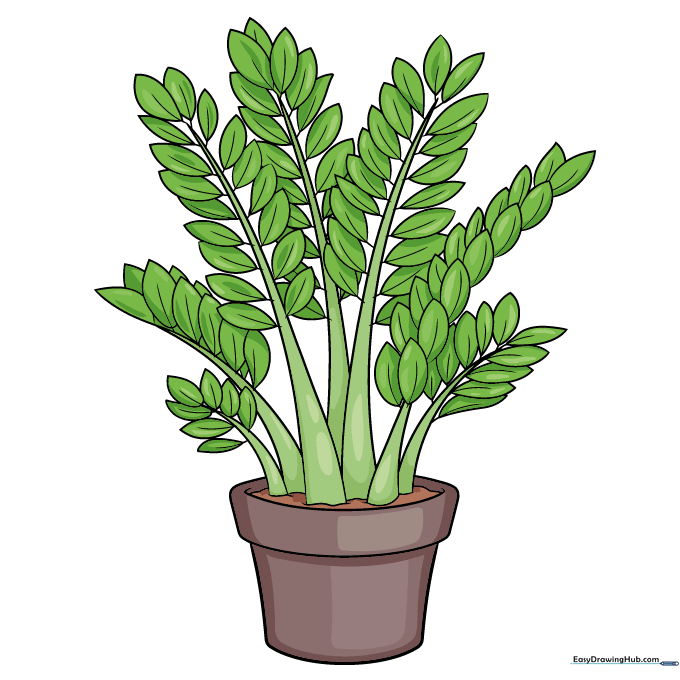
Now for the fun part! Use dark, glossy greens for the leaves to capture that signature ZZ plant shine. Use earthy browns or terracotta tones for the pot. Tip: Try using two shades of green on each leaf—a darker one for the base and a lighter one for the highlight—to make them look shiny.
More Tutorials


