How to Draw a Zinnia: Easy 10-Step Flower Tutorial
Bring the beauty of the garden to your sketchbook with this beginner-friendly zinnia tutorial. Designed for ages 5 and up, this activity requires only a pencil, eraser, and paper to build confidence in drawing organic, layered shapes. Follow along to create a stunning, multi-petaled flower from scratch.
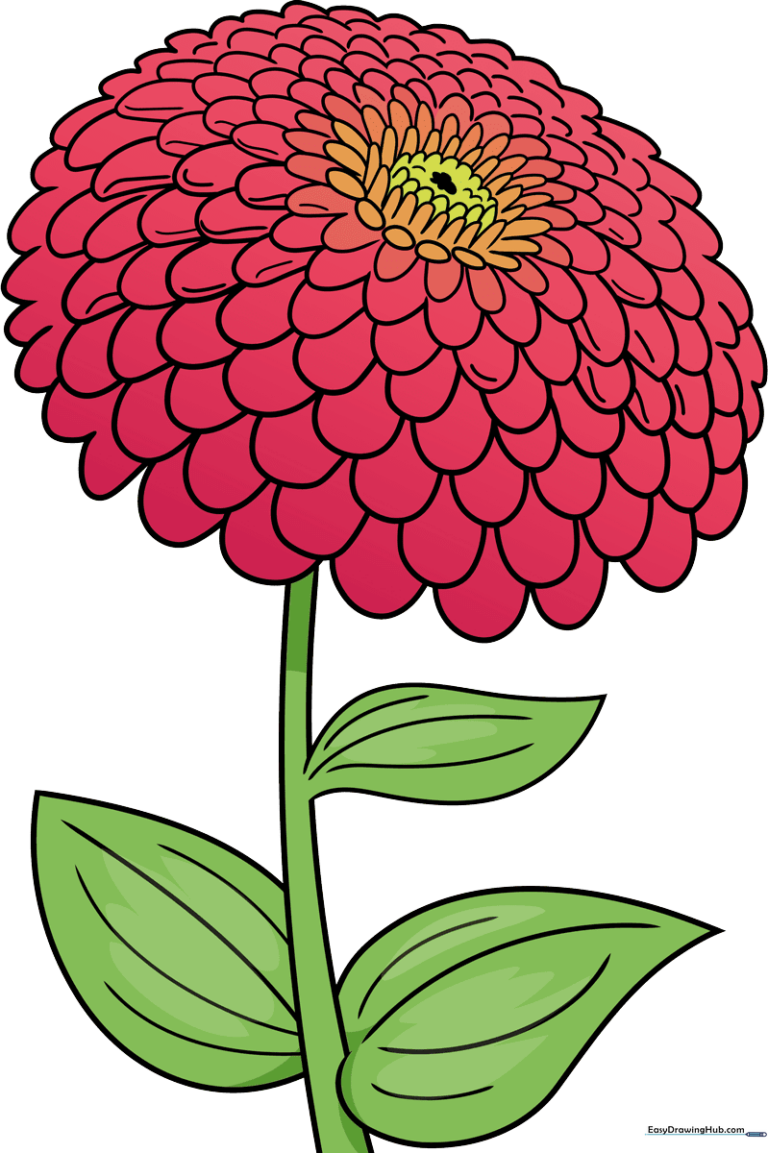
🎯 Final Result
Step-by-Step Instructions
Step 1: Establishing the Flower Center

Near the top of your page, sketch a small, tilted circle. Inside, draw an oblong shape to serve as the flower's heart. Teacher's Tip: Keep your pencil pressure light here so you can easily erase any overlapping lines later.
Step 2: Adding the Inner Petals
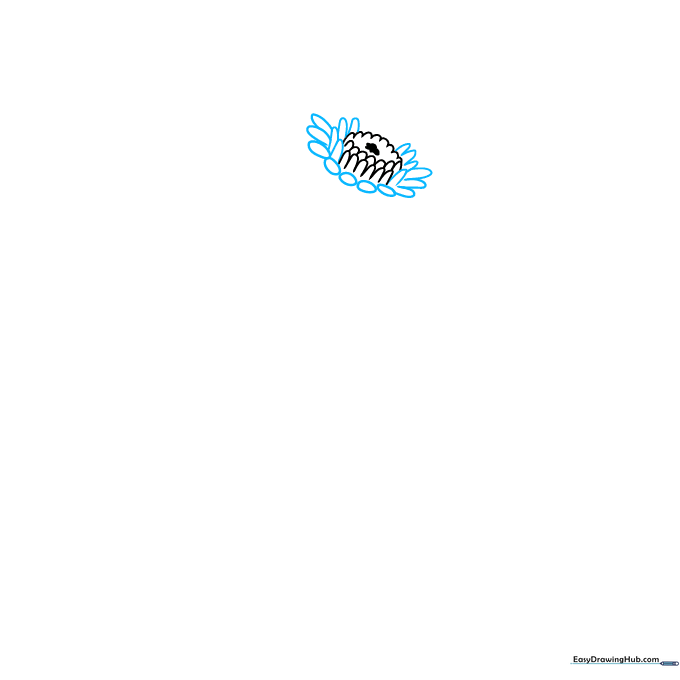
Draw four uneven ovals clustered tightly around your center shape. Don't stress about symmetry; nature is perfectly imperfect! Tip: Use short, quick strokes to give the petals a natural, soft edge.
Step 3: Creating Depth with Petal Layers
Sketch larger, wider loops for the front-facing petals and smaller, narrower ones for those in the back. Tip: Varying the size of your loops creates the illusion of a 3D flower blooming toward the viewer.
Step 4: Building the Flower Cluster
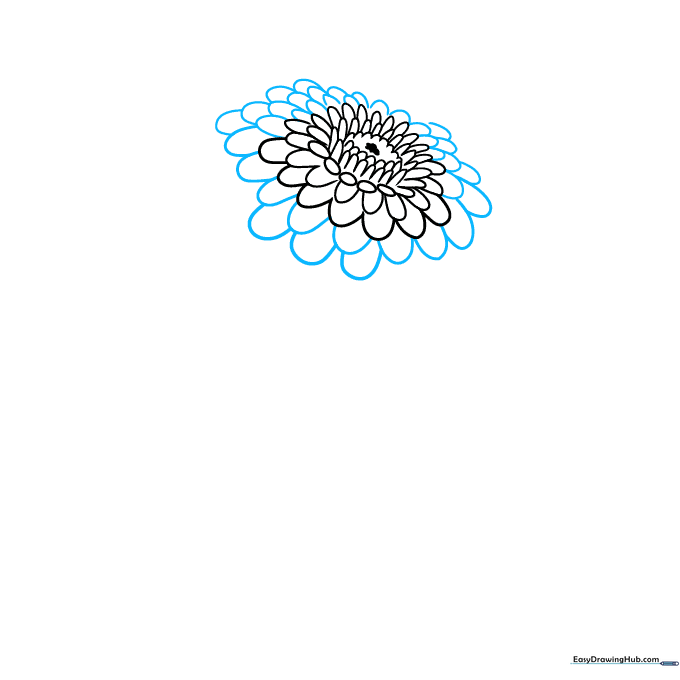
Continue adding layers of loops, keeping them wider in the front. Think of this like building a dense, fluffy cluster. Tip: Keep your hand loose to ensure the petals look organic rather than stiff.
Step 5: Adding Umbrella-Style Petals
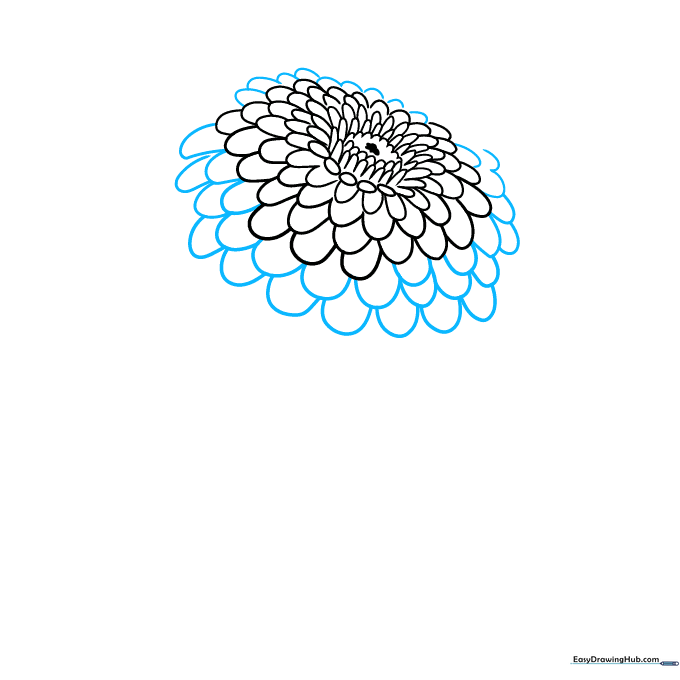
Add another layer of petals, making them larger as you move outward. The front petals should curve downward, resembling an umbrella. Tip: This downward curve is key to making the flower look like it's opening up.
Step 6: Expanding the Petal Layers
Keep building the volume! Add one layer to the front and two layers toward the back and right side. Tip: If you run out of space, just overlap the petals slightly to keep the shape compact.
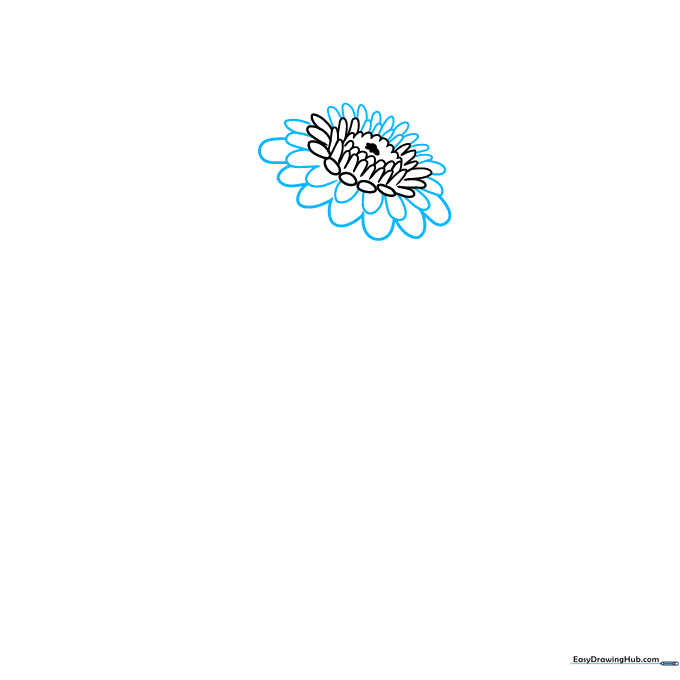
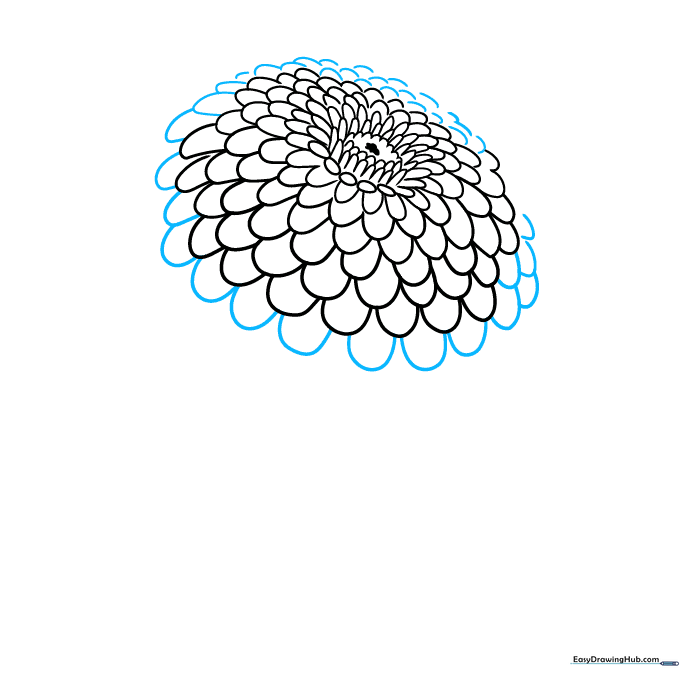
Step 7: Outlining and Stem Placement
Finish the flower outline with a final set of petals and a soft, wavy line at the back. Sketch the stem using two parallel vertical lines. Tip: Use a ruler if you struggle with straight lines, or keep it freehand for a more rustic look.
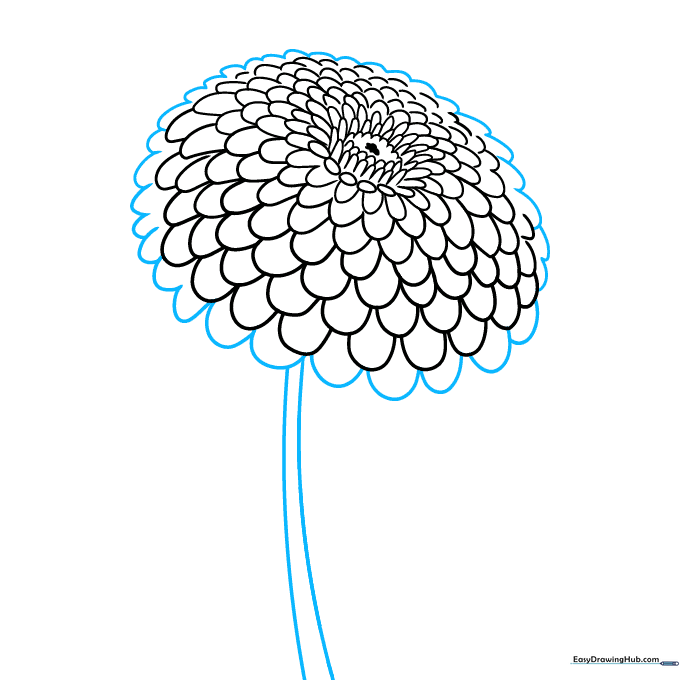
Step 8: Adding Leaves for Realism
Draw large, sweeping teardrop shapes for the leaves, allowing them to overlap the stem. Add three curved lines inside the bottom leaf for texture. Tip: Leaves are rarely perfectly flat, so add a slight curve to the edges.
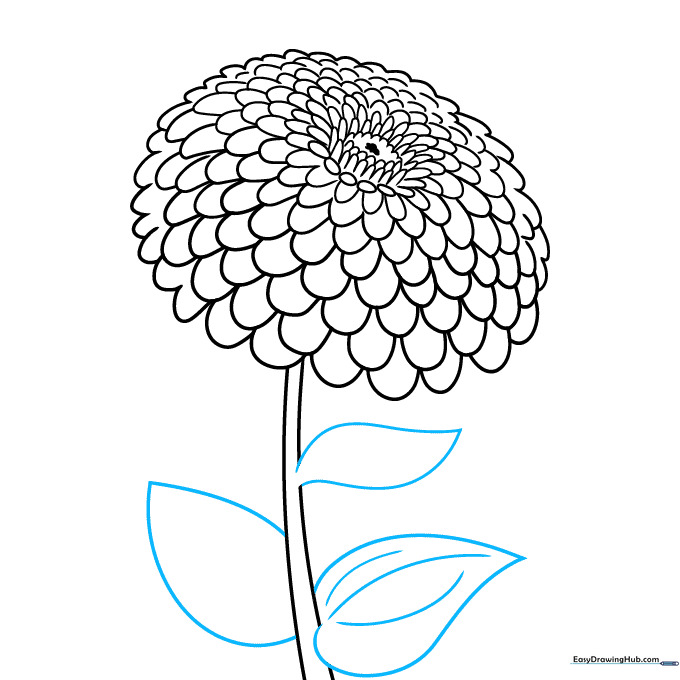
Step 9: Adding Final Details
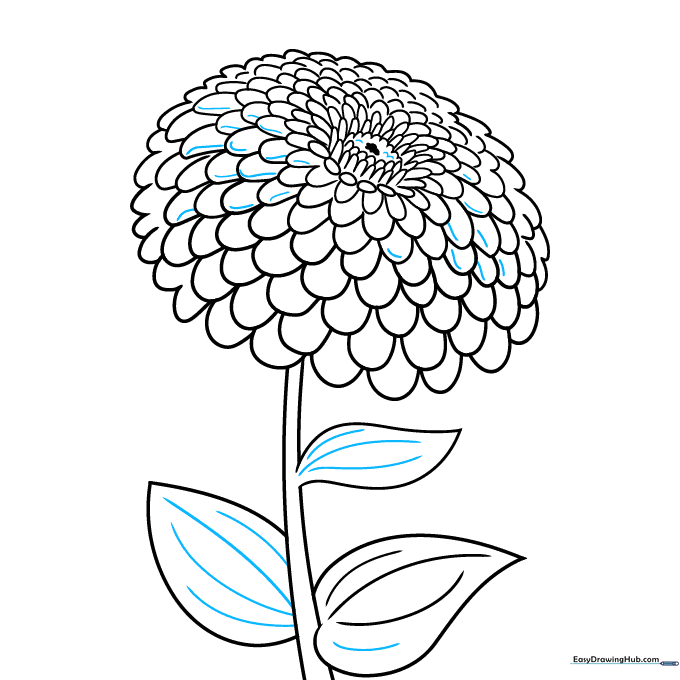
Add extra lines inside the leaves and a few select petals to suggest texture. Tip: Don't draw lines on every single petal; leaving some blank makes the flower look more natural and less cluttered.
Step 10: Bringing Your Zinnia to Life with Color
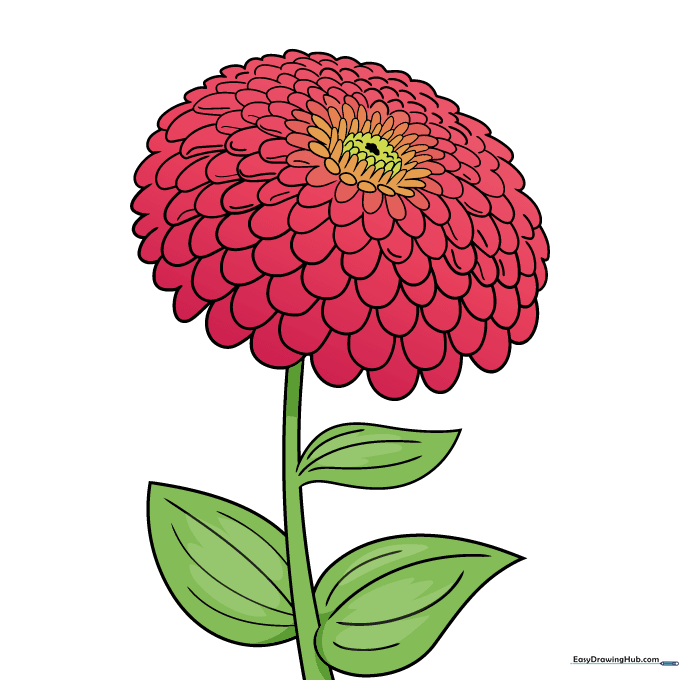
Outline your drawing with a black pen, then erase your pencil marks. For a vibrant look, color the center yellow, the inner petals orange, and the outer petals deep pink. Use light and dark green to add shadows to the leaves. Tip: Use a blending technique to transition between the colors for a professional finish!
More Tutorials


