How to Draw a Yarn Ball: Easy 10-Step Guide for Kids
Looking for a fun, tactile drawing project? This tutorial is perfect for artists ages 5 and up to practice creating texture and overlapping shapes. All you need is a pencil, an eraser, and your favorite markers to bring this cozy yarn ball to life.
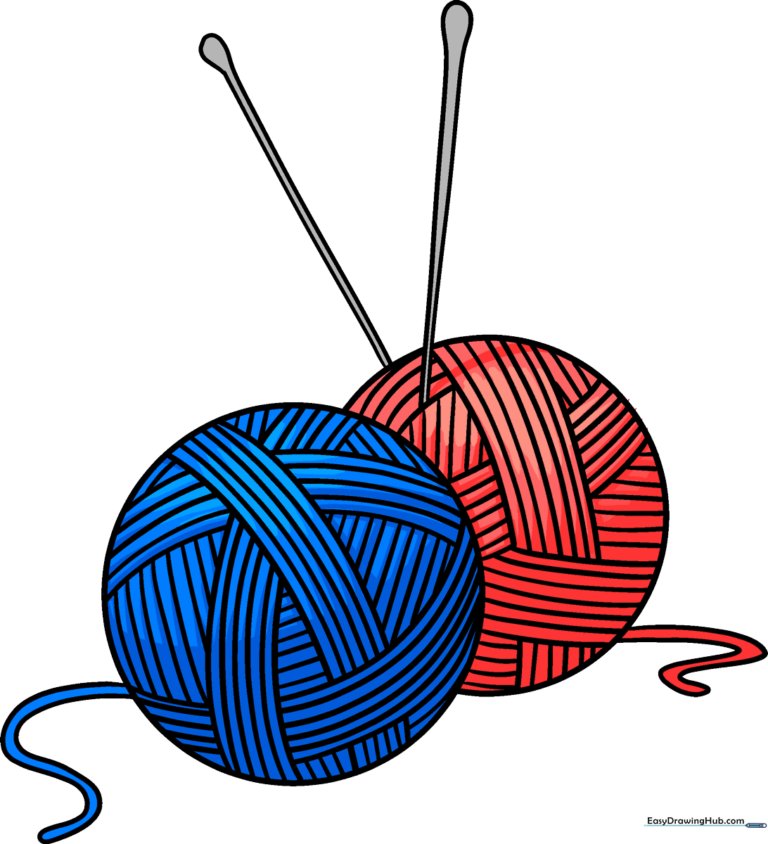
🎯 Final Result
Step-by-Step Instructions
Step 1: Sketching the Base Circle

Start by drawing a light circle to serve as the main body of your yarn ball. Teacher's Tip: Keep your pencil pressure very light here so you can easily erase any overlapping lines later.
Step 2: Adding Initial Texture

Draw curved lines across the surface of your circle. Tip: Think of these as 'hugs' for the ball; they should follow the curve of the circle to make it look round and 3D.
Step 3: Building the Yarn Strands

Add parallel curved lines next to your first set. Tip: Vary the distance between your lines slightly to make the yarn look like it's wrapped in different directions.
Step 4: Filling the Surface

Continue adding pairs of curved lines across the ball. Tip: If you get stuck, imagine you are drawing a map of a winding road that wraps all the way around a globe.
Step 5: Adding Depth
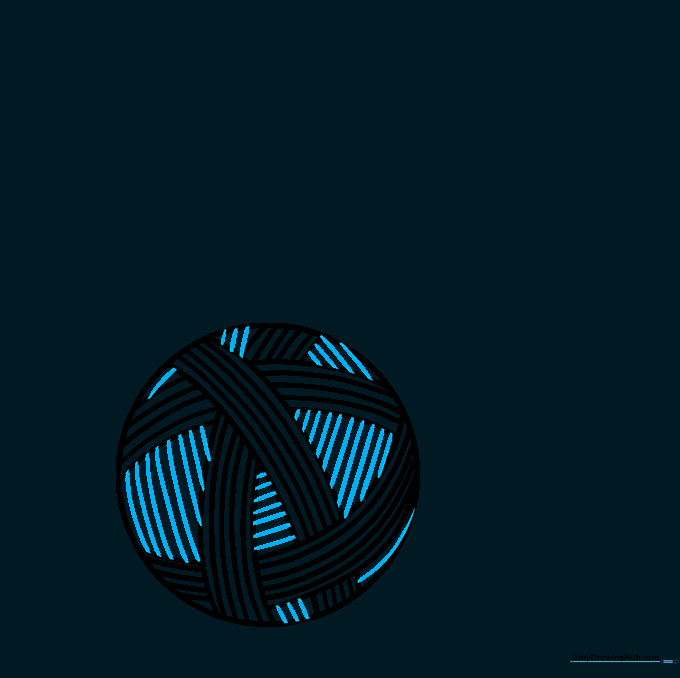
Fill in the remaining empty spaces with more curved lines. Tip: Make sure your lines don't all go the same way; crisscrossing them makes the yarn look more realistic.
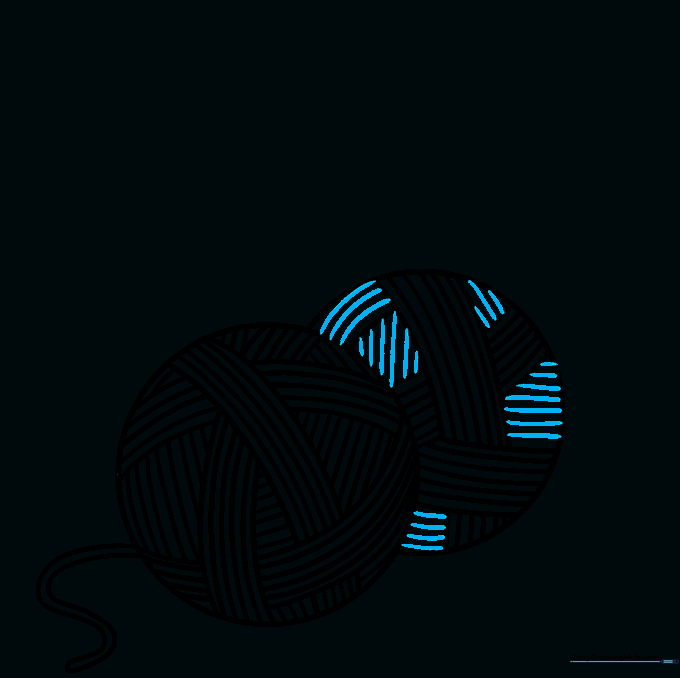
Step 6: Adding a Second Ball and String
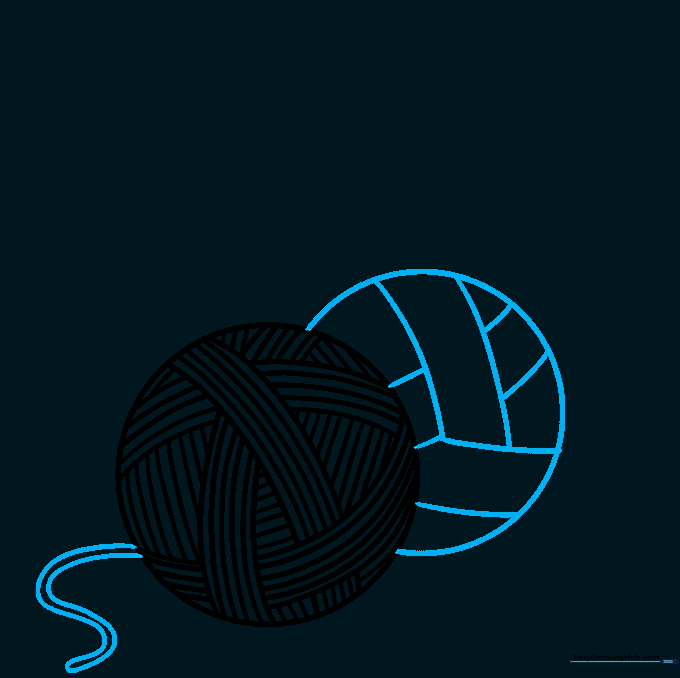
Draw a partial circle behind the first one to create a second yarn ball. Then, draw a loose, wavy 'S' shape coming off the ball to represent the yarn end. Tip: Keep the string line smooth and flowing.
Step 7: Detailing the Second Ball
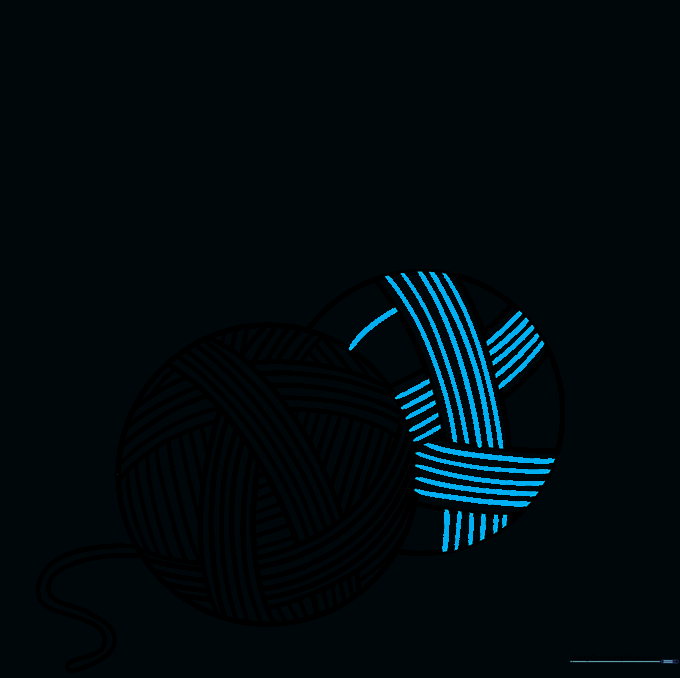
Add the same curved line texture to your second yarn ball. Tip: Since this ball is partially hidden, you don't need to draw as many lines—just enough to show it's made of yarn.
Step 8: Refining the Texture
Add a few more lines to the open spaces on the second ball. Tip: Check that your lines are consistent with the ones on the first ball so they look like they belong to the same set.
Step 9: Adding Knitting Needles
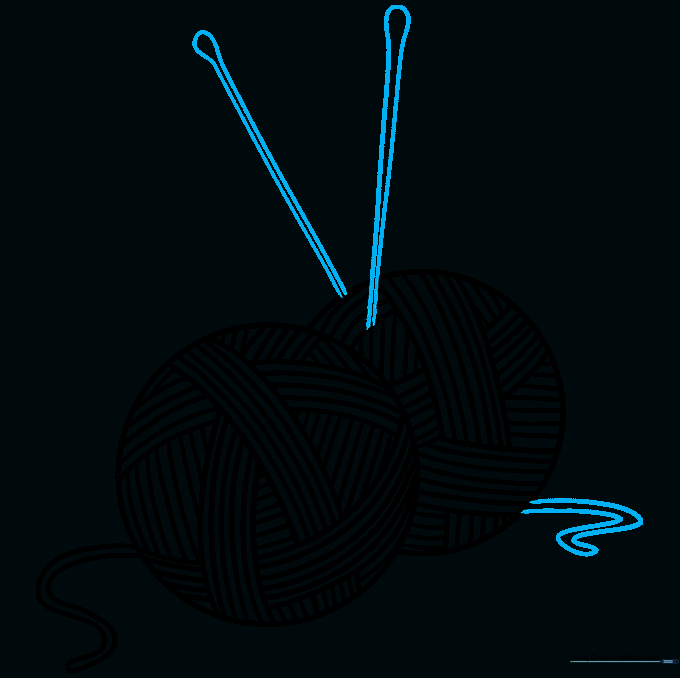
Draw two long, thin rectangles sticking out of the yarn ball, topped with circles. Tip: Use your eraser to clean up the lines where the needles 'enter' the yarn, making it look like they are tucked inside.
Step 10: Adding Color
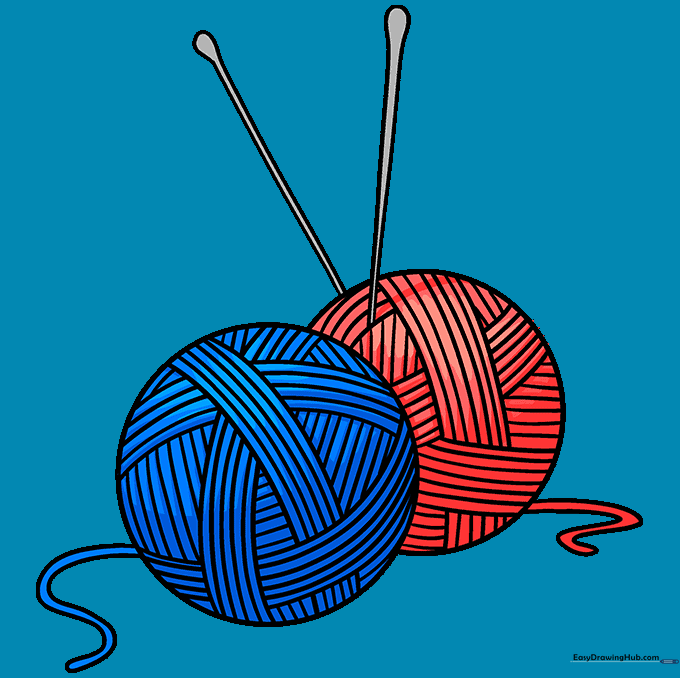
Bring your drawing to life with color! Use bright reds and blues, or pick your favorite colors. Tip: Try coloring the yarn strands in alternating shades to make the ball look extra fluffy.
More Tutorials


