How to Draw a Xenomorph Alien: Easy 10-Step Guide
Ready to bring a sci-fi icon to life? This tutorial is perfect for young artists and fans looking to practice character design. Grab your pencil, eraser, and paper to follow along as we break down this complex creature into simple, manageable shapes.
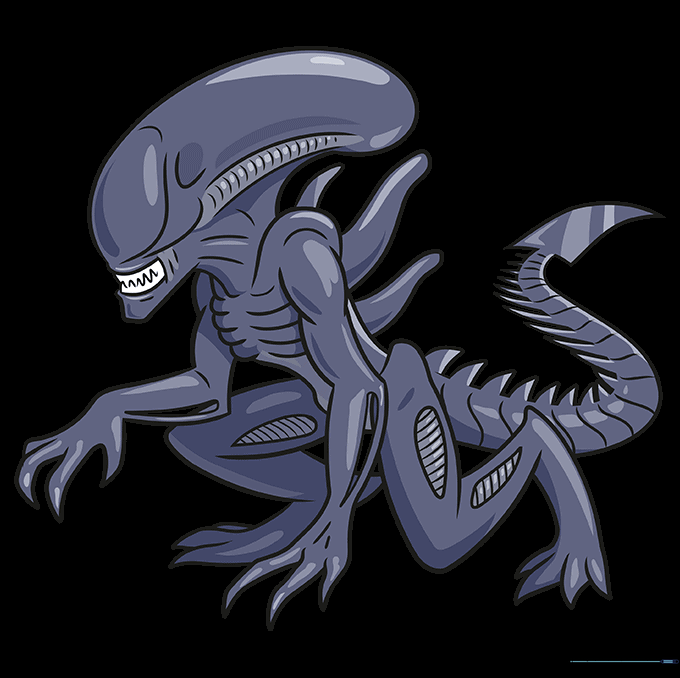
🎯 Final Result
Step-by-Step Instructions
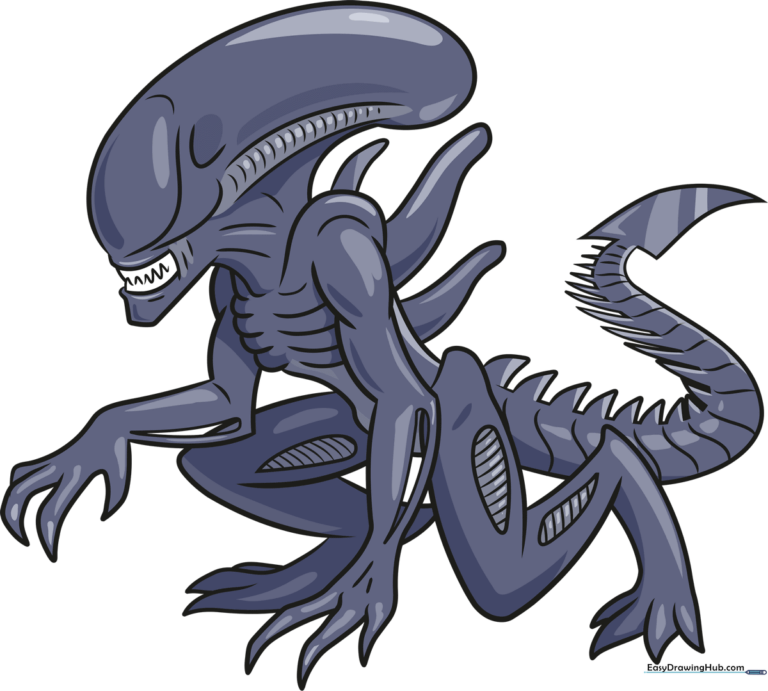
Step 1: Sketching the Elongated Head
Use a long, curved line to outline the iconic bean-shaped head. Teacher's Tip: Keep your pencil pressure light here; you'll want to refine these curves later as you add the alien's signature sleek features.
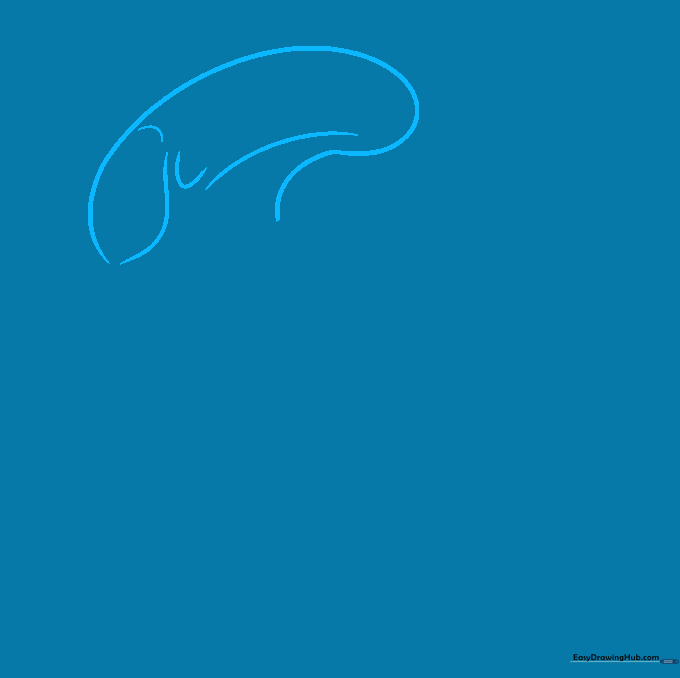
Step 2: Defining the Jaw and Teeth
Contour the face and add the bands along the base of the head. Use a sharp, zigzag line to create the teeth. Teacher's Tip: Make the teeth look extra sharp by keeping the zigzag points narrow and consistent.
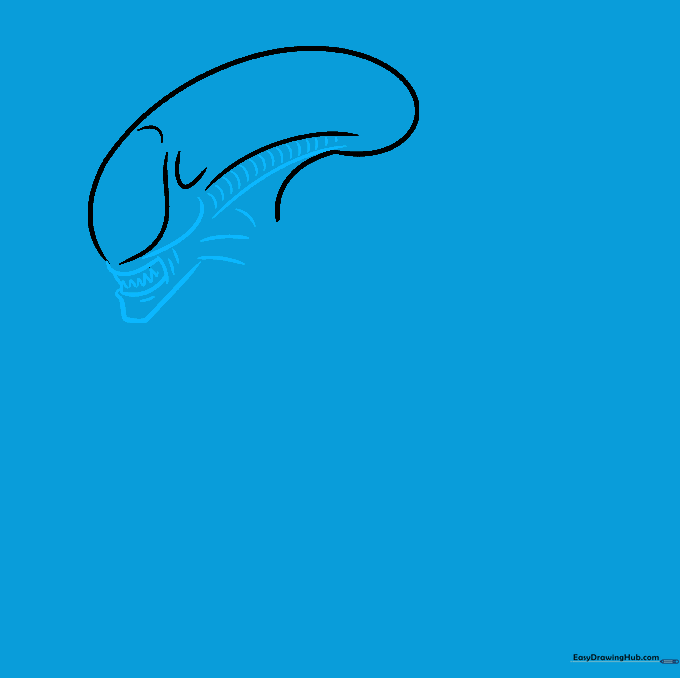
Step 3: Building the Rib Cage

Sketch the torso using curved lines for the shoulders and sides. Add overlapping curved lines to represent the rib cage. Teacher's Tip: Think of these as stacked arches to give the alien its signature biomechanical look.
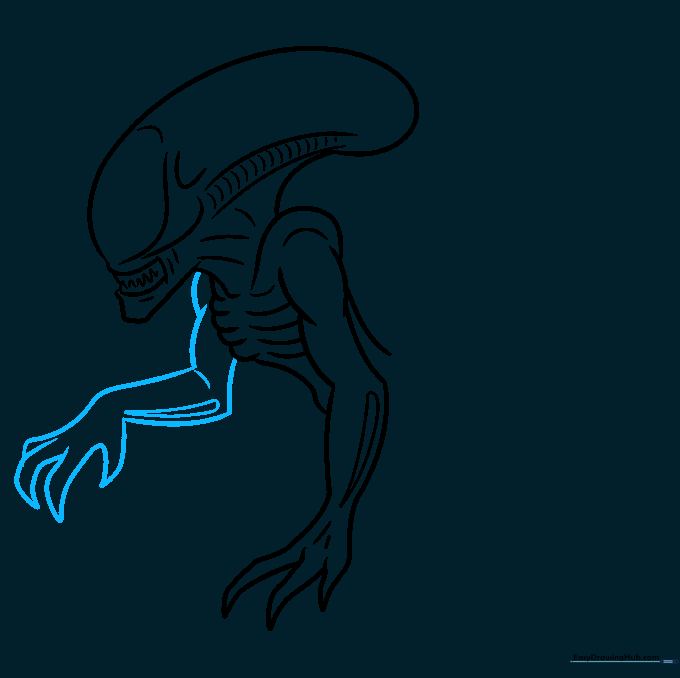
Step 4: Drawing the First Arm
Form the shoulder, upper arm, and hand using pairs of lines. Add an elongated teardrop shape on the forearm and three pointed fingers. Teacher's Tip: Use smooth, flowing lines to capture the alien's muscular, fluid movement.
Step 5: Adding the Second Arm
Mirror the process for the second arm, ensuring the shoulder and elbow bend match the pose. Add the teardrop detail on the forearm. Teacher's Tip: Keep the elbow joint sharp to emphasize the creature's predatory posture.
Step 6: Sketching the Crouching Leg
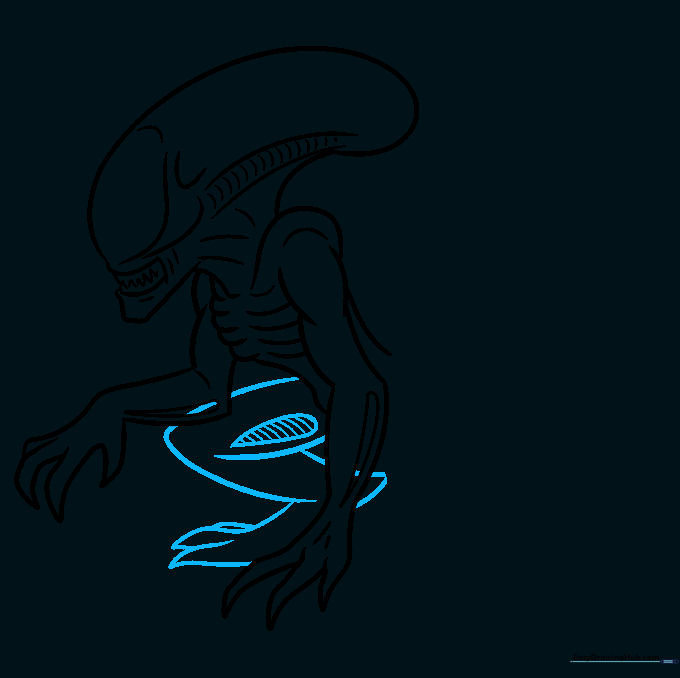
Use pairs of curved lines to form the upper leg, lower leg, and pointed toes. Add a teardrop shape on the thigh with diagonal bands. Teacher's Tip: The crouching pose adds tension—make sure the leg looks ready to spring!
Step 7: Completing the Lower Body
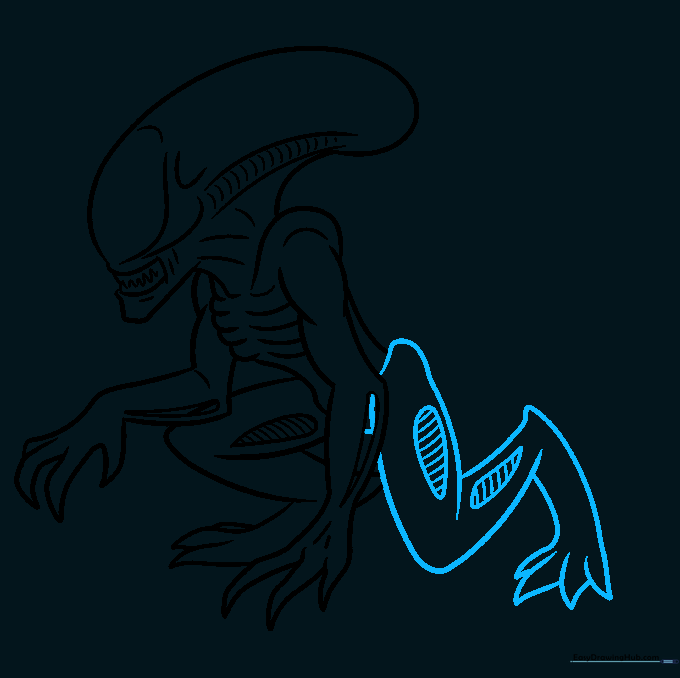
Draw the second leg, mirroring the first. Add teardrop shapes on the thigh and calf, and band them with curved lines. Teacher's Tip: Consistency in the banding helps the alien look like a cohesive, armored creature.
Step 8: Adding Dorsal Tubes and Tail
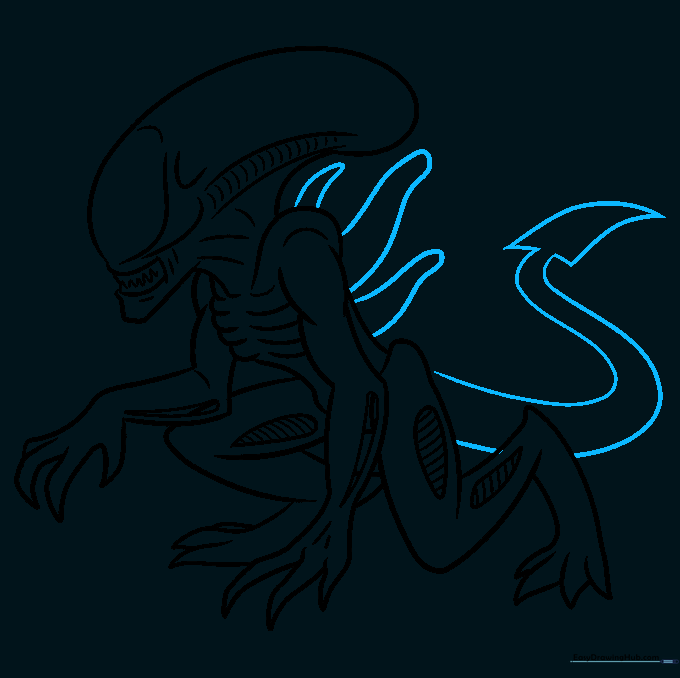
Extend curved lines from the back to form dorsal tubes, and add a long, sweeping tail from the hip. Finish the tail with a pointed, triangular tip. Teacher's Tip: Make the tail look whip-like by tapering the lines as they reach the end.
Step 9: Refining the Tail Details
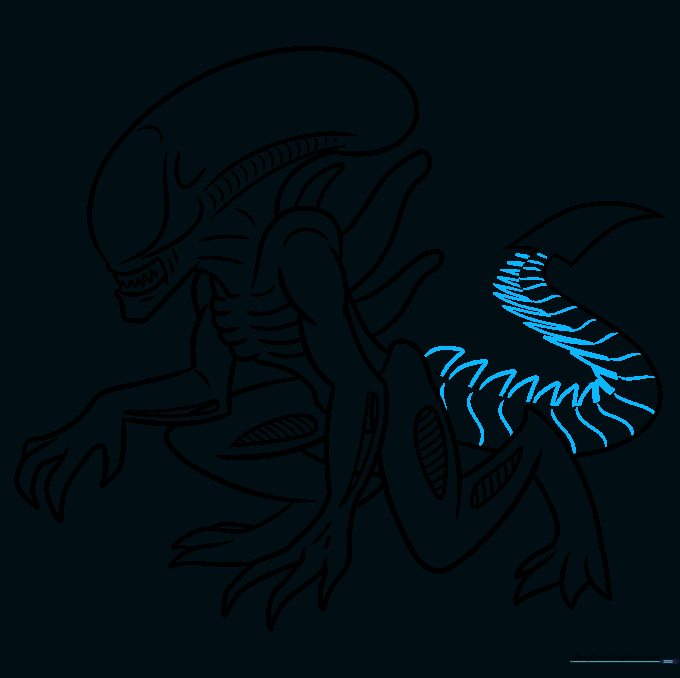
Add triangular spikes along the tail and use 'S' shaped lines to create texture. Erase any overlapping guidelines. Teacher's Tip: Use a clean eraser to remove construction lines so your final outline looks crisp and professional.
Step 10: Adding Color
Bring your alien to life with color! Use shades of black, grey, or even pale pinks for a hatchling look. Teacher's Tip: Use a blending stump or your finger to smudge the grey tones for a smooth, metallic finish.
More Tutorials


