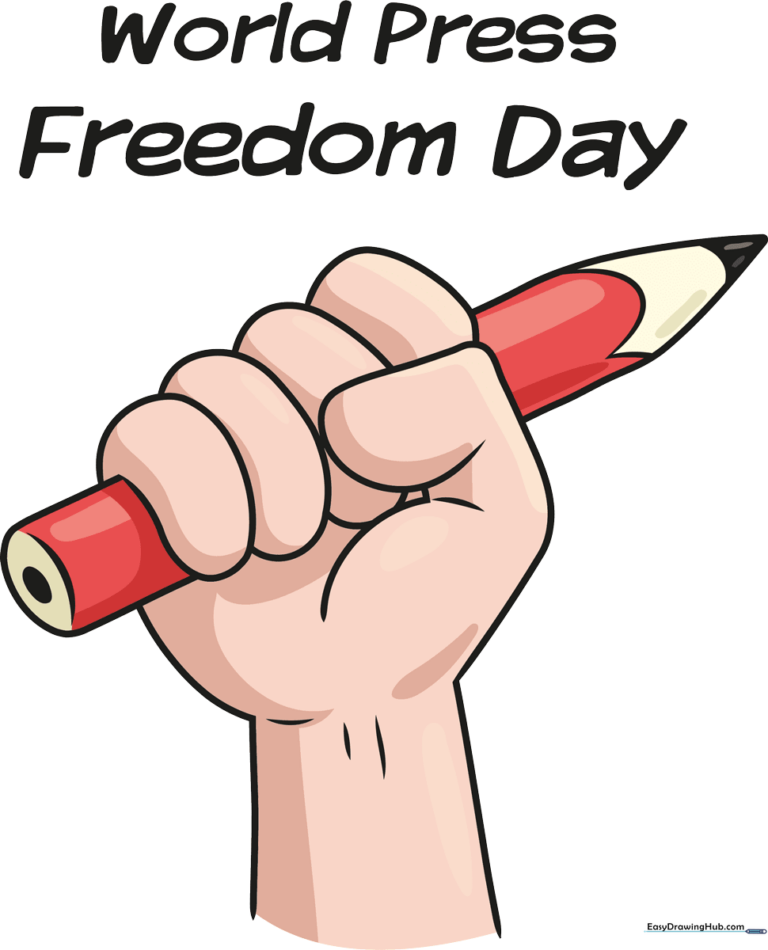
How to Draw a World Press Freedom Day Poster: Easy Guide
Celebrate the importance of free speech with this simple, symbolic poster design. Perfect for students and beginners, this project requires only a pencil, paper, and your favorite coloring tools. Follow these steps to build confidence in drawing anatomy and lettering while creating a powerful visual message.
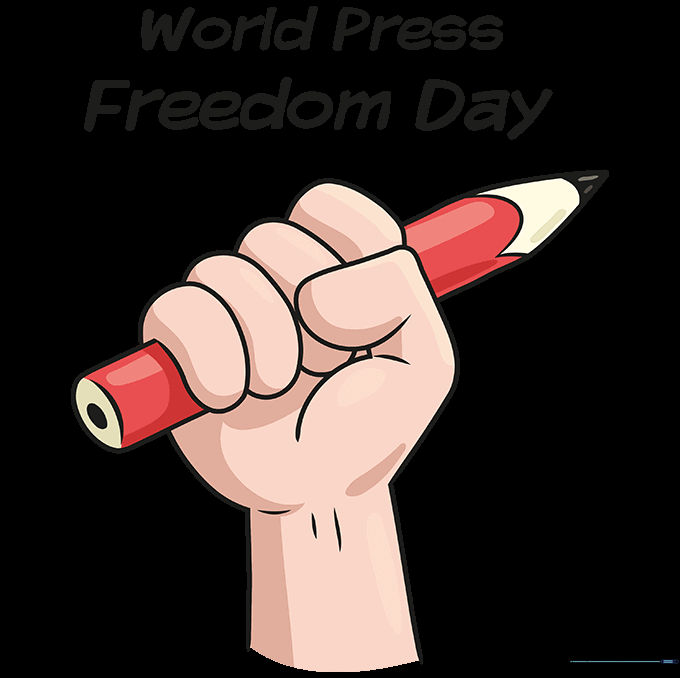
🎯 Final Result
Step-by-Step Instructions
Sketching the Wrist and Forearm
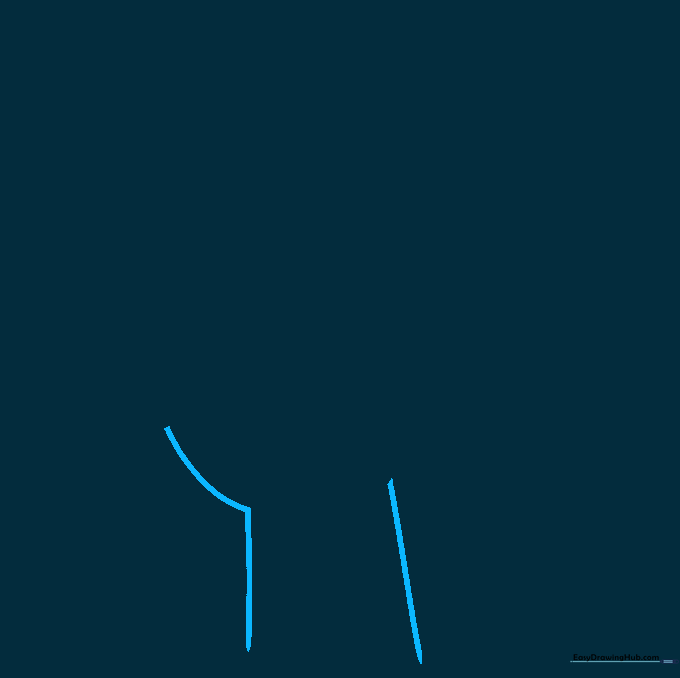
Start by drawing two nearly parallel lines to form the forearm. Add a gentle curve to begin the side of the hand. Teacher's Tip: Keep your pencil pressure light here so you can easily adjust the shape of the wrist later.
Forming the Thumb
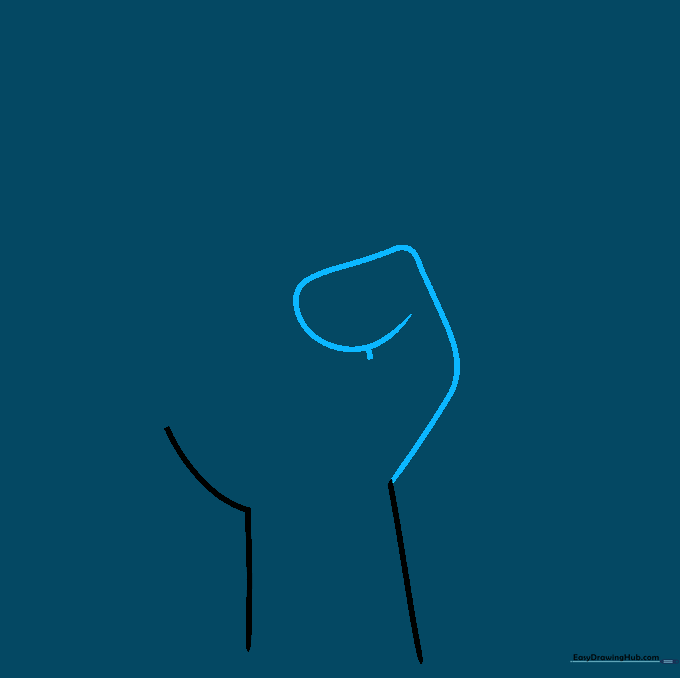
Extend a long curved line from the wrist to create the side of the hand. Bend it into an 'L' shape for the knuckle, then loop it back to form the fingertip. Teacher's Tip: Use your own thumb as a reference to see how the knuckle creates that distinct bend.
Defining the Palm and Pinky
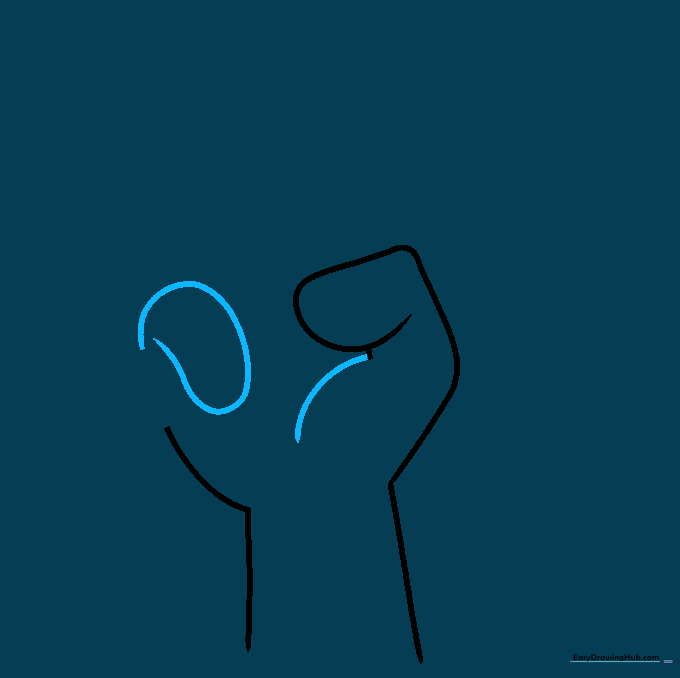
Contour the fleshy palm with a smooth curved line. Add the pinky finger by drawing a small curve that doubles back on itself. Teacher's Tip: Keep the pinky small compared to the thumb to maintain realistic proportions.
Adding Middle Fingers

Draw overlapping curved lines to create the ring and middle fingers. Notice how these lines tuck behind the thumb. Teacher's Tip: Overlapping lines are the secret to making your drawing look 3D rather than flat.
Completing the Fingers and Starting the Pencil

Enclose the pointer finger with a curved line. Start the pencil by extending a curved line from the pinky, forming a 'U' shape. Teacher's Tip: Ensure the 'U' shape is wide enough to look like a pencil barrel.
Drawing the Pencil Tip
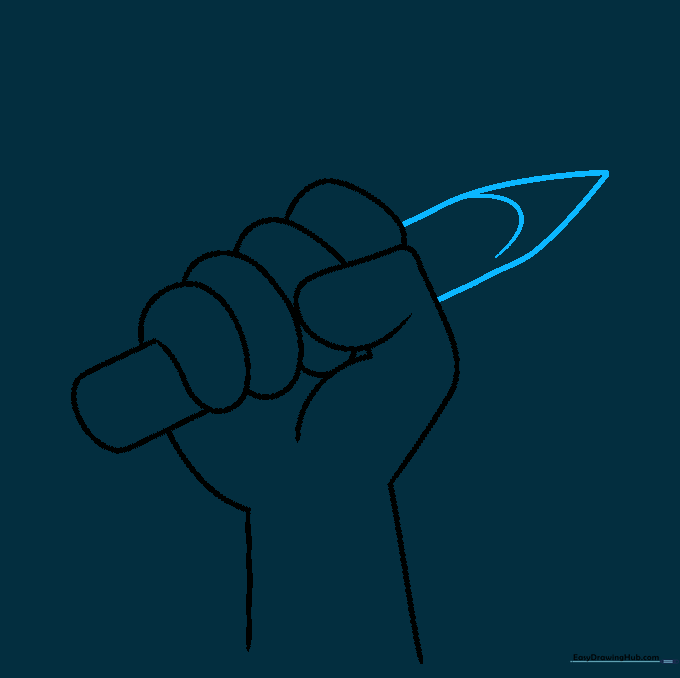
Extend two lines from the hand to meet at a sharp point. Add a 'U' shaped line across the pencil to show where the wood meets the lead. Teacher's Tip: A sharp point makes the pencil look more realistic and professional.
Adding Texture and Details
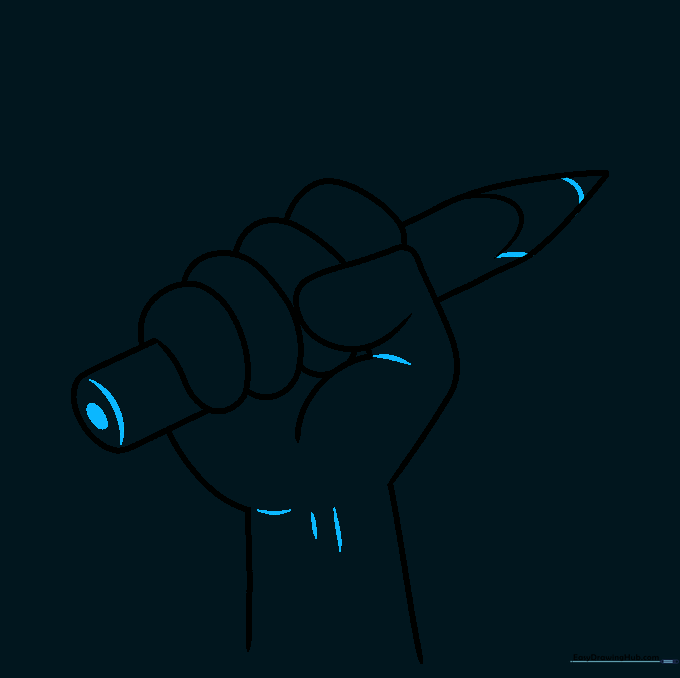
Add short curved lines to the palm and wrist for muscle detail. Shade a small oval at the pencil's tip for the lead. Teacher's Tip: Use a darker pencil stroke for the lead to make it stand out against the wood.
Adding Text: World Press
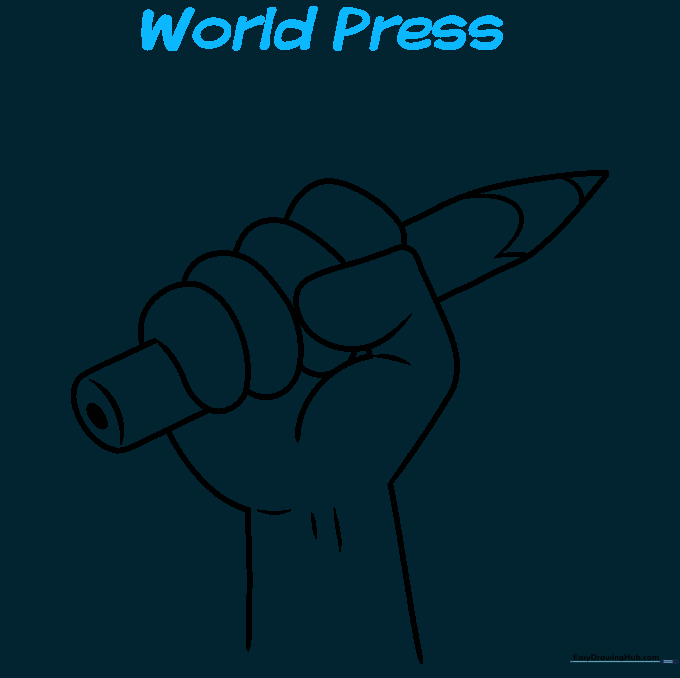
Write 'World Press' in clear, bold letters across the top of your poster. Teacher's Tip: Use a ruler if you want your letters to look perfectly straight and uniform.
Adding Text: Freedom Day
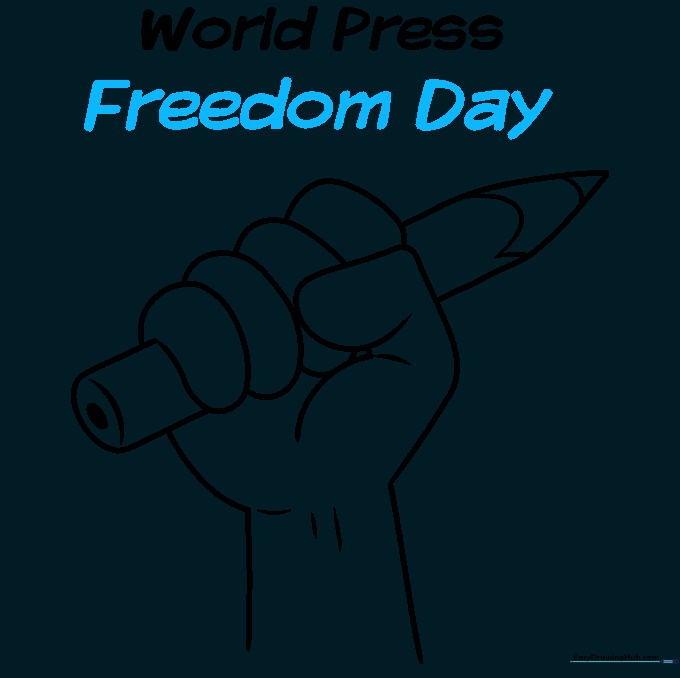
Complete your poster by adding 'Freedom Day' underneath. Teacher's Tip: Try using block letters to make the message pop from a distance.
Adding Color
Bring your poster to life with vibrant colors. Teacher's Tip: Use bright, contrasting colors for the background to make the hand and pencil the focal point of your artwork.
More Tutorials


