How to Draw a Woodpecker: Easy 9-Step Guide for Kids
Bring nature to your sketchbook with this fun, approachable woodpecker drawing guide. Designed for young artists ages 5 and up, this activity requires only a pencil, paper, and an eraser. Follow along to master basic shapes and feather textures while building confidence in your artistic abilities.
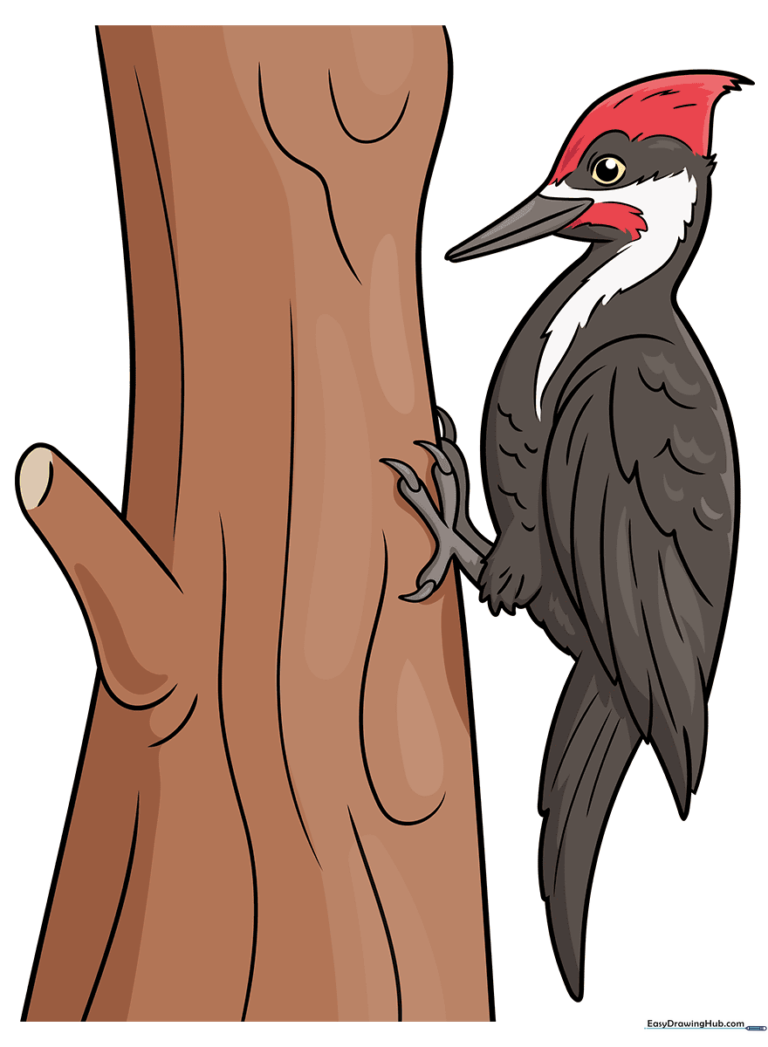
🎯 Final Result
Step-by-Step Instructions
Step 1: Sketching the Head and Beak

Draw a light, rounded shape for the head and a long, pointed triangle for the beak. Tip: Keep your pencil pressure light so you can easily erase the guidelines later. Add a small circle for the eye, leaving a tiny white space inside to make it look bright and alert.
Step 2: Defining the Body Outline

Use long, sweeping curves to create the back and belly. Tip: Use short, quick strokes along the back to mimic the look of soft feathers. This adds a nice tactile quality to your drawing.
Step 3: Sketching the Wing
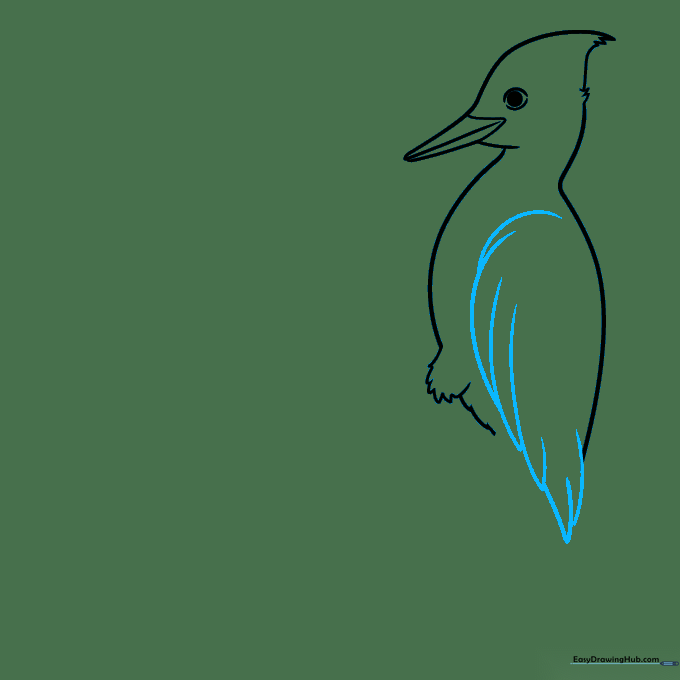
Draw a series of overlapping curved lines to form the wing. Tip: Imagine each curve is a single flight feather. Varying the length of these lines makes the wing look more realistic and dynamic.
Step 4: Adding Legs and Claws
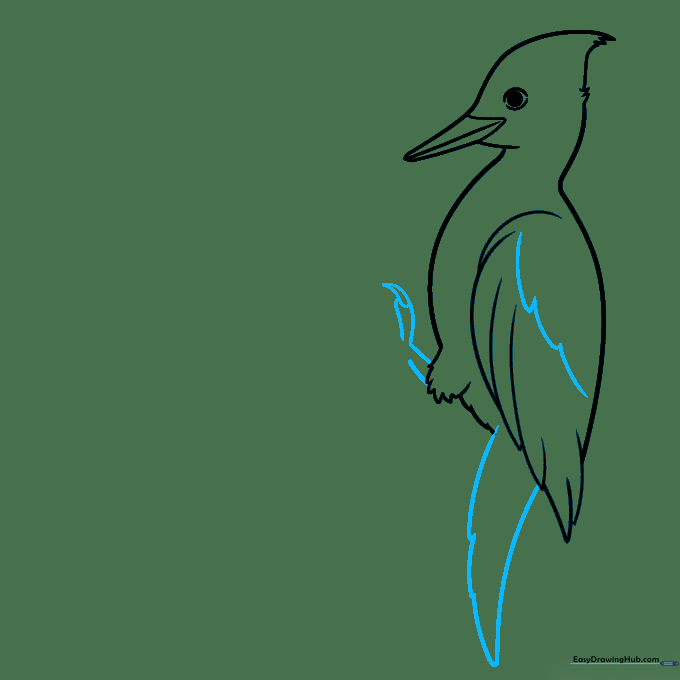
Draw the legs using simple lines and add teardrop shapes for the claws. Tip: Woodpeckers have strong feet for gripping trees, so make sure the claws look like they are 'hooking' onto something.
Step 5: Placing the Bird on a Tree
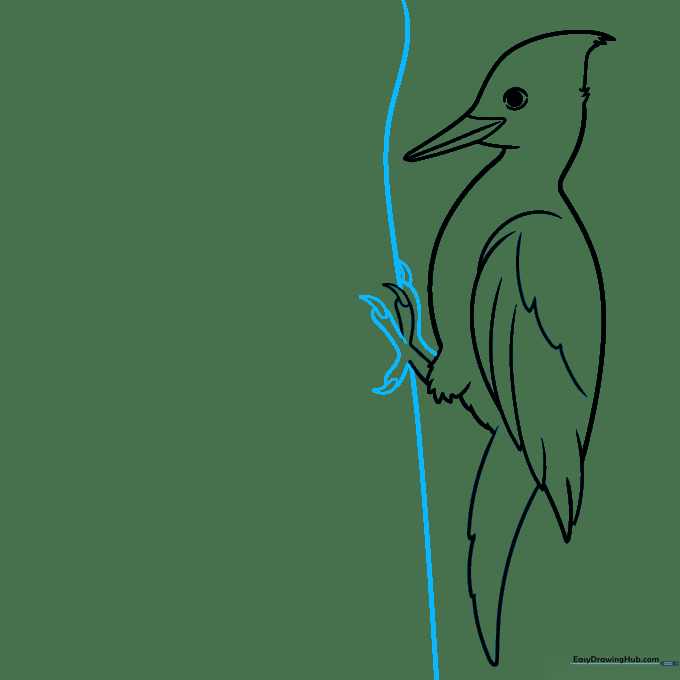
Draw a long, vertical curved line behind the bird to represent the tree trunk. Tip: Don't draw a perfectly straight line; a slightly wavy line looks more like natural bark.
Step 6: Adding Face Markings
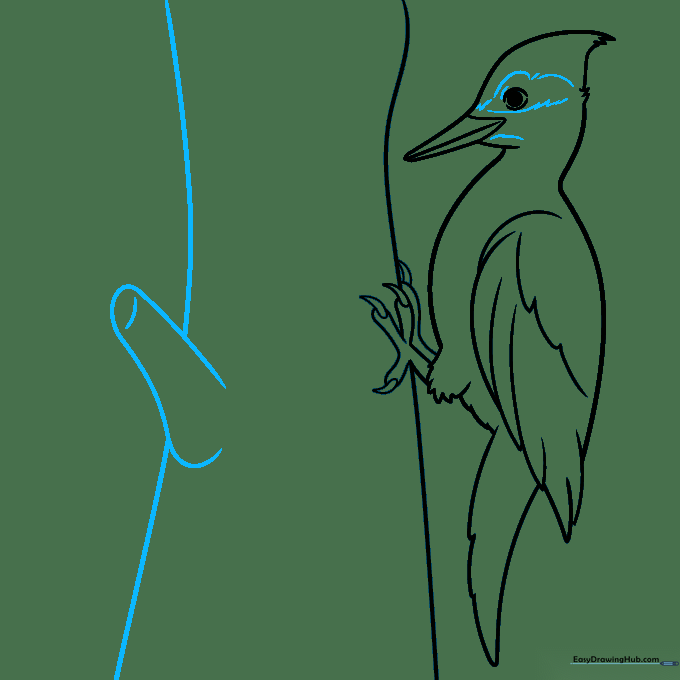
Add jagged, short lines on the face to create the woodpecker's unique pattern. Tip: Use a darker pencil stroke here to make the facial features stand out from the rest of the body.
Step 7: Feather Texture
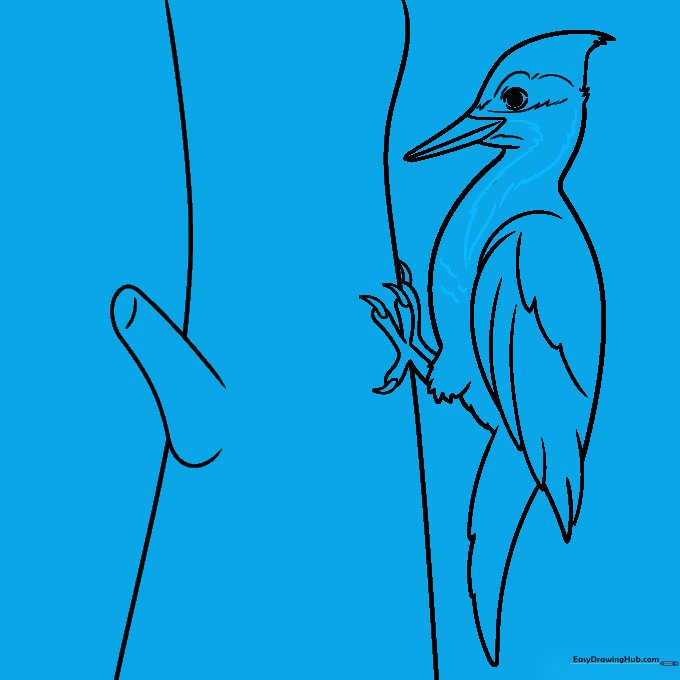
Add small, curved lines along the neck and chest to suggest fluffy feathers. Tip: Keep these lines consistent in size to make the bird look soft and well-groomed.
Step 8: Refining Details
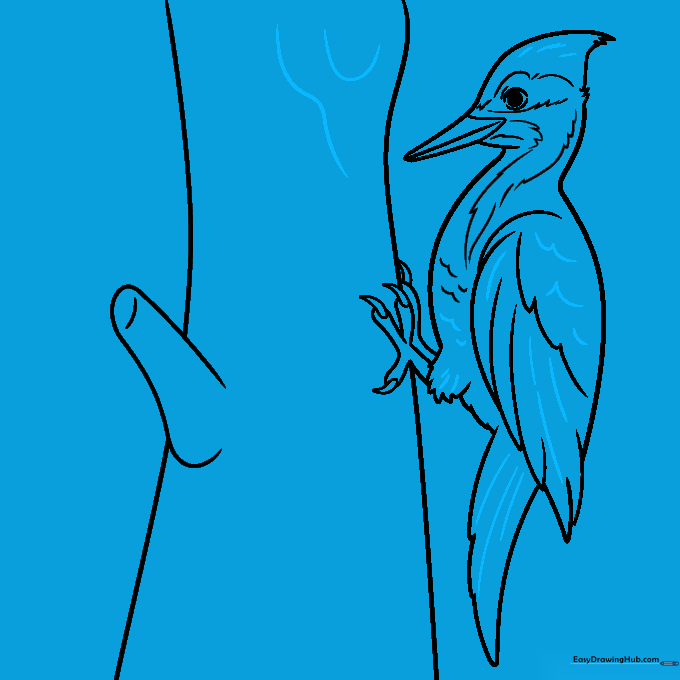
Go over your lines to add texture to the wing, tail, and tree bark. Tip: Use 'V' shapes on the tree bark to make it look rough and realistic.
Step 9: Final Touches
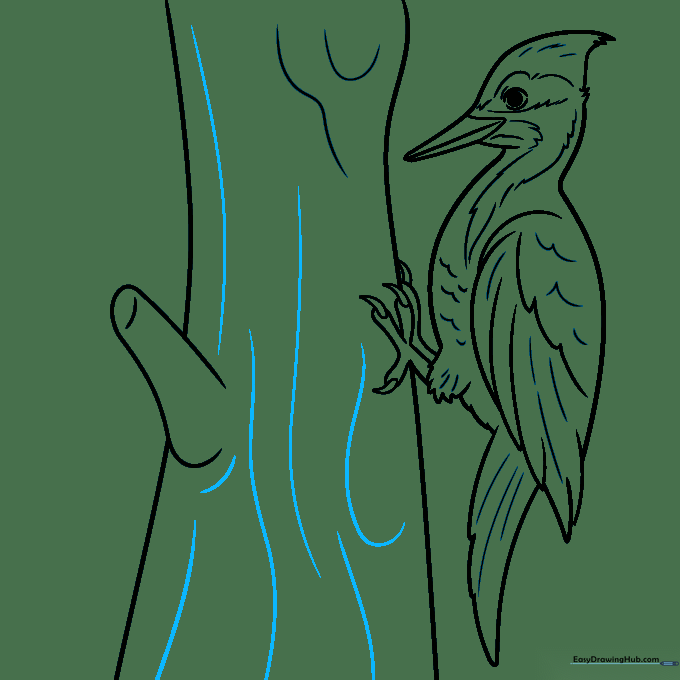
Finish the tree bark texture with long, flowing lines. Tip: Check your drawing against the reference to ensure all parts are connected smoothly before you start coloring.
Step 10: Bring It to Life with Color
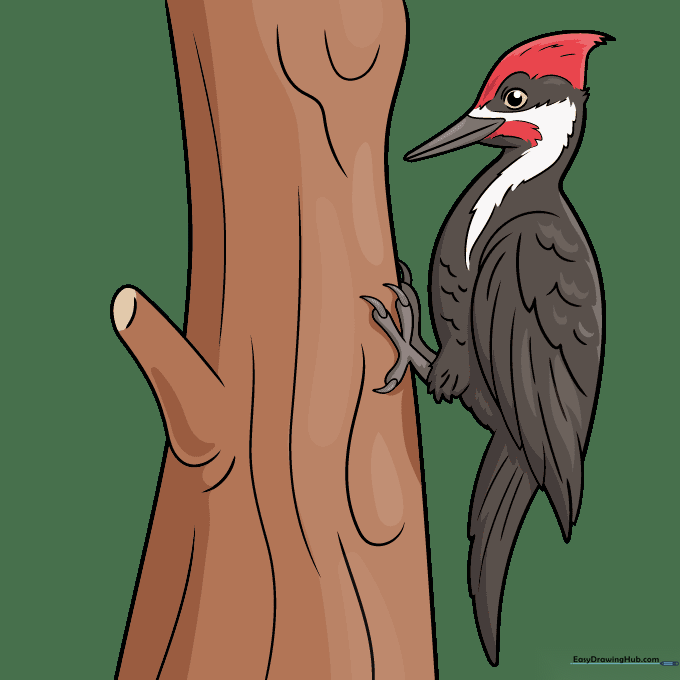
Time to color! Use black for the body, white for the belly, and a vibrant red for the crest. Tip: Use light pressure for the white areas and firm pressure for the black to create contrast.
More Tutorials


