How to Draw a Woman’s Face: Simple 10-Step Guide
Ready to master portrait drawing? This guide is perfect for artists ages 8 and up looking to build confidence with facial proportions. All you need is a pencil, an eraser, and a sheet of paper to get started on this rewarding creative project.
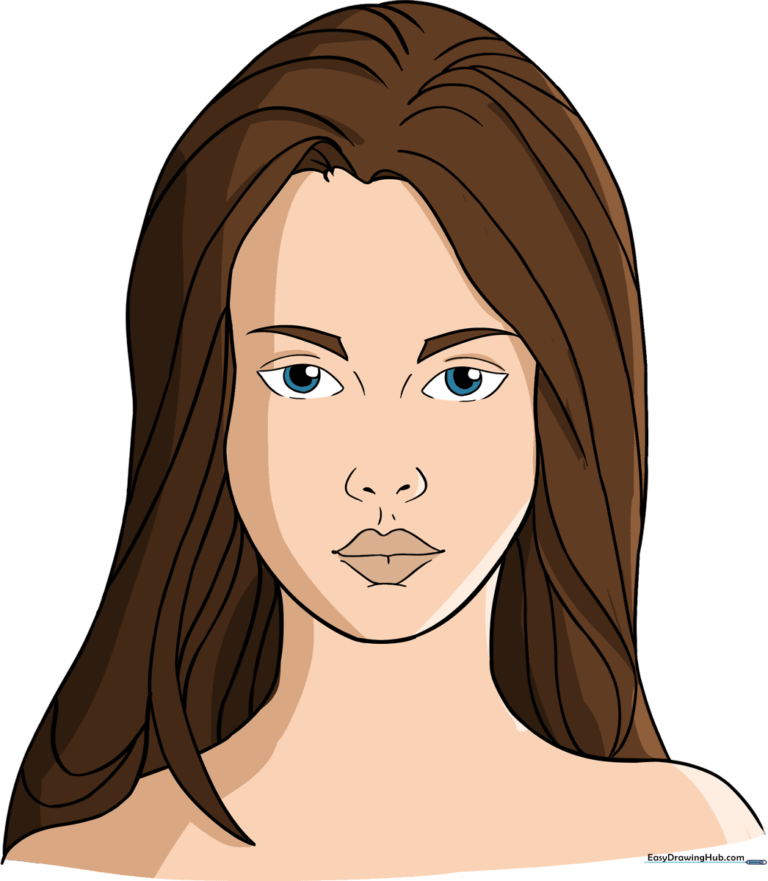
🎯 Final Result
Step-by-Step Instructions
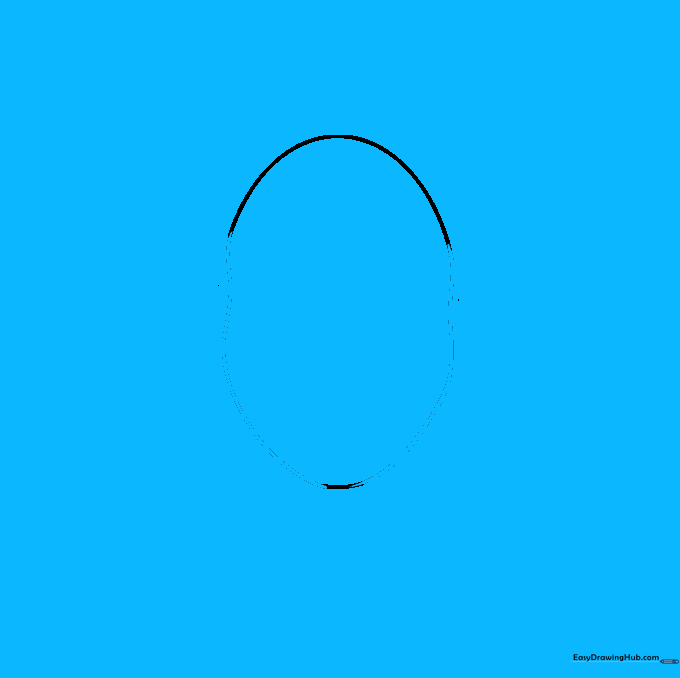
Step 1: Sketching the Basic Head Shape

Draw a light, vertical oval to serve as the foundation for the face. Teacher's Tip: Keep your pencil grip loose and light; this oval is just a guide and will be partially erased later.
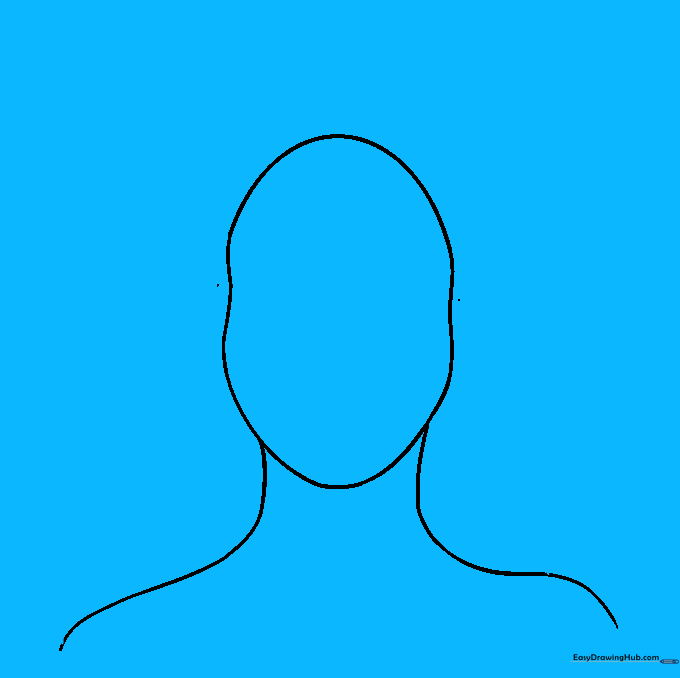
Step 2: Defining the Jawline
Gently erase the middle sides of your oval and redraw them with a slight inward curve to define the cheeks and temples. Teacher's Tip: Use smooth, continuous strokes to make the transition from the cheek to the chin look natural.
Step 3: Adding the Neck and Shoulders
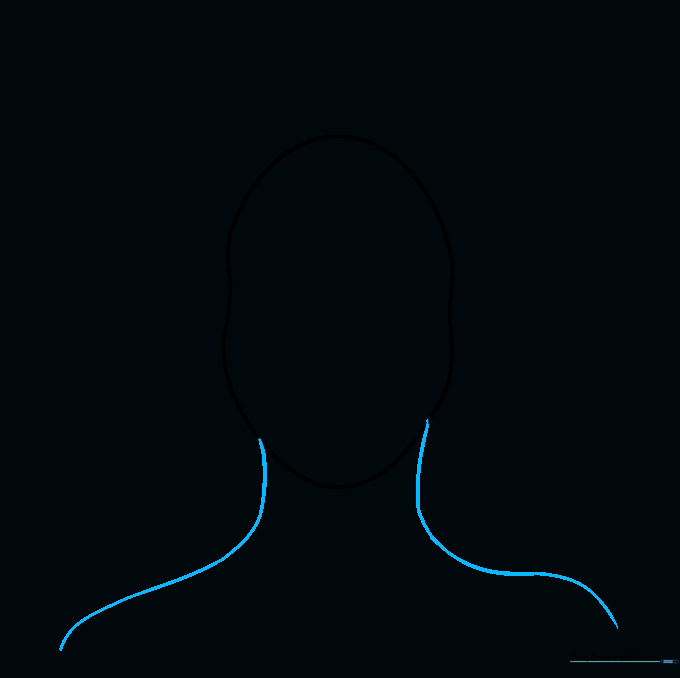
Extend two curved lines downward from the chin to form the neck, then flare them out for the shoulders. Teacher's Tip: Ensure the neck lines aren't too straight; a slight curve adds a more realistic, organic feel.
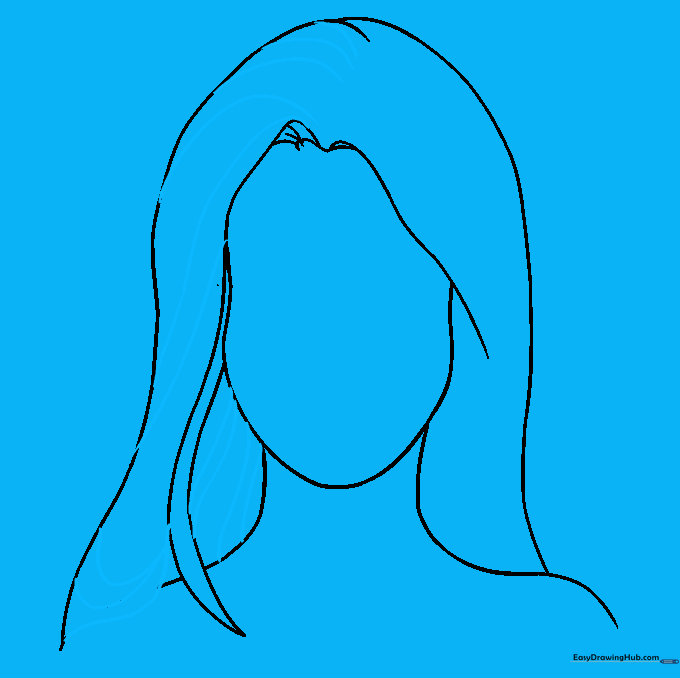
Step 4: Outlining the Hairline
Draw two long, sweeping curved lines starting from the top of the head down to the shoulders to frame the face. Teacher's Tip: Don't worry about perfect symmetry; hair naturally falls in different directions.
Step 5: Adding Hair Volume
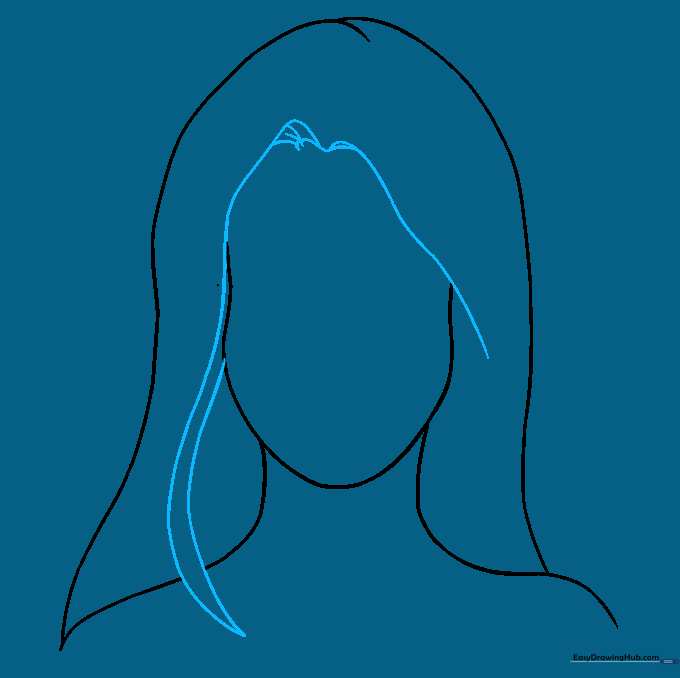
Create an 'M' shape across the forehead to add volume and a natural part. Teacher's Tip: Add small, curved lines near the 'M' humps to suggest depth and movement in the hair strands.
Step 6: Detailing the Hair Texture
Draw curved lines radiating from the center part toward the edges of the hair. Teacher's Tip: Vary the length of these lines to make the hair look more realistic and less like a solid block.
Step 7: Completing the Hair
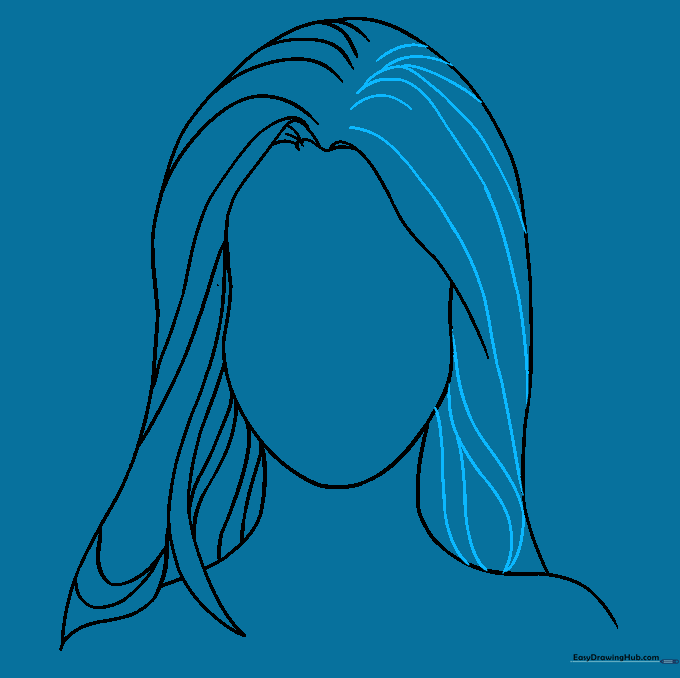
Repeat the texturing process on the opposite side. Teacher's Tip: Notice how the lines don't perfectly meet at the part; this creates a natural, layered look.
Step 8: Drawing the Eyes and Brows
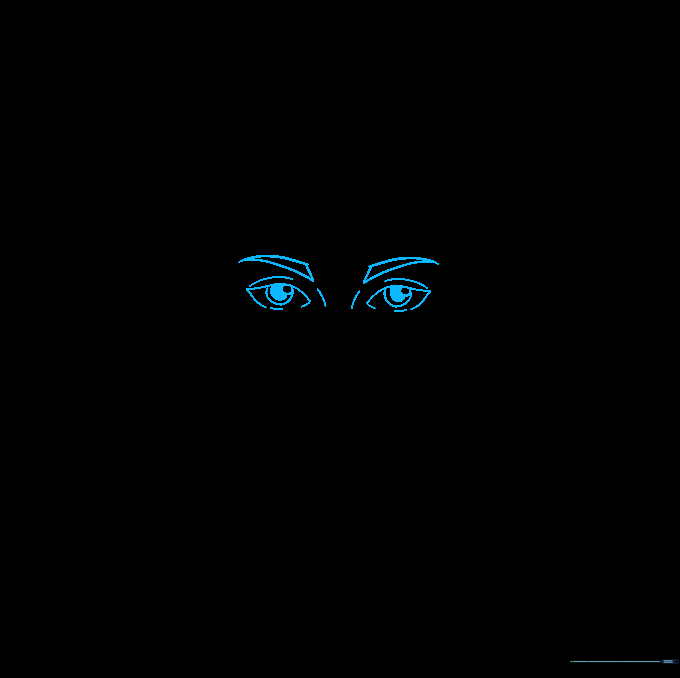
Sketch triangular eyebrows and almond-shaped eyes with pupils. Teacher's Tip: Use three smaller circles inside the eye to create a realistic pupil and iris effect, then add a curved line above for the eyelid.
Step 9: Adding the Nose and Mouth

Use 'C' shapes for the nostrils and a simple line with curved edges for the lips. Teacher's Tip: Keep the nose subtle; a few light lines are often more effective than drawing the entire nose structure.
Step 10: Final Touches and Coloring

Erase any remaining guide lines and add color to your portrait. Teacher's Tip: Use light shading around the jaw and neck to give your drawing a three-dimensional, professional look.
More Tutorials


