How to Draw a Woman’s Side Profile: Easy 10-Step Guide
Ready to capture a face from the side? This tutorial is designed for budding artists ages 8+ to practice facial proportions and clean line work. Grab a pencil, an eraser, and a piece of paper to start building your character's profile from the ground up.
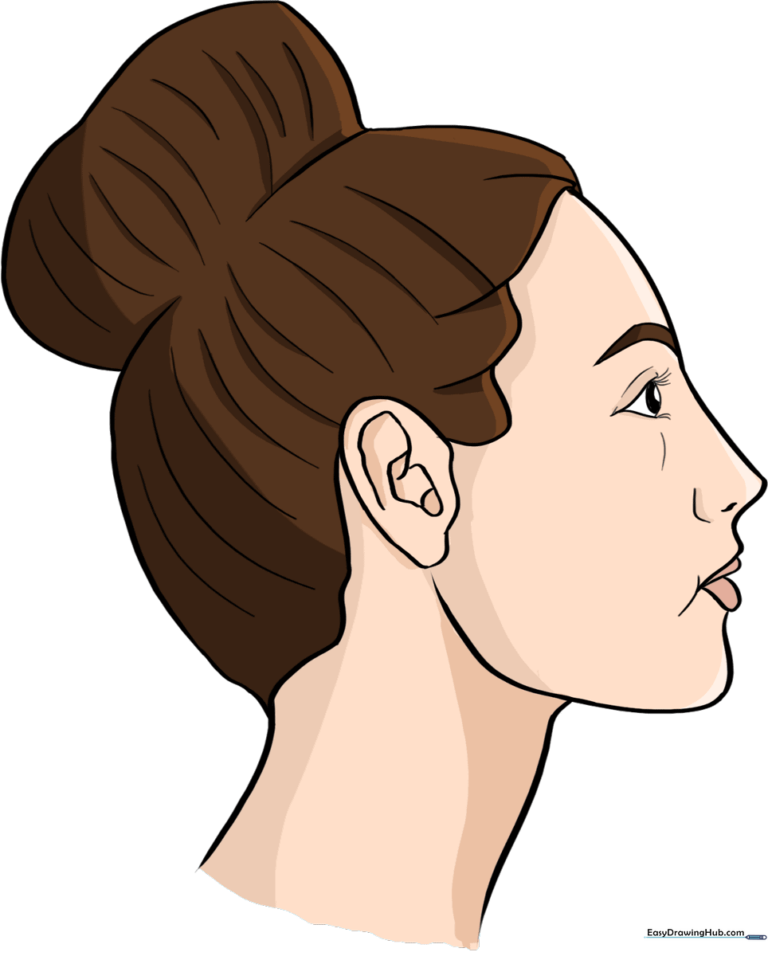
🎯 Final Result
Step-by-Step Instructions
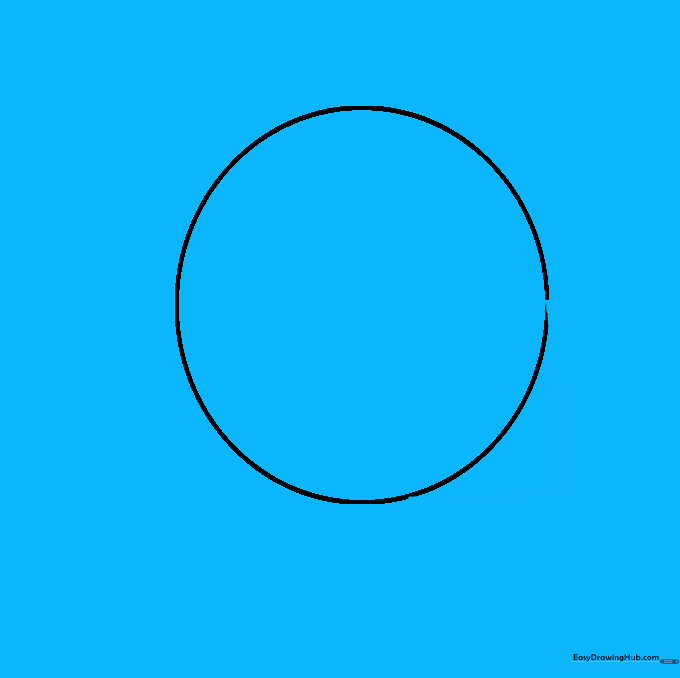
Step 1: Sketching the Base Circle

Start by drawing a light circle to serve as the foundation for the skull. Teacher's Tip: Keep your pencil pressure very light so you can easily erase these guidelines later!
Step 2: Defining the Chin
Add a rounded triangle shape to the lower side of your circle. This creates the structure for the jawline. Tip: Don't worry about perfection; this is just a structural map for the face.
Step 3: Refining the Neck
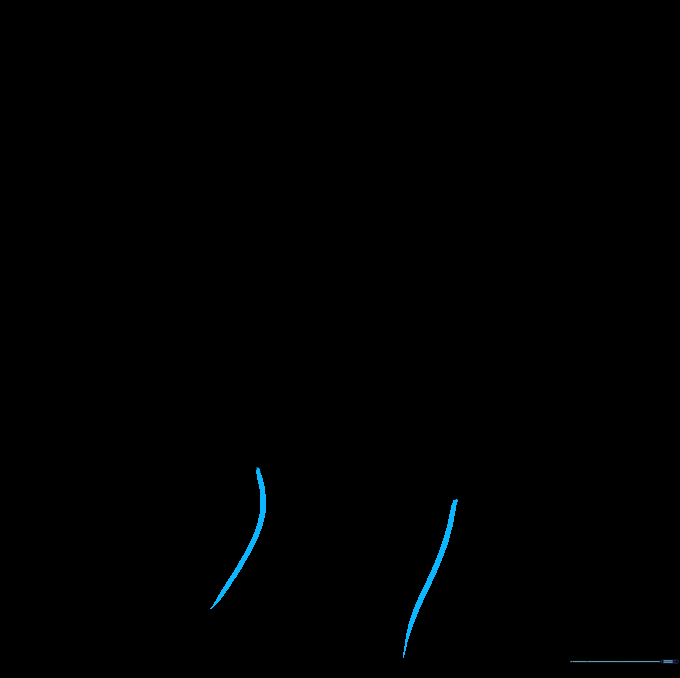
Erase the overlapping lines inside the jaw and draw two smooth, curved lines descending from the head to form the neck. Tip: Make the neck slightly curved to give the figure a natural, graceful posture.
Step 4: Sketching Nose and Lips
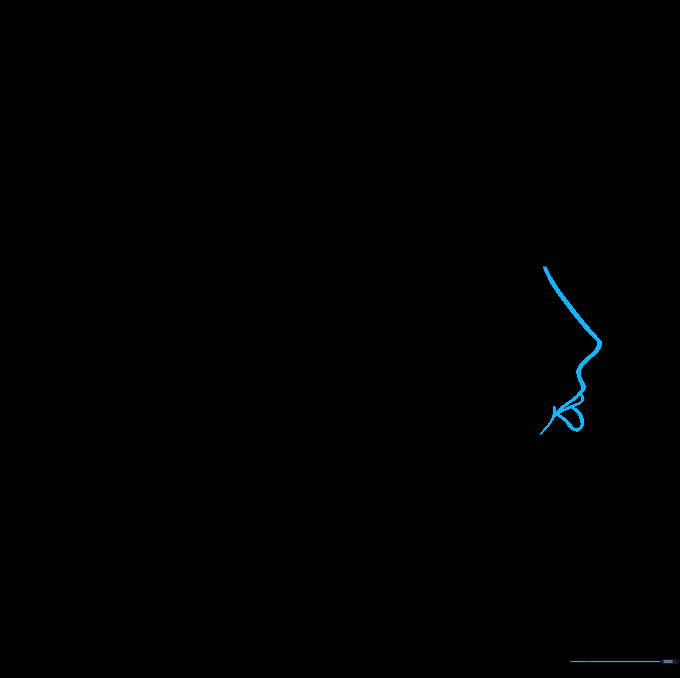
Trace the triangular nose shape and add soft, curved lines for the lips. Erase the original circle guidelines as you go to keep your drawing clean. Tip: Use short, gentle strokes for the lips to keep them looking soft.
Step 5: Smoothing the Jaw
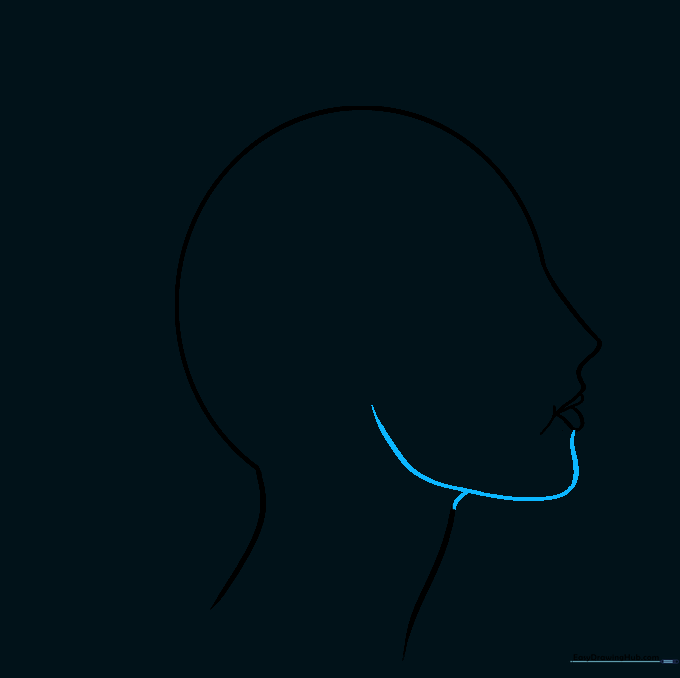
Replace the sharp triangular chin with a single, long, elegant curved line. This softens the face and makes it look more realistic. Tip: Practice this curve on a scrap piece of paper first to get a smooth motion.
Step 6: Adding the Ear
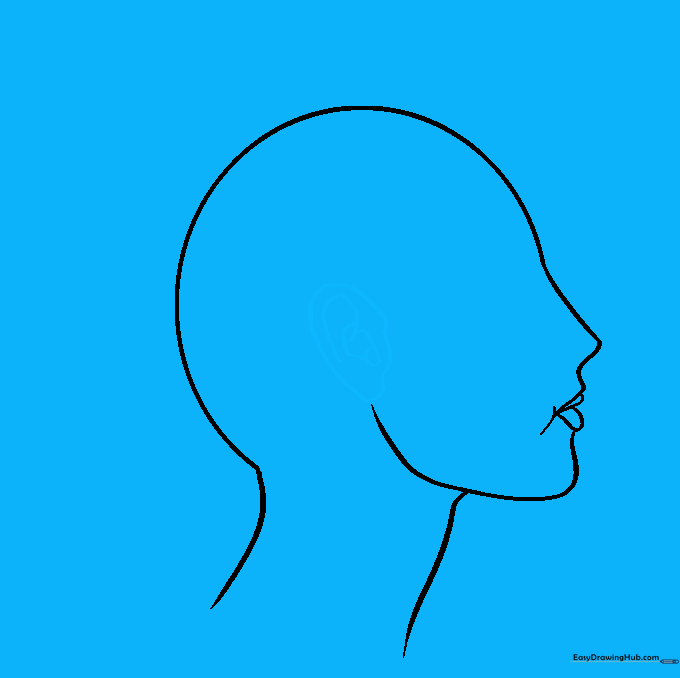
Draw an irregular 'C' shape for the ear, then add small circles and lines inside to represent the cartilage. Tip: The ear usually sits between the eyebrow line and the nose line.
Step 7: Detailing the Eye and Brow
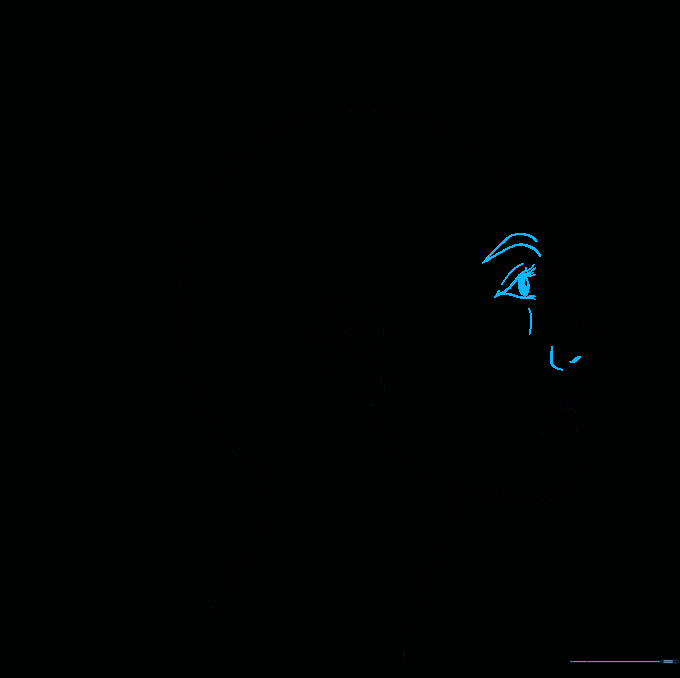
Draw an arched eyebrow and a 'Y' shape for the eyelid. Add a shaded pupil and a small curved line for the nostril. Tip: Keep the eye detail simple; a little shading goes a long way in adding depth.
Step 8: Drawing the Hair
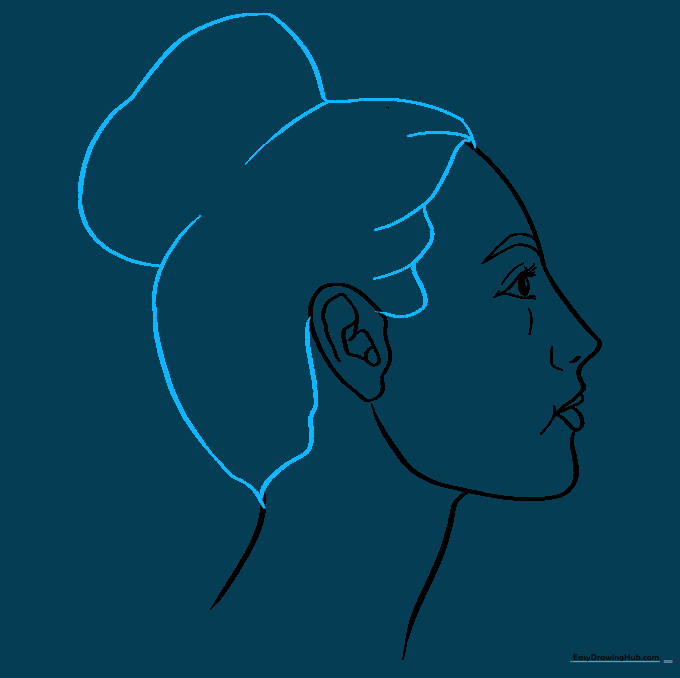
Use long, flowing lines to sketch the hair, guiding it behind the ear and into a bun at the back. Tip: Draw hair in 'clumps' or sections rather than individual strands to make it look more natural.
Step 9: Adding Hair Texture
Add diagonal lines across the hair to show flow and texture. Tip: Vary the length of your lines to create a more realistic, layered look.
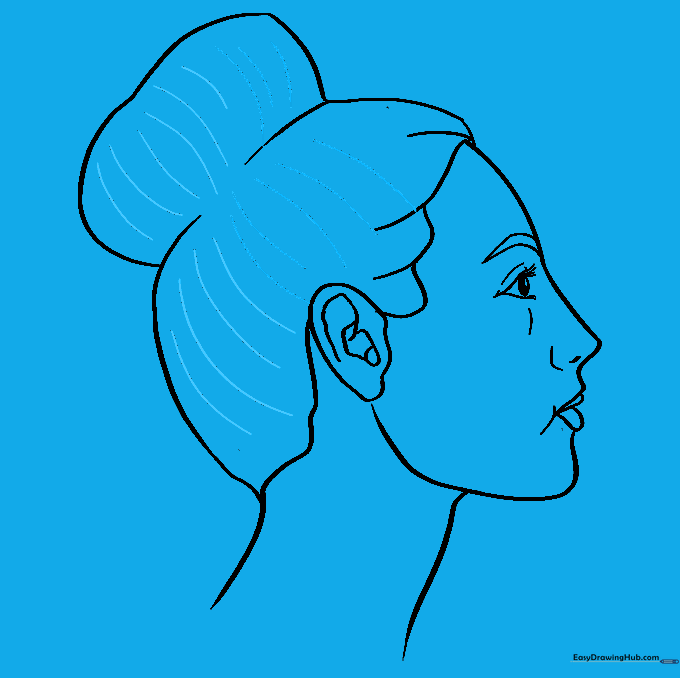
Step 10: Final Touches and Color
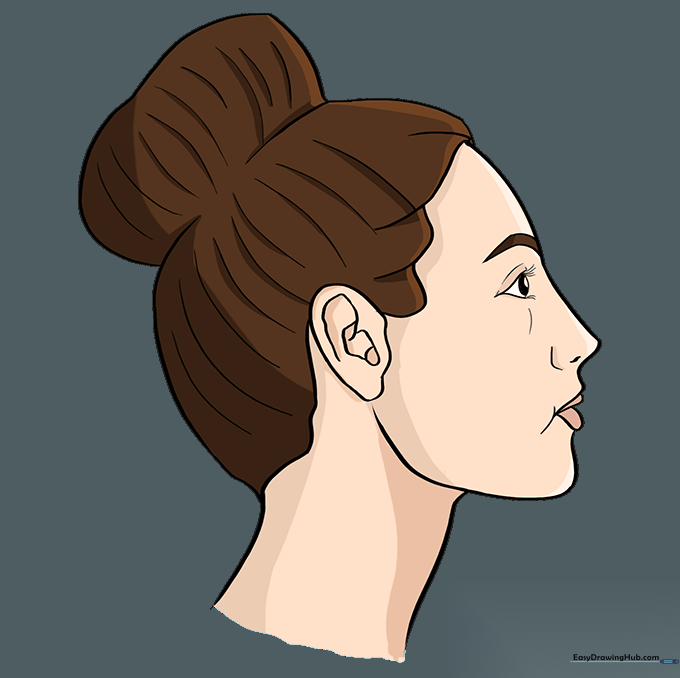
Erase any remaining guide marks and add your favorite colors! Tip: Use light and dark shades of the same color to add highlights and shadows to the hair for a professional finish.
More Tutorials


