How to Draw a Woman: Simple 9-Step Guide for Beginners
Ready to bring a character to life? This tutorial is perfect for young artists ages 7+ looking to master human proportions in a fun, cartoon style. You will only need a pencil, an eraser, and a piece of paper to get started. Follow these steps to build confidence in your figure drawing skills!
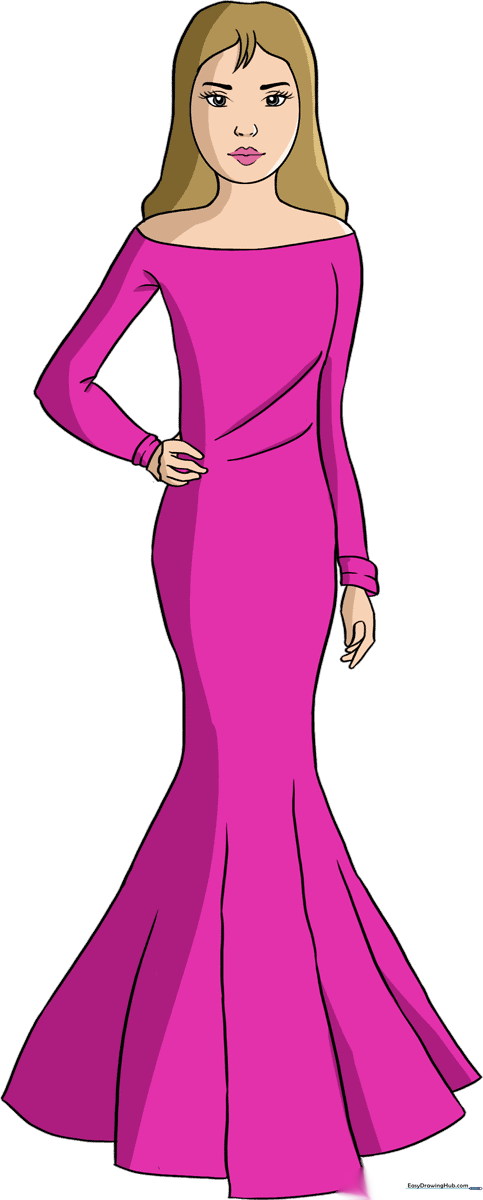
🎯 Final Result
Step-by-Step Instructions
Step 1: Sketching the Head Shape

Start by drawing a soft oval for the head. Teacher's Tip: Keep your pencil strokes very light so you can easily erase the guidelines later when you add the hair and facial features.
Step 2: Defining the Neck and Shoulders
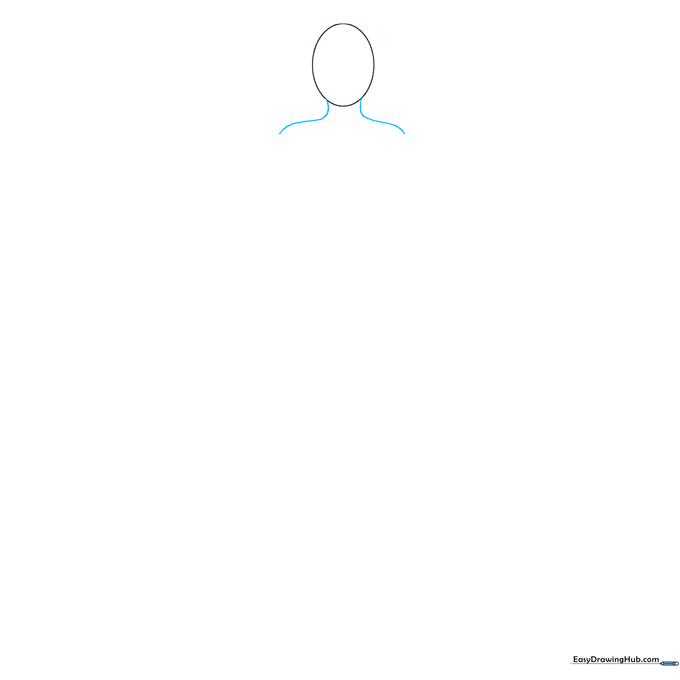
Draw two gentle, curved lines descending from the bottom of the oval to create the neck and shoulders. Tip: Make these lines smooth to give your character a natural, graceful posture.
Step 3: Drawing the First Arm
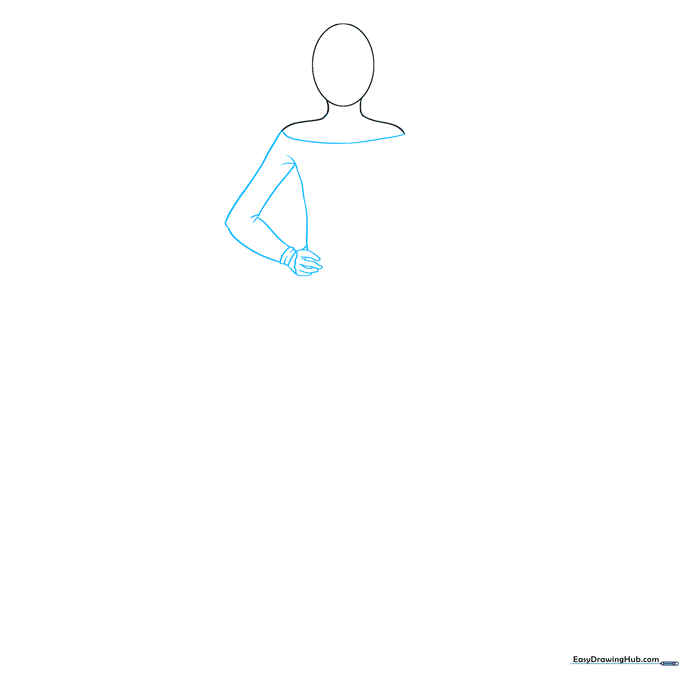
Connect the shoulders with a curved line for the neckline. Add the arm by drawing two curved lines for the upper arm, bending at the elbow, and finishing with a sleeve cuff and hand. Tip: Use simple shapes for the fingers to keep it easy for beginners.
Step 4: Adding the Second Arm
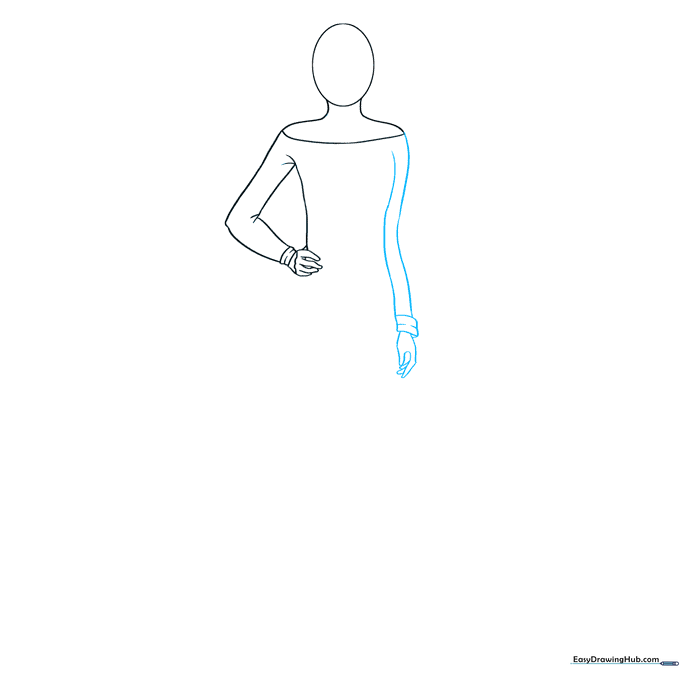
Repeat the process on the other side to draw the second arm. Tip: Try to mirror the curve of the first arm to keep your character looking balanced.
Step 5: Shaping the Dress
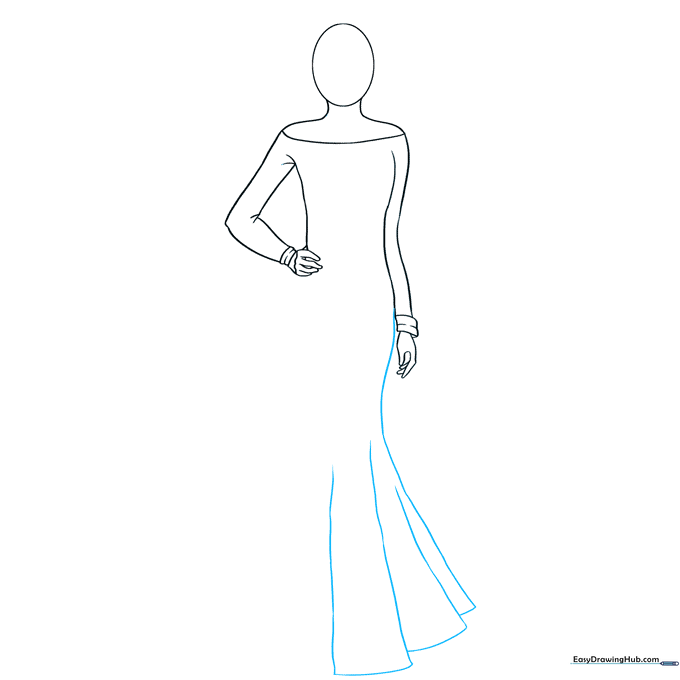
Extend the torso lines downward, curving them out to create the flare of a dress. Add 'L' shaped lines to suggest pleats. Tip: Vary the length of your 'L' lines to make the fabric look like it's flowing naturally.
Step 6: Completing the Skirt
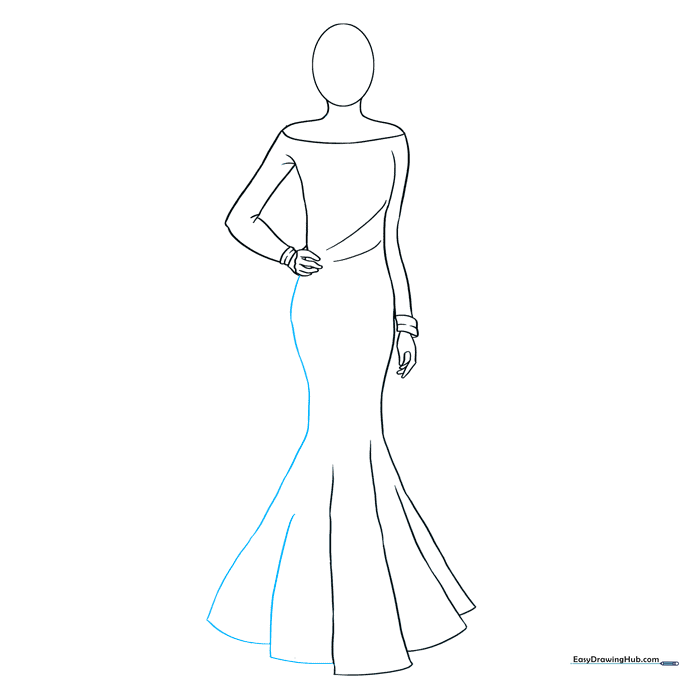
Finish the skirt by adding more 'L' shaped lines on the opposite side. Ensure the lines connect back to the hand to close the shape. Tip: Pay attention to the hip curve to give the dress a realistic silhouette.
Step 7: Styling the Hair
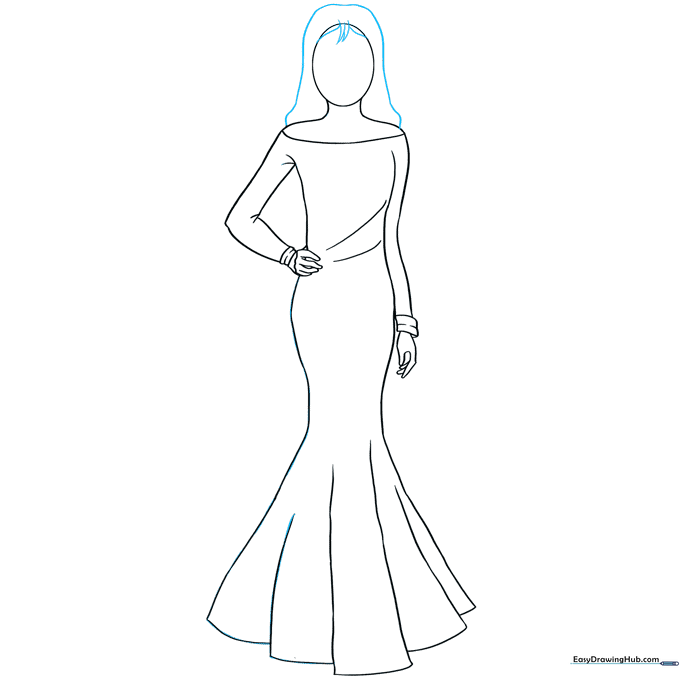
Draw the hair using long, sweeping curved lines. Add a small lock of hair falling over the forehead for extra detail. Tip: Don't worry about drawing every strand; focus on the overall shape of the hairstyle.
Step 8: Adding Facial Features
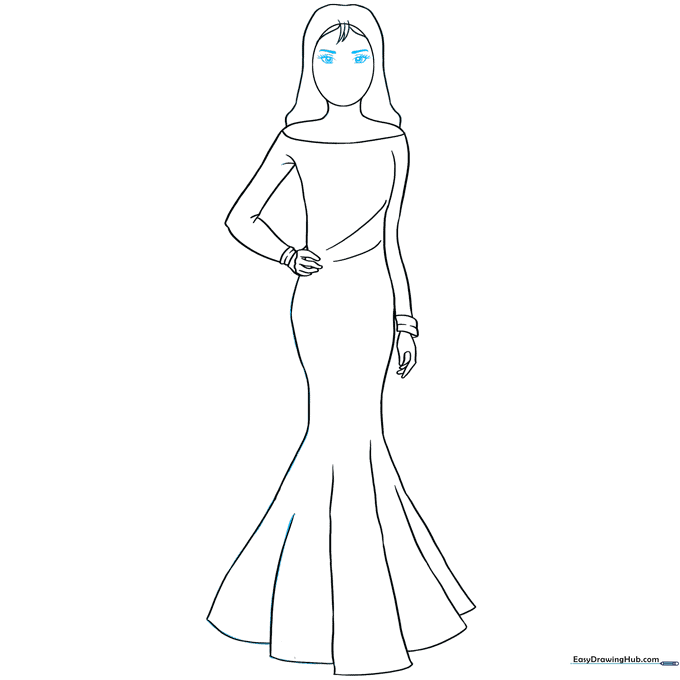
Draw two curved lines for eyebrows and two small, shaded teardrop shapes for the eyes. Tip: Placing the eyes slightly lower than the center of the head makes the face look more expressive.
Step 9: Final Touches
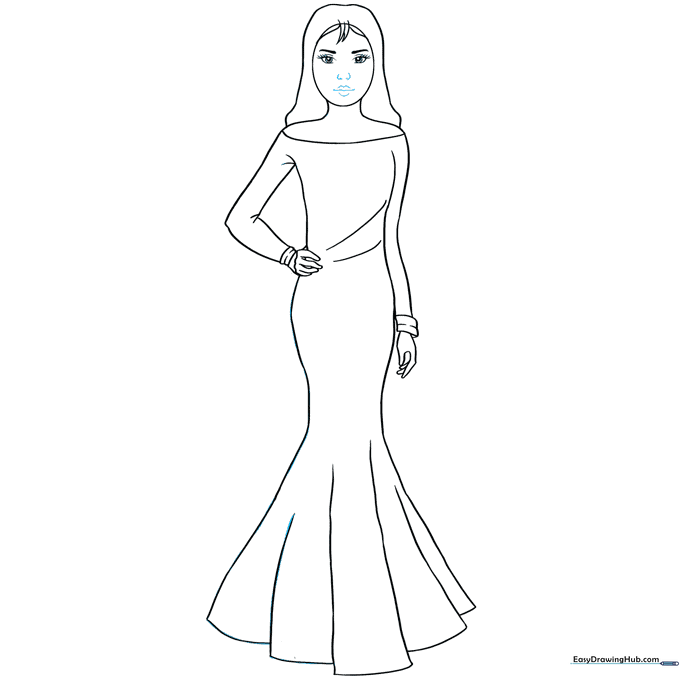
Use simple, small curved lines to indicate the nose and mouth. Tip: Keep these lines minimal to maintain a clean, cartoon aesthetic.
Step 10: Bring Your Drawing to Life with Color
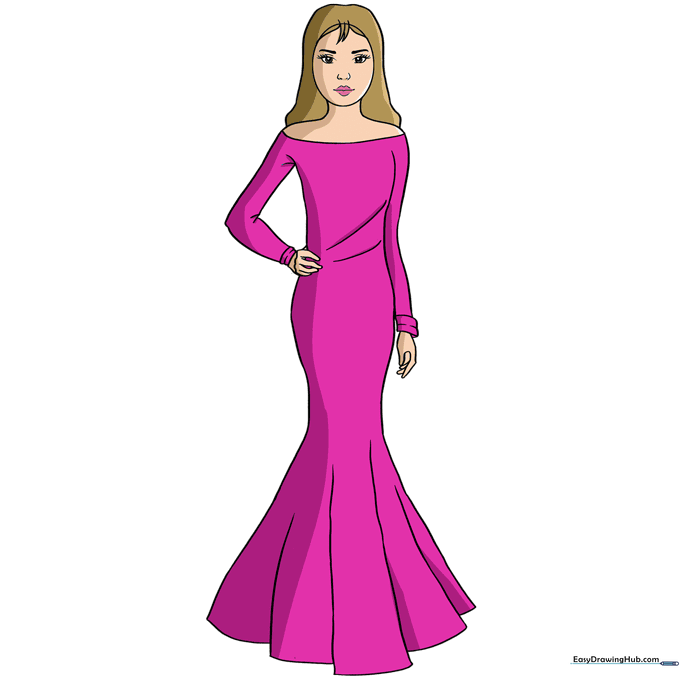
Now for the fun part! Use your favorite markers or colored pencils to fill in the dress and hair. Explore our other people drawing guides to practice different poses and styles.
More Tutorials


