How to Draw a Witch: Easy 10-Step Guide for Kids
Ready to conjure up some art? This tutorial is perfect for young artists ages 5 and up who want to draw a friendly witch. All you need is a pencil, an eraser, and a piece of paper to get started. Follow along to build confidence in your character design skills while creating a fun Halloween masterpiece.
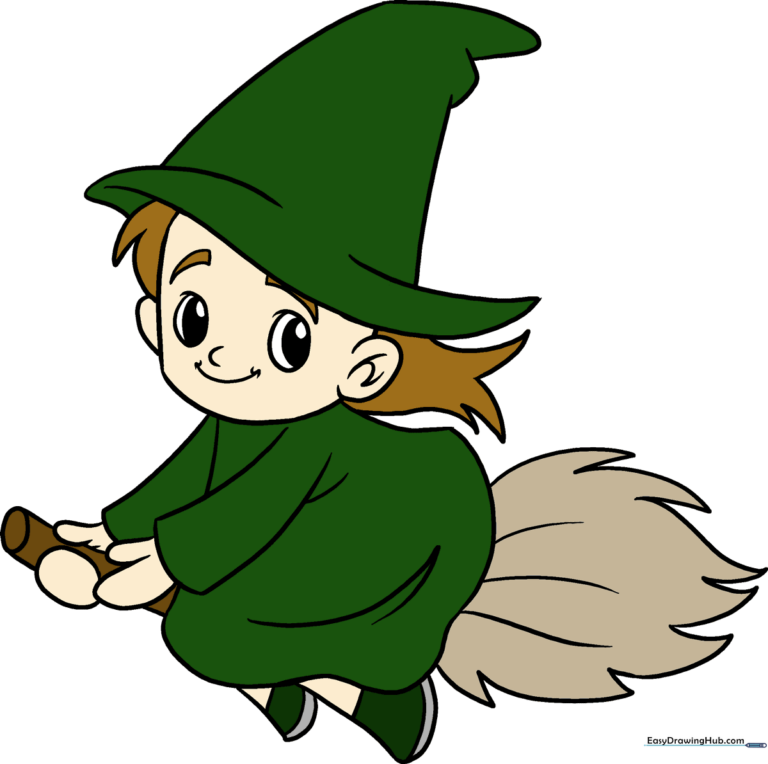
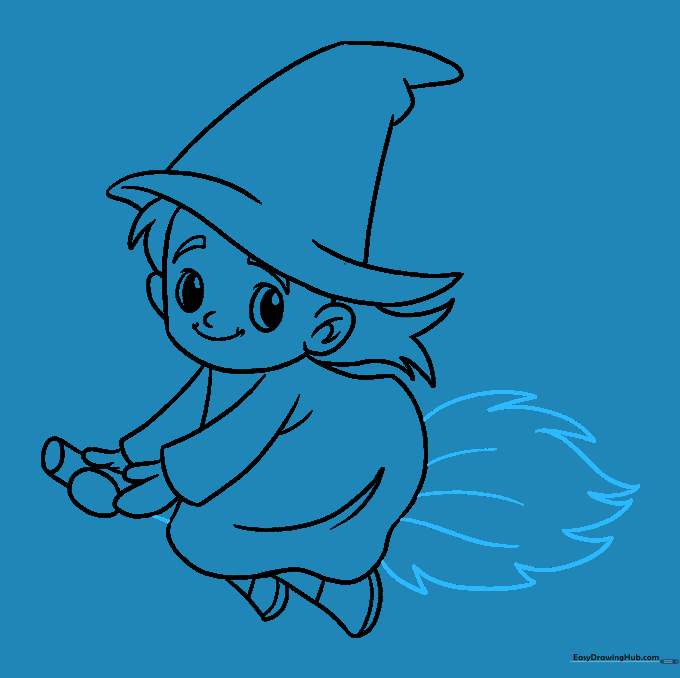
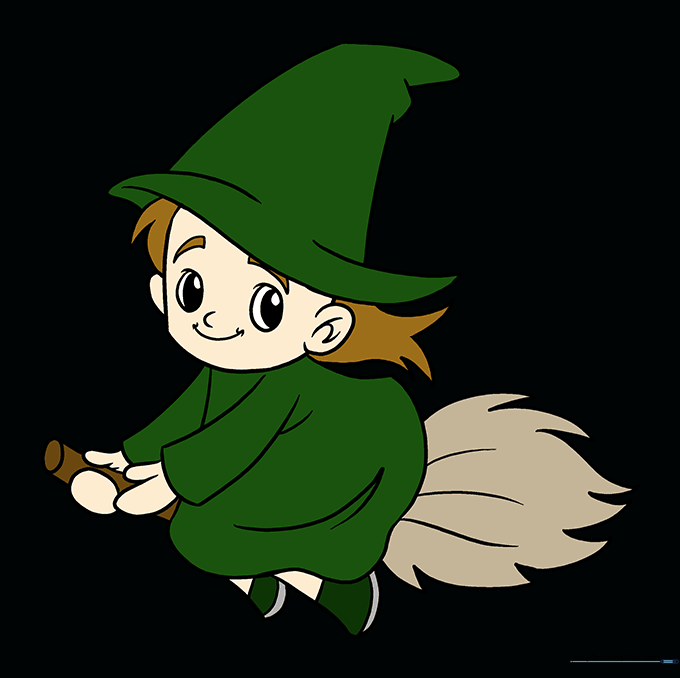
🎯 Final Result
Step-by-Step Instructions
Sketching the Head

Draw a slightly flattened circle to form the head. Teacher's Tip: Keep this shape light and loose; it doesn't have to be perfect, as we'll add hair and a hat later!
Outlining the Gown
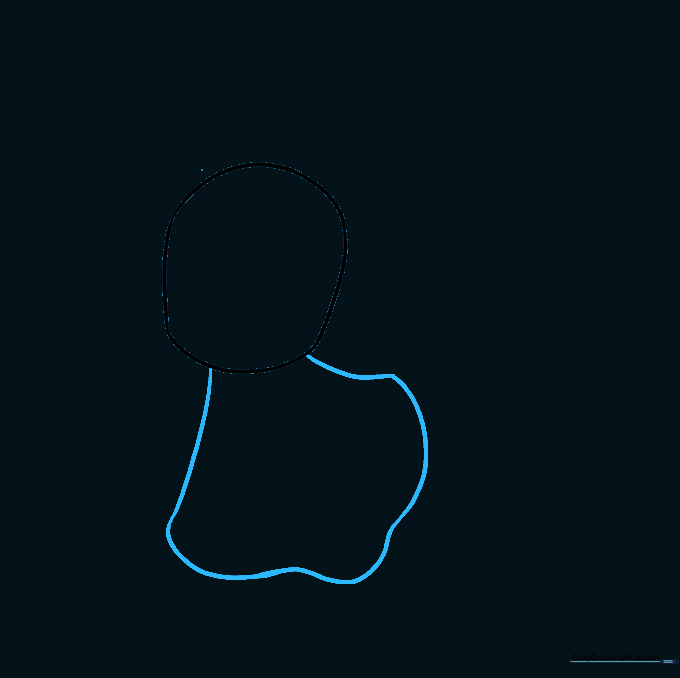
Extend a long, curved line downward from the head to create the witch's gown. Teacher's Tip: Think of this as drawing a bell shape—make it wide at the bottom to give her a flowing look.
Adding the Hat Brim and Hair
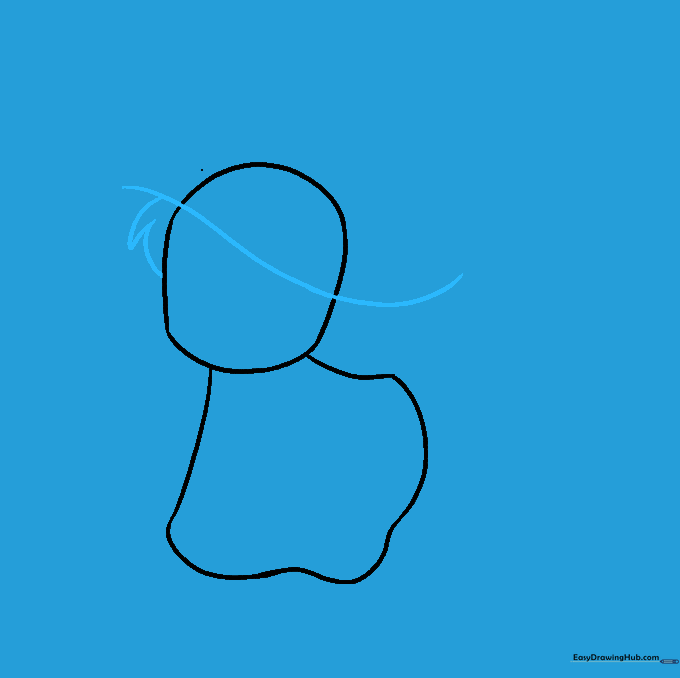
Draw a curved line across the head for the hat brim, then add a tuft of hair using short, jagged strokes. Teacher's Tip: Use quick, flicking motions with your pencil to make the hair look natural and messy.
Drawing the Ears
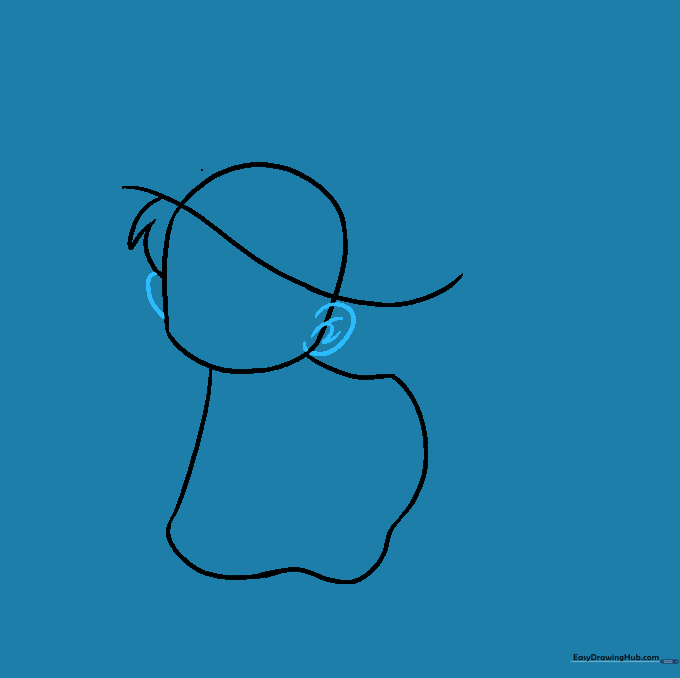
Add two small, curved ears on the sides of the head. Teacher's Tip: Add a tiny 'C' shape inside each ear to give them depth and realism.
Completing the Witch's Hat
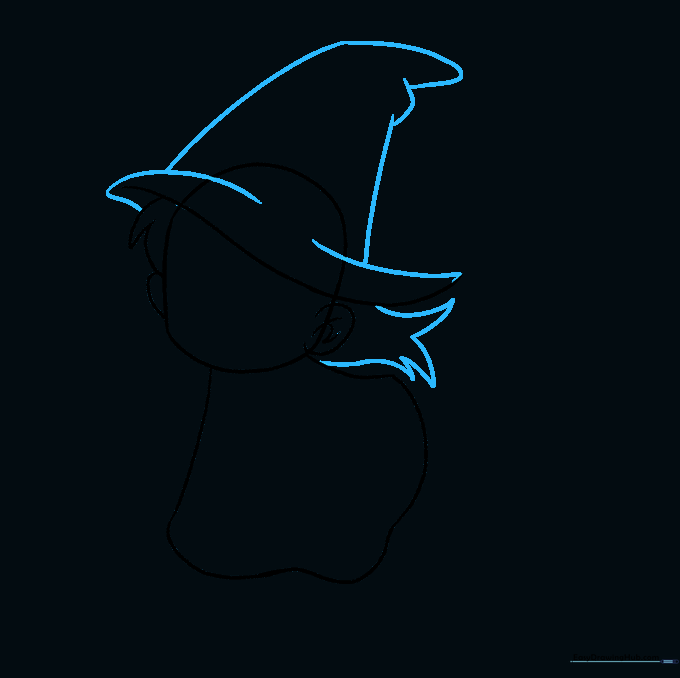
Draw the tall, pointed top of the hat. Teacher's Tip: Make the point slightly crooked to give it that classic, whimsical 'witchy' personality.
Drawing the Face

Add large oval eyes, a small nose, and a happy, smiling mouth. Teacher's Tip: Add tiny squiggles at the corners of the mouth to make her look friendly rather than scary.
Adding Arms and the Broomstick
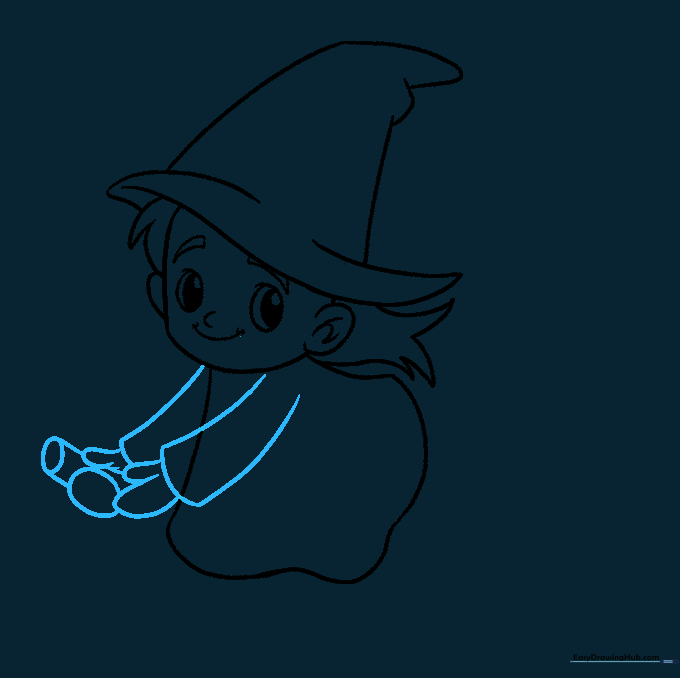
Draw the sleeves and mitten-like hands holding a broomstick. Teacher's Tip: Keep the broomstick handle straight by using the edge of a ruler if you find it tricky to draw freehand.
Adding Legs and Clothing Details
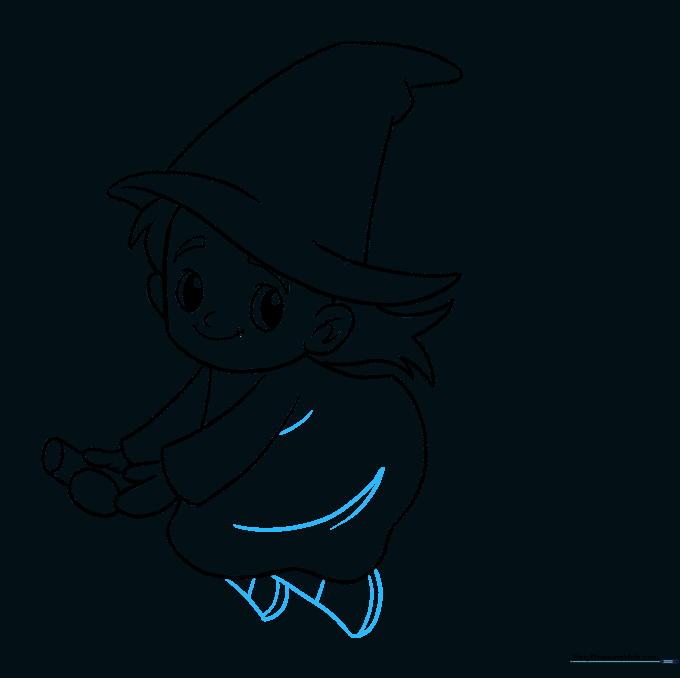
Draw the feet peeking out from the gown and add lines to show fabric folds. Teacher's Tip: Folds in clothing are just simple curved lines—don't overthink them!
Finishing the Broom
Add the straw bristles to the bottom of the broomstick. Teacher's Tip: Use long, overlapping strokes to make the broom look bushy and textured.
Coloring Your Witch
Bring your witch to life with color! Teacher's Tip: Try using classic Halloween colors like purple for the hat and orange for the hair to make her pop.
More Tutorials


