How to Draw a Witch Face: Easy 10-Step Guide for Kids
Bring a touch of magic to your sketchbook with this fun, cartoon-style witch face tutorial. Designed for young artists ages 6 and up, this project requires only a pencil, eraser, and paper. Follow these simple steps to build confidence and develop your character design skills.
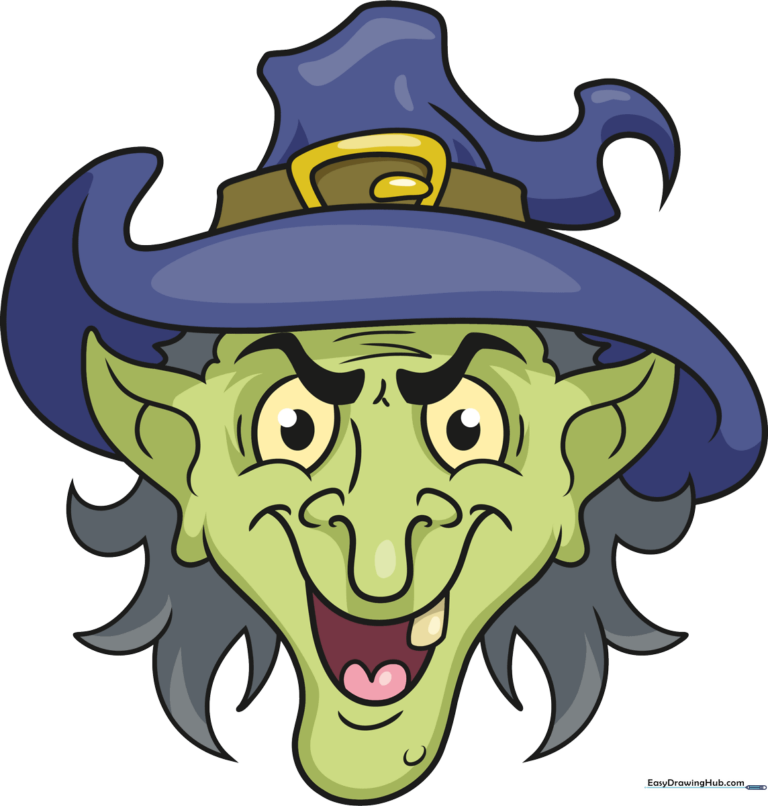
🎯 Final Result
Step-by-Step Instructions
Step 1: Sketching the Eyes and Brows

Draw two egg shapes for the eyes, then add circles inside for pupils. Sketch a soft curve beneath each eye. Add thick, wavy lines above for the eyebrows. Teacher's Tip: Keep your pencil strokes light so you can easily erase any overlapping lines later.
Step 2: Defining the Nose
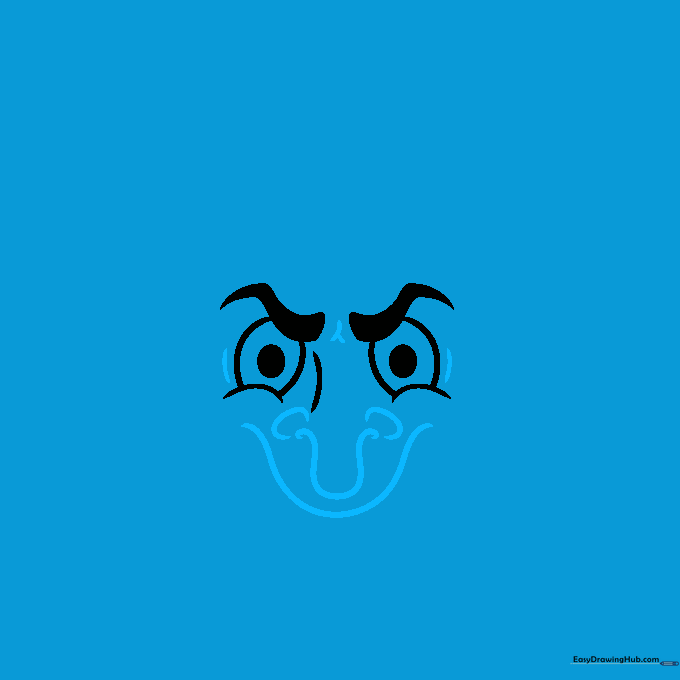
Draw a large, hooked dip between the eyes, framed by two gentle curves. Add a deeper curve underneath to define the bridge. Teacher's Tip: Witches are known for their distinct noses, so don't be afraid to make this shape a bit exaggerated!
Step 3: Adding the Mouth
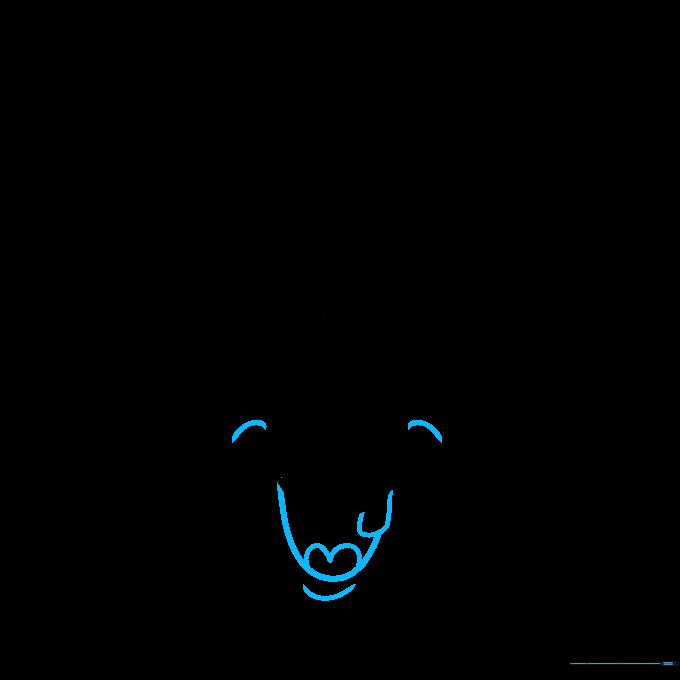
Create a wide, semi-oval curve for the mouth. Inside, draw a heart shape for the tongue and a small rectangle for a single tooth. Teacher's Tip: Adding the tooth gives your witch character a bit of personality and charm.
Step 4: Shaping the Face and Ears
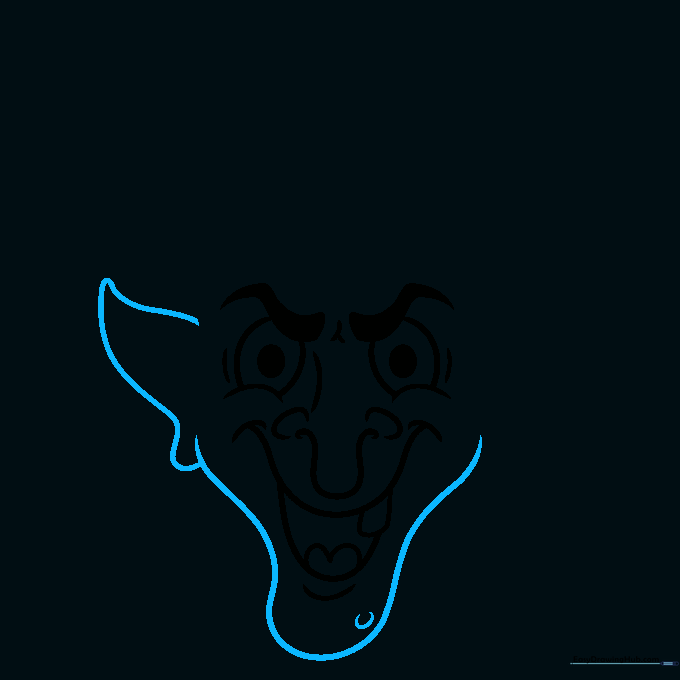
Outline the chin with a dip beneath the mouth. Add a small circle for a wart, and draw a rounded triangle with an oval at the bottom for the ear. Teacher's Tip: Warts are a classic witch feature—place yours wherever you think it looks best!
Step 5: Starting the Hat
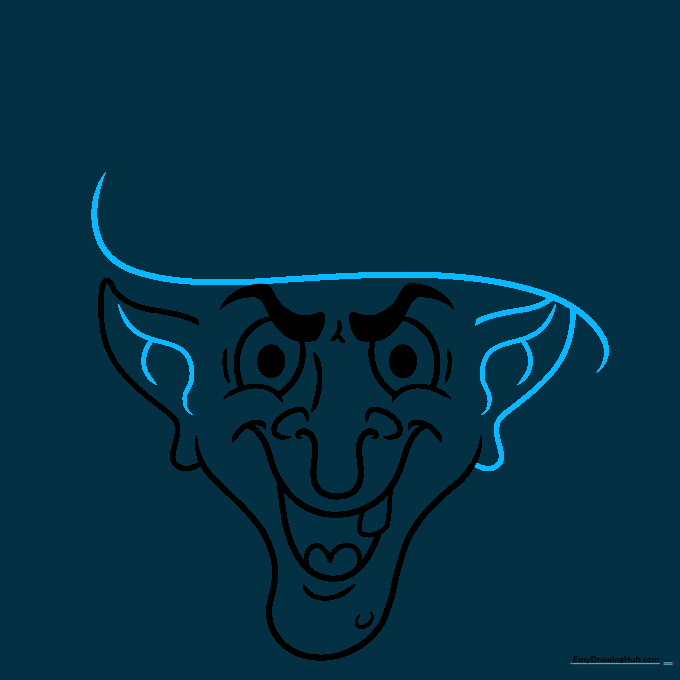
Sketch a wavy line across the top of the head to form the brim of the hat. Add the second ear on the right side, drawing curves inside both ears for detail. Teacher's Tip: Use light, flowing lines to make the hat brim look natural.
Step 6: Defining the Hat Crown
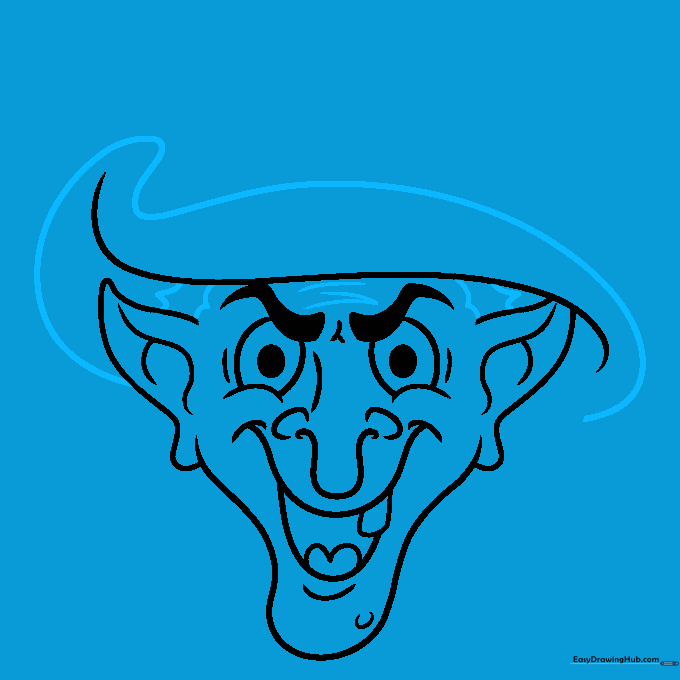
Outline the tall part of the hat with a sweeping curve that ends in a rounded point. Add extra curves on the forehead and over the ears to suggest hair. Teacher's Tip: Don't worry about making the hat perfectly straight; a crooked hat looks more magical!
Step 7: Adding the Hat Buckle
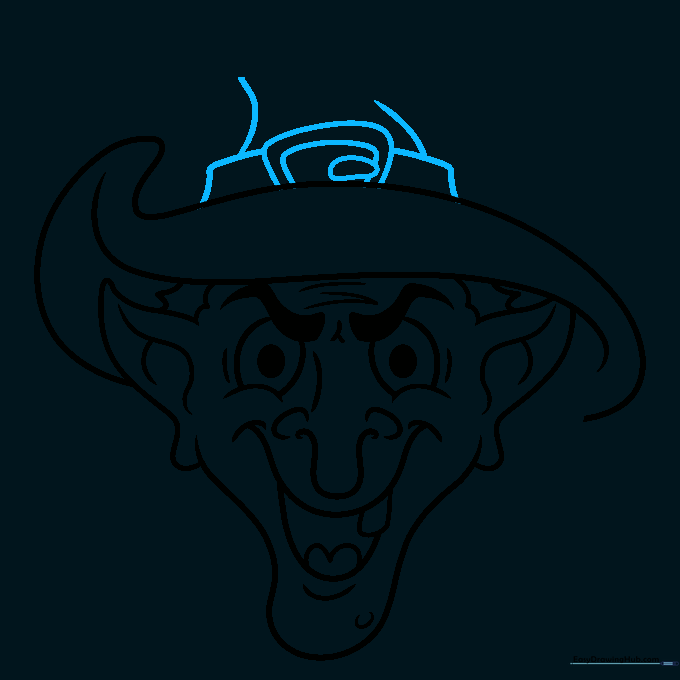
Draw a rounded rectangle on the hat for the buckle, with a smaller rectangle inside. Add an oval to the side to complete the buckle detail. Teacher's Tip: Focus on keeping the inner rectangle centered for a clean, professional look.
Step 8: Adding Hair Details

Use sweeping curves to create flame-like shapes for the hair on the left side. Add a wavy, uneven line across the top of the hat to give it texture. Teacher's Tip: Vary the length of your hair strokes to make it look wild and messy.
Step 9: Finalizing the Hair
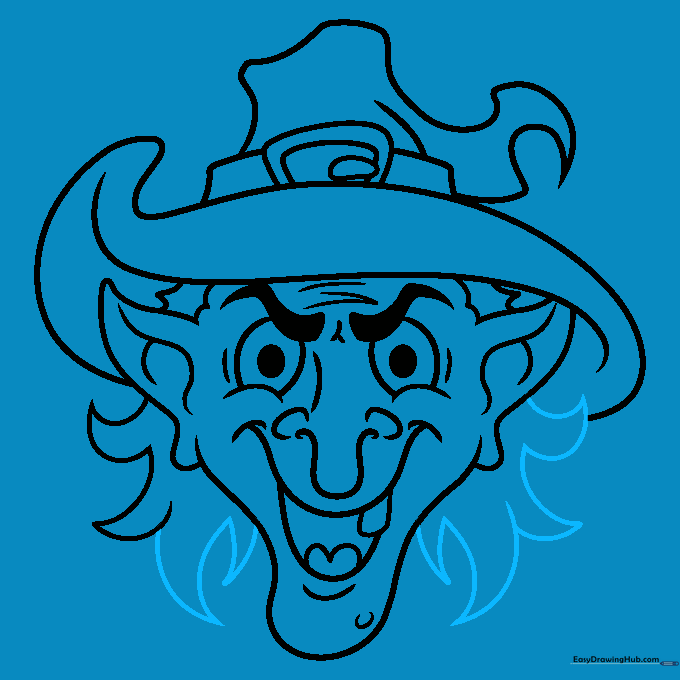
Repeat the flame-like strokes on the right side to balance out the hair. Ensure all your lines connect smoothly to the hat and face. Teacher's Tip: Step back and look at your drawing to see if you want to add any extra stray hairs for a 'spookier' effect.
Step 10: Coloring Your Witch
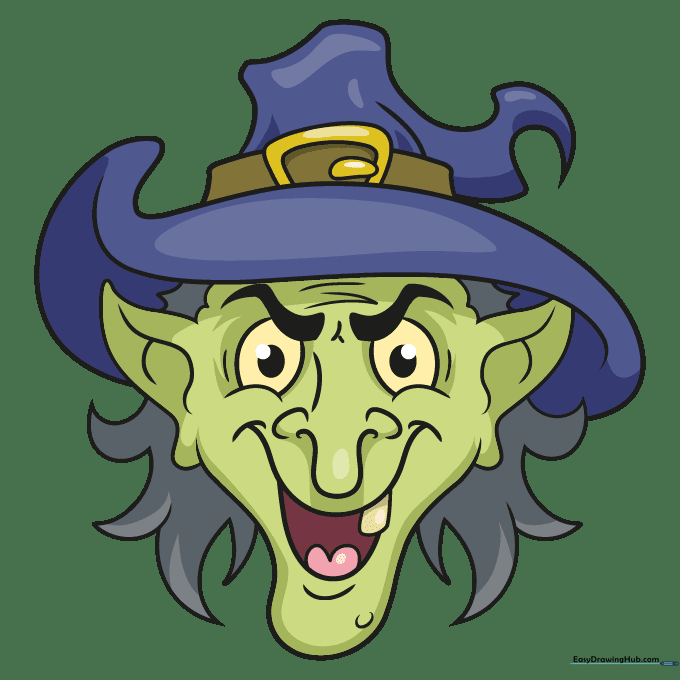
Outline your drawing with a black marker. Color the face olive green, the hair gray, the mouth pink, the eyes pale yellow, and the hat in shades of navy, brown, and gold. Teacher's Tip: Use light pressure with your colored pencils to blend the colors for a more vibrant finish.
More Tutorials


