How to Draw a Wine Glass: Simple 10-Step Guide
Master the art of drawing glassware with this simple, step-by-step guide designed for beginners. You will only need a pencil, an eraser, and a piece of paper to practice these fundamental shapes. This activity is a fantastic way to practice symmetry and light reflection techniques in your sketches.
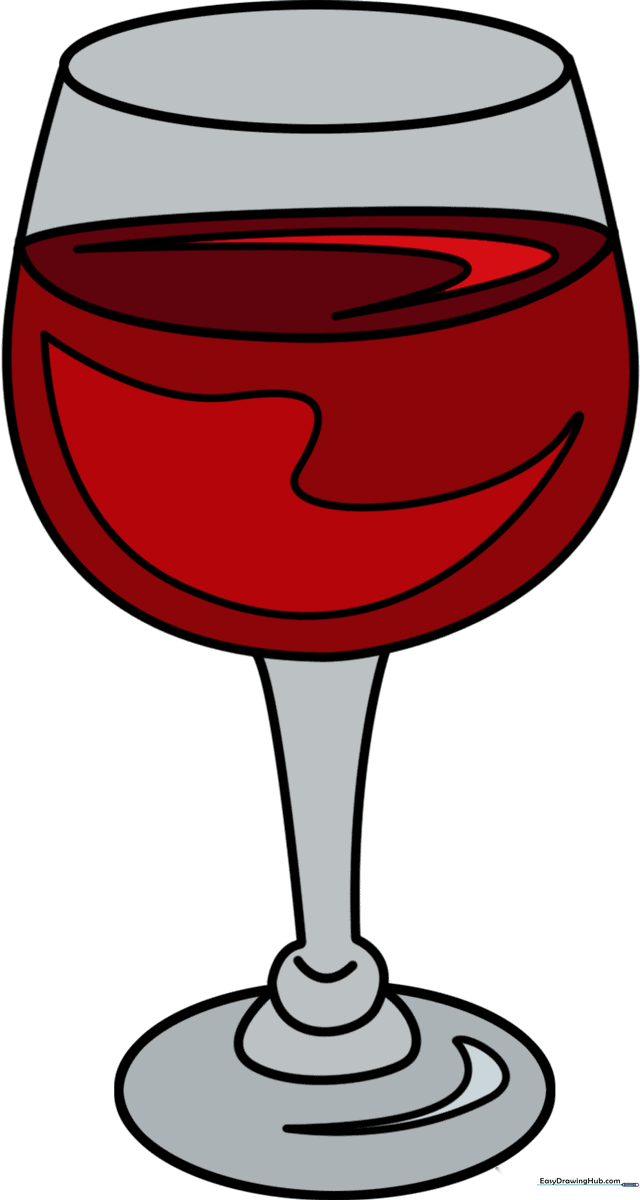
🎯 Final Result
Step-by-Step Instructions
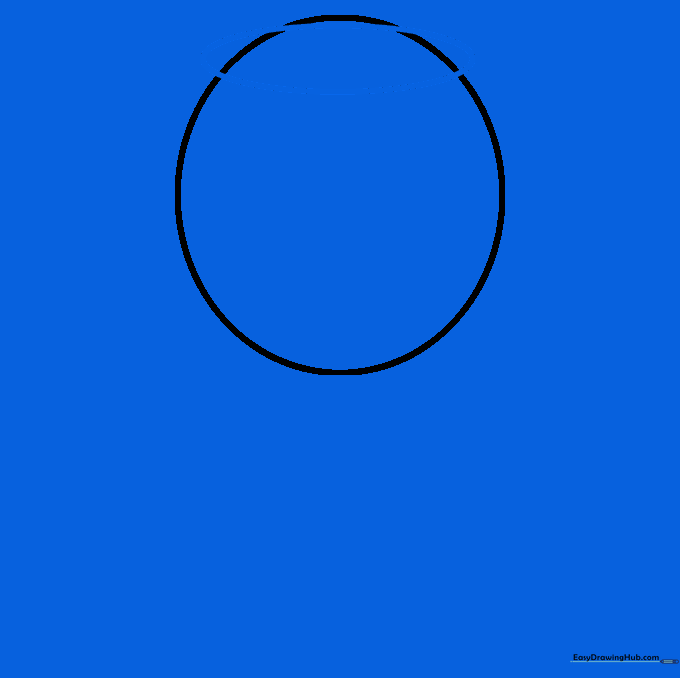
Sketching the Bowl

Start by drawing a light circle to serve as the main body of the glass. Teacher's Tip: Keep your pencil pressure very light here so you can easily erase these guide lines later.
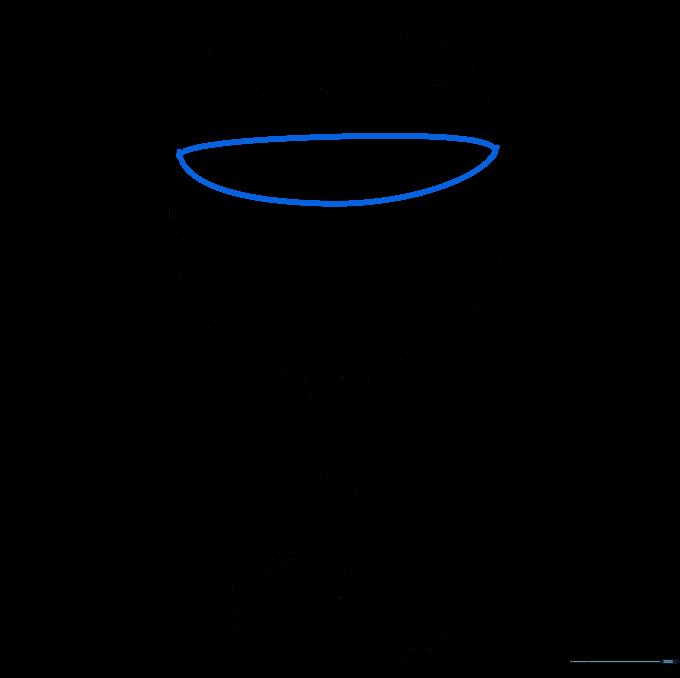
Defining the Rim
Draw a horizontal oval that overlaps the top of your circle. This represents the opening of the glass. Tip: Imagine you are looking down slightly into the glass to get the perspective right.
Adding Stem and Base Guides
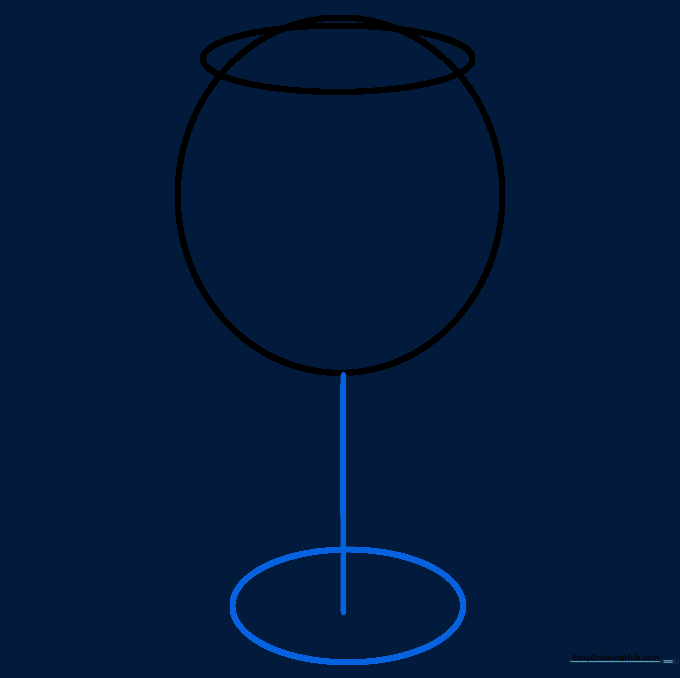
Draw a straight vertical line downward from the center of the circle for the stem, and a flat oval at the bottom for the base. Tip: Use a ruler if you struggle to keep the stem perfectly centered.
Cleaning the Top

Carefully erase the top portion of the circle that sits inside the oval rim. Tip: Use a kneaded eraser to lift the graphite gently without smudging your paper.
Outlining the Bowl
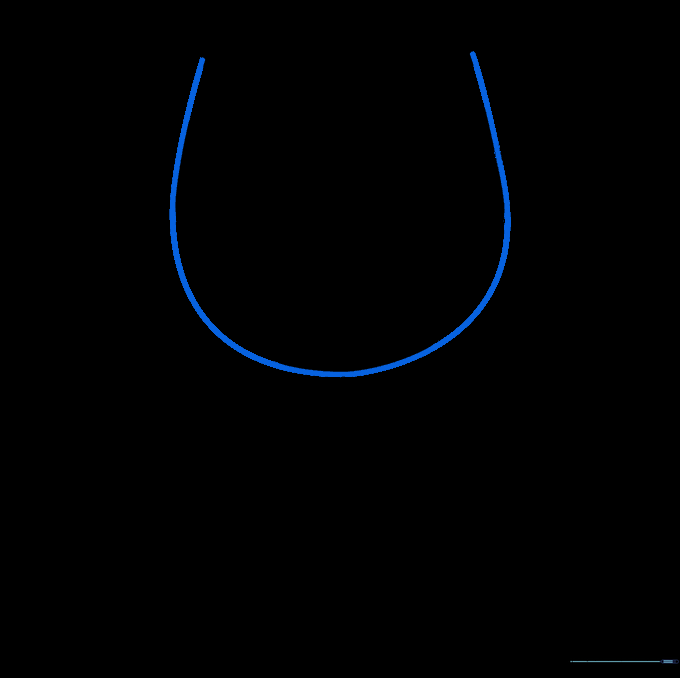
Connect the sides of the oval to the bottom of the circle using smooth, curved lines. This creates the rounded body of the glass. Tip: Try to make both sides mirror each other for a professional look.
Refining the Stem
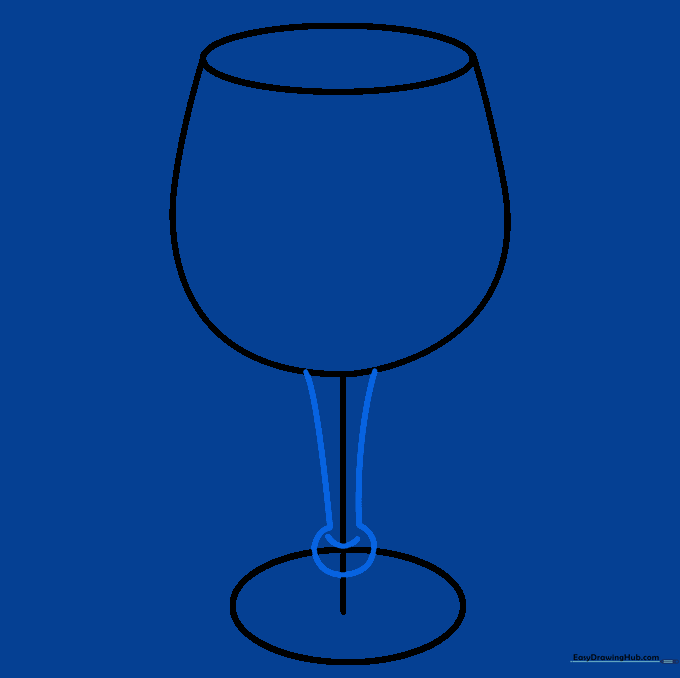
Erase the remaining circle guides. Draw two lines downward for the stem, adding a small 'V' shape where it meets the base. Tip: Keep the stem thin to ensure the glass looks elegant and balanced.
Finalizing the Base
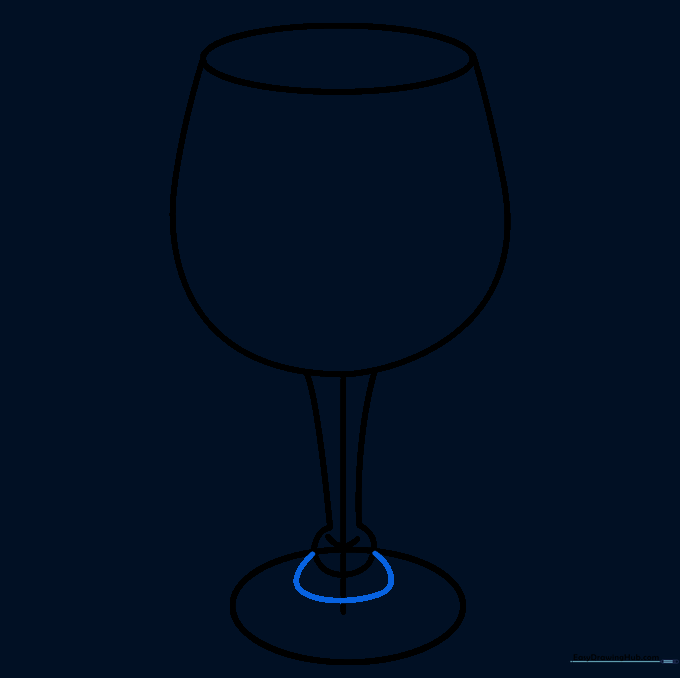
Enclose the bottom oval with a curved line to give the base thickness. Tip: A thicker base makes the glass look more grounded and stable on the page.
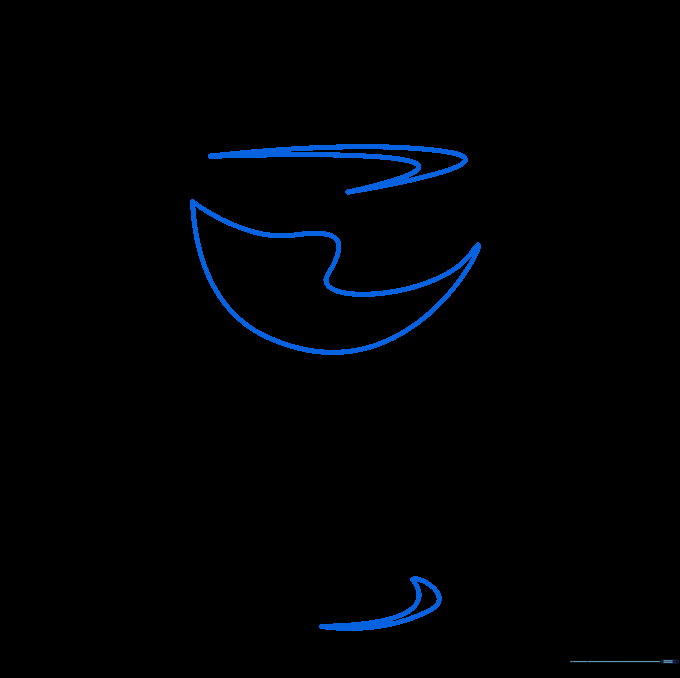
Adding Liquid Details
Draw two curved lines inside the bowl to represent the wine level. Tip: Make sure these lines follow the same curve as the top rim to maintain correct perspective.
Adding Highlights
Add small, pointed shapes on the glass and the liquid to represent light reflections. Tip: Keep these highlights sparse; too many will make the glass look cluttered.
Coloring Your Masterpiece
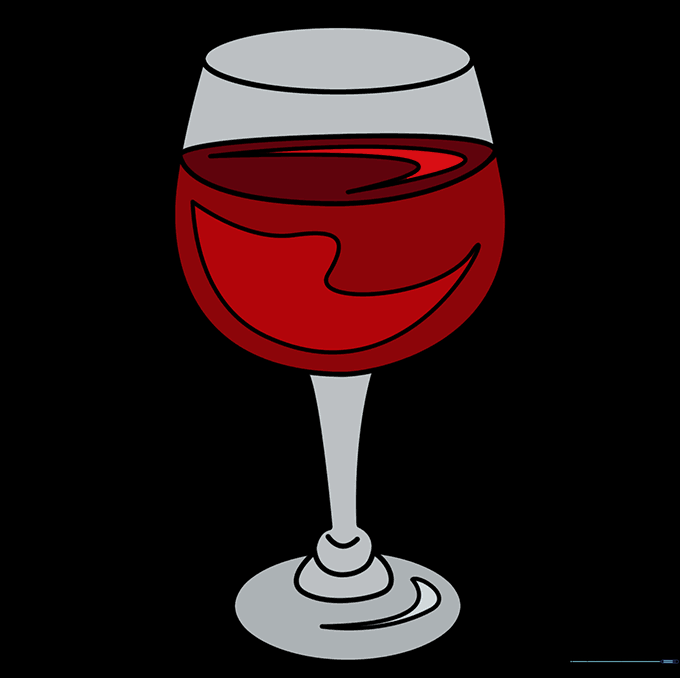
Bring your drawing to life! Use deep burgundy for red wine, soft pink for rosé, or a pale yellow for white wine. Tip: Leave the white highlights untouched to make the glass look truly transparent.
More Tutorials


