How to Draw a Window: Easy 10-Step Guide for Kids
Bring your drawings to life with this charming window tutorial, perfect for artists ages 5 and up. All you need is a pencil, an eraser, and your favorite coloring supplies to get started. By the end of this lesson, you will have mastered drawing geometric frames and soft, flowing curtains.
🎯 Final Result

Step-by-Step Instructions
Step 1: Sketching the Outer Frame

Draw a smaller rectangle inside a larger one to create the window frame. Teacher's Tip: Use a ruler if you want perfectly straight lines, or embrace a hand-drawn look for a more organic feel.
Step 2: Adding the Window Panes

Draw intersecting vertical and horizontal lines across the center to create four panes. Teacher's Tip: Press lightly; these lines help guide your placement and can be adjusted if they aren't perfectly centered.
Step 3: Drawing the Curtain Rod

Draw two parallel horizontal lines above the window with small ovals at the ends for the rod. Teacher's Tip: Make sure the rod is slightly wider than the window frame to look realistic.
Step 4: Sketching the Valance
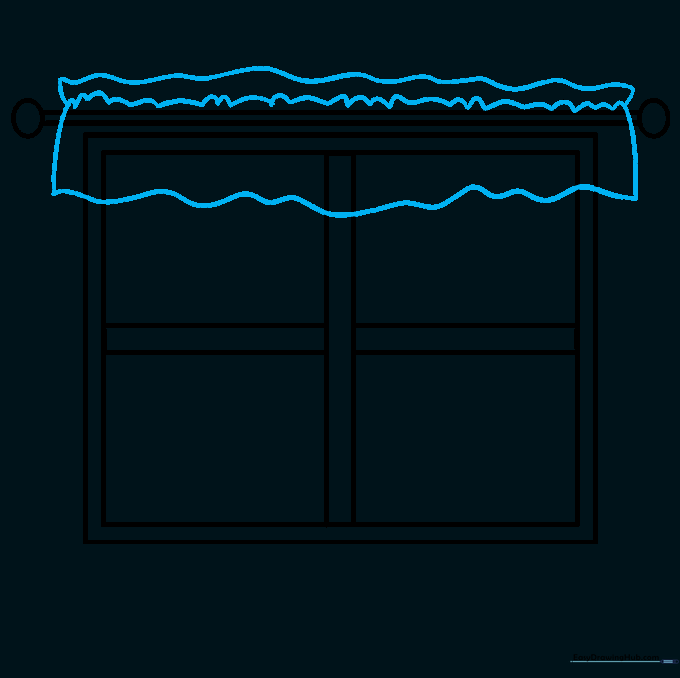
Use wavy lines to draw the fabric valance hanging from the rod. Teacher's Tip: Wavy lines represent soft fabric, so don't worry about making them perfectly symmetrical.
Step 5: Forming the First Curtain
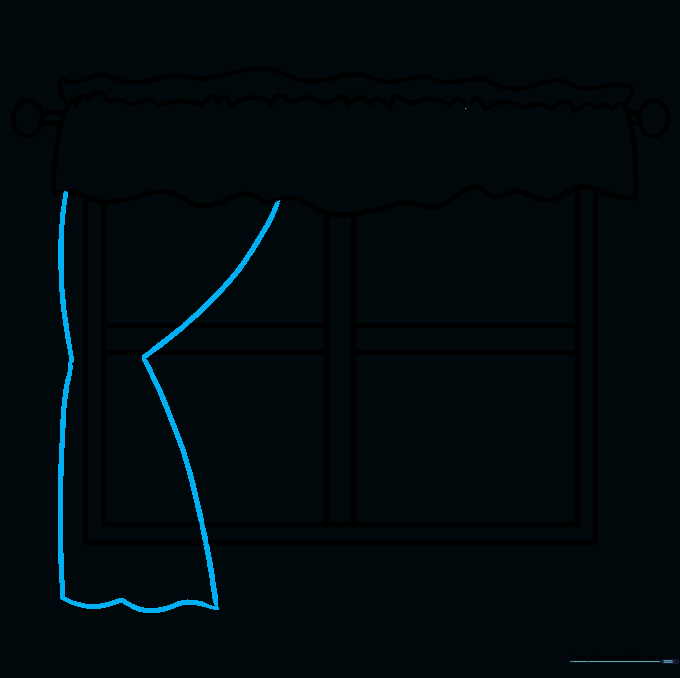
Draw the first curtain using curved lines that pinch in the middle. Teacher's Tip: Think of an hourglass shape to get that natural draped look.
Step 6: Adding the Second Curtain
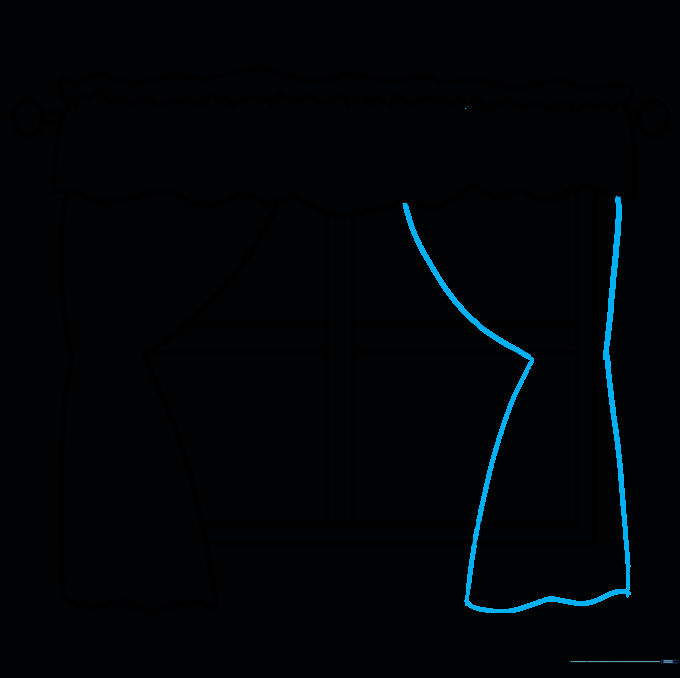
Mirror the first curtain on the other side to complete the pair. Teacher's Tip: Keep the bottom edges wavy to show where the fabric folds.
Step 7: Adding Tiebacks
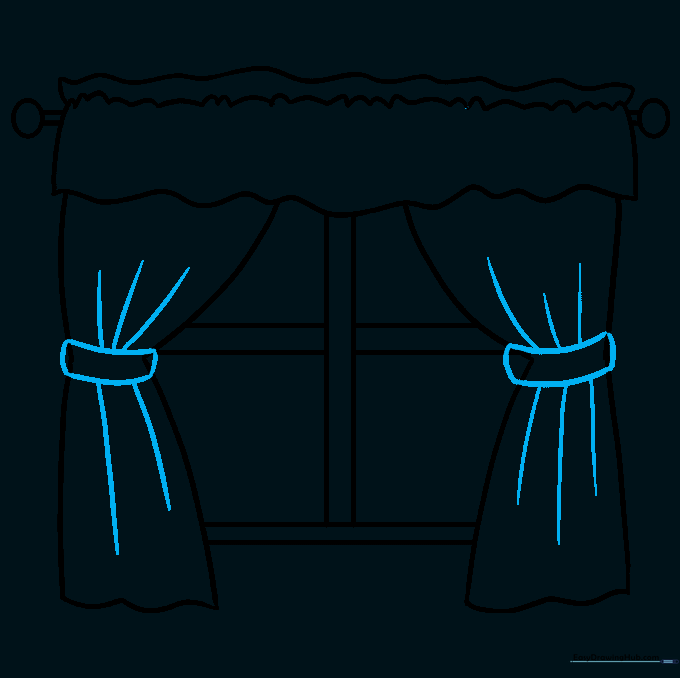
Draw small rectangles at the pinch point of each curtain to create tiebacks. Teacher's Tip: Adding these small details makes your drawing look professional and finished.
Step 8: Adding Fabric Texture

Add short, curved lines to the valance to show folds in the fabric. Teacher's Tip: Less is more! A few well-placed lines suggest movement better than too many.
Step 9: Adding Final Details

Draw a small flower pot on the sill and diagonal lines on the glass for a 'glare' effect. Teacher's Tip: The glare lines help the window look like real glass!
Step 10: Bringing it to Life with Color

Color your window! Use bright colors for the flower and soft shades for the curtains. Teacher's Tip: Try using two shades of the same color on the curtains to create shadows and depth.
More Tutorials


