How to Draw a Willow Tree: Easy 9-Step Guide for Kids
Bring the graceful beauty of a weeping willow to your sketchbook! This tutorial is designed for young artists and beginners, requiring only a pencil, eraser, and paper. Follow these steps to master the art of drawing cascading foliage and textured bark.
🎯 Final Result

Step-by-Step Instructions
Step 1: Sketching the Trunk and Roots

Draw the trunk using two slightly curved lines that widen at the bottom. Add small, overlapping curved lines at the base to represent the roots anchoring into the ground. Teacher's Tip: Keep the lines fluid to give the tree a natural, organic feel.
Step 2: Forming the Main Branches
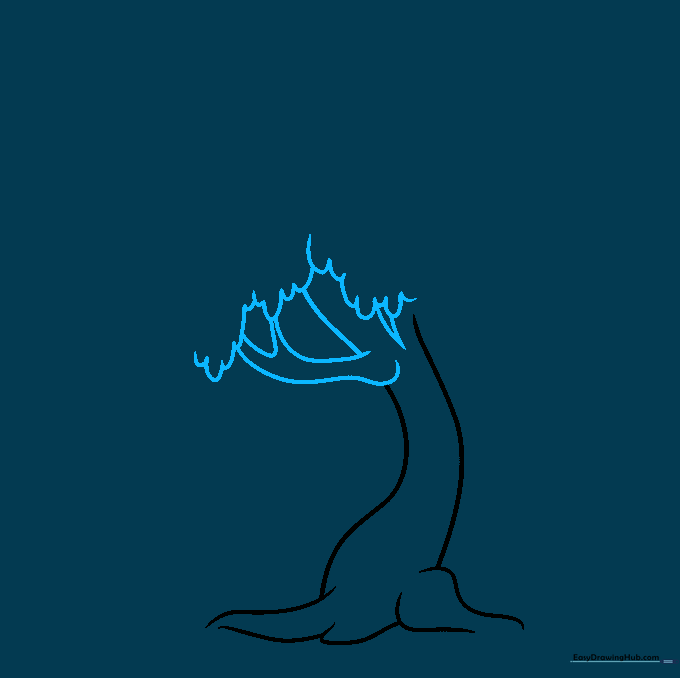
Sketch the primary branches extending from the trunk using pairs of curved lines. Add small 'V' shapes at the tips to prepare for the foliage. Teacher's Tip: Don't worry about perfect symmetry; willow trees are known for their wild, asymmetrical growth.
Step 3: Adding the First Foliage
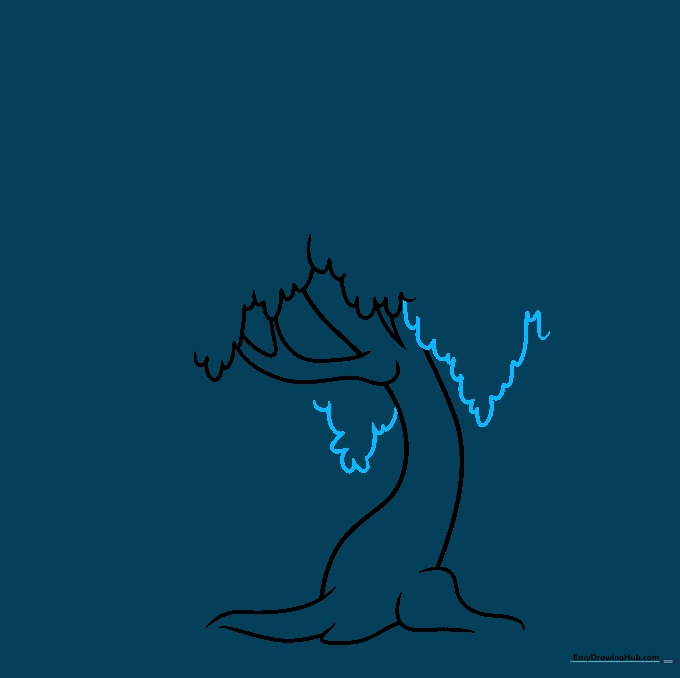
Begin the signature 'weeping' look by drawing connected 'U' shaped lines hanging from the branches. Teacher's Tip: Think of these as soft, drooping curtains of leaves.
Step 4: Building Leaf Density
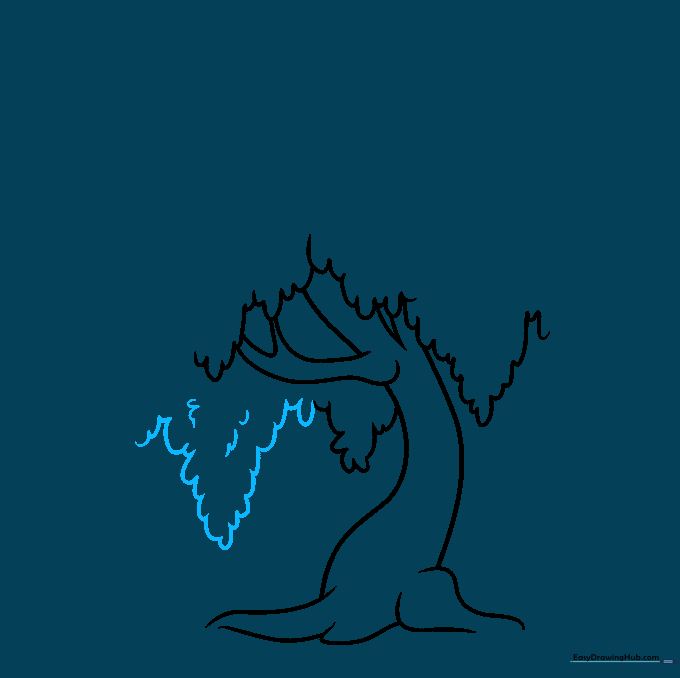
Continue adding more 'U' shaped boughs to fill out the tree. Add small texture lines within the foliage to suggest individual leaves. Teacher's Tip: Vary the length of your 'U' lines to make the tree look fuller.
Step 5: Expanding the Crown
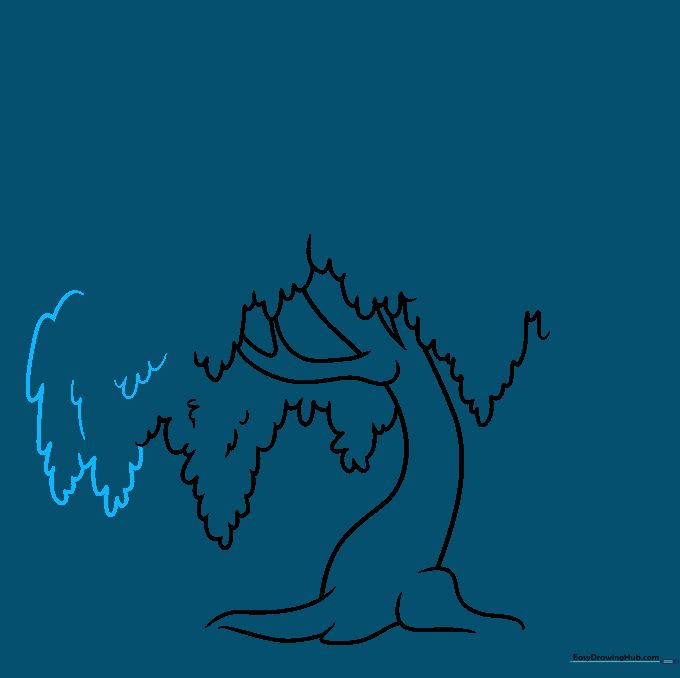
Draw additional weeping boughs on the sides to widen the tree's crown. Use longer, sweeping curved lines to define the outer edges. Teacher's Tip: Let these lines overlap slightly to create a sense of depth.
Step 6: Refining the Shape
Continue sketching the crown, ensuring the boughs overlap to create a lush appearance. Add more 'U' shaped textures throughout. Teacher's Tip: Focus on the 'flow' of the lines—they should look like they are gently swaying in the wind.
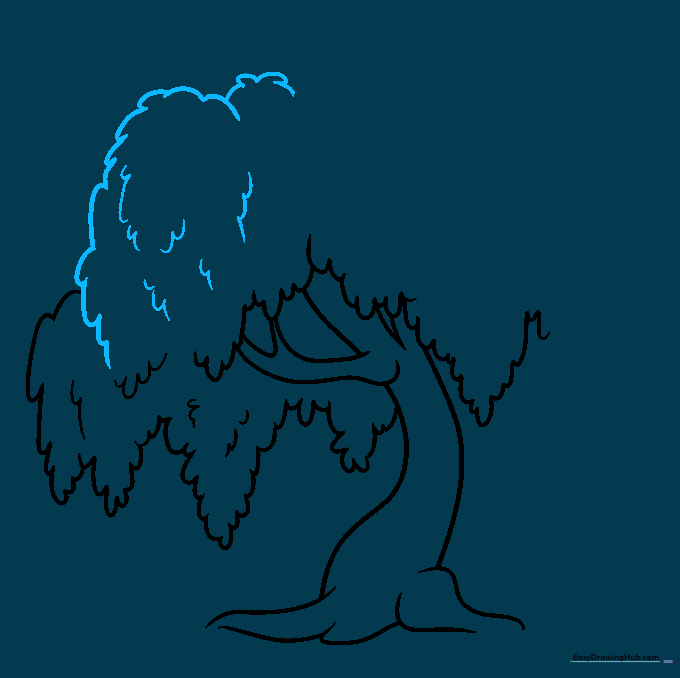
Step 7: The Uppermost Boughs

Draw the highest branches using connected curved lines. These should peak at the top of your drawing. Teacher's Tip: Make these top branches slightly smaller to give the tree a realistic perspective.
Step 8: Finalizing the Outline

Go over your sketch to finalize the outline, connecting any loose ends with smooth, curved lines. Teacher's Tip: Use a darker pencil pressure here to make your final lines pop.
Step 9: Adding Ground and Bark Texture
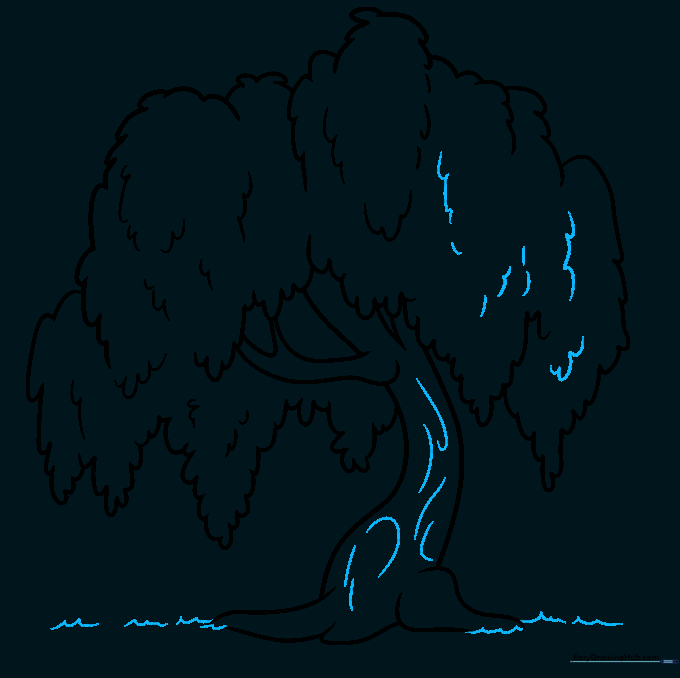
Add swirling lines to the trunk for bark texture and draw wavy lines at the base to represent grass. Teacher's Tip: Use short, quick strokes for the grass to make it look realistic.
Step 10: Bringing it to Life with Color

Color your tree using shades of silvery-green for the leaves and earthy browns for the trunk. Teacher's Tip: Use light green for the highlights and dark green for the shadows to give your tree a 3D look!
More Tutorials


