How to Draw a Wild Rose: Easy 9-Step Guide for Kids
Perfect for young artists ages 5 and up, this wild rose tutorial helps children master organic shapes and petal symmetry. You only need a pencil, an eraser, and a piece of paper to get started. Follow along to create a charming floral illustration that builds confidence in basic sketching techniques.
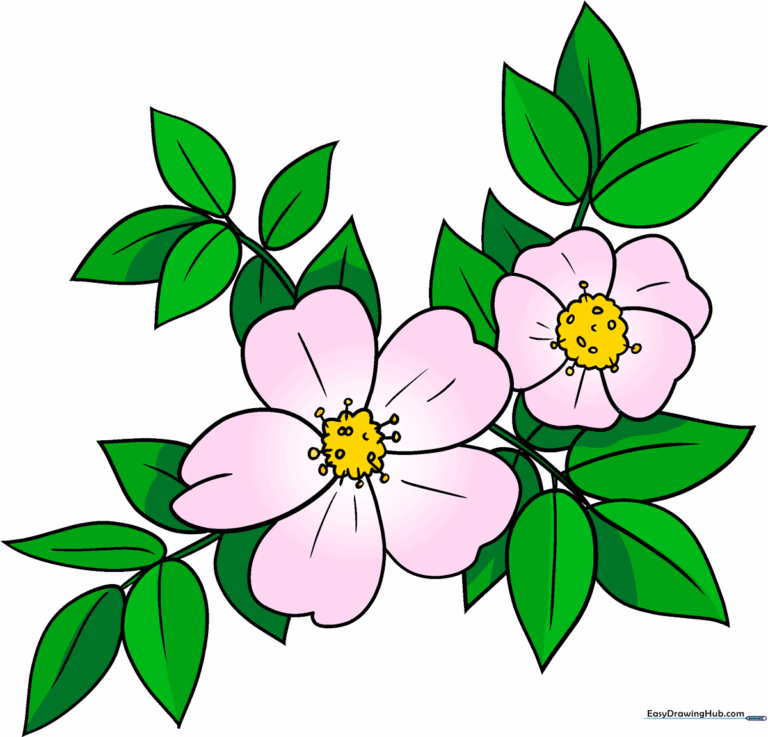
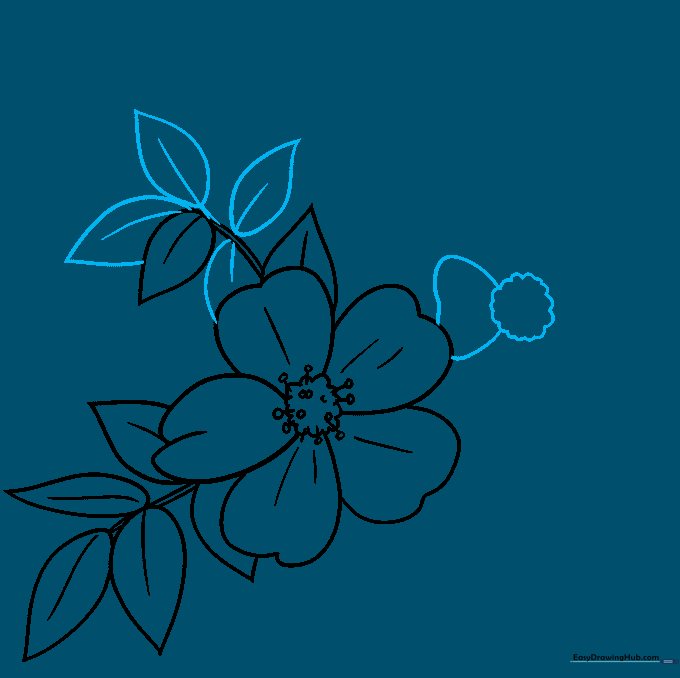
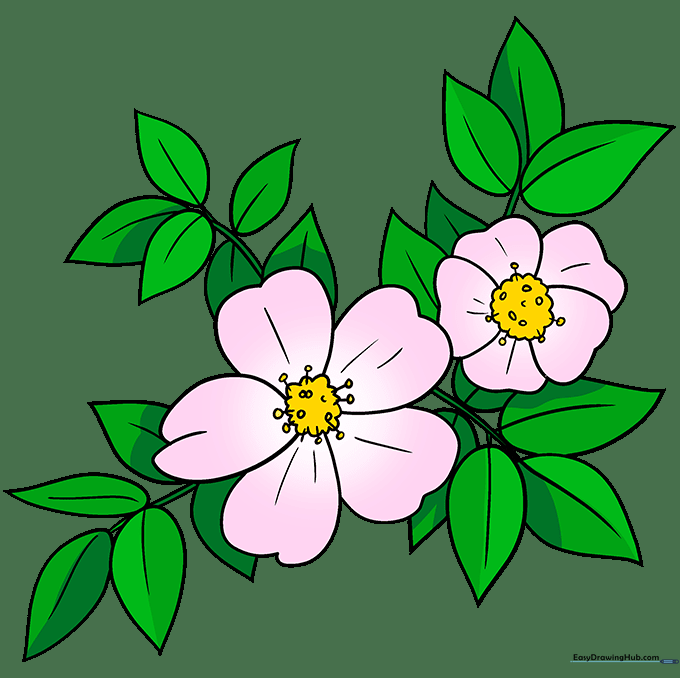
🎯 Final Result
Step-by-Step Instructions
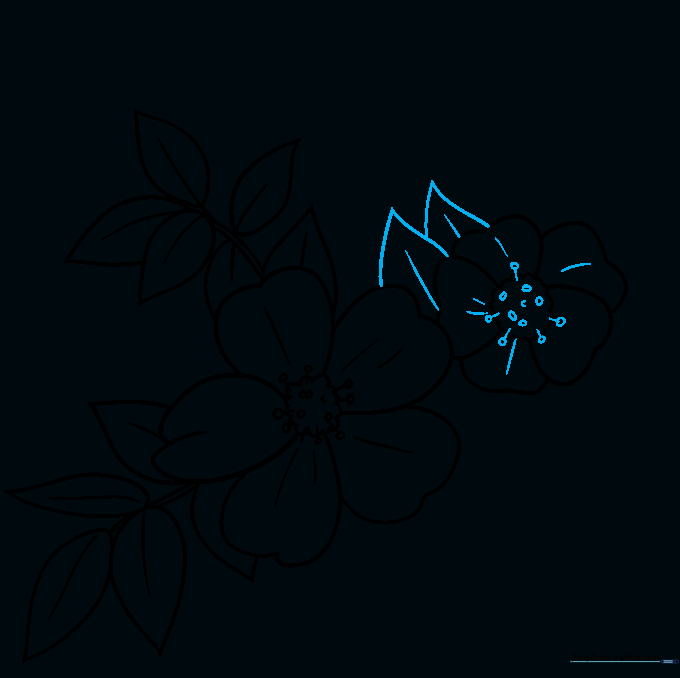
Step 1: Sketching the Flower Center

Start by drawing a small, circular cluster in the middle using tiny 'U' shaped lines. Teacher's Tip: Keep these 'U' shapes tight and close together to create a realistic, fuzzy-looking stamen center.
Step 2: Forming the First Petals
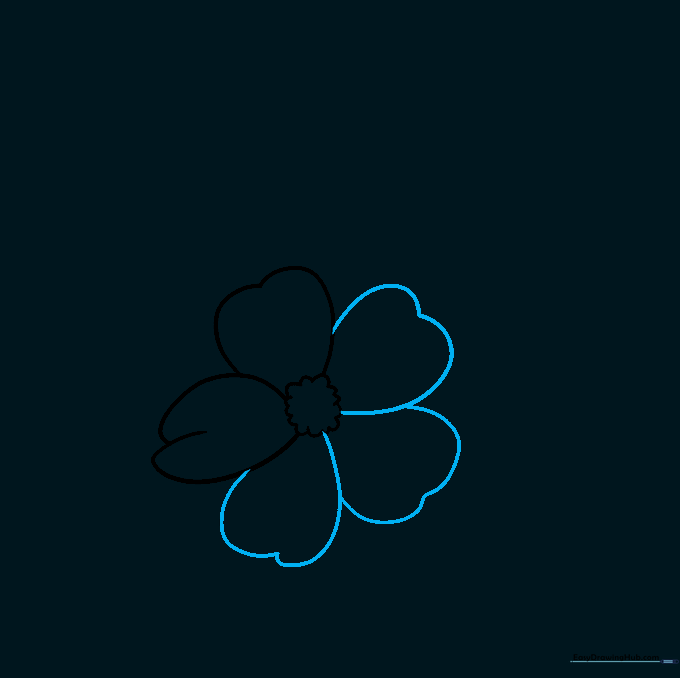
Draw your first few petals using overlapping curved lines. Tip: Give each petal a slight 'dip' or indentation at the top edge to make them look soft and natural rather than perfectly round.
Step 3: Adding Stamens and Leaves
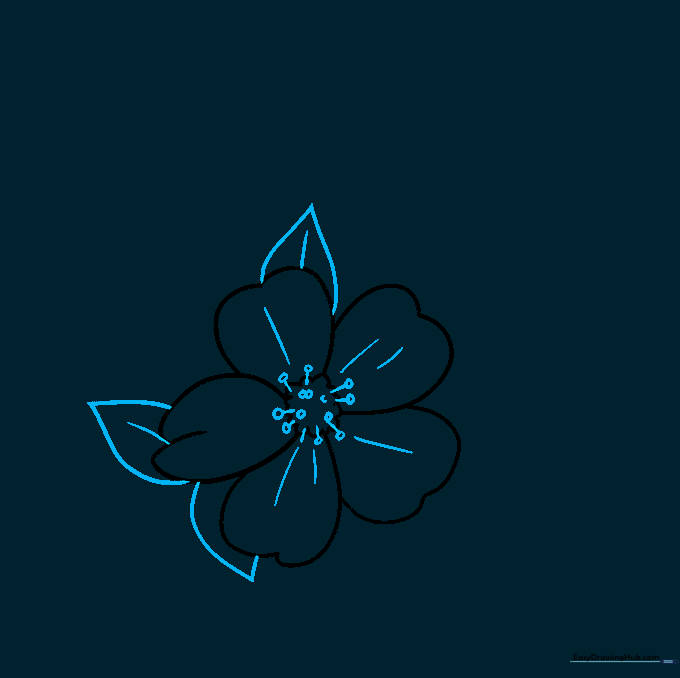
Extend short lines from the center and top them with tiny ovals to represent the pollen-filled anthers. Then, sketch your first leaves by drawing two curved lines that meet at a sharp point. Tip: Add a single line down the center of each leaf to act as the vein.
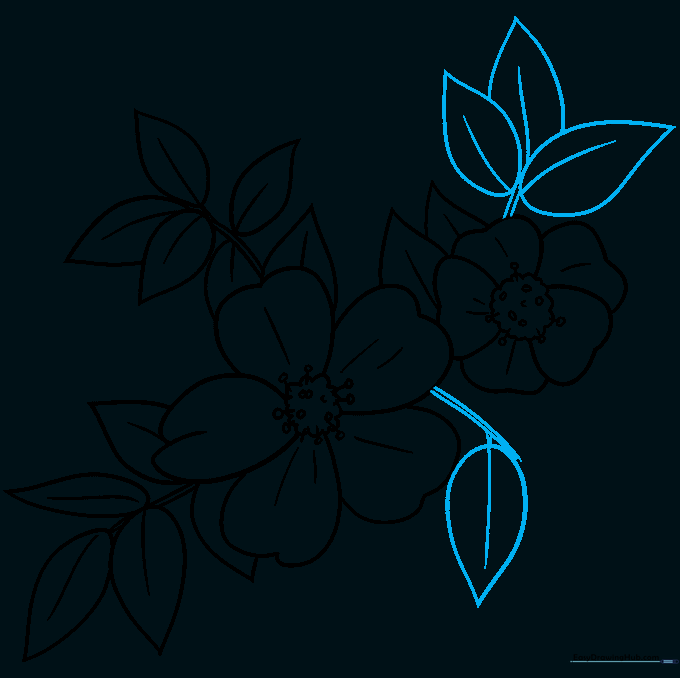
Step 4: Drawing the Stems
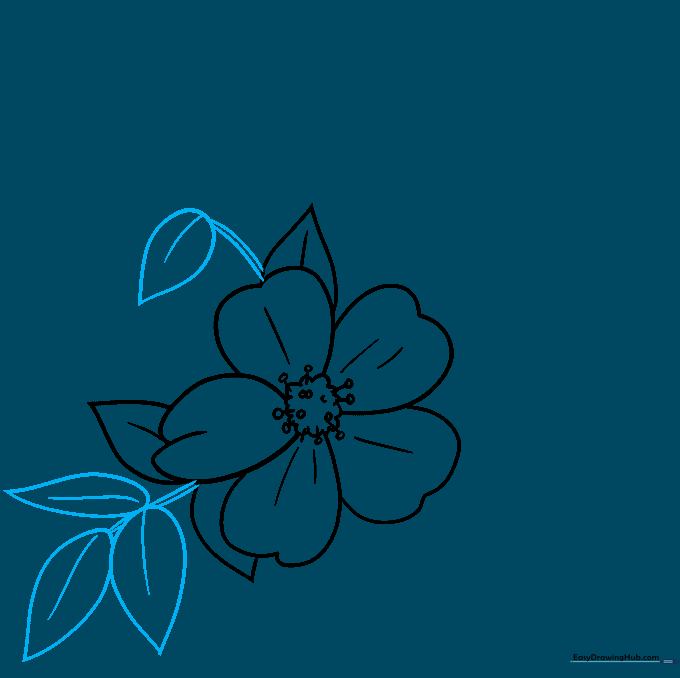
Connect your flower to the rest of the page by drawing two parallel curved lines for the stem. Add teardrop-shaped leaves along the stem. Tip: Vary the size of the leaves to make the plant look more organic.
Step 5: Starting the Second Blossom
Repeat the process to add a second rose blossom nearby. Start with the 'U' shaped center again. Tip: Placing the second flower at a different angle makes your drawing look more dynamic.
Step 6: Defining Petals
Layer your petals using overlapping curved lines. Tip: Don't worry if the petals aren't perfectly symmetrical; wild roses are naturally irregular and beautiful!
Step 7: Adding Details to the Second Flower

Add the anthers and leaf veins to your second flower just like you did in step 3. Tip: Use a slightly sharper pencil for these small details to keep them clean.
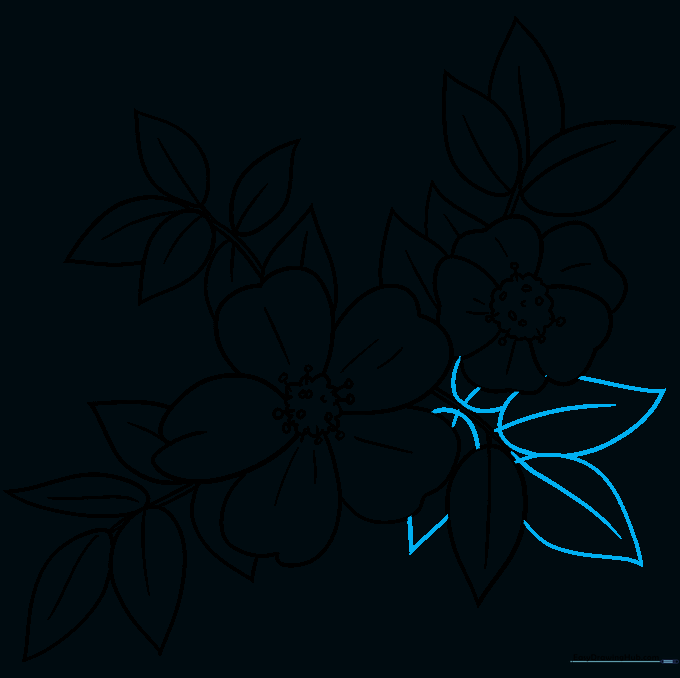
Step 8: Expanding the Foliage
Continue adding stems and leaves to connect your two flowers. Tip: Try to overlap some leaves behind the flowers to create a sense of depth in your drawing.
Step 9: Final Touches
Complete your outline by adding any final leaves or stems. Tip: Once you are happy with the sketch, use a dark pen to trace your lines and erase the stray pencil marks for a professional look.
Step 10: Coloring Your Masterpiece
Bring your drawing to life with color! We used soft pink for the petals and vibrant green for the leaves. Tip: Use a darker shade of pink at the base of the petals to create a beautiful shadow effect.
More Tutorials


