How to Draw a Wild Flower: Easy 10-Step Guide for Kids
Bring the beauty of nature to your sketchbook with this simple wildflower tutorial, perfect for young artists ages 5 and up. All you need is a pencil, an eraser, and your favorite coloring supplies to get started. Follow these steps to build confidence in your drawing skills while creating a vibrant floral masterpiece.
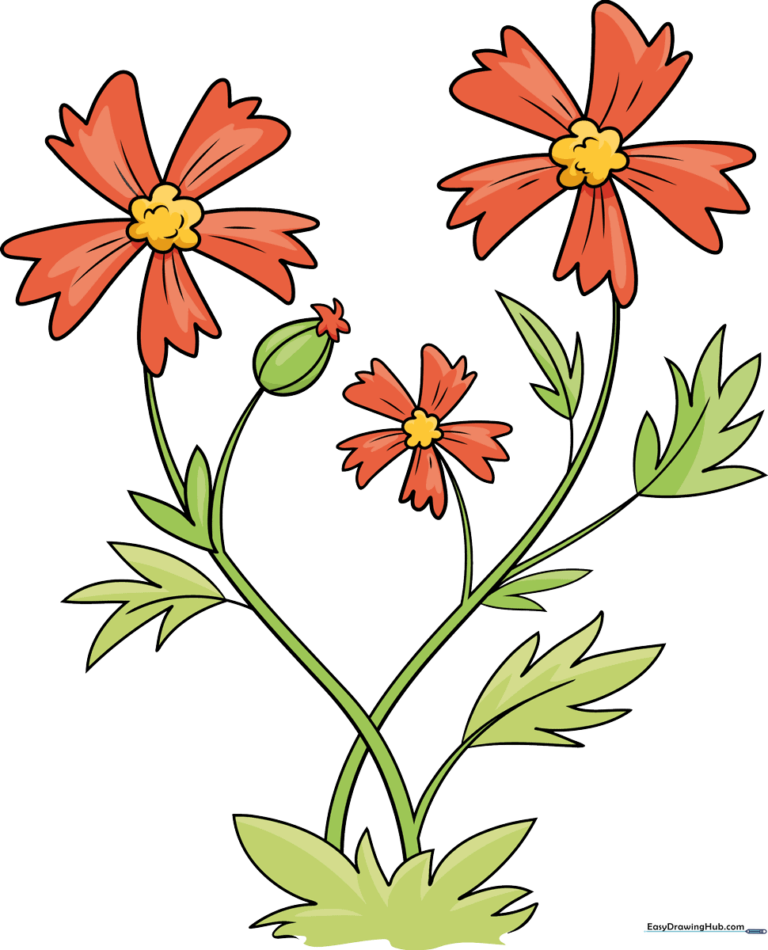
🎯 Final Result
Step-by-Step Instructions
Step 1: Sketching the Grass and Flower Center
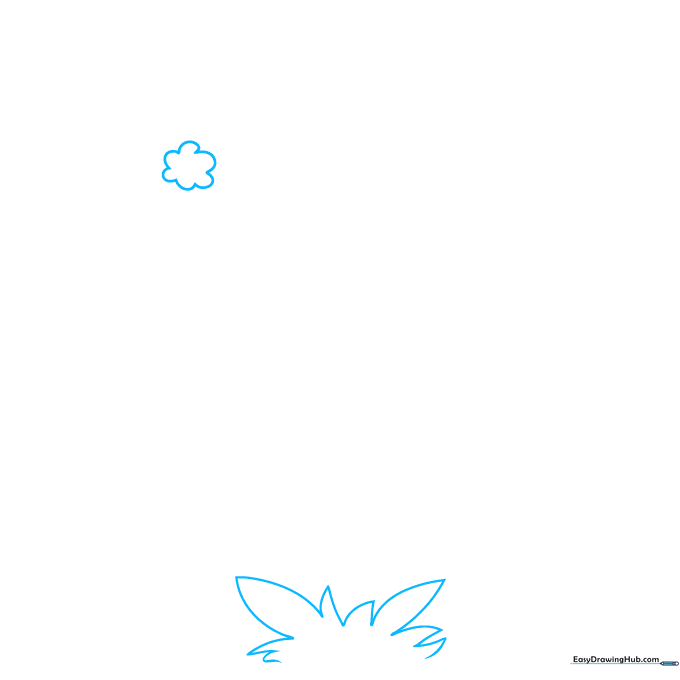
Start by drawing a small tuft of grass at the bottom using jagged, pointed lines. Above the grass, draw a small circle to serve as the heart of your first flower. Teacher's Tip: Keep your pencil lines light and loose so you can easily erase any mistakes later.
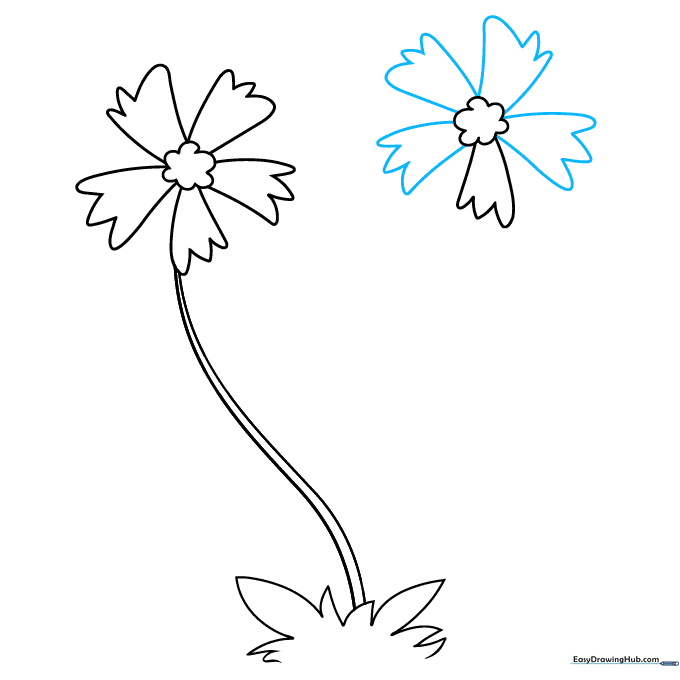
Step 2: Adding the First Petals
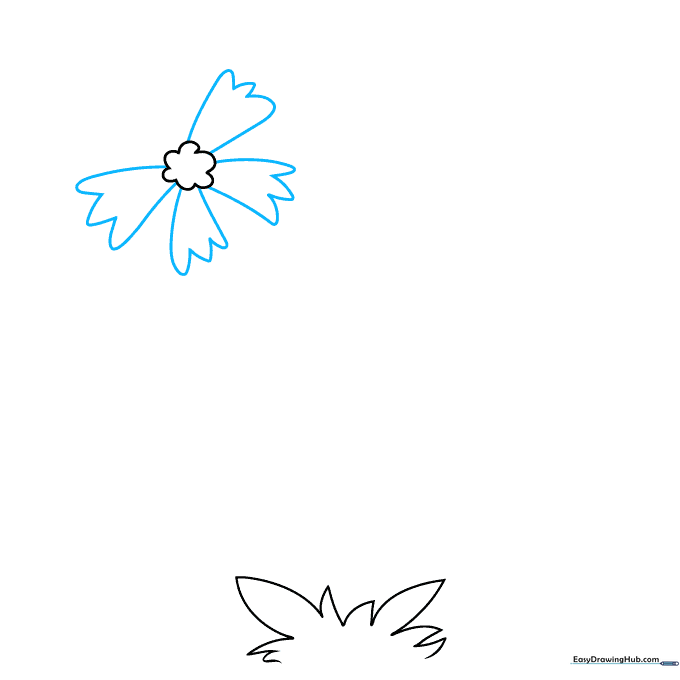
Draw petals around the center circle. Extend two lines outward and connect them at the tip with a jagged 'V' shape to give the flower a natural, wild look. Teacher's Tip: Don't worry about making the petals identical; wildflowers are beautiful because they are unique!
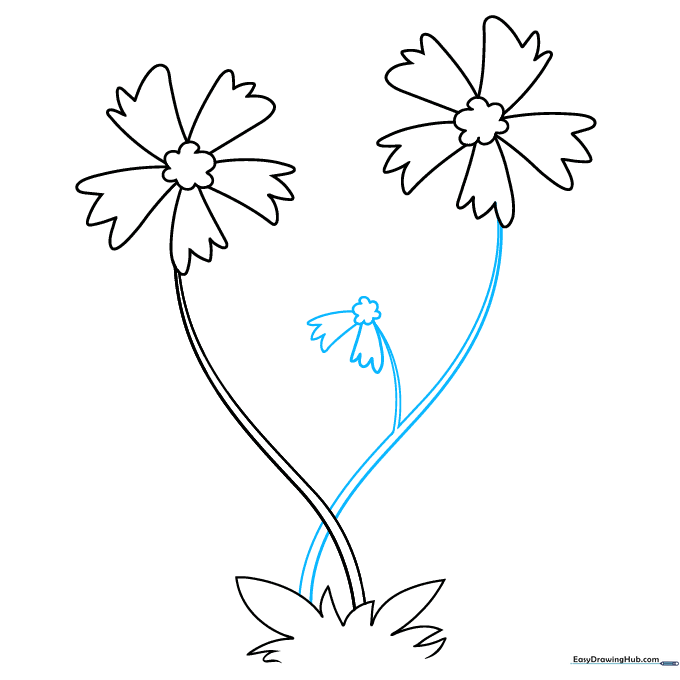
Step 3: Creating the Stem and Second Blossom
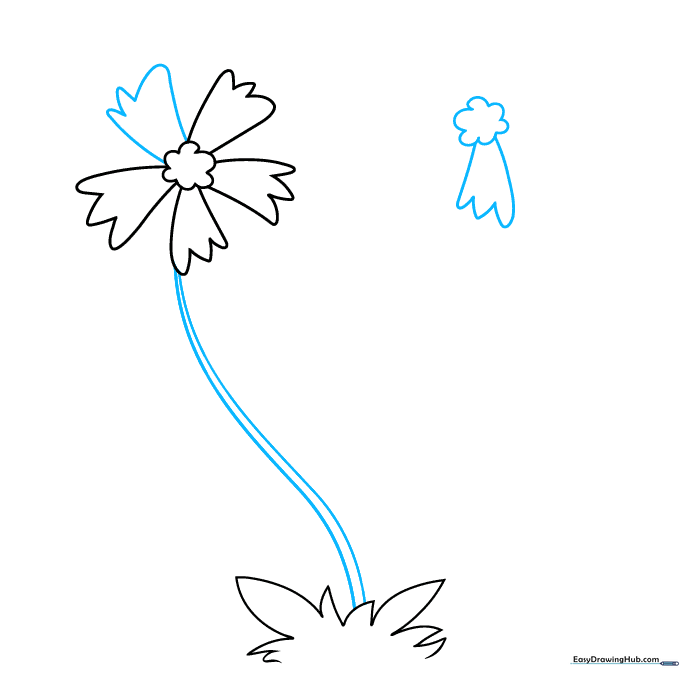
Finish the first flower's petals and draw a long, slender stem using two parallel curved lines. Then, start your second flower by drawing another circle nearby. Teacher's Tip: If your stem looks a bit wobbly, that's okay—it makes the flower look like it's swaying in the breeze!
Step 4: Shaping the Second Flower
Add five jagged petals to your second flower center. Use the same 'V' shape technique as before. Teacher's Tip: Counting the petals as you draw helps kids practice their math and spatial awareness simultaneously.
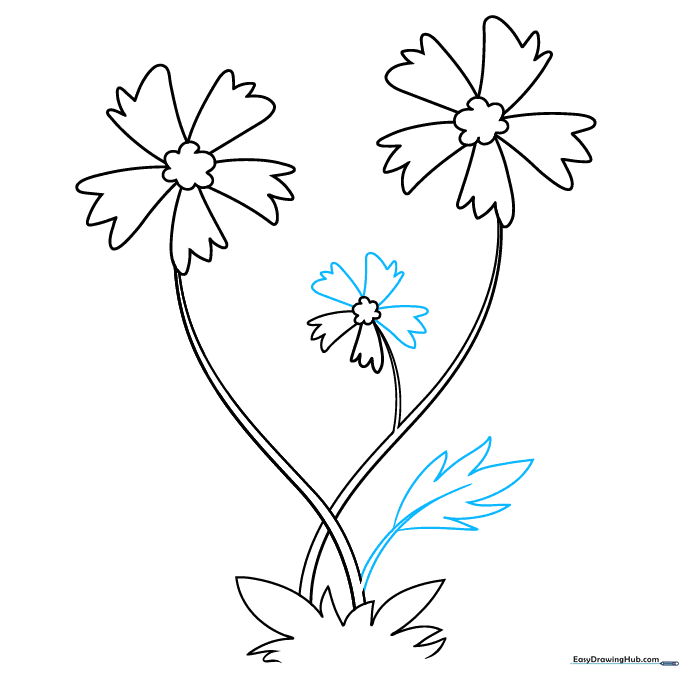
Step 5: Adding a Bud and Stem
Draw a stem for the second flower, and add a smaller branch off to the side. At the tip of this branch, draw a small circle to represent a flower bud. Teacher's Tip: Adding buds and different heights creates depth and makes your drawing look more professional.
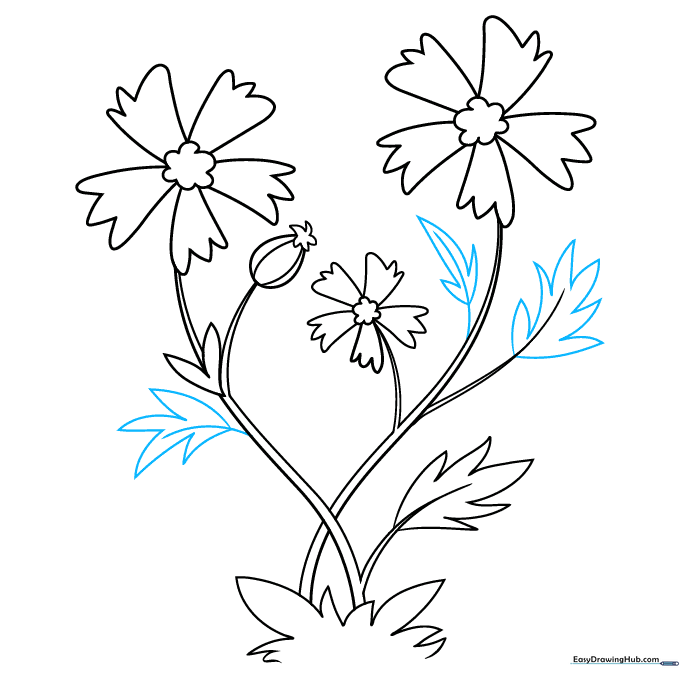
Step 6: Drawing Leaves
Sketch a leaf at the base of the stem by drawing two curved lines that meet at a sharp point. Add jagged edges to the leaf to give it texture. Teacher's Tip: Leaves are rarely perfectly smooth, so don't be afraid to add little bumps along the edges.
Step 7: Adding Buds and Details

Draw a small egg-shaped bud on the side stem, adding curved lines to show the petals tucked inside. Feel free to erase any overlapping lines to keep your drawing clean. Teacher's Tip: Use your eraser to 'clean up' the intersection points where the stems meet.
Step 8: Leaf Veins and Texture
Add veins to your leaves by drawing a line down the center of each. This simple detail adds a lot of realism to your plant. Teacher's Tip: Press slightly harder with your pencil for these detail lines to make them stand out.
Step 9: Final Touches
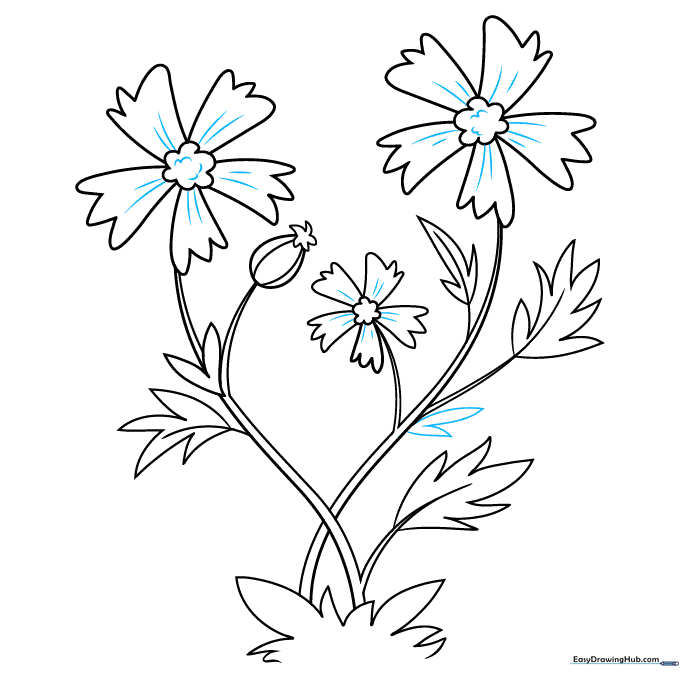
Add small leaves along the stems and texture the flower centers with little 'U' shapes. This gives your wildflower a finished, professional look. Teacher's Tip: Take a moment to step back and look at your drawing from a distance to see if you want to add any extra leaves.
Step 10: Bring It to Life with Color
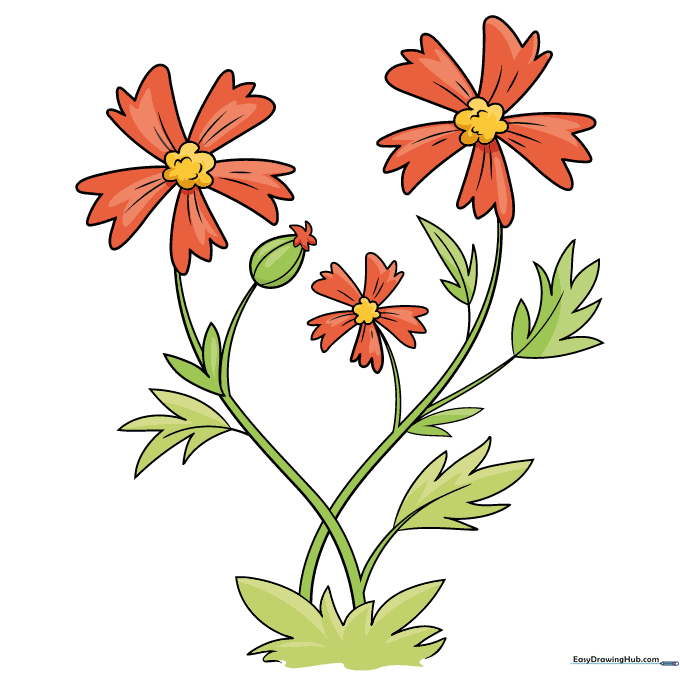
Your outline is complete! Now, grab your markers or colored pencils. While many wildflowers are bright red or yellow, you can choose any colors you like to make your garden unique. Teacher's Tip: Try using two shades of the same color on a petal to create a beautiful gradient effect.
More Tutorials


