How to Draw a Whale Shark: Easy 10-Step Guide for Kids
Ready to bring the ocean's gentle giant to life? This tutorial is perfect for young artists ages 5 and up. Grab your pencil, eraser, and paper to practice basic shapes while learning about the world's largest fish.
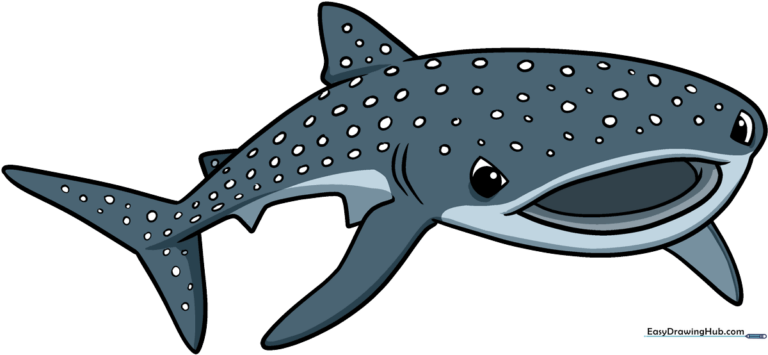
🎯 Final Result
Step-by-Step Instructions
Step 1: Sketching the Head
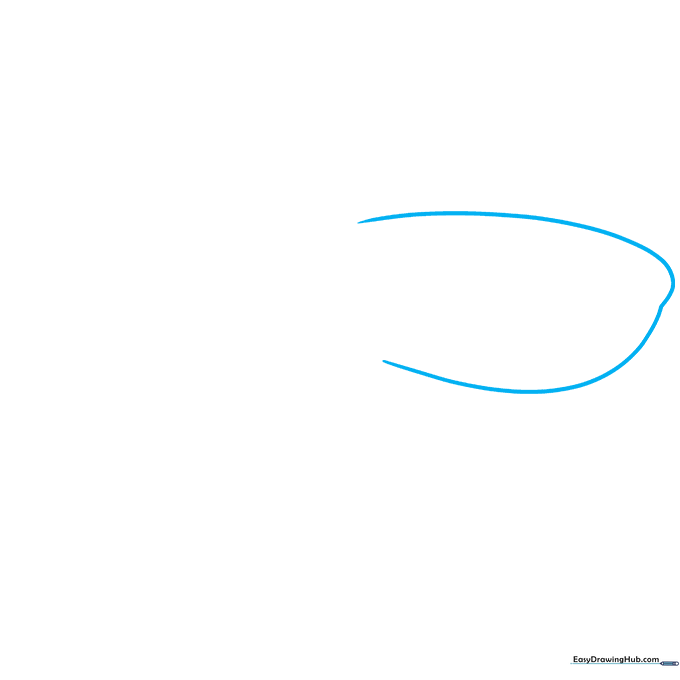
Draw a long, smooth curved line that loops back on itself to form the shark's head. Teacher's Tip: Keep your wrist loose and make this a single, flowing motion to get a natural, rounded shape.
Step 2: Adding the Dorsal Fins
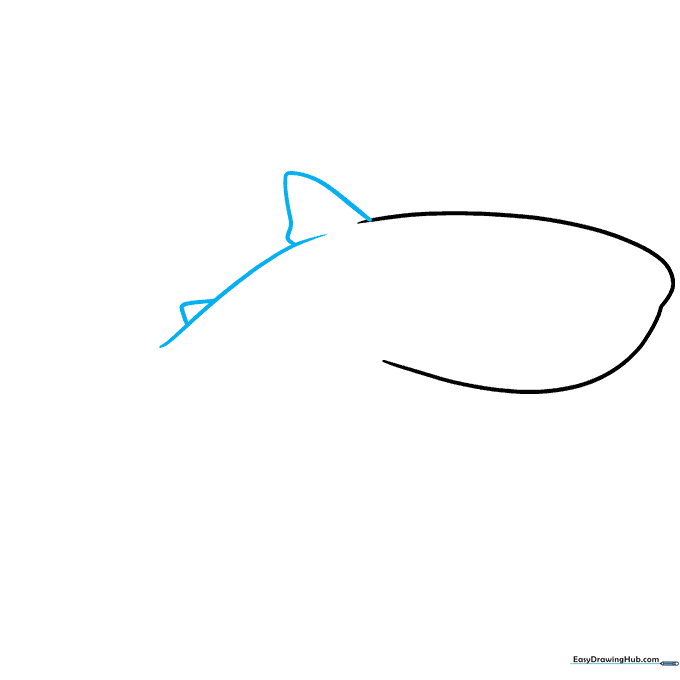
Draw a curved line for the back, leaving a small gap for the dorsal fin. Add a rounded triangle on top for the main fin and a smaller one further down the back. Teacher's Tip: Think of these as little shark 'sails' popping out of the water!
Step 3: Drawing the Eyes
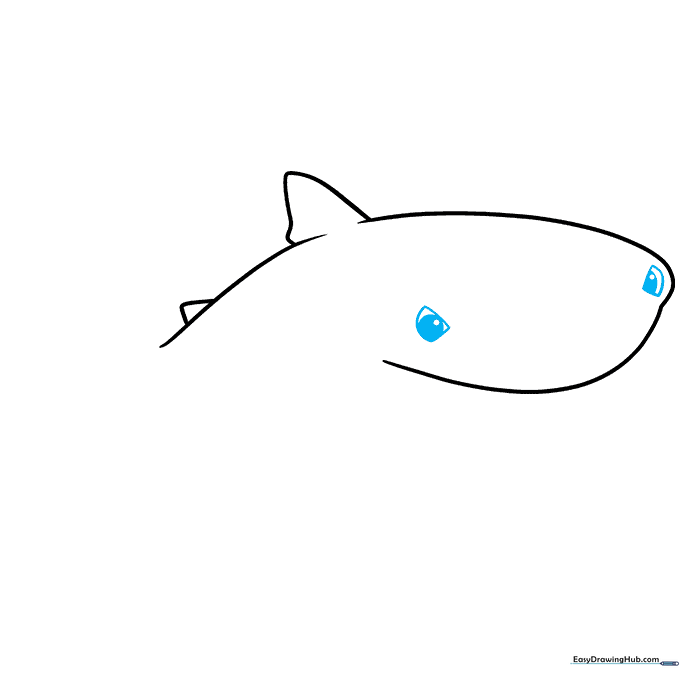
Create a rounded triangle shape for the eye, then draw a partial circle inside for the pupil. Shade the center to give your shark personality. Teacher's Tip: Placing the eye slightly forward makes the shark look curious and friendly.
Step 4: Creating the Mouth
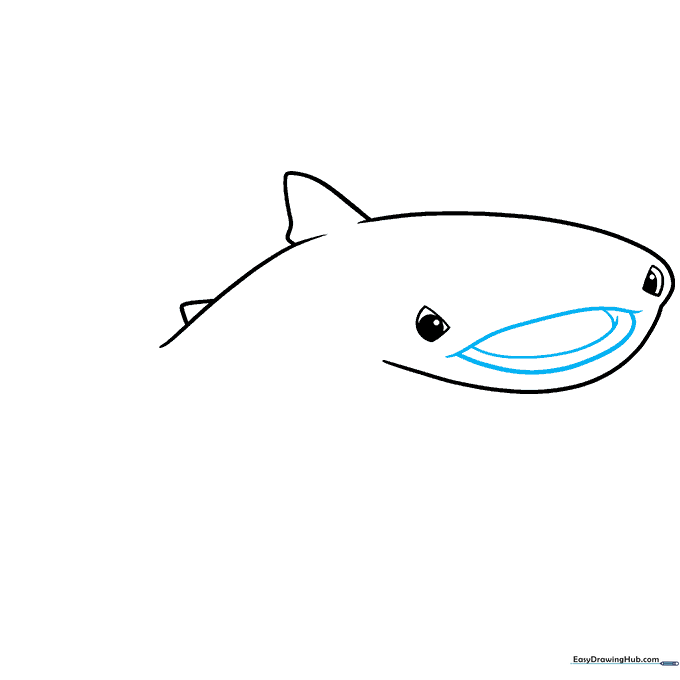
Use a wide, gentle curve to outline the mouth. Remember, whale sharks are filter feeders, so they have large mouths to scoop up tiny plankton! Teacher's Tip: Keep the line soft to give the shark a gentle, smiling expression.
Step 5: Adding Pectoral Fins
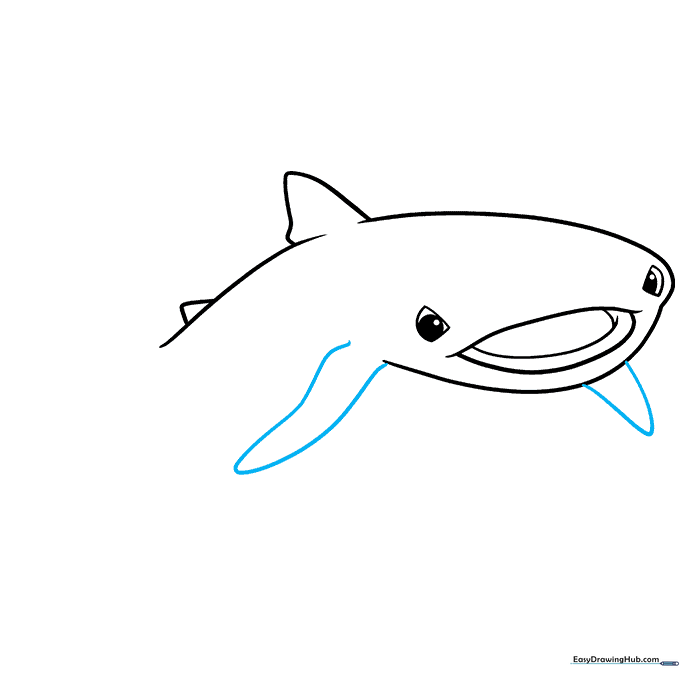
Trace the large pectoral fins on the sides of the body using curved lines. Teacher's Tip: These fins act like wings underwater, helping the shark steer. Make them look sturdy and wide.
Step 6: Gills and Body Shape
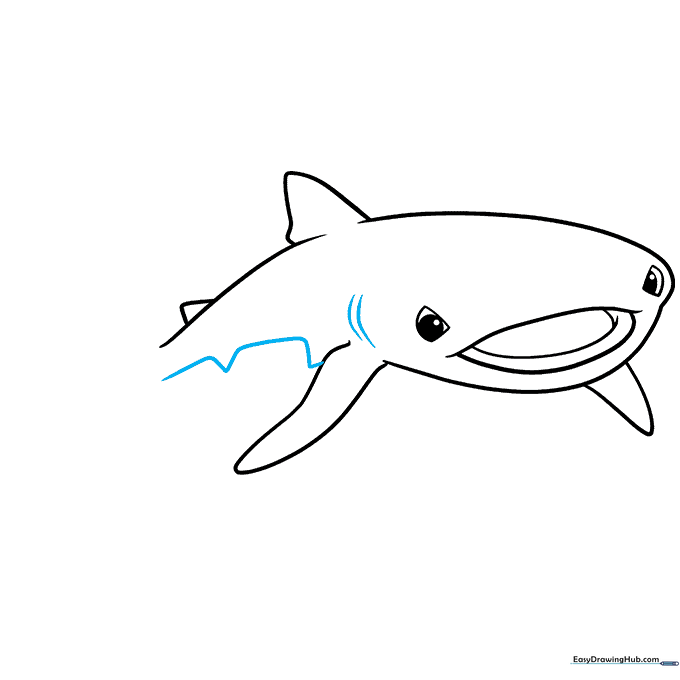
Draw two curved slits behind the eye for gills, then extend the body lines toward the tail. Teacher's Tip: Use smooth, sweeping lines to connect the belly to the tail section for a realistic swimming shape.
Step 7: The Tail Fin
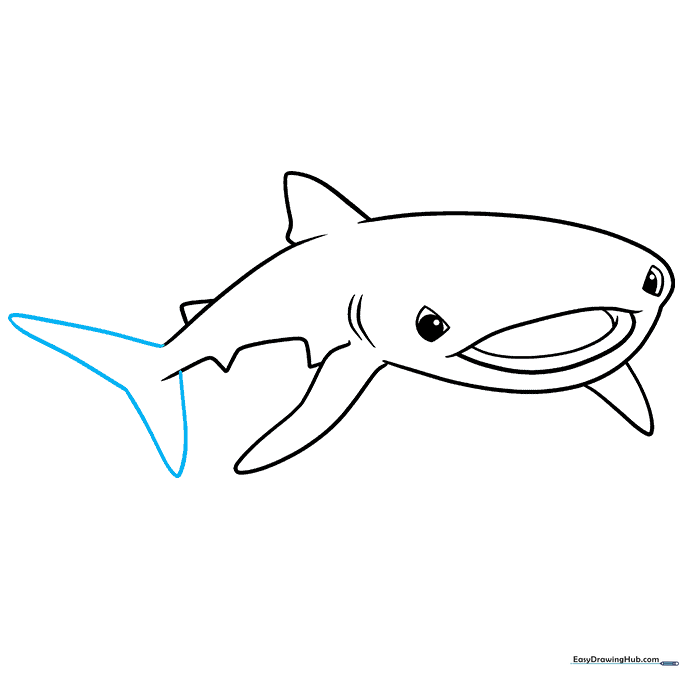
Enclose the tail fin with a large, triangular shape. Teacher's Tip: Make sure the tail is wide to give your shark plenty of 'power' to swim through the ocean.
Step 8: Adding Unique Spots
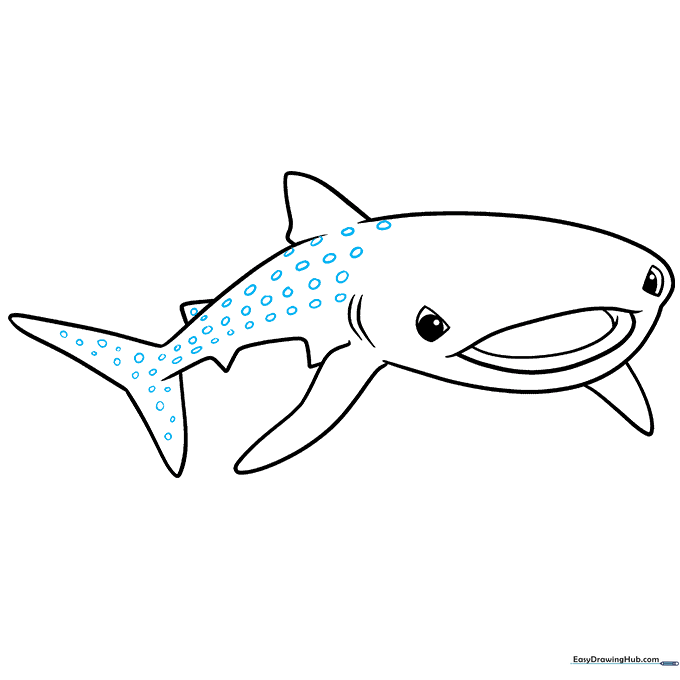
Draw small circles in rows along the back and tail. Teacher's Tip: Did you know every whale shark has a unique spot pattern, just like human fingerprints? Make your pattern one-of-a-kind!
Step 9: Final Details
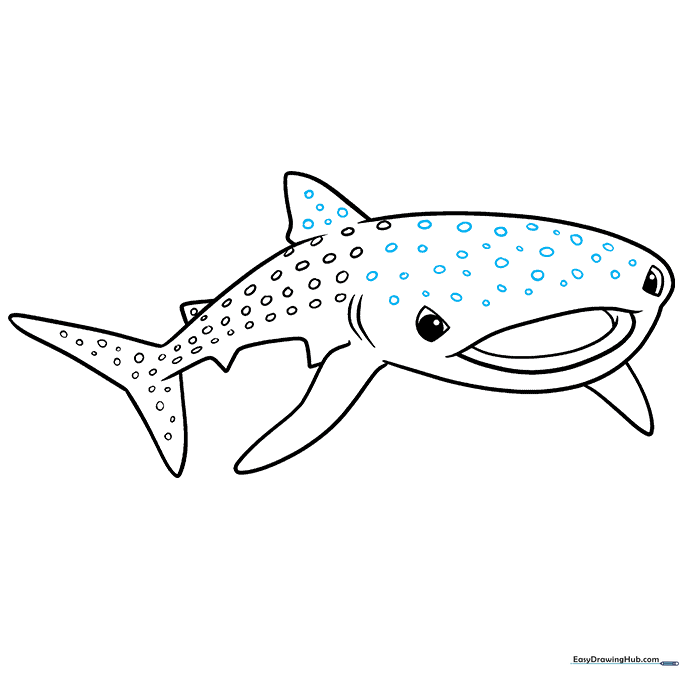
Add a few more spots near the head and fins to complete your pattern. Teacher's Tip: Vary the size of the circles slightly to make the texture look more natural.
Step 10: Bringing it to Life with Color
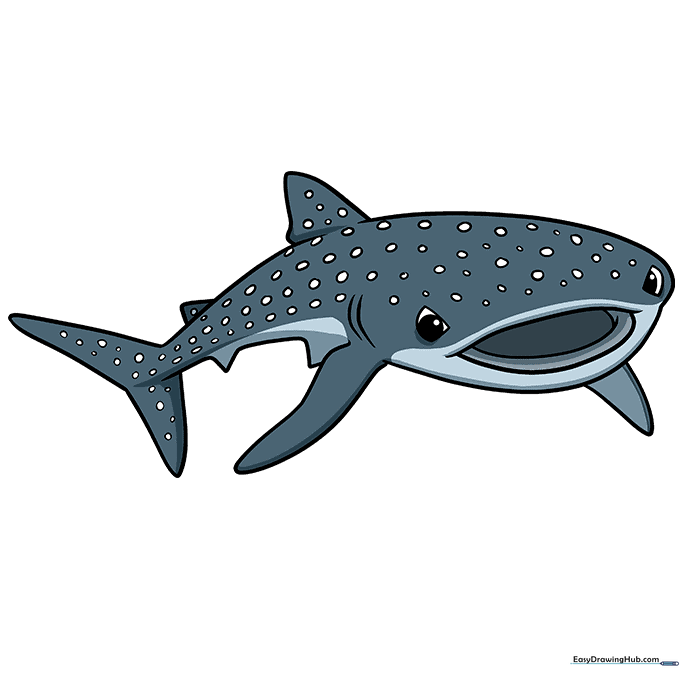
Color your shark using shades of gray or deep blue for the top, and keep the belly white. Teacher's Tip: Use a light blue for the water background to make your shark really pop!
More Tutorials


