How to Draw a Whale: Easy 10-Step Guide for Kids
Bring the ocean to life with this simple whale drawing tutorial, designed specifically for ages 5 and up. You will only need a pencil, an eraser, and a piece of paper to master this marine mammal. Follow along to develop your spatial awareness and confidence in sketching organic shapes.
🎯 Final Result

Step-by-Step Instructions
Step 1: Sketching the Mouth and Eye
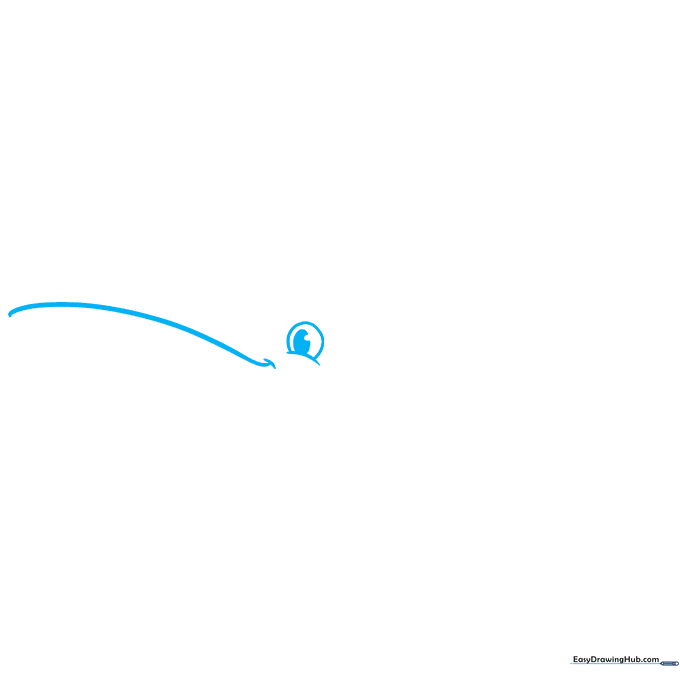
Draw a long, gentle curve to form the whale's mouth. Add a small dot for the corner of the mouth, then draw a partial circle above it for the eye. Teacher's Tip: Keep your pencil lines light so you can easily erase any mistakes later!
Step 2: Defining the Belly
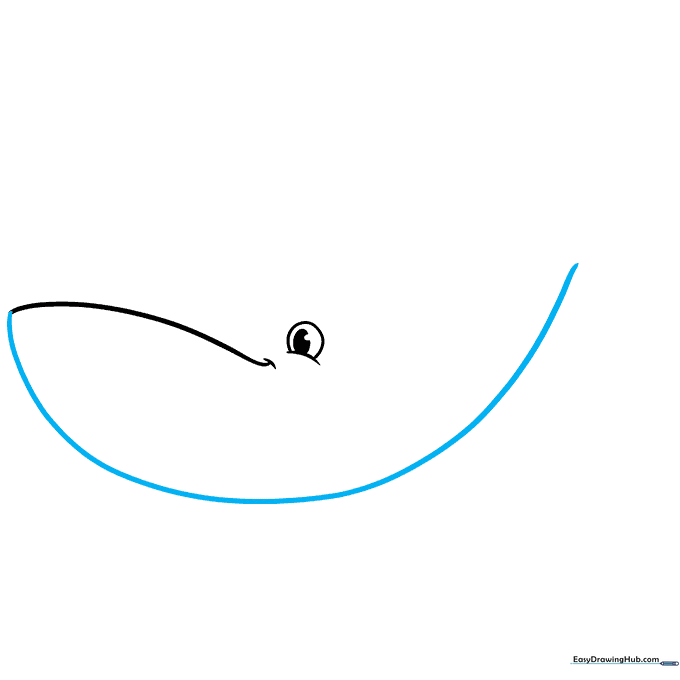
Extend a long, smooth curved line downward from the mouth to begin the whale's belly. Teacher's Tip: Try to make this line look like a soft 'U' shape to give your whale a friendly, rounded appearance.
Step 3: Drawing the Tail Flukes
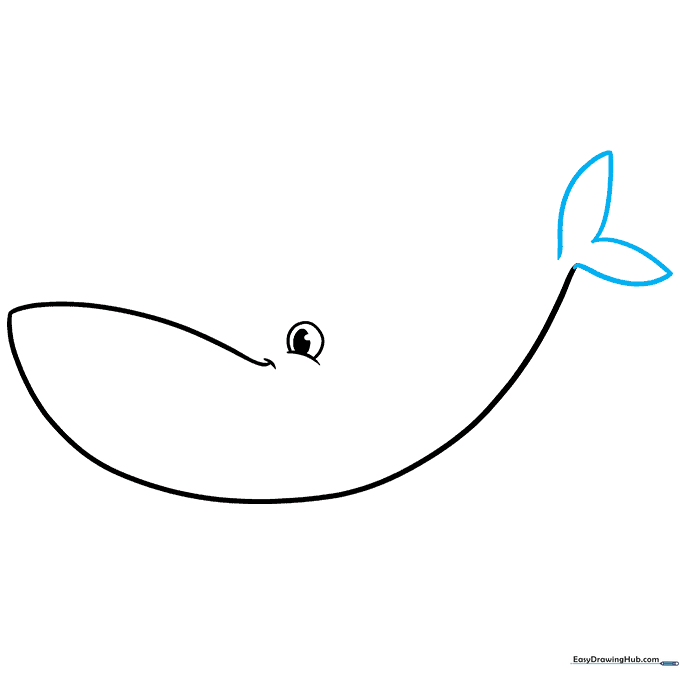
At the end of the belly line, draw two triangular shapes to create the tail flukes. Teacher's Tip: Think of these as two wide, flat triangles pointing outward; keep the edges slightly rounded for a natural look.
Step 4: Closing the Back
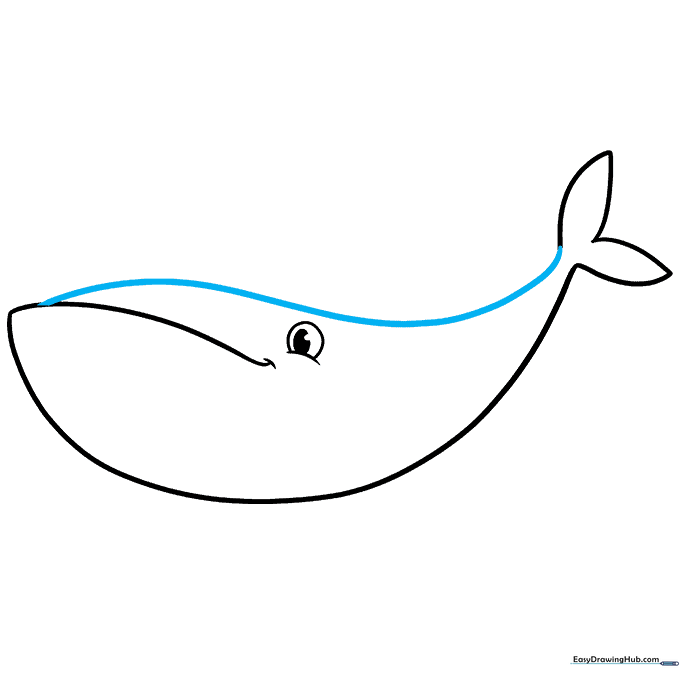
Draw a long, sweeping curve from the top of the mouth back to the tail to enclose the whale's body. Teacher's Tip: Imagine you are drawing a large, gentle hill—this creates the whale's back.
Step 5: Adding the Flipper
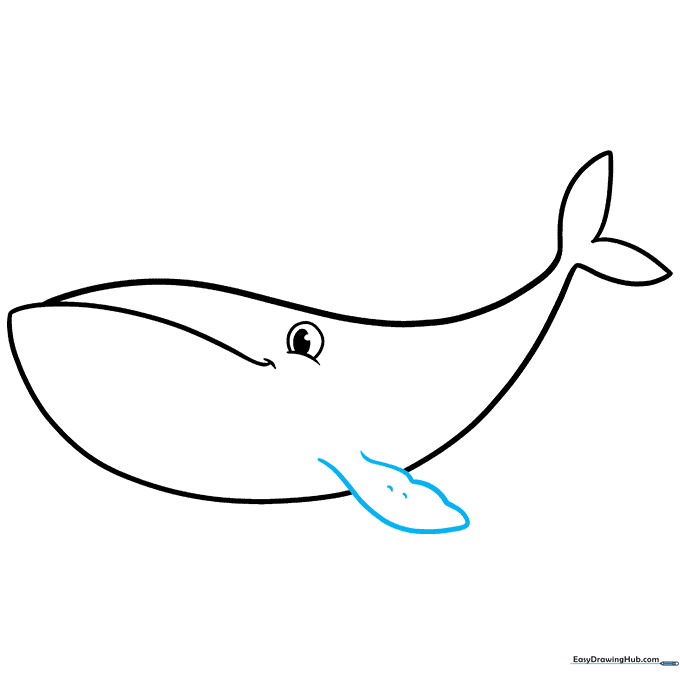
Sketch a large, leaf-shaped flipper on the side of the body. Add small, short lines along the edge for texture. Teacher's Tip: Don't worry if it's not perfect; real whale fins have natural bumps and curves.
Step 6: The Second Flipper
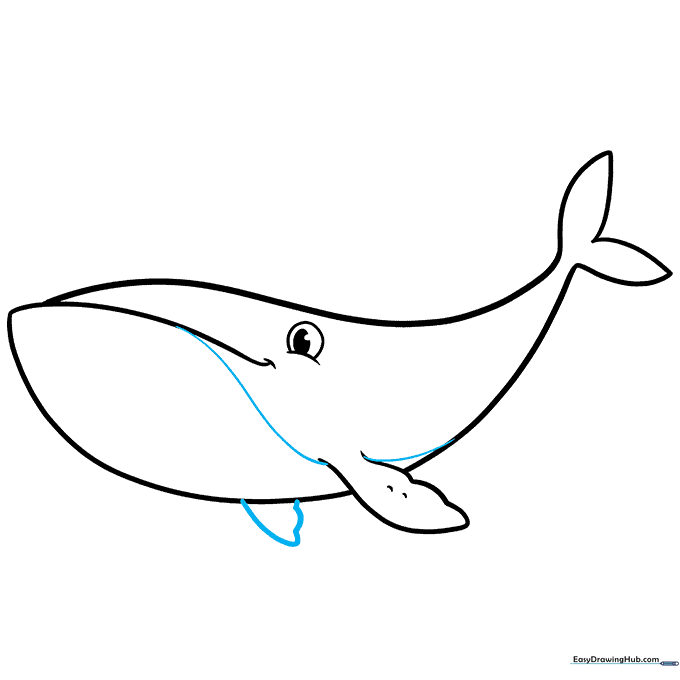
Draw a smaller, partial fin behind the first one to show depth. Teacher's Tip: By drawing only part of the second fin, you create the illusion that the whale is turning in the water.
Step 7: Detailing the Belly
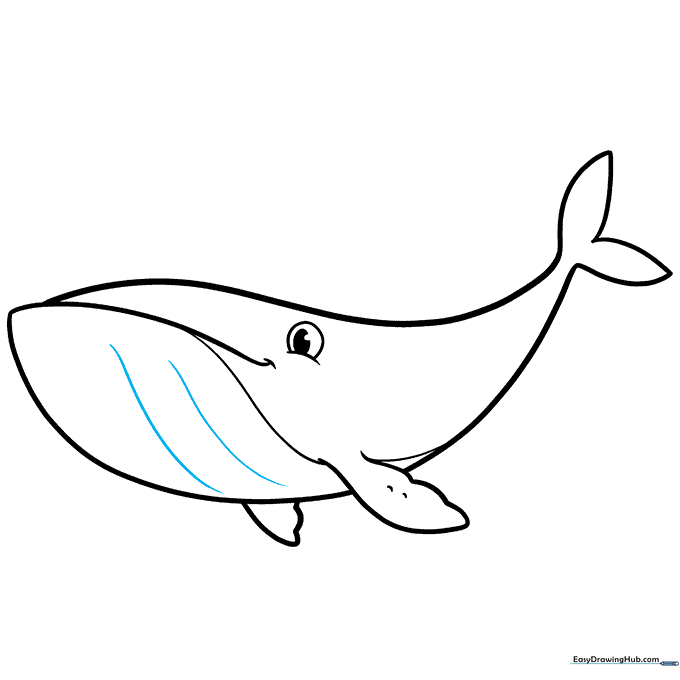
Add long, curved lines along the chin and belly area. Teacher's Tip: These lines represent the pleats found on many whales, which help them expand their mouths while feeding.
Step 8: Refining the Underside
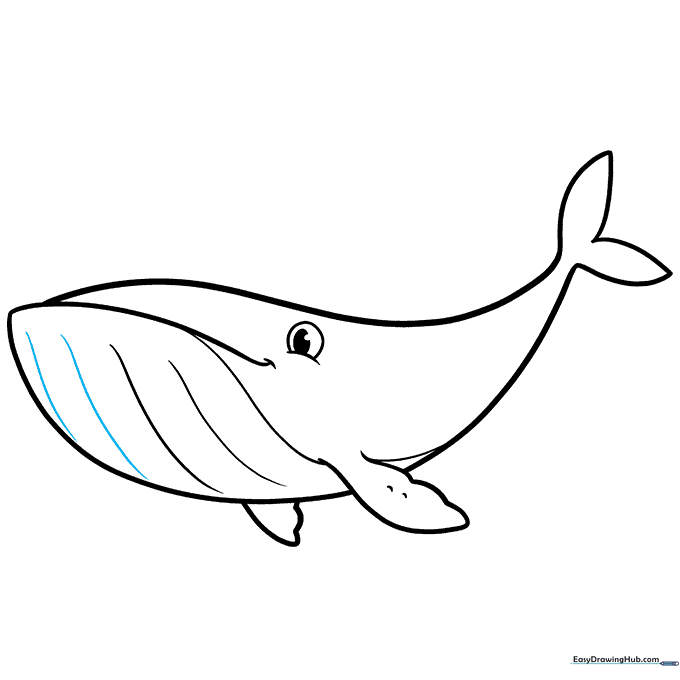
Continue adding a few more curved lines along the underside to add dimension. Teacher's Tip: Keep the lines parallel to the belly curve for a clean, professional look.
Step 9: Adding the Water Spout
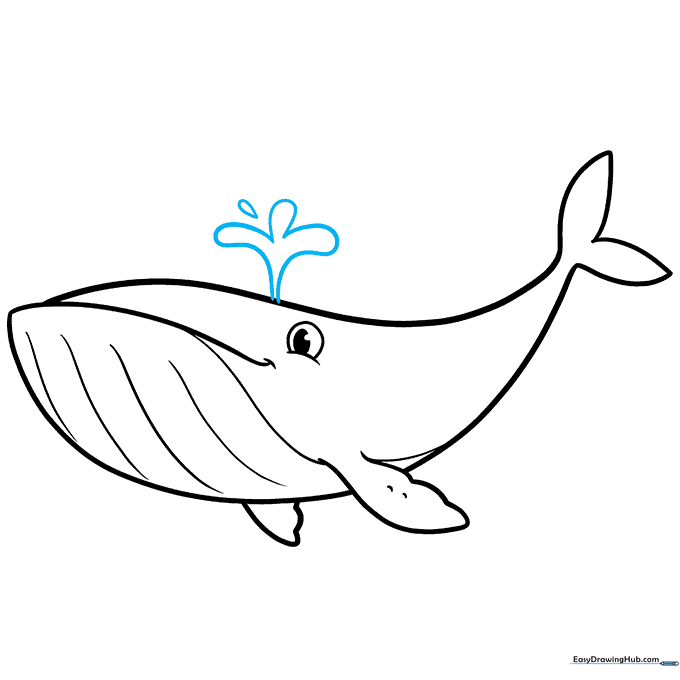
Draw a teardrop-shaped spray of water coming from the top of the head. Teacher's Tip: Use quick, flicking motions with your pencil to make the water look like it is splashing upward.
Step 10: Bringing Your Whale to Life with Color

Now it's time to color! Use shades of blue or gray for the body and leave the belly a lighter shade. Teacher's Tip: Use a darker blue for the shadows under the fins to make your drawing pop!
More Tutorials


