How to Draw a Waterfall: Easy 10-Step Guide for Kids
Bring the beauty of nature to your sketchbook with this simple waterfall tutorial, perfect for artists ages 5 and up. You will only need a pencil, an eraser, and a sheet of paper to get started. Follow along to master the art of drawing flowing water and rugged rock textures.
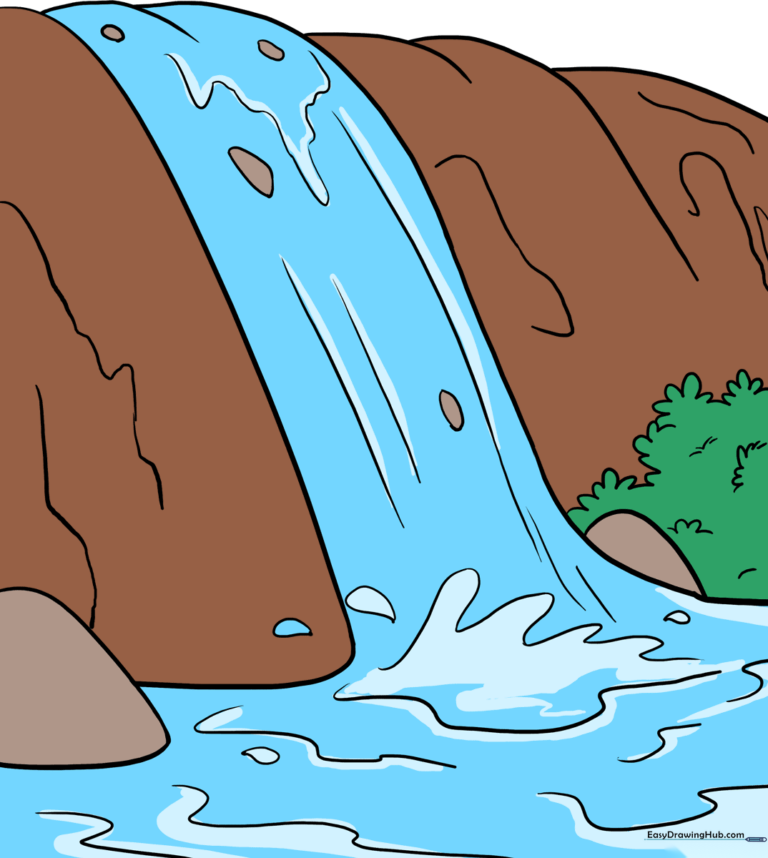
🎯 Final Result
Step-by-Step Instructions
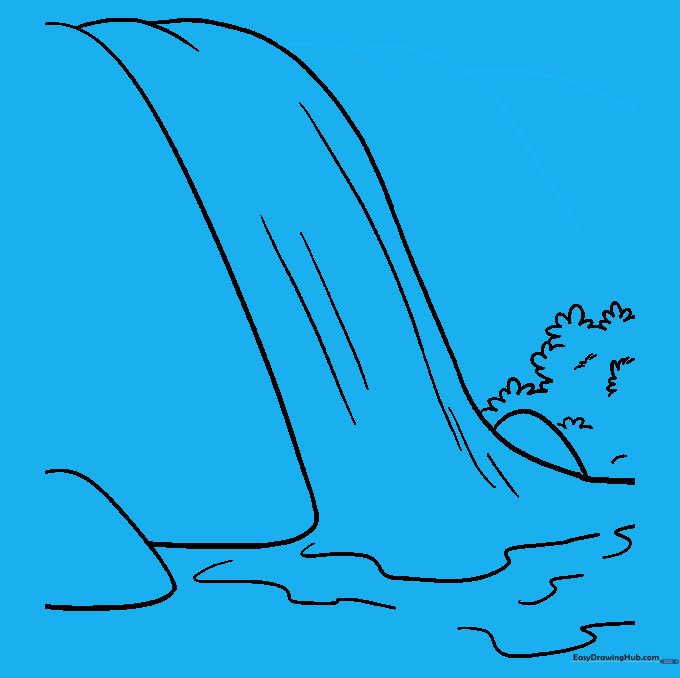
Step 1: Sketching the First Rock Face

Begin by drawing a long, curved line that looks like a backwards letter 'L.' This forms the cliff edge. Teacher's Tip: Keep your pencil pressure light so you can easily adjust the shape if your cliff looks too steep!
Step 2: Outlining the Flowing Water

Draw a short, curved line at the top of your cliff, then extend a long, sweeping line downward. This creates the path of the falling water. Tip: Think of this as the 'pour' of the water—make it smooth and continuous.
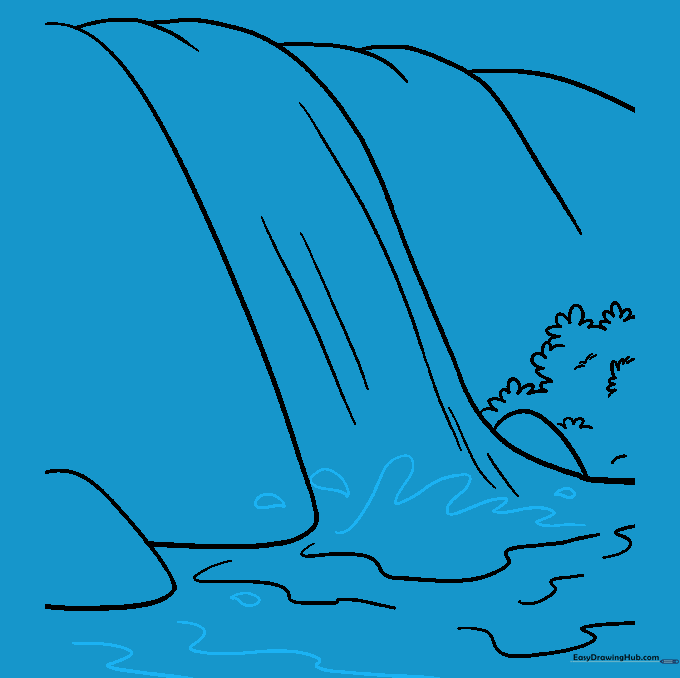
Step 3: Adding Water Texture and Turbulence
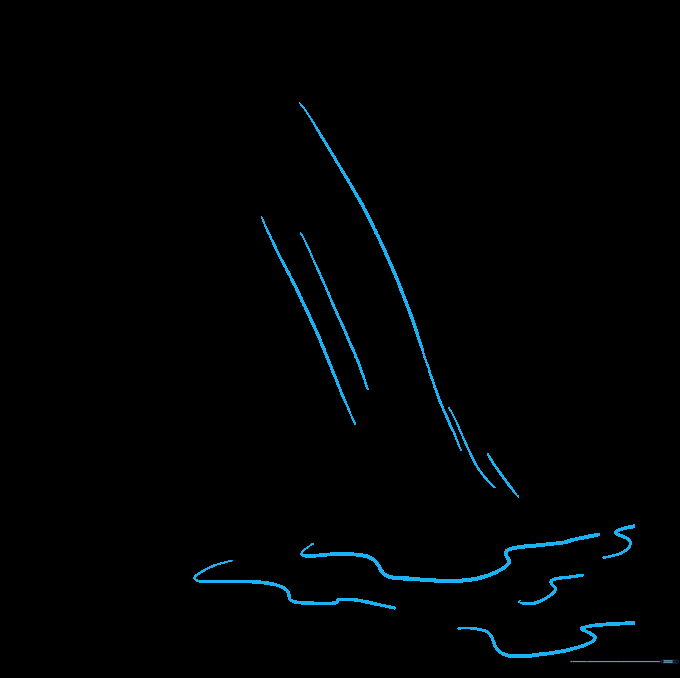
Add vertical curved lines down the waterfall to show movement. At the base, draw wavy, circular lines to represent the splash zone. Tip: Use quick, light strokes to make the water look like it is rushing and bubbling.
Step 4: Drawing Base Boulders
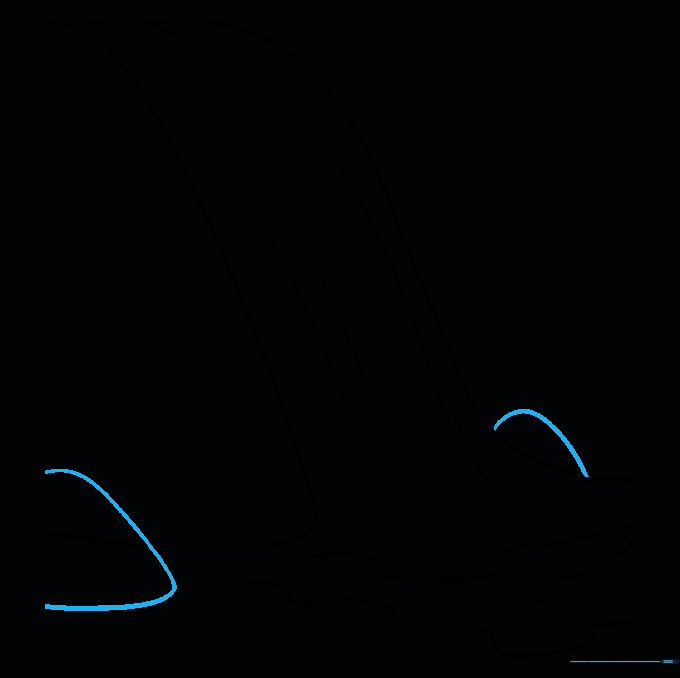
Add boulders at the bottom by drawing irregular, rounded shapes. Tip: Rocks in nature are rarely perfect circles; make them lumpy and varied in size to look more realistic.
Step 5: Cleaning Up Your Sketch

Carefully erase any overlapping guide lines inside the waterfall or boulders. Tip: Use a kneaded eraser if you have one—it’s great for lifting graphite without smudging your drawing.
Step 6: Adding Lush Shrubbery
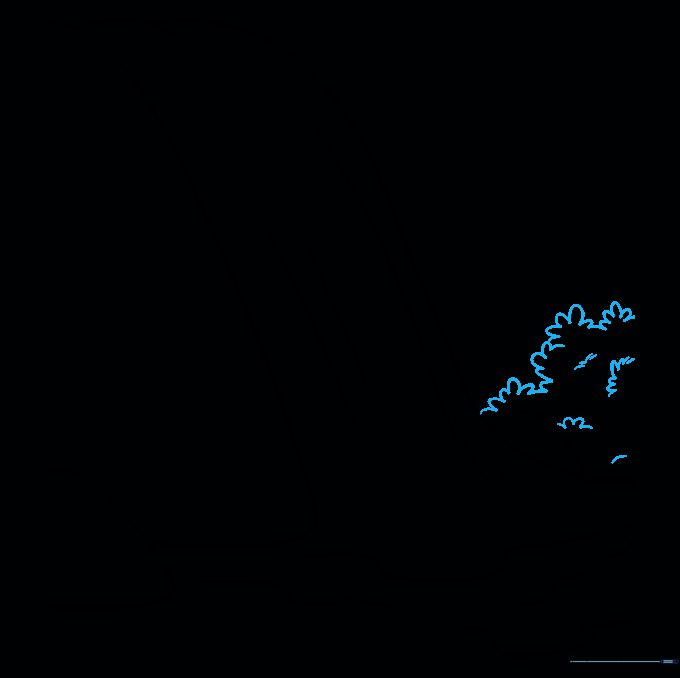
Draw small 'U' shaped lines to create bushes at the base. Layer them to add depth. Tip: Vary the size of your 'U' shapes to make the foliage look natural and wild.
Step 7: Completing the Rock Face
Draw the opposite side of the rock face using long, connected, curved lines. This frames your waterfall. Tip: Make this side slightly different from the first to keep the landscape looking organic.
Step 8: Adding Splashes and Ripples
Add more teardrop shapes around the base to represent flying water droplets. Tip: Place these splashes randomly to show the chaotic energy of the water hitting the rocks.
Step 9: Final Landscape Details
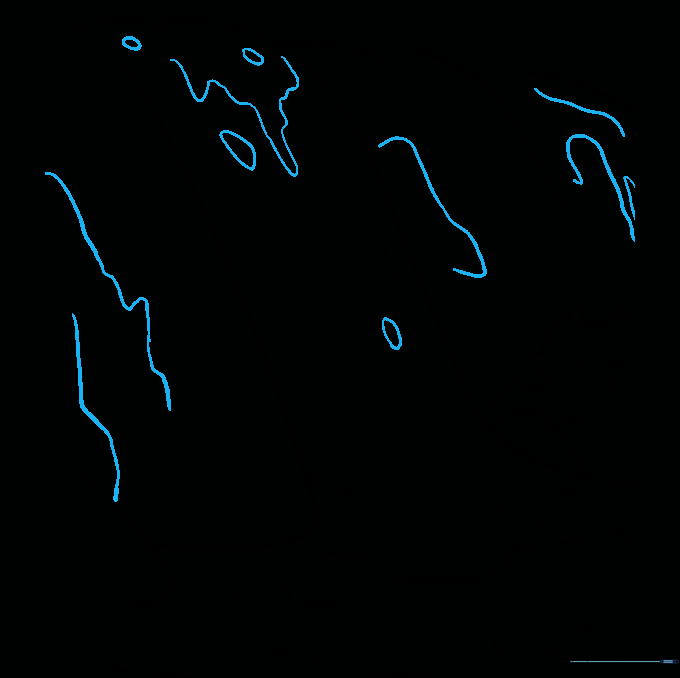
Add jagged lines to the rock faces to give them a rough, stony texture. Add a few more teardrops at the top of the falls. Tip: Use a slightly sharper pencil for these final details to make them pop.
Step 10: Bringing It to Life with Color
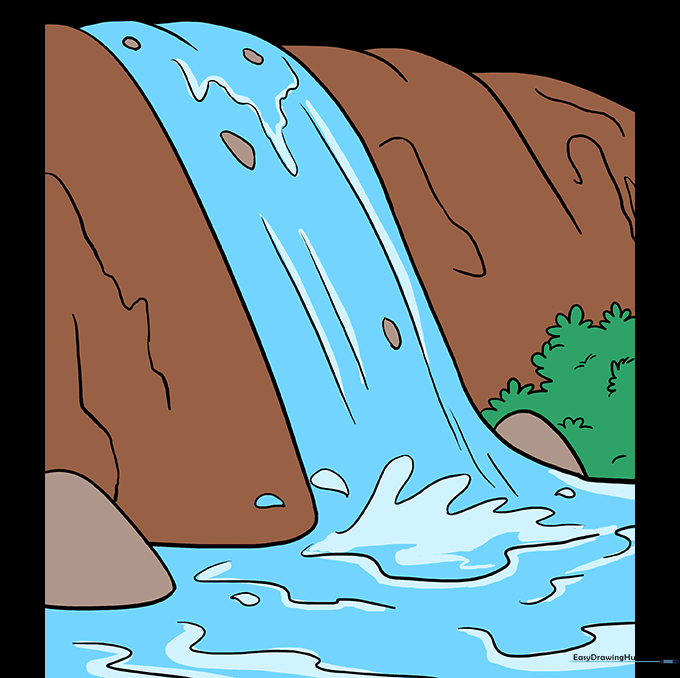
Color your waterfall! Use cool blues for the water and earthy browns or grays for the rocks. Tip: Leave some white space in the middle of the water to make it look like it's sparkling in the sun.
More Tutorials


