How to Draw a Water Slide: Easy Step-by-Step Guide
Bring the excitement of a summer waterpark to your sketchbook! This tutorial is perfect for young artists ages 7+ looking to practice perspective and structural drawing. All you need is a pencil, an eraser, and a piece of paper to get started.
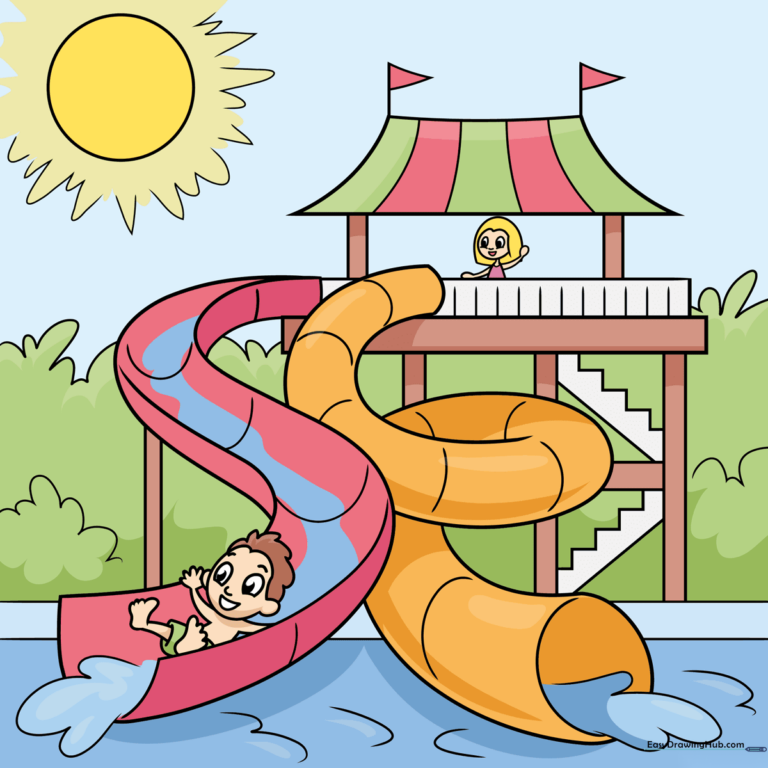
🎯 Final Result
Step-by-Step Instructions
Step 1: Sketching the Main Slide

Draw two long, parallel curved lines in an 'S' shape to form the slide's path. Teacher's Tip: Keep your pencil pressure light so you can easily adjust the curves if they don't look quite right on the first try.
Step 2: Adding Depth to the Slide
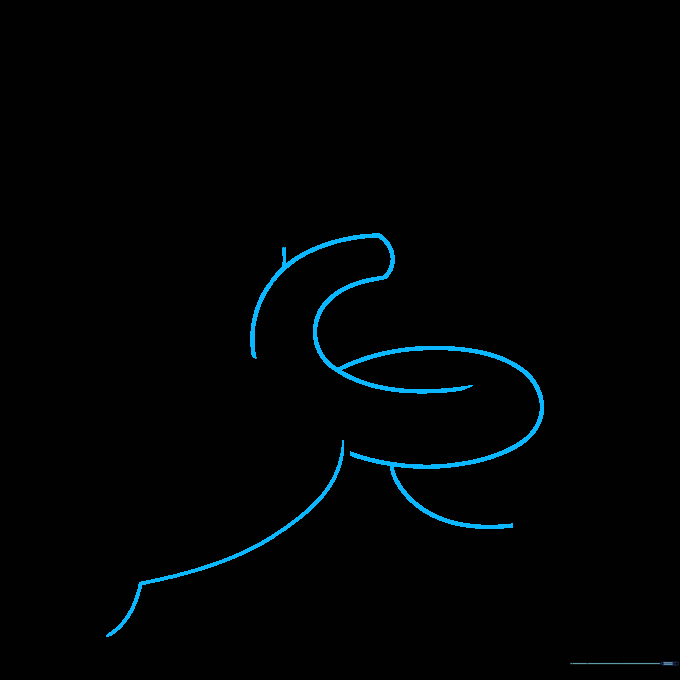
Add an 'L' shaped line at the bottom to give the slide volume. Then, draw overlapping curved lines to create a second spiraling section. Teacher's Tip: Imagine the slide is a hollow tube; drawing these overlapping lines helps create that 3D illusion.
Step 3: Building the Platform

Draw two horizontal lines for the ground and a rectangular platform at the top. Connect the platform to the ground with vertical lines. Teacher's Tip: Use a ruler if you want your support beams to look perfectly straight and sturdy.
Step 4: Drawing the Staircase
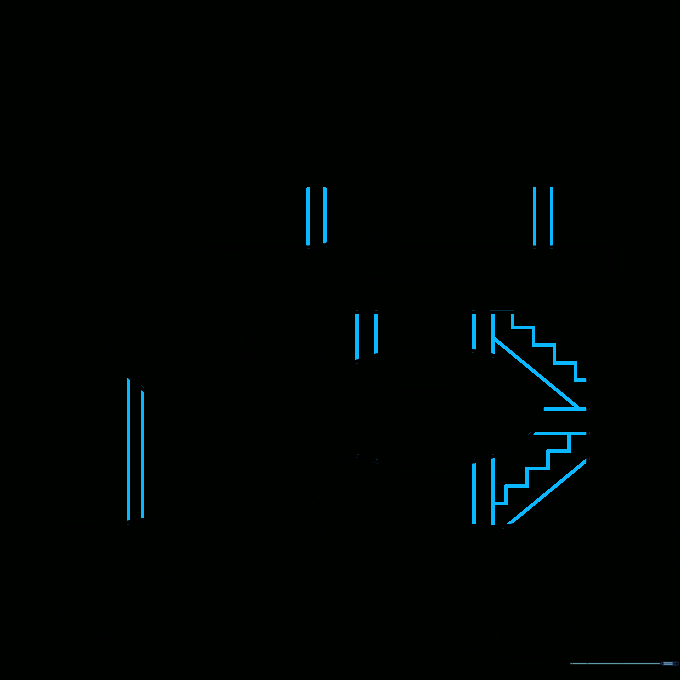
Add vertical lines for the stairs and a horizontal landing halfway up. Use zigzag lines to represent the steps. Teacher's Tip: Keep the zigzag lines small and consistent to make the stairs look realistic.
Step 5: Adding the Roof and Water
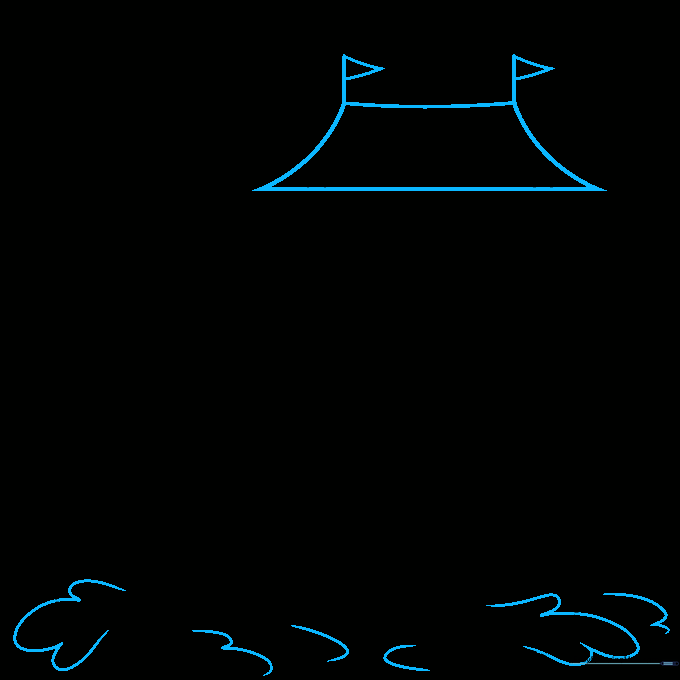
Draw a curved trapezoid for the roof and add small triangular flags. Use 'U' shaped lines to show water gushing out. Teacher's Tip: Vary the size of your 'U' shapes to make the water look like it is splashing dynamically.
Step 6: Sketching the Swimmer

Draw a small figure sliding down. Focus on simple shapes for the head, torso, and outstretched arms. Teacher's Tip: Keep the figure's limbs loose to show movement and excitement!
Step 7: Adding More Characters

Draw the swimmer's trunks and feet. Then, sketch a second character waiting at the top of the platform. Teacher's Tip: Use simple ovals for the feet to keep the cartoon style consistent.
Step 8: Adding Background Details
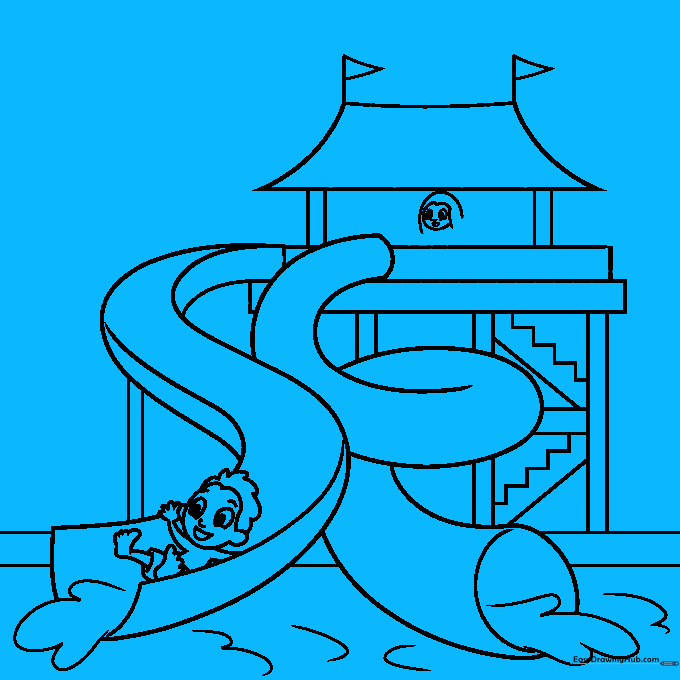
Draw the girl's arms waving and add trees or shrubs in the background using connected curved lines. Teacher's Tip: Use different sizes for your trees to create a sense of distance in your drawing.
Step 9: Final Touches
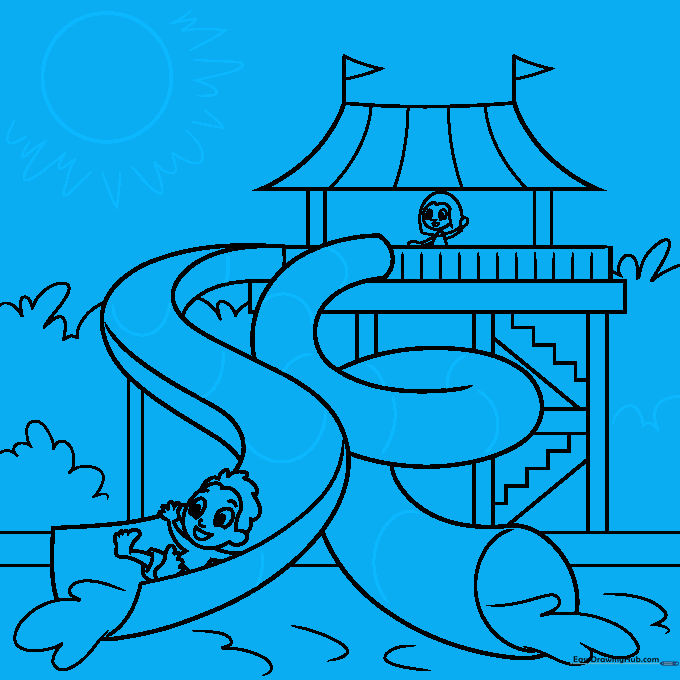
Draw a sun in the sky and add banding lines to the slide to emphasize its shape. Teacher's Tip: Use a circular object to trace the sun if you want it to be perfectly round.
Step 10: Bring It to Life with Color
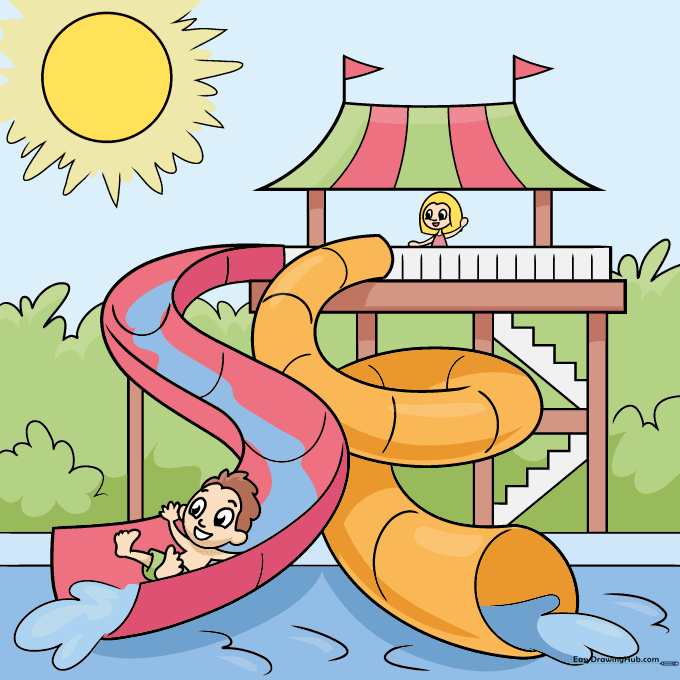
Use bright, vibrant colors to fill in your water slide. Plastic slides look great in blues, yellows, or reds! Teacher's Tip: Use a lighter blue for the water to make it look refreshing and clear.
More Tutorials


