How to Draw a Walrus: Easy 9-Step Guide for Kids
Bring this arctic giant to life with a simple, guided drawing lesson perfect for ages 5 and up. You only need a pencil, an eraser, and a piece of paper to get started. Follow along to build confidence in your sketching skills while creating a fun, character-filled walrus.
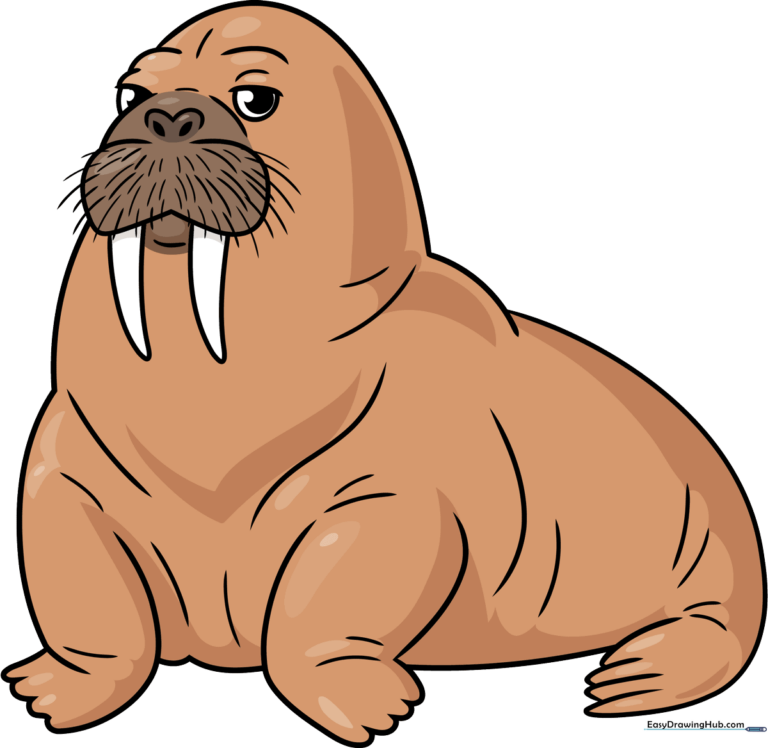
🎯 Final Result
Step-by-Step Instructions
Step 1: Sketching the Face

Start by sketching the snout and the eyelid area. Draw a half-circle for the eye and add a small dot for the pupil. Teacher's Tip: Keep your pencil pressure light here so you can easily adjust the shape later.
Step 2: Adding the Nose and Second Eye
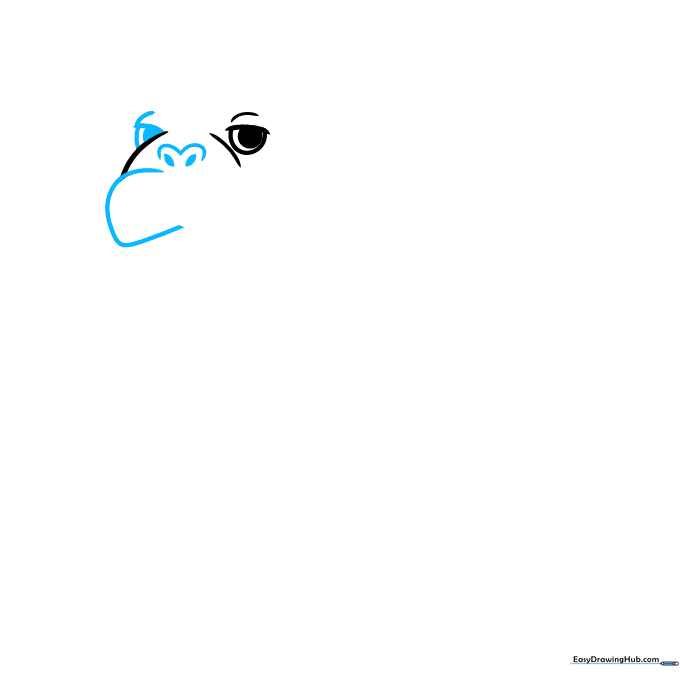
Draw a rounded 'M' shape for the nose and two small points on the snout. Add the second eye to match the first. Teacher's Tip: Use the first eye as a guide to ensure your walrus looks symmetrical.
Step 3: Defining the Head and Neck
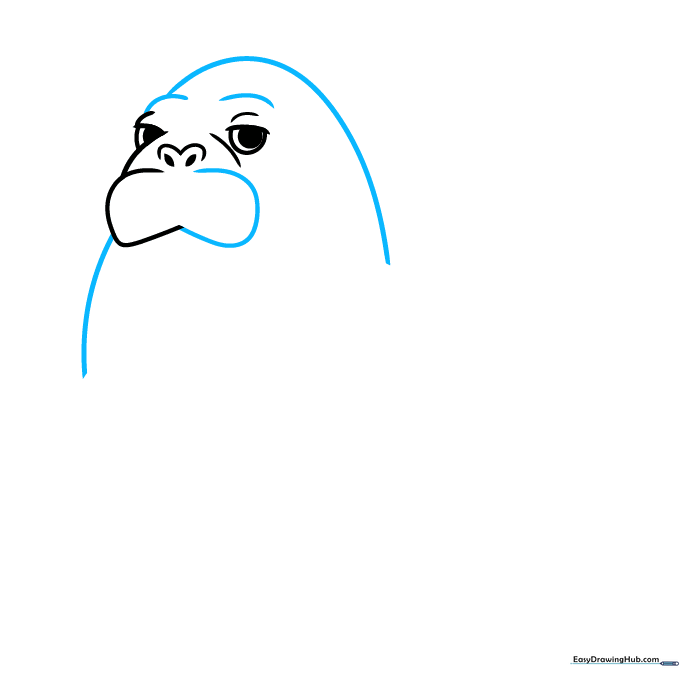
Use a 'C' shaped line to finish the lip and add curved brows. Sketch the top of the head and the sides of the neck with long, smooth strokes. Teacher's Tip: Use a fluid motion to make the neck look thick and sturdy.
Step 4: Drawing the Iconic Tusks

Extend two long, curved lines from the lip and loop them back to create the tusks. Add a small line for the lower lip. Teacher's Tip: Make the tusks slightly pointed at the ends for a realistic touch.
Step 5: Sketching the Front Flippers

Draw the front flippers using short, curved lines to create the 'toes.' Connect them to the body with a smooth curve. Teacher's Tip: Walrus flippers are chunky, so don't be afraid to make them wide!
Step 6: Forming the Back and Tail

Use overlapping curved lines to draw the back and the tail. Ensure the lines connect naturally to the body. Teacher's Tip: Overlapping lines help create the illusion of depth.
Step 7: Finalizing the Body Shape
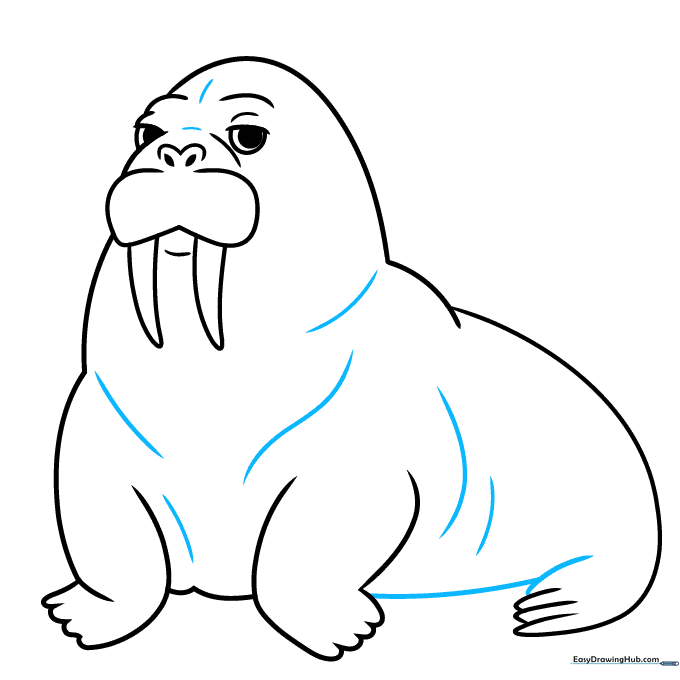
Close the body shape at the base of the tail with overlapping curves. Add a few contour lines to the face and body. Teacher's Tip: Keep your lines soft to give the walrus a friendly, rounded appearance.
Step 8: Adding Texture and Whiskers
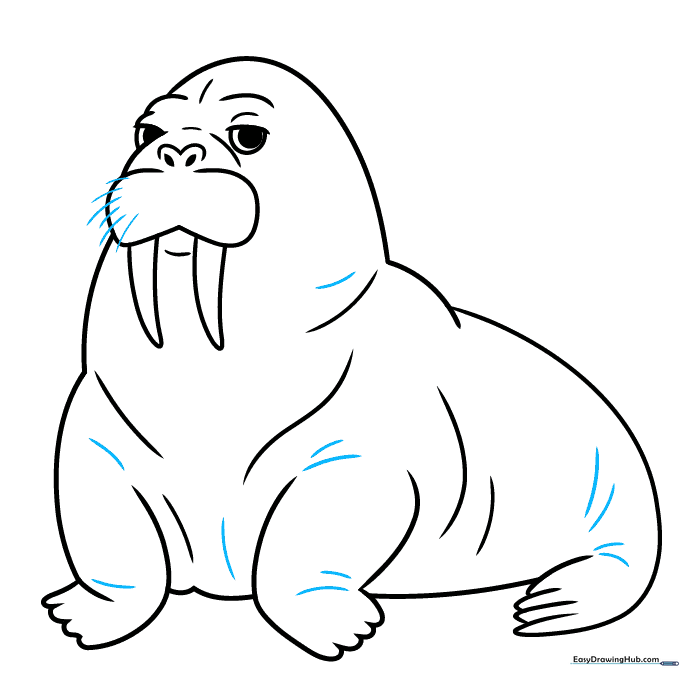
Add small lines to represent skin folds. Extend curved lines from the snout for the whiskers. Teacher's Tip: Whiskers should be drawn with quick, flicking motions for a natural look.
Step 9: Final Touches
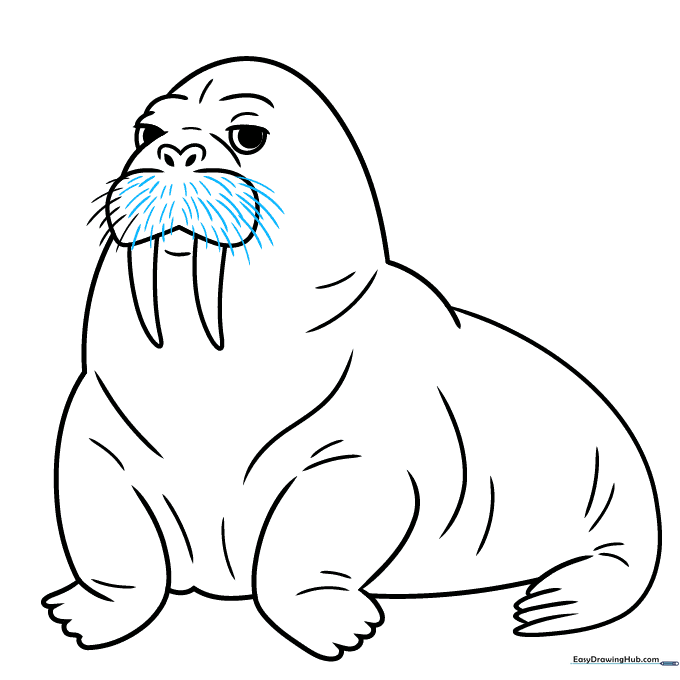
Complete the whisker details across the lip area. Review your drawing and erase any stray guidelines. Teacher's Tip: Now is the perfect time to darken your final outline with a pen or darker pencil.
Color Your Walrus
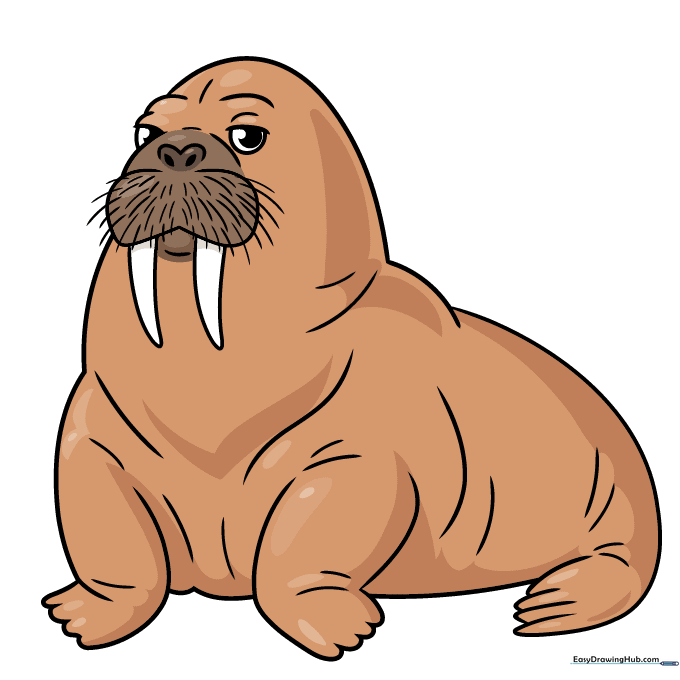
Bring your walrus to life with color! Use shades of brown for the body and keep the tusks a clean white or light cream. Teacher's Tip: Use a darker brown to add shadows under the flippers for a 3D effect.
More Tutorials


