How to Draw a Waffle: Easy 10-Step Guide for Kids
Ready to draw a breakfast treat? This tutorial is perfect for young artists ages 5 and up. All you need is a pencil, an eraser, and your favorite coloring supplies to bring this golden, buttery waffle to life.
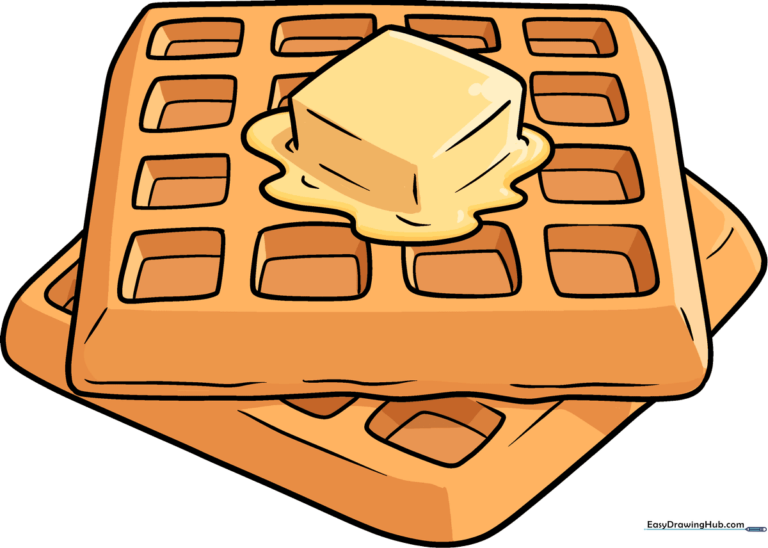
🎯 Final Result
Step-by-Step Instructions
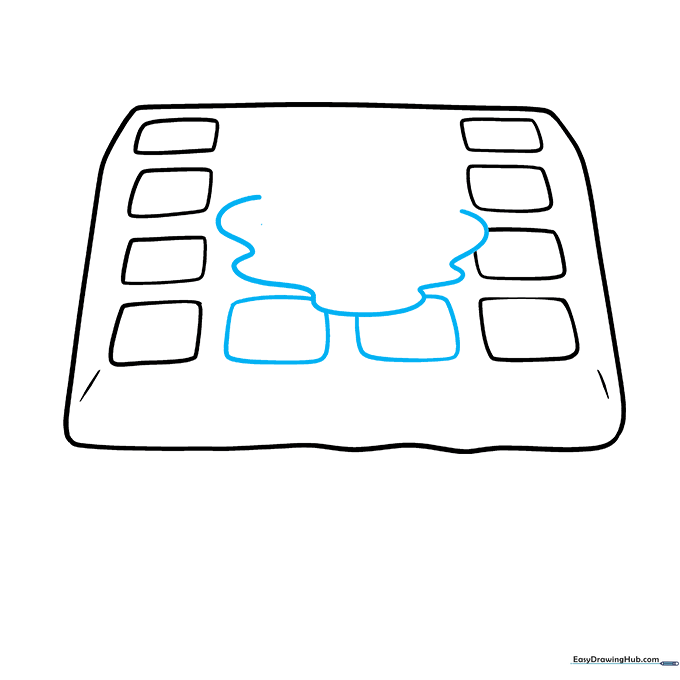
Step 1: Sketching the Base

Start by drawing the top edge of your waffle using a long, wavy line. Teacher's Tip: Keep your pencil pressure light so you can easily adjust the shape if it looks a bit lopsided.
Step 2: Defining the Shape
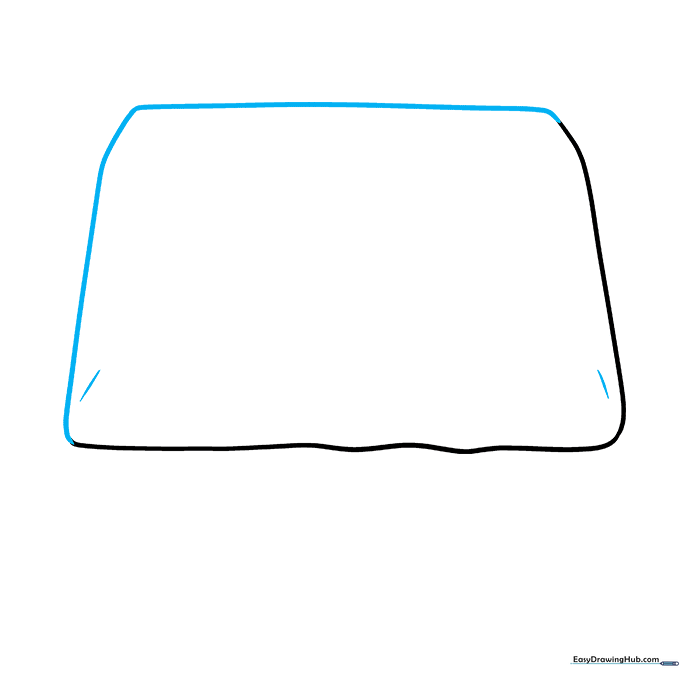
Close the square shape with rounded corners. Add two short, curved lines on the side to give your waffle a 3D thickness. Tip: Imagine the waffle has a 'depth' like a real slice of bread.
Step 3: Creating the Grid
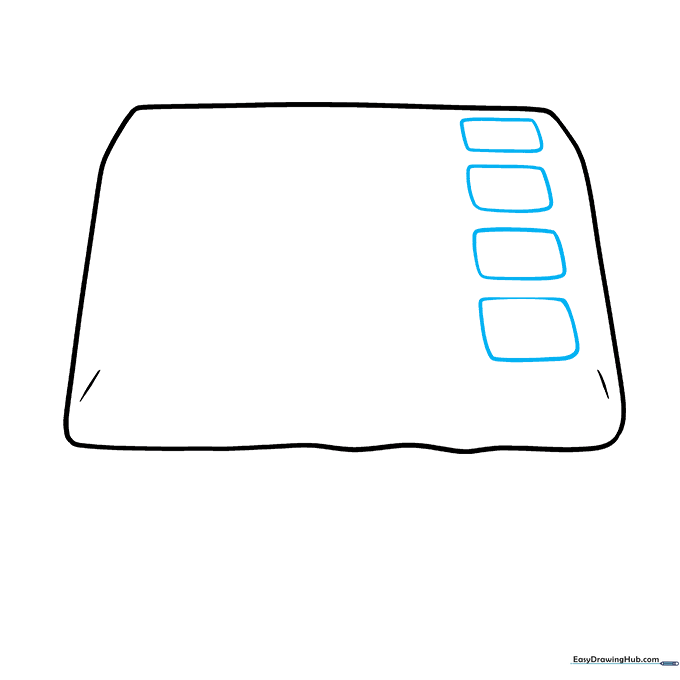
Draw small, uniform rounded squares across the surface. Teacher's Tip: Use a ruler if you struggle with straight lines, but remember that waffles are soft, so slightly rounded corners look more natural!
Step 4: Expanding the Texture
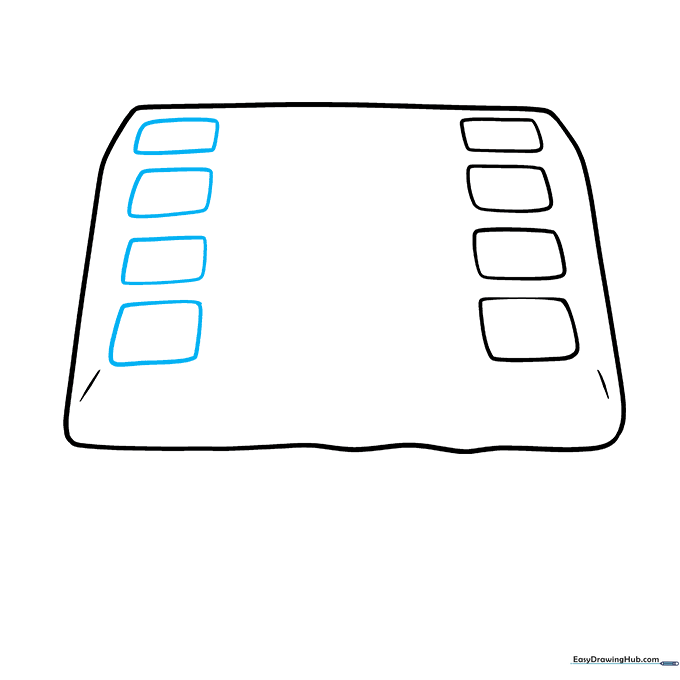
Add a second set of four rounded squares on the opposite side. Keep them aligned with the first row to maintain that classic grid pattern.
Step 5: Adding the Butter
Fill the center gap with two more squares, then draw a wavy, organic shape for the melting butter. Tip: Use your eraser to clean up any lines that pass 'under' the butter puddle.
Step 6: Butter Details
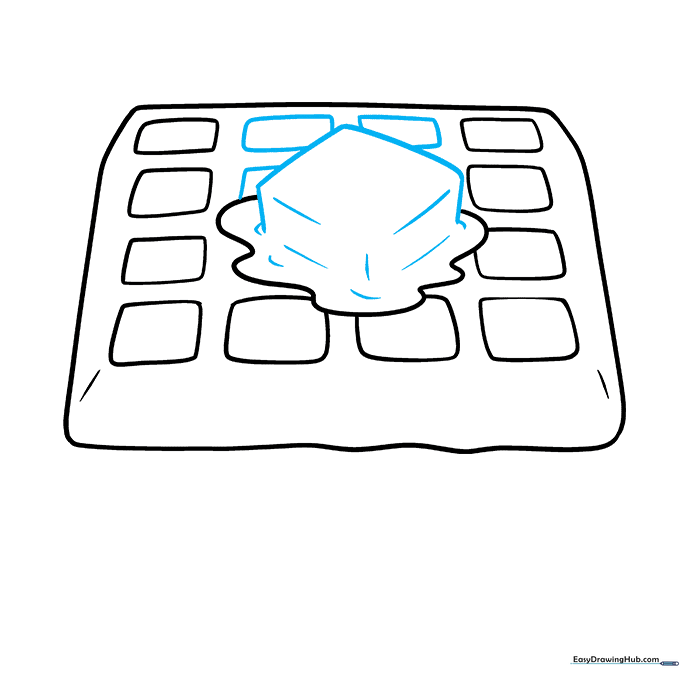
Give the butter a 3D look by adding short diagonal and vertical lines to create a cube shape. Add a few more grid squares peeking out from under the butter.
Step 7: Stacking Waffles
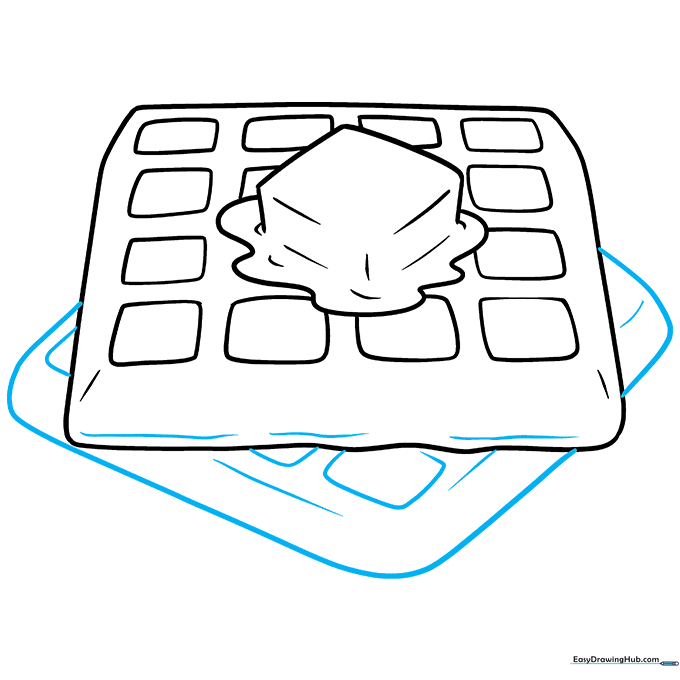
Let's make it a stack! Draw a second, larger waffle underneath the first one using long, curved lines for the edges. Don't forget to add the side thickness.
Step 8: Adding Depth
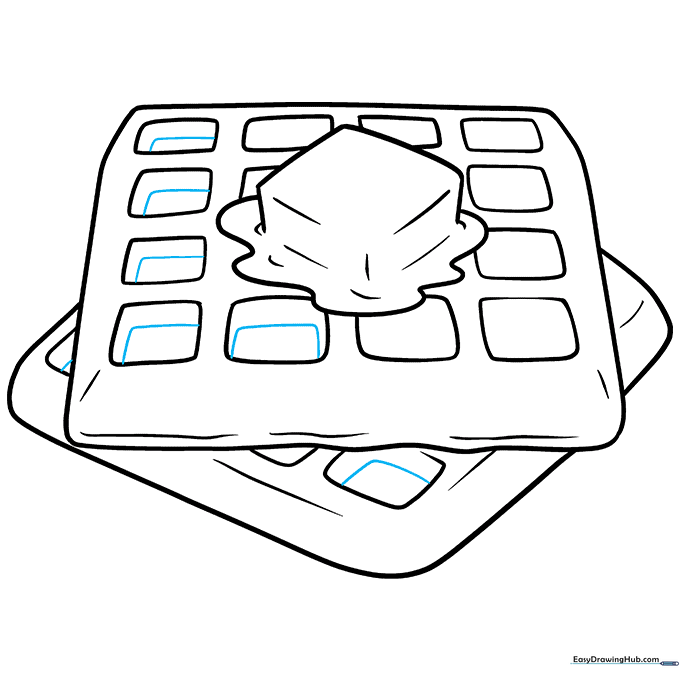
Make the grid indentations look deep by adding small 'L' shaped lines inside each square. This creates a shadow effect. Tip: Keep your lines consistent in every square.
Step 9: Final Touches
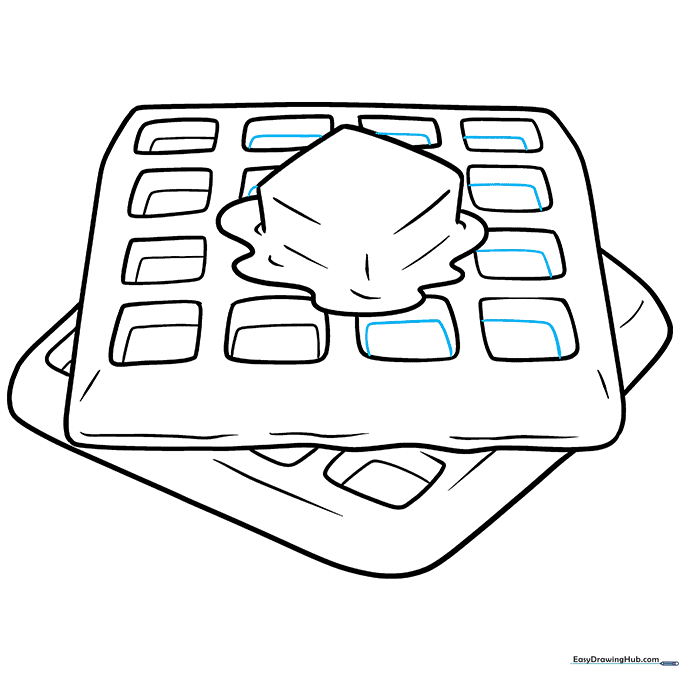
Finish adding the 'L' shapes to the remaining squares on the bottom waffle. Check your work and erase any stray pencil marks.
Step 10: Color Time
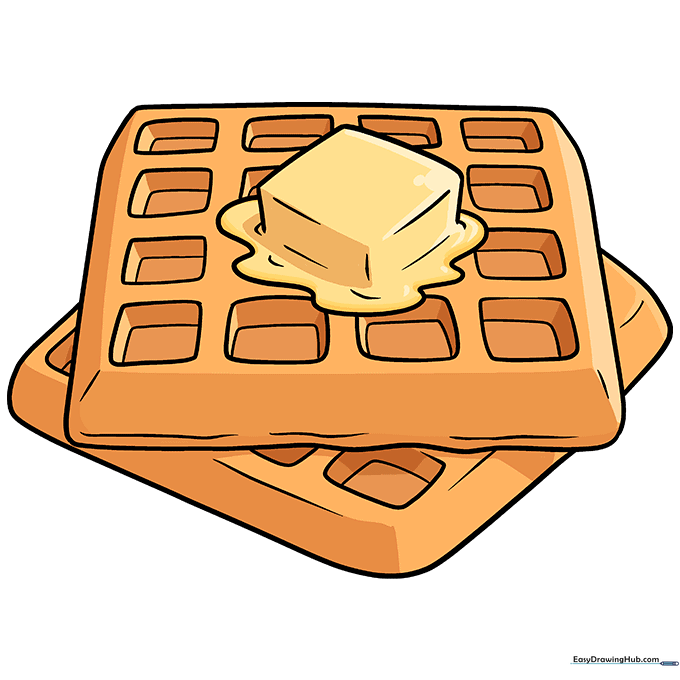
Time to color! Use golden browns for the waffle to make it look crispy, and a bright, sunny yellow for the butter. Tip: Use a darker brown in the corners of the squares to add realistic shadows.
More Tutorials


