How to Draw a Vulture: Easy 10-Step Guide for Kids
Ready to add a unique bird to your safari sketchbook? This tutorial is perfect for young artists ages 5+ who want to learn how to draw a vulture using simple shapes. All you need is a pencil, an eraser, and a piece of paper to get started.
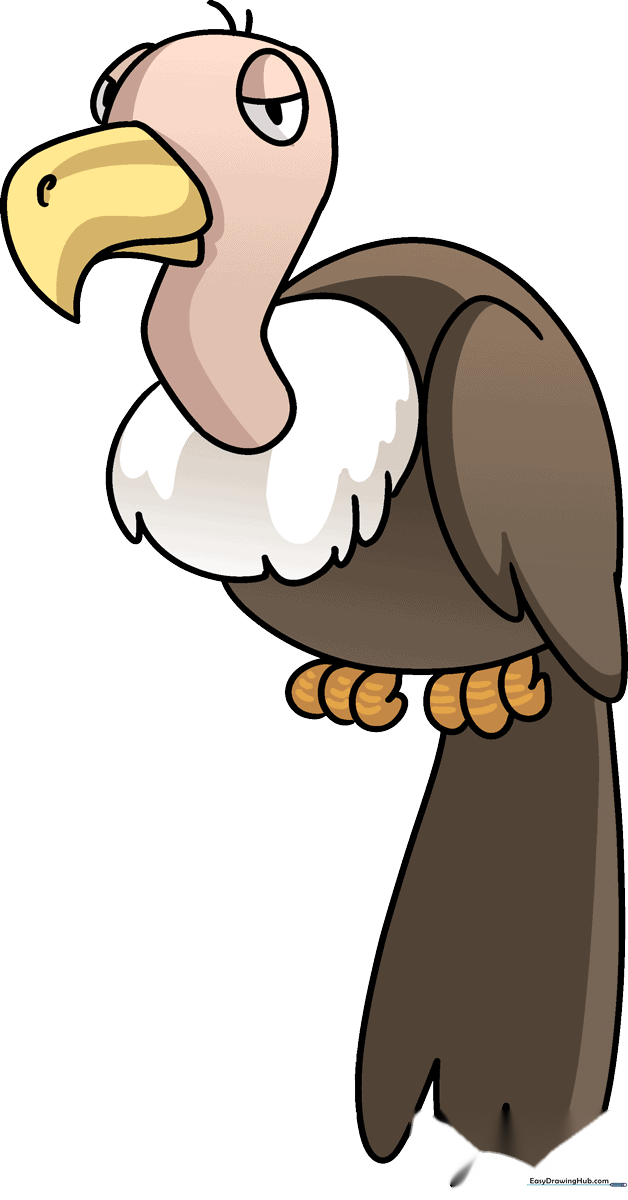
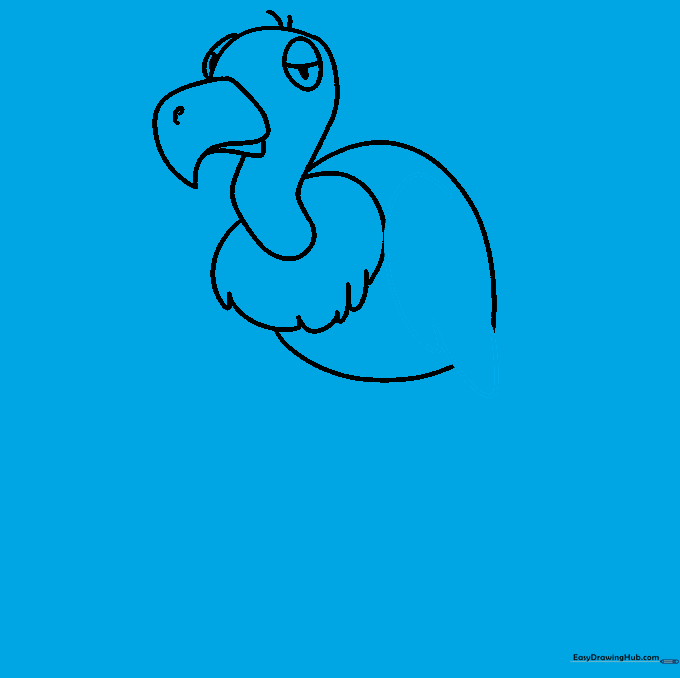
🎯 Final Result
Step-by-Step Instructions
Step 1: Sketching the Head

Draw a light circle for the head. Teacher's Tip: Keep your pencil strokes very faint so it's easy to erase any overlapping lines later!
Step 2: Adding Facial Features

Draw an oval inside the circle for the eye, and a partial oval just outside the edge. Add a curved line for the eyelid and shade a dark pupil. Tip: Add a few small 'V' shapes on top of the head to represent messy feathers.
Step 3: Sketching the Hooked Beak

Sketch a triangular beak with a sharp, hooked tip. Add a small spiral near the base for the nostril. Tip: Vultures have powerful beaks, so make the hook look nice and sharp!
Step 4: Forming the Neck
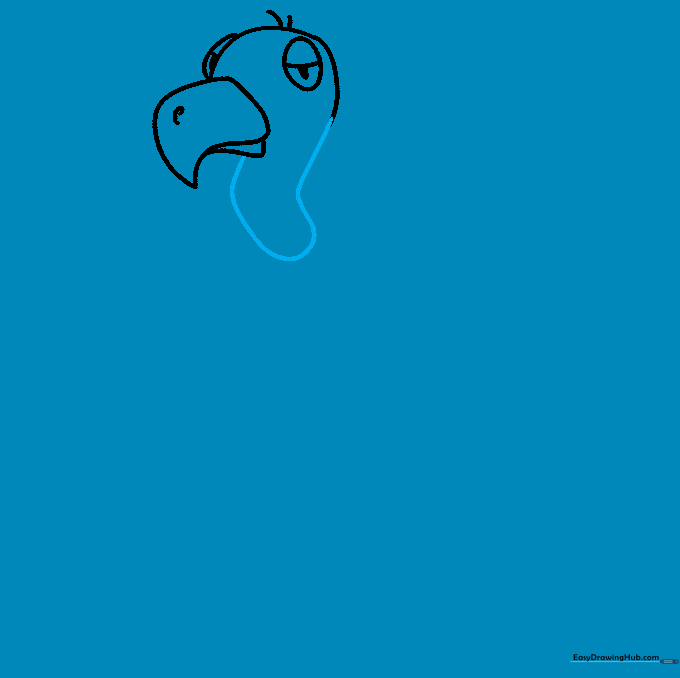
Erase the bottom of your original circle and draw two long, curved lines downward to create the neck. Tip: Keep the neck slightly wobbly to give it a natural, organic look.
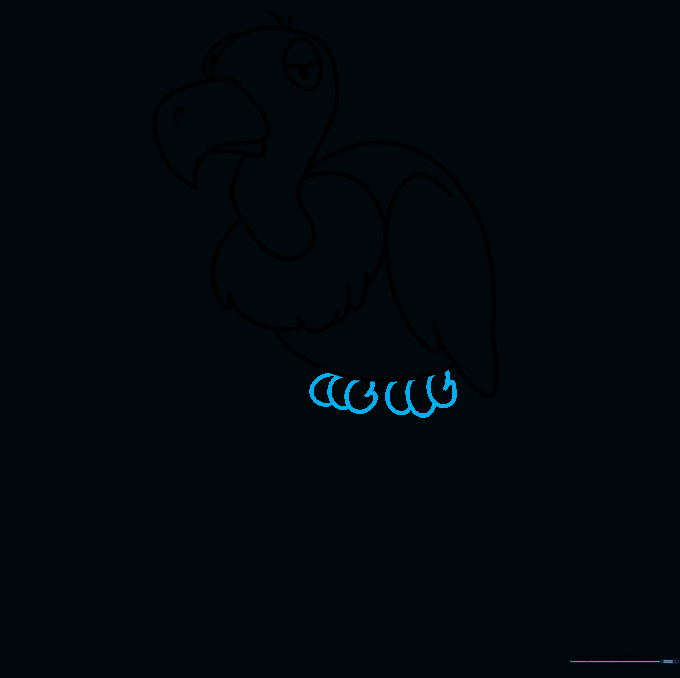
Step 5: Adding the Feather Frill
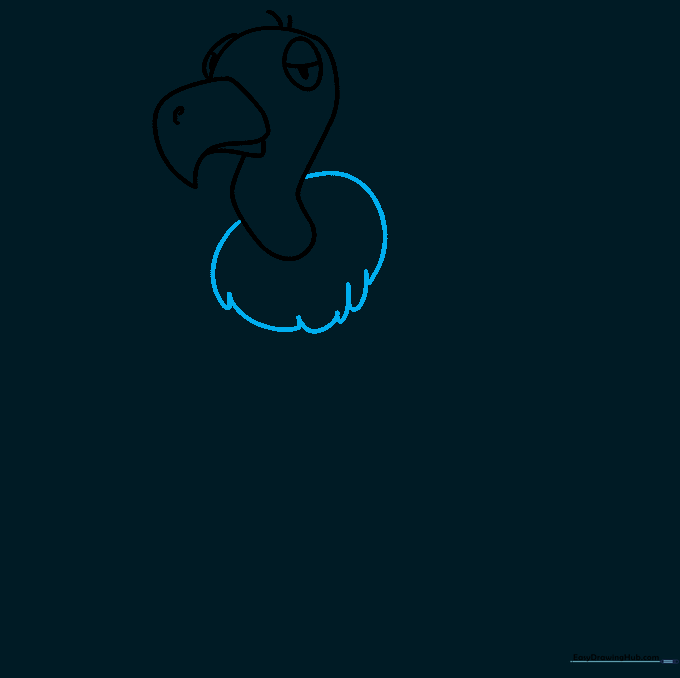
Draw a series of overlapping 'U' shapes around the base of the neck to create a fluffy feather collar. Tip: Vary the size of your 'U' shapes to make the feathers look more realistic.
Step 6: Outlining the Body
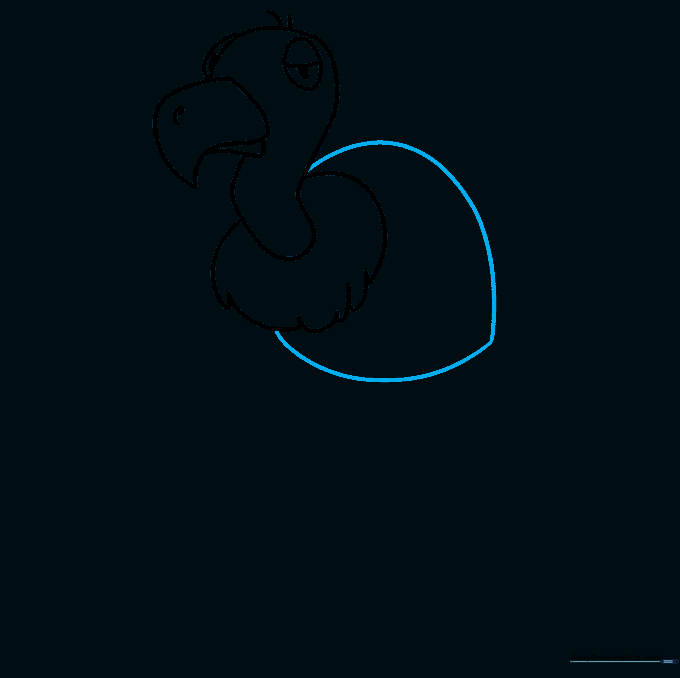
Extend two long, sweeping lines from the neck to form the back and chest, meeting at a point near the tail. Tip: Think of the body as a large, rounded teardrop shape.
Step 7: Drawing the Wing
Use overlapping curved lines to sketch the folded wing on the side of the body. Tip: Make the wing look layered by drawing the lines slightly tucked under each other.
Step 8: Sketching the Feet
Draw the feet using 'C' shapes for the toes. Tip: Vultures have strong claws, so make sure the toes look thick and sturdy.
Step 9: Adding the Tail
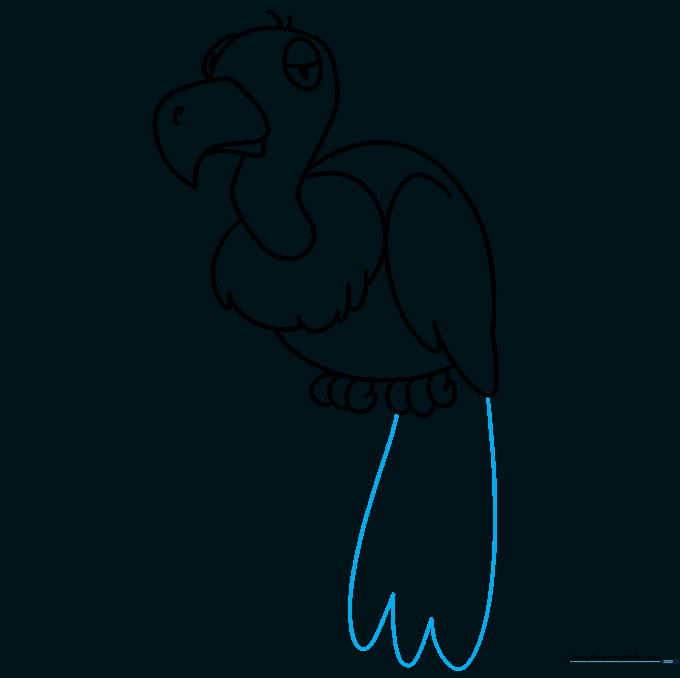
Draw the tail feathers by connecting two lines from the body with a series of small, jagged curves at the bottom. Tip: Keep the tail feathers tight and compact.
Step 10: Bringing Your Vulture to Life with Color
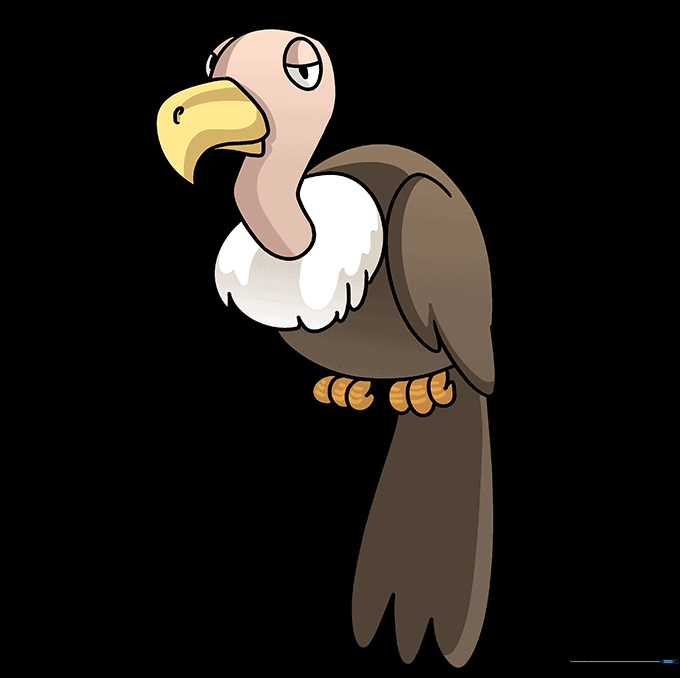
Time to color! Vultures come in many earthy tones like brown, grey, and black. Use a light pink or orange for the head to make it pop. Tip: Use light pressure with your colored pencils to blend colors for a more natural look.
More Tutorials


