How to Draw a Voodoo Doll: Easy 10-Step Guide
Looking for a fun, slightly spooky drawing project? This tutorial is perfect for artists ages 7+ who want to practice character design. Grab your pencil, eraser, and paper to create your own charming voodoo doll using these simple, guided steps.
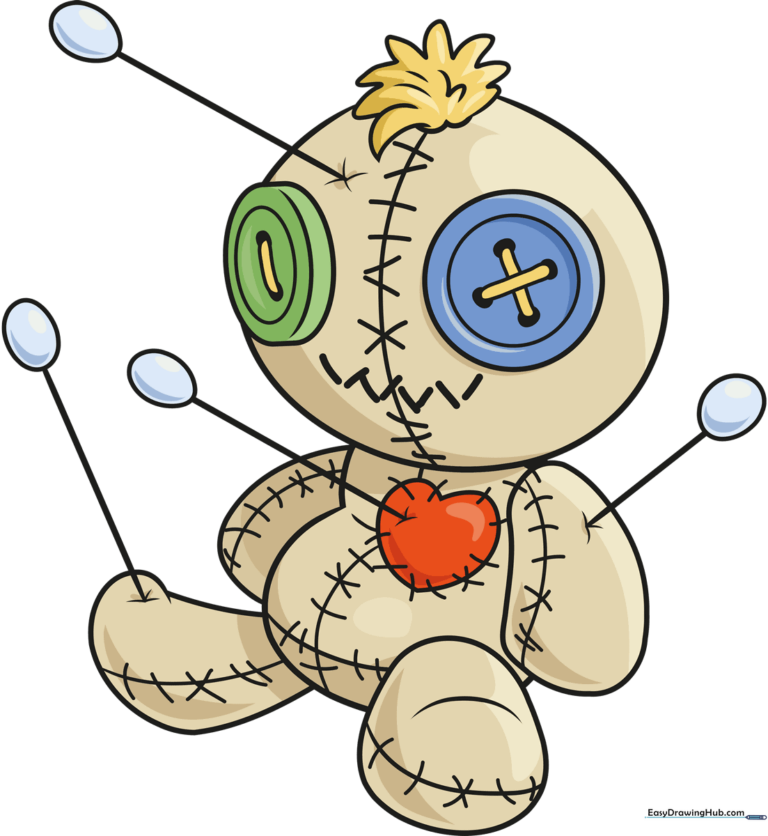
🎯 Final Result
Step-by-Step Instructions
Step 1: Sketching the Head

Draw a slightly elongated circle, leaving a small gap at the top. Add a soft, curved line across the middle to act as a guide for the face. Teacher's Tip: Keep your pencil pressure light here so you can easily adjust the shape later.
Step 2: Adding the Hair
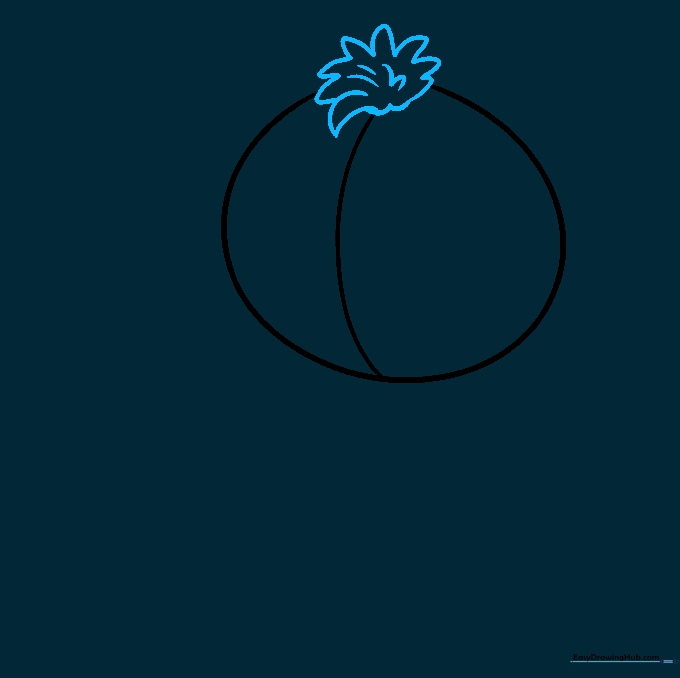
Fill the top gap with a tuft of hair using a series of connected U-shapes and pointed lines. Add a few short, flicking lines inside the hair to create a textured, yarn-like appearance.
Step 3: Drawing the Button Eyes
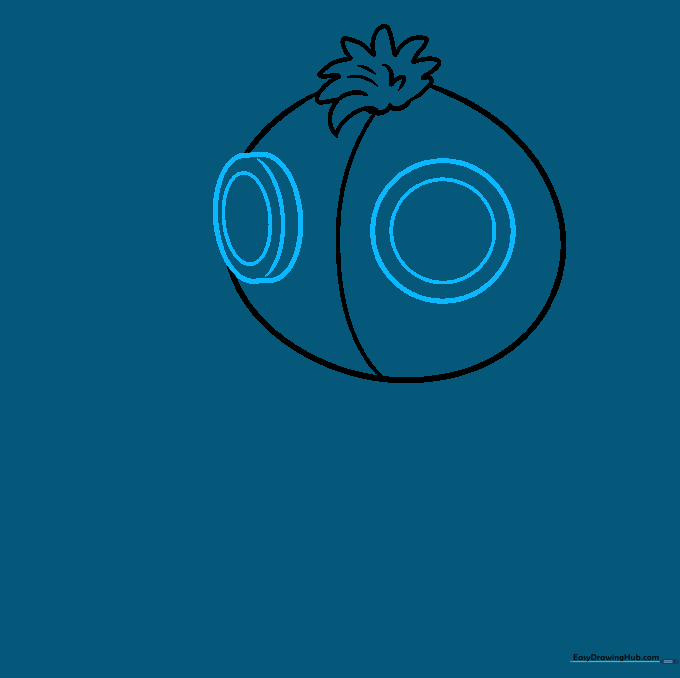
Draw a circle for the right eye and an oval for the left eye to give the doll a quirky, tilted expression. Add a smaller circle inside each to represent the button holes. Tip: Varying the eye shapes adds personality to your character.
Step 4: Adding Stitched Details
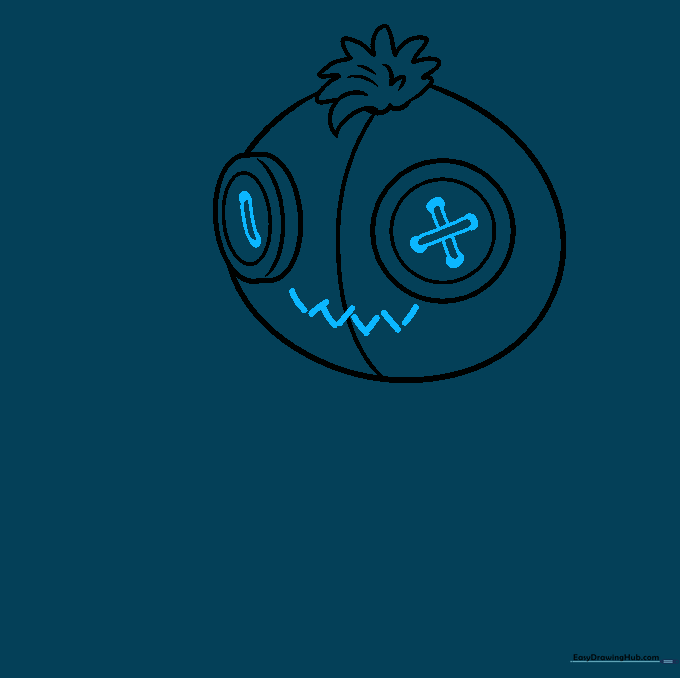
Draw thread lines across the eyes using small 'X' shapes and black splotches at the ends to mimic sewing. For the mouth, use a series of short, diagonal lines in a V-shape, leaving small gaps to make them look like stitches.
Step 5: Sketching the Body
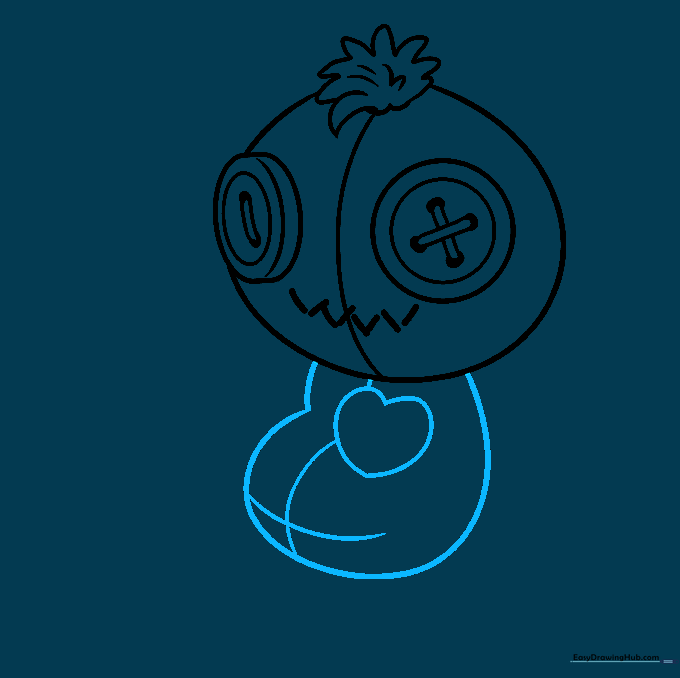
Draw a large, rounded shape beneath the head for the body. Add a small heart shape on the chest to give your doll a sweet, lovable touch. Tip: Keep the body slightly smaller than the head to maintain a 'chibi' or cute proportion.
Step 6: Drawing the Arms
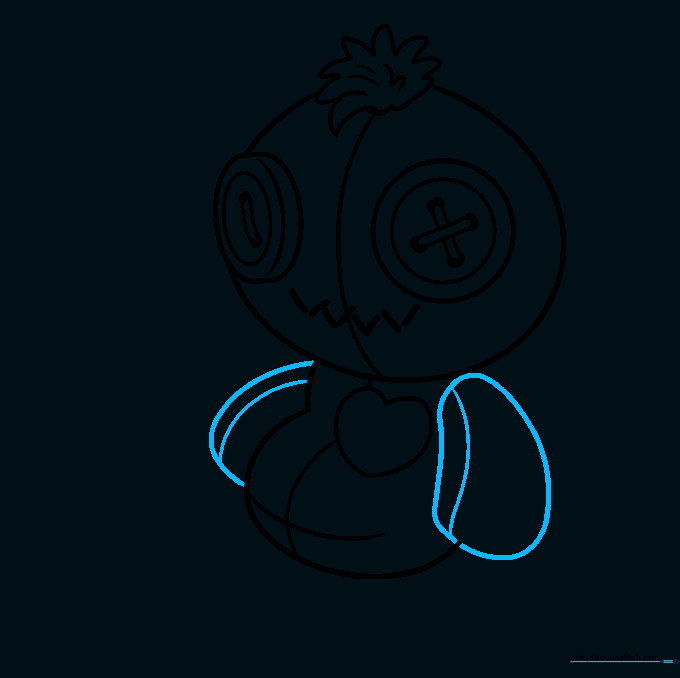
Draw two curved, tube-like shapes for the arms. Make them slightly irregular to show that the doll is made of soft fabric. Ensure the arms are attached securely to the sides of the body.
Step 7: Adding the Legs
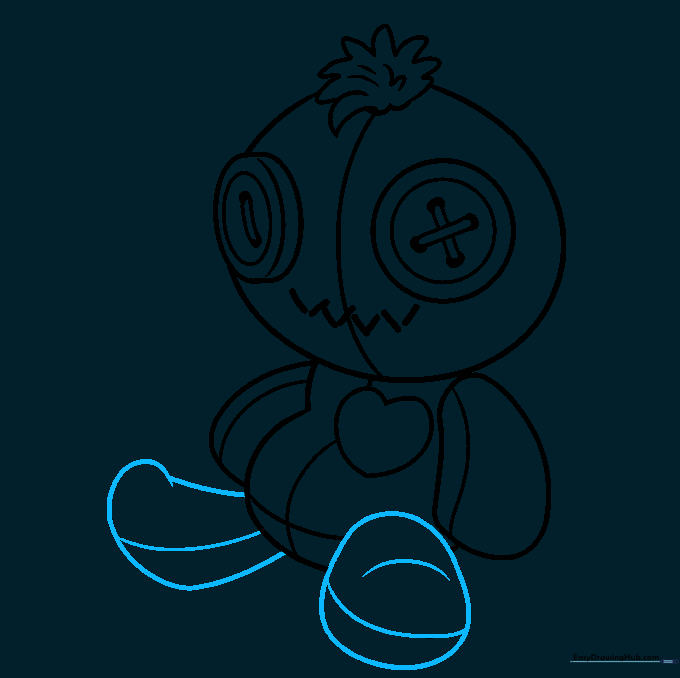
Sketch two rounded, oblong shapes at the bottom of the body for the feet. Add a small curve at the base of each foot to give them dimension and make the doll look like it's sitting.
Step 8: Adding Seam Stitches
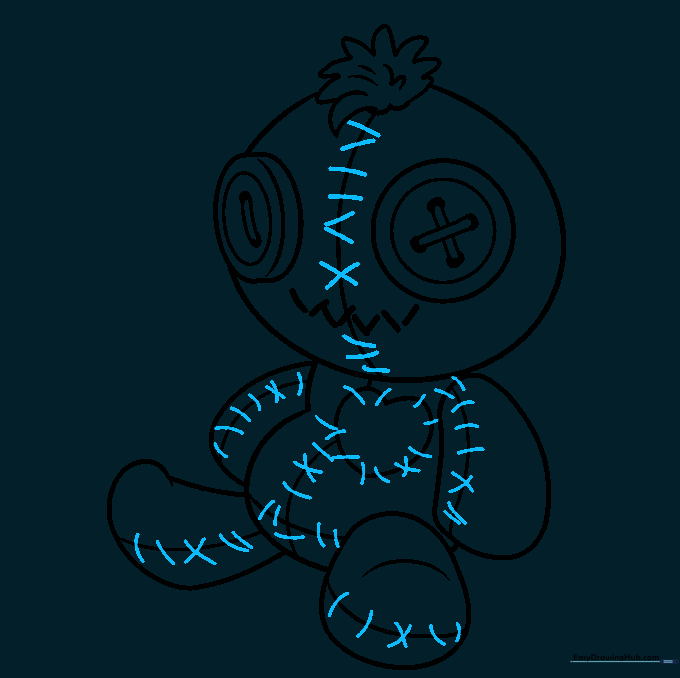
Add character by drawing small, irregular crosses and diagonal lines along the edges of the arms, legs, and body. These represent the seams of the fabric. Tip: Don't make them too perfect—the messier they are, the more 'handmade' the doll looks!
Step 9: Adding Pins
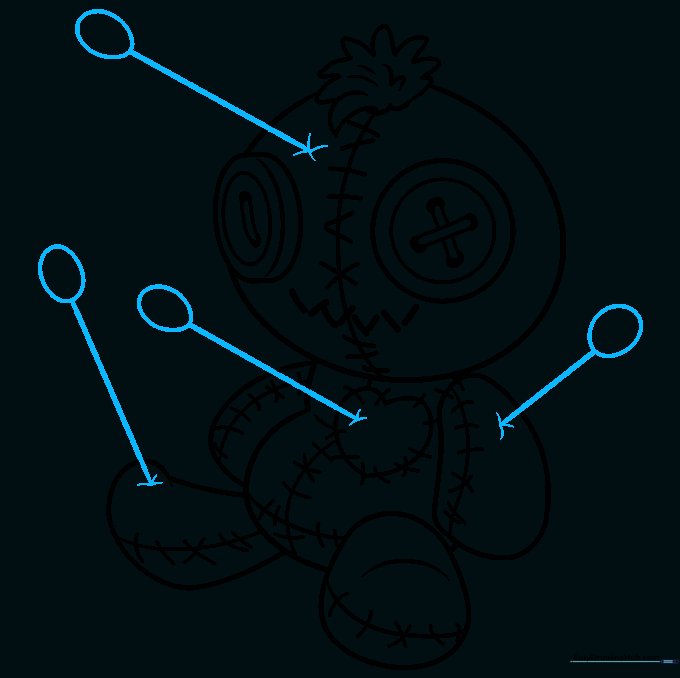
Draw a few straight lines sticking out of the doll's head and body, topped with small ovals to represent pins. Add a tiny dash where the pin enters the fabric to show depth.
Step 10: Final Coloring
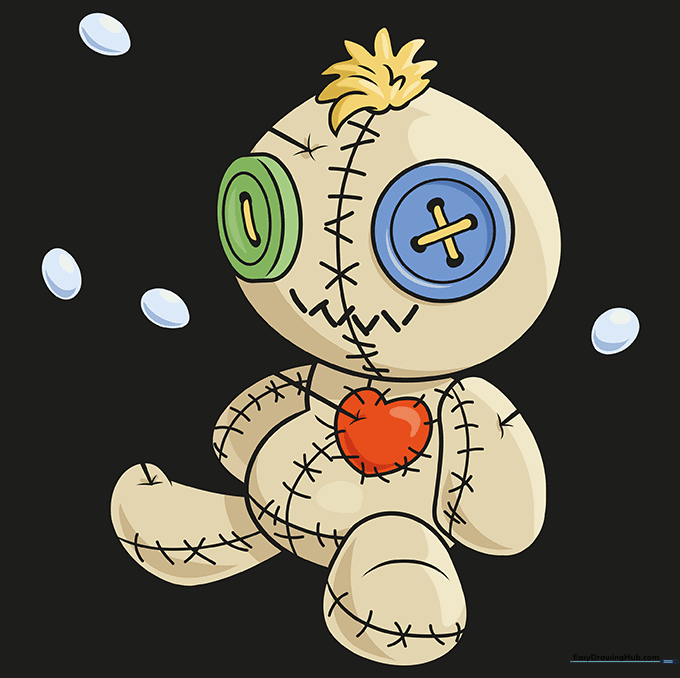
Your outline is complete! Use markers, colored pencils, or crayons to fill in your doll. Try using earthy tones for the fabric and bright colors for the heart and buttons to make them pop.
More Tutorials


