How to Draw a Volleyball Net: Easy 10-Step Guide
Ready to bring the beach to your sketchbook? This tutorial is perfect for young artists ages 5+ looking to master perspective and geometric patterns. All you need is a pencil, an eraser, and a piece of paper to start building your own sports scene.
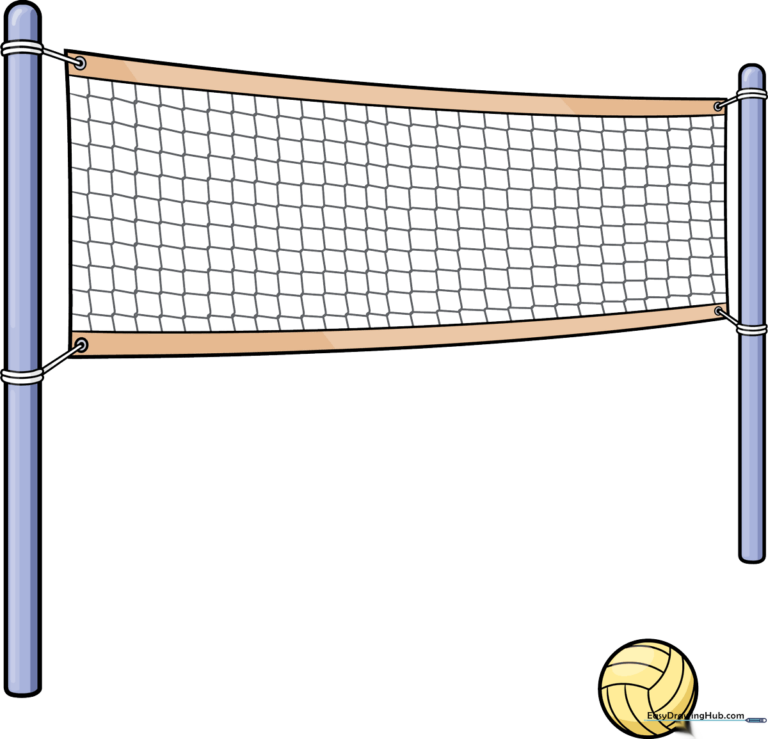
🎯 Final Result
Step-by-Step Instructions
Step 1: Sketching the Support Posts
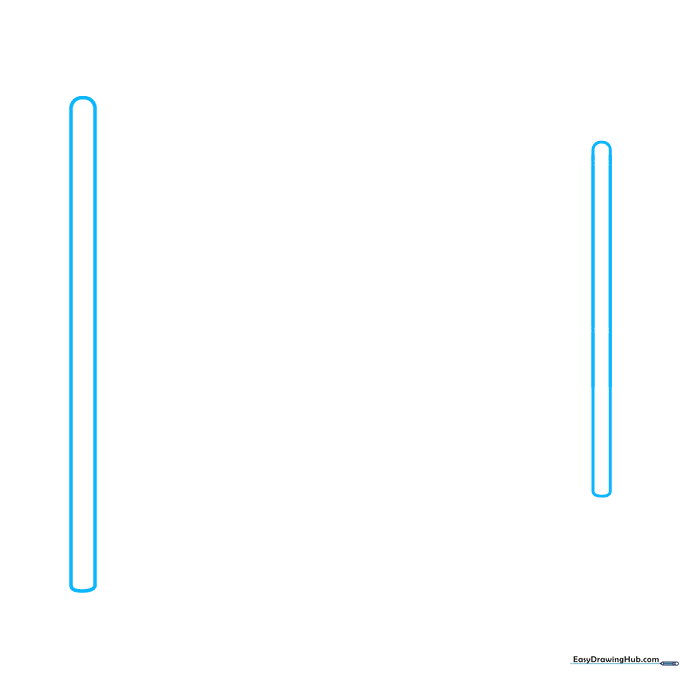
Draw two vertical lines for each post, connecting them with short curves at the top and bottom. Teacher's Tip: Make one pole slightly taller than the other to create a sense of depth and perspective.
Step 2: Framing the Net
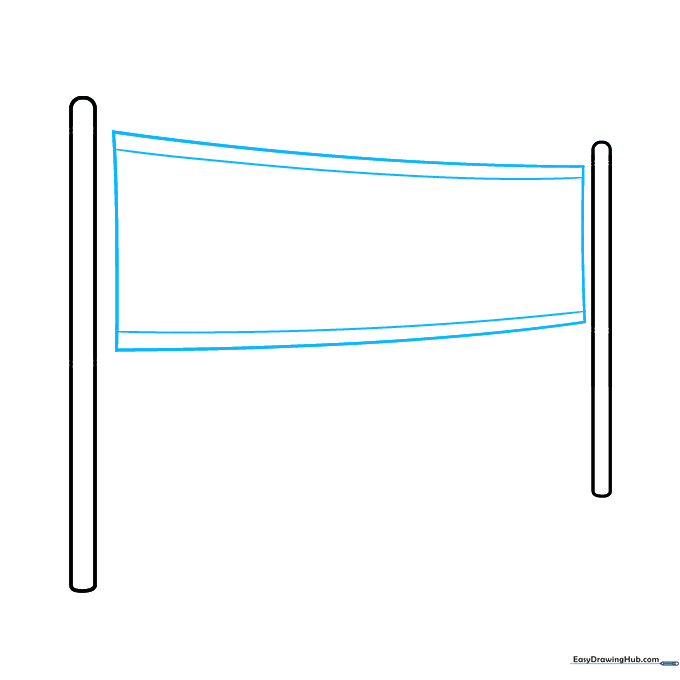
Draw a rectangle between the two posts. Don't worry about touching the poles just yet; focus on getting the rectangular frame centered. Tip: Keep your lines straight to ensure the net looks sturdy.
Step 3: Adding Rivets and Ropes
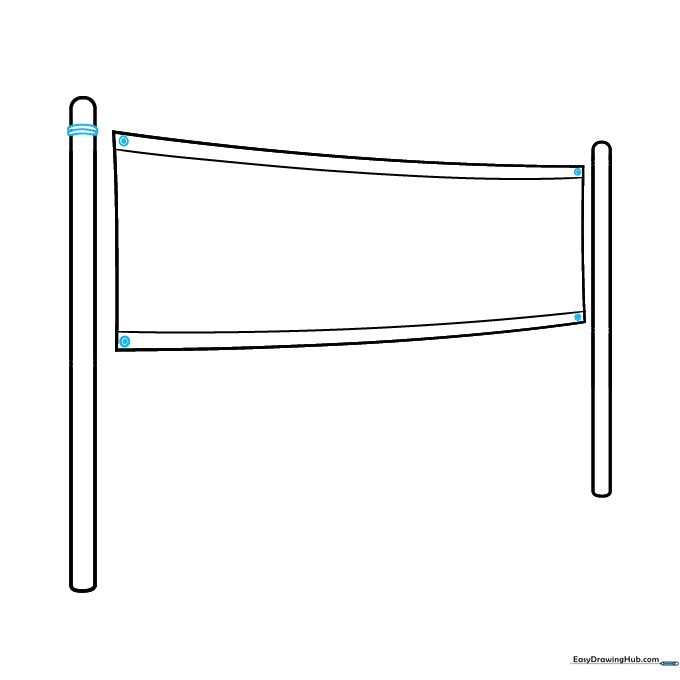
Add a small circle at each corner of the rectangle, shading the center to create rivets. Then, sketch curved lines around one pole to represent the ropes holding the net in place. Tip: Use a light touch for the ropes so you can refine them later.
Step 4: Connecting the Net to Posts
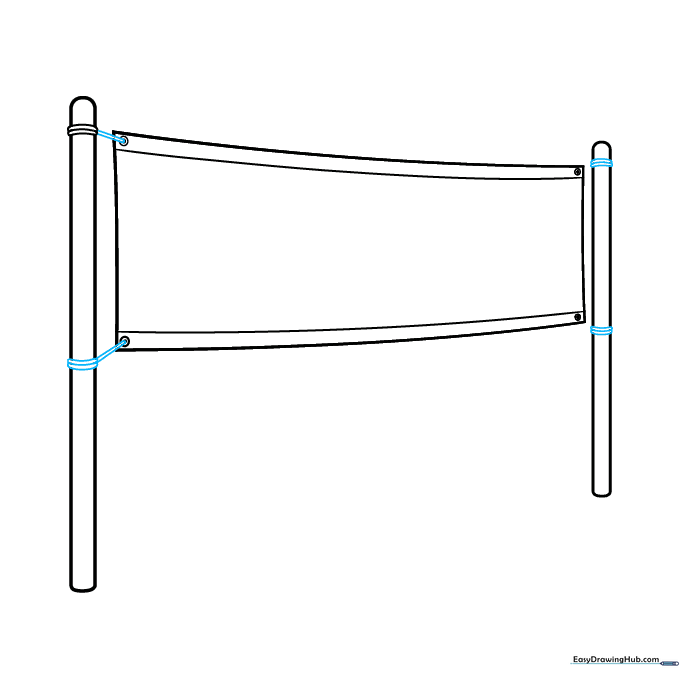
Draw curved bands on the posts and connect them to the rivets using pairs of straight lines. This creates the tension cables that keep the net tight. Tip: Use a ruler if you find it hard to keep your lines perfectly straight.
Step 5: Starting the Webbing
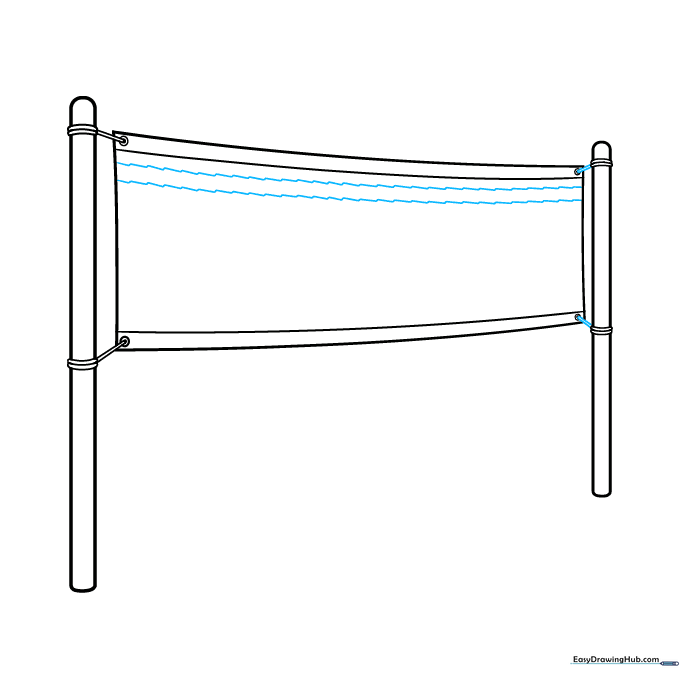
Begin the net pattern by drawing long, horizontal zigzag lines across the rectangle. Tip: Keep the zigzags consistent in size to make the net look uniform.
Step 6: Filling the Net
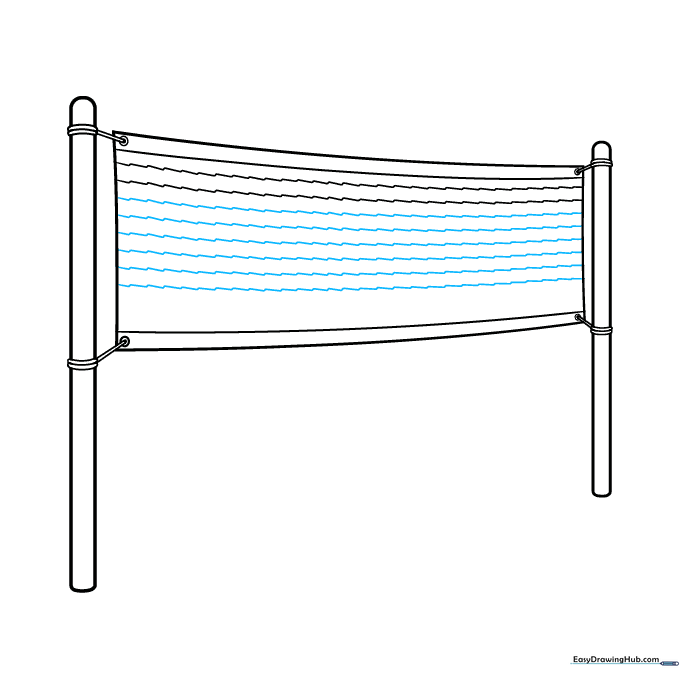
Continue adding more horizontal zigzag lines until the entire rectangle is filled. Tip: Don't worry if they aren't perfect; a slightly organic look makes the net appear more realistic.
Step 7: Creating the Diamond Pattern
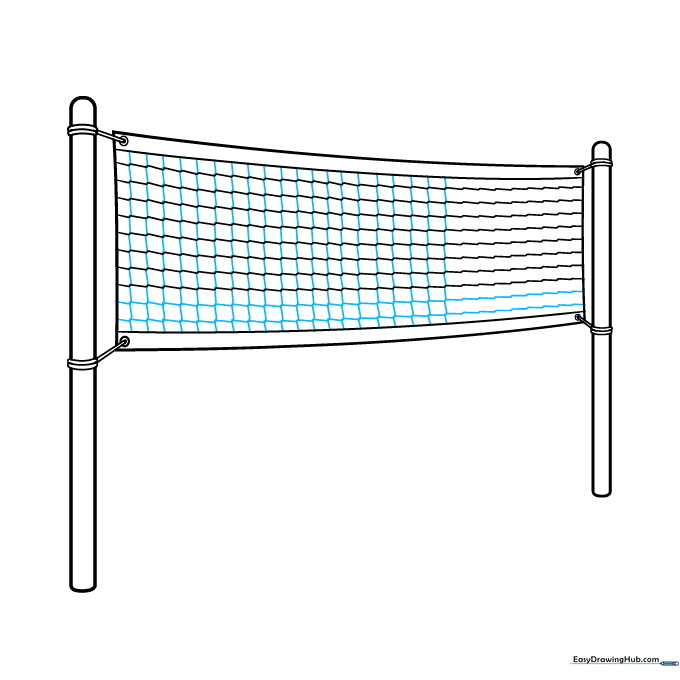
Draw vertical lines connecting the points of your zigzags. This creates the classic diamond-shaped mesh pattern. Tip: Take your time here; this is where the net really starts to look professional!
Step 8: Adding the Volleyball
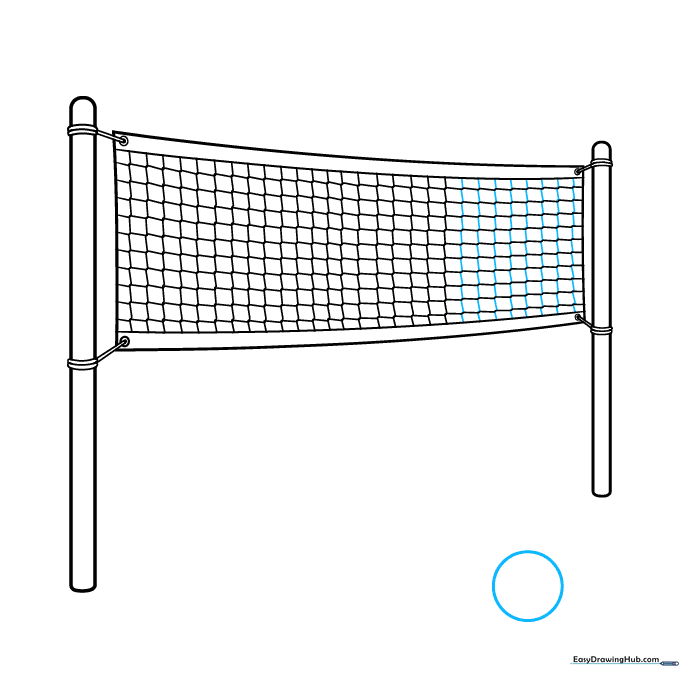
Finish the vertical lines, then draw a circle near the net to represent the volleyball. Tip: Use a circular object like a coin to trace if you struggle with freehand circles.
Step 9: Detailing the Ball
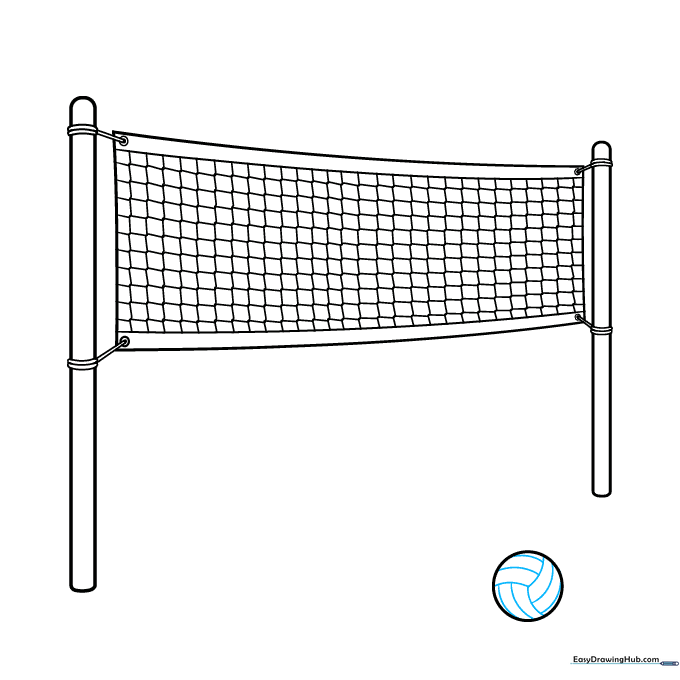
Draw curved, interlocking lines across the surface of the ball to show the panels. Tip: Look at a real volleyball photo to see how the lines curve around the sphere.
Step 10: Adding Color
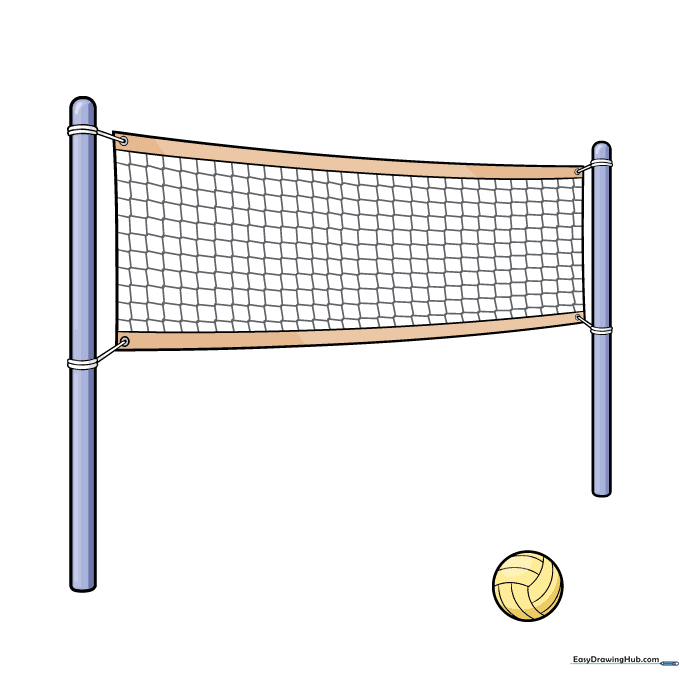
Time to bring your drawing to life! Use bright colors for a fun, summer vibe, or stick to traditional white and black. Tip: Use light shading on one side of the ball to give it a 3D effect.
More Tutorials


