How to Draw a Volcano: Easy 10-Step Guide for Kids
Ready to bring a fiery mountain to life? This tutorial is perfect for young artists ages 5 and up, requiring only a pencil, paper, and your favorite coloring tools. Follow these simple steps to master basic landscape shapes and create your own erupting masterpiece.
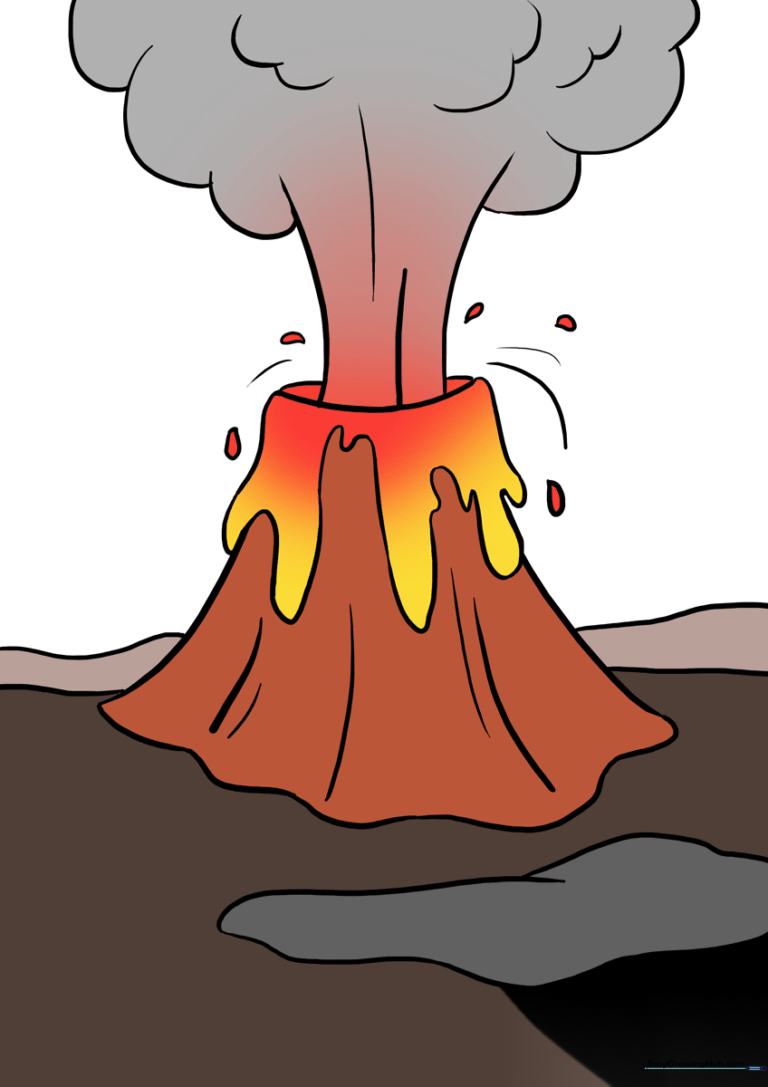
🎯 Final Result
Step-by-Step Instructions
Step 1: Sketching the Slopes

Draw two diagonal, curved lines that slant toward each other at the top. Teacher's Tip: Keep these lines light so you can easily adjust the width of your mountain later.
Step 2: Defining the Crater

Connect the two diagonal lines at the top with a short, curved line. This creates the crater, or the mouth, where the lava will soon erupt.
Step 3: Creating the Base

Connect the bottom of your diagonal lines using a wavy, scalloped line. This gives your volcano a natural, rugged look rather than a perfectly straight edge.
Step 4: Drawing the Flowing Lava
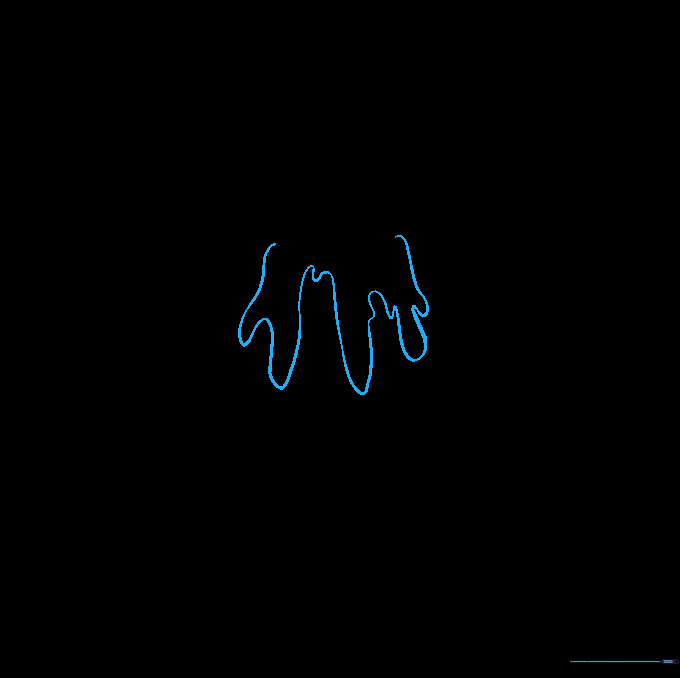
Draw the lava oozing from the top using a long, curved line that doubles back on itself. Think of these as 'U' shapes of varying sizes to make the lava look like it's dripping down the side.
Step 5: Cleaning Up
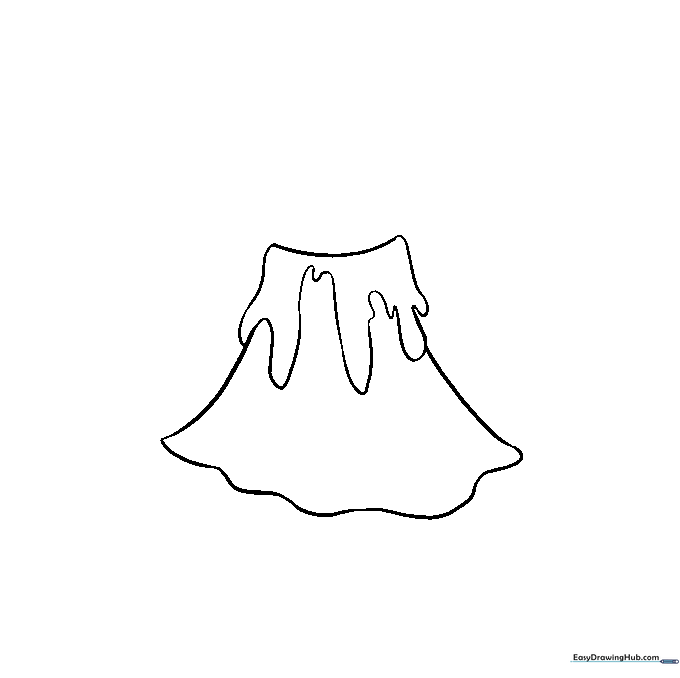
Gently erase any pencil lines that are inside the lava flow. This makes the lava look like it is sitting on top of the mountain surface.
Step 6: Adding the Smoke Plume
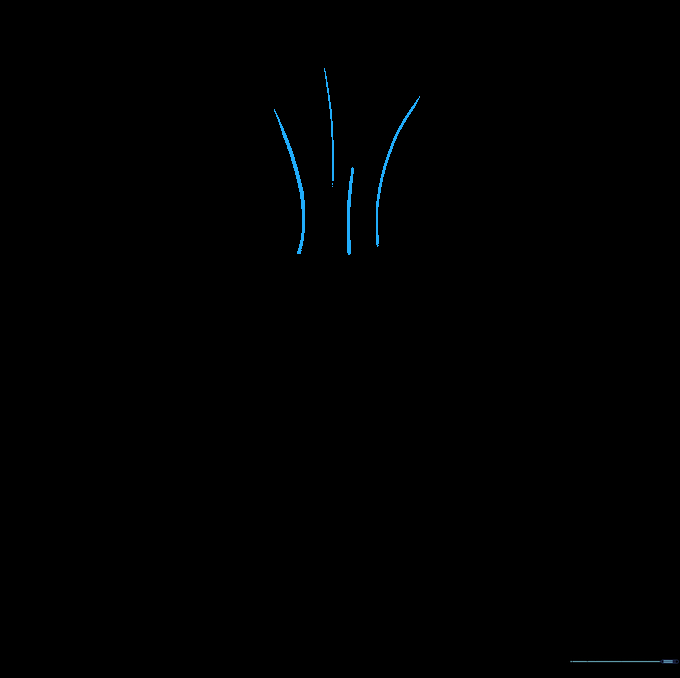
Draw two large curved lines extending upward from the crater. Add smaller, shorter curved lines between them to give the smoke texture and volume.
Step 7: Detailing the Smoke

Fill the smoke plume with a series of connected 'U' shaped lines. This creates a fluffy, cloud-like appearance for the ash and smoke.
Step 8: Building the Landscape
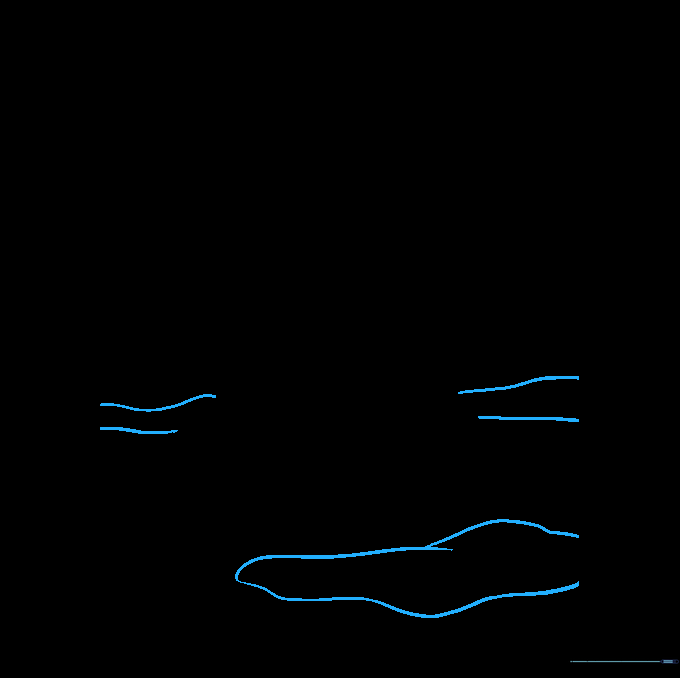
Draw wavy lines on either side of the volcano to create a horizon. You can add extra mountain peaks or a small rock shape in the foreground to make your scene more interesting.
Step 9: Final Touches

Review your drawing and add any final details, like small rocks or texture lines on the mountain slopes, to make your volcano look unique.
Step 10: Bring It to Life with Color
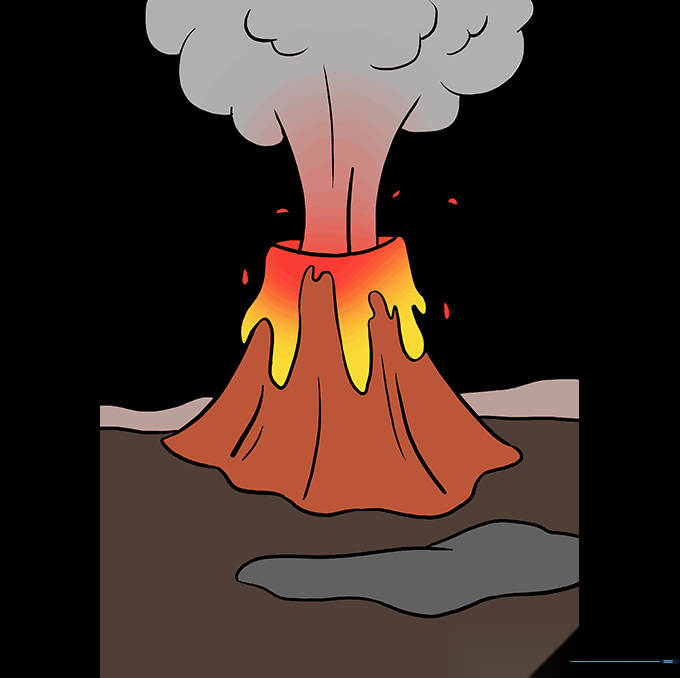
Time to color! Use deep browns and greys for the rocky mountain, and bright reds, oranges, and yellows for the lava to make it pop against the page.
More Tutorials


