How to Draw a Virus: Easy 10-Step Science Art Lesson
Looking for a creative way to explore biology? This drawing lesson is perfect for ages 6+ and requires only a pencil, eraser, and paper. You will learn to construct a stylized virus model, helping you visualize microscopic structures through simple, repetitive shapes.
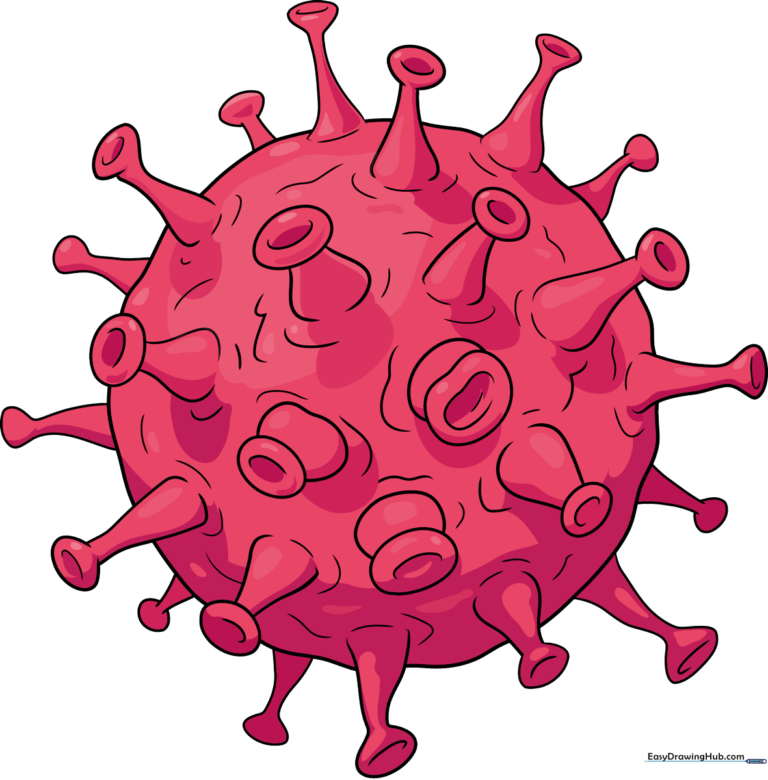
🎯 Final Result
Step-by-Step Instructions
Step 1: Sketching the Core
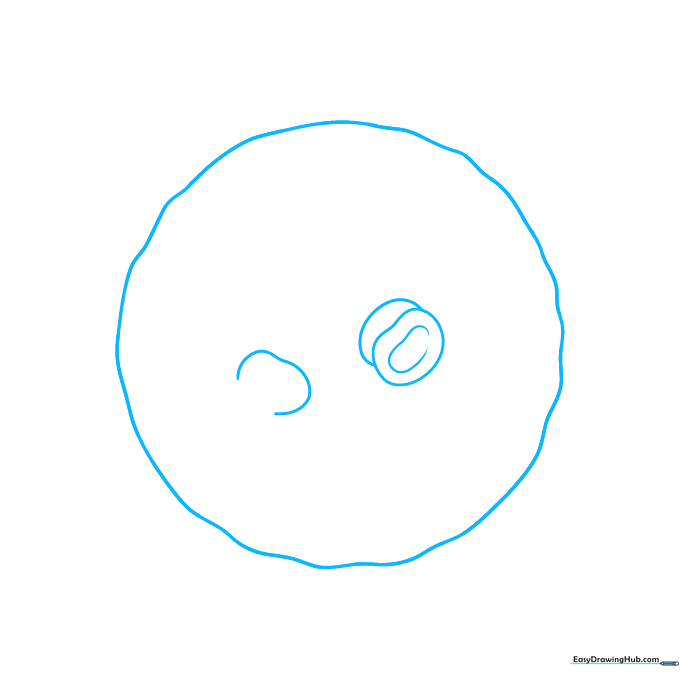
Start by drawing a loose, circular shape for the main body. Tip: Use a wavy, squiggly line instead of a perfect circle to give it an organic, microscopic texture. Keep your pencil pressure light so you can easily adjust the shape later.
Step 2: Adding Envelope Proteins
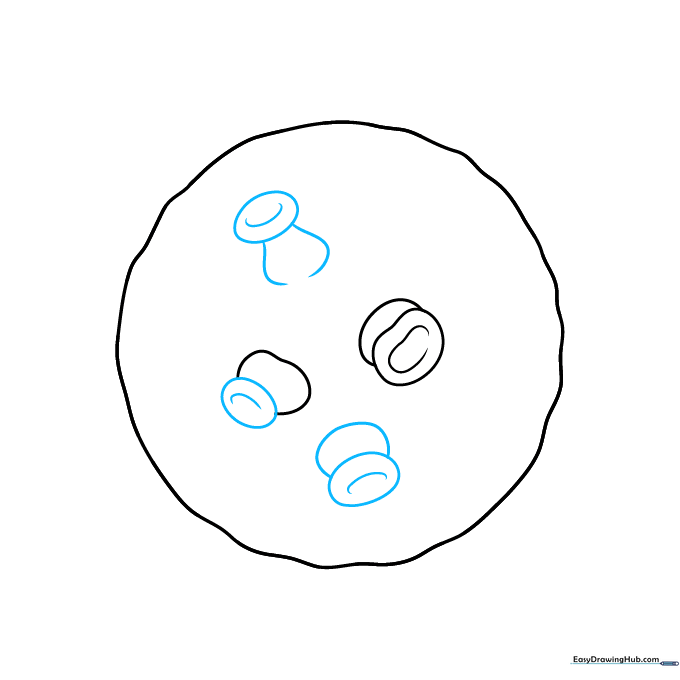
Draw several small, rounded shapes along the edge of your circle, adding 'C' shaped lines inside each one. These represent the spike glycoproteins. Tip: Think of these as little 'bumps' on the surface—don't worry about making them identical!
Step 3: Developing the Spikes

Extend the shapes from the previous step, making them slightly more triangular. Use curved lines to connect the bases to the main body. Tip: If a line overlaps the main circle, use your eraser to clean it up for a professional look.
Step 4: Filling the Perimeter
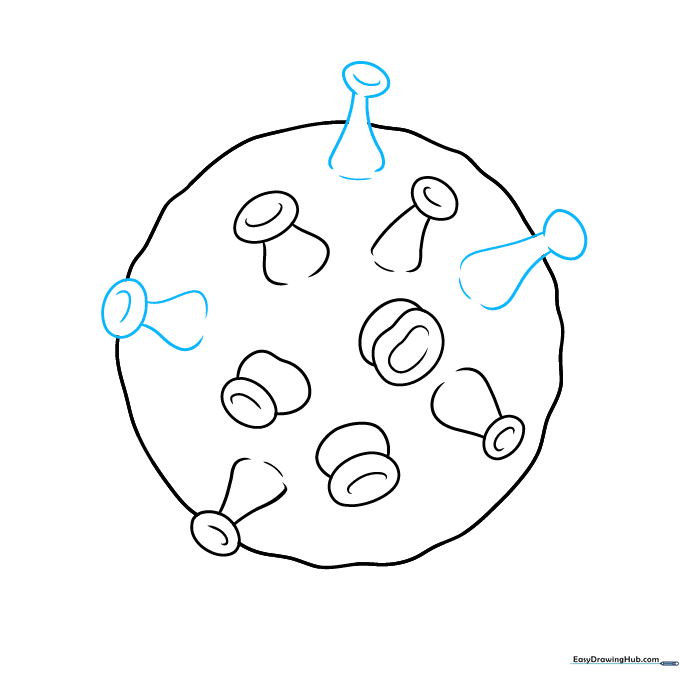
Continue adding more spike proteins around the circle. Tip: Vary the size of the spikes slightly to make your drawing look more realistic and less like a pattern.
Step 5: Building Density
Keep adding spikes until the entire circle is surrounded. Tip: Don't rush! Focus on keeping the base of each spike firmly attached to the main body line.
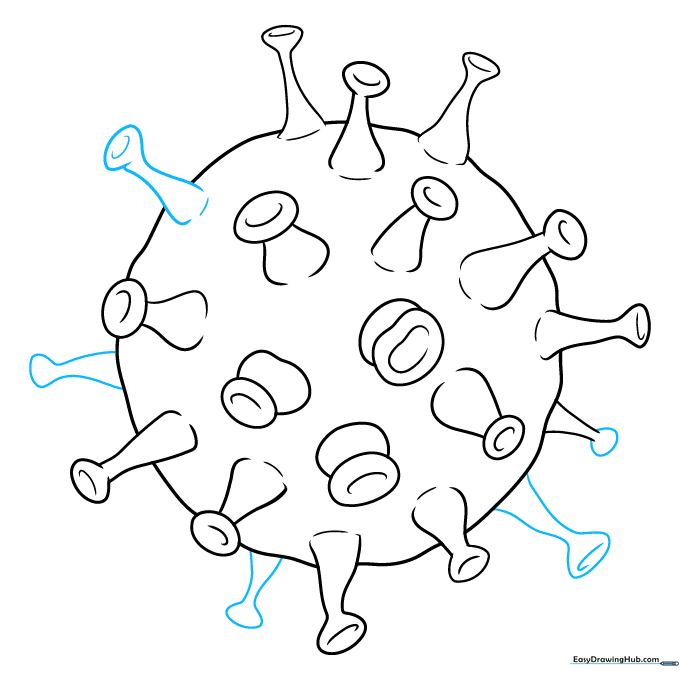
Step 6: Adding Perspective

Draw a few more spikes, but make them look skinnier to suggest they are pointing away from the viewer. Tip: Changing the width of the spikes creates a 3D effect on a 2D page.
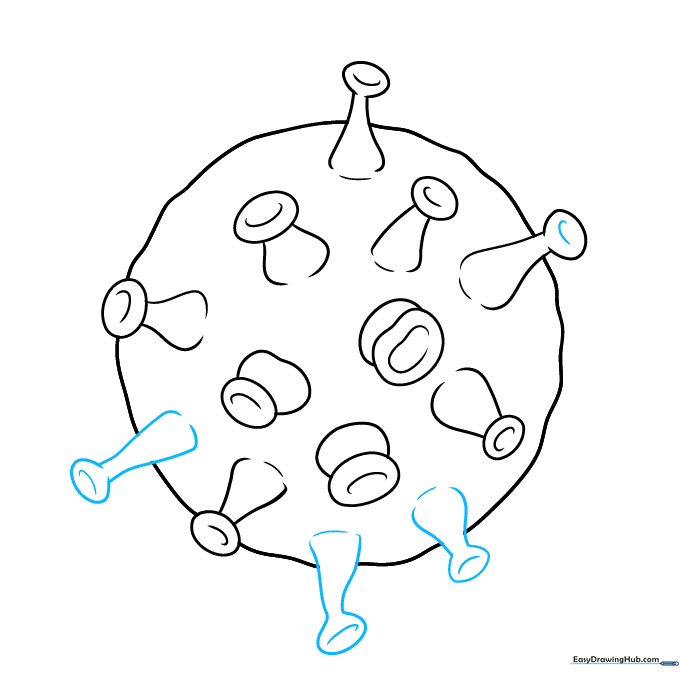
Step 7: Filling Gaps
Fill in any empty spaces along the edge with smaller, curved protein structures. Tip: Use short, quick strokes to keep the lines looking energetic.
Step 8: Surface Texture
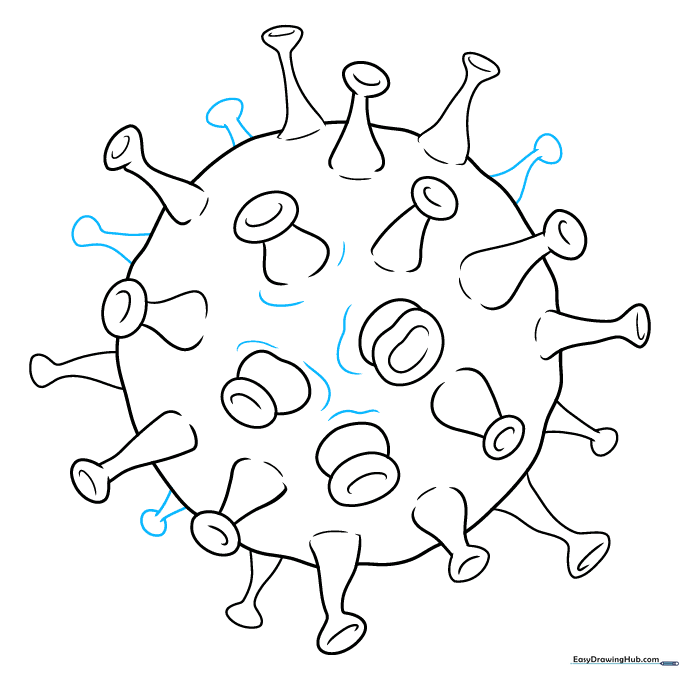
Add curved lines across the surface of the main body to show its roundness. Tip: Imagine the virus is a ball; draw your lines following the curve of that ball to make it look round.
Step 9: Final Details

Add a few more squiggly lines on the surface to represent texture. Tip: Keep these lines subtle so they don't distract from the main spike proteins.
Step 10: Bring It to Life with Color
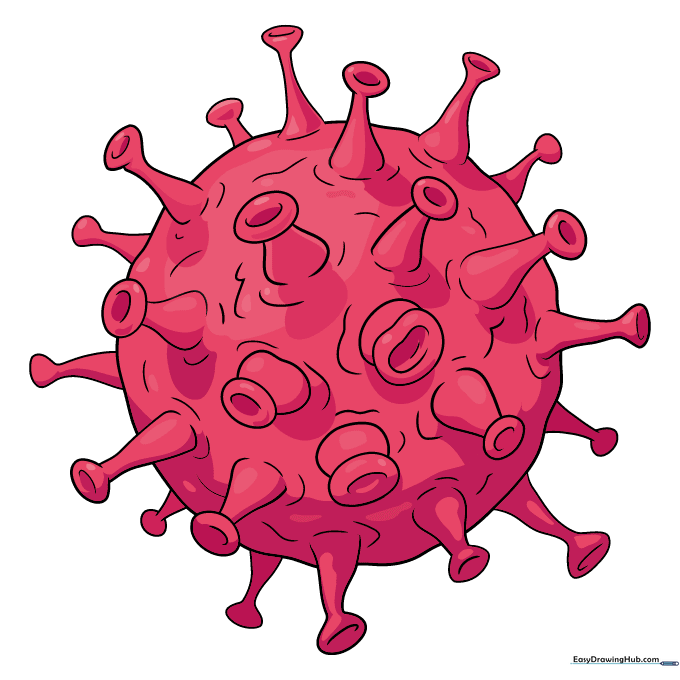
Your outline is complete! Now, use colors to make it pop. Tip: Since viruses are invisible, you can get creative! Try using bright reds or oranges for the spikes and a contrasting color for the body to make the parts stand out.
More Tutorials


