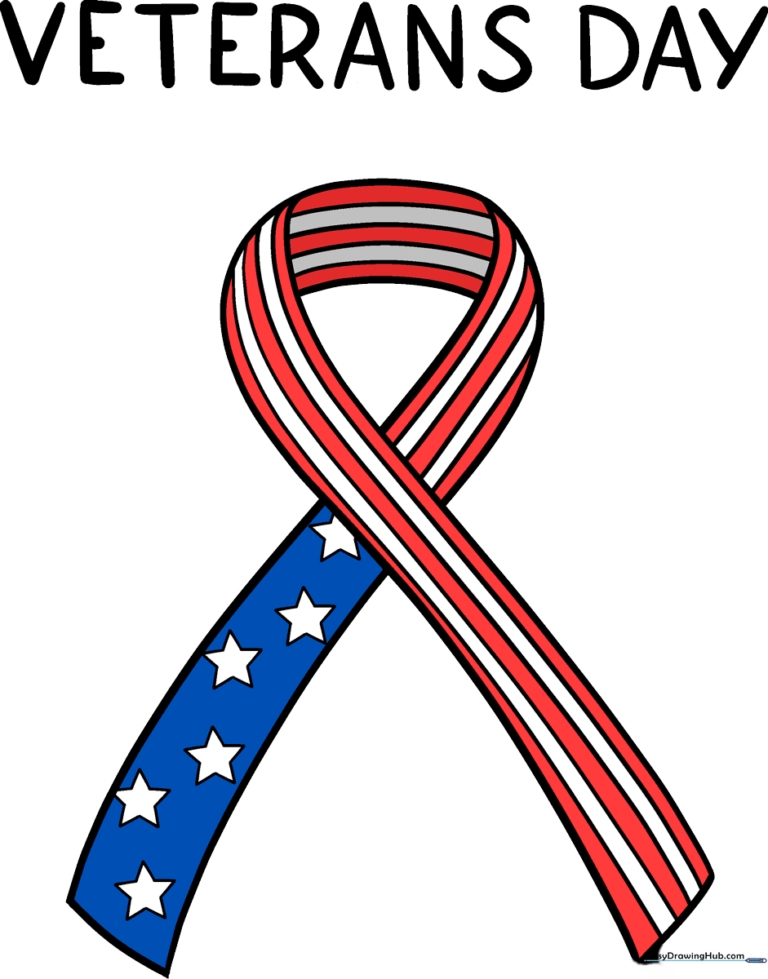
How to Draw a Veterans Day Ribbon: Easy Step-by-Step Guide
Looking for a meaningful way to honor our heroes? This step-by-step tutorial is perfect for kids and beginners to draw a classic Veterans Day ribbon. You'll only need a pencil, an eraser, and some markers or crayons to complete this patriotic project.
🎯 Final Result
Step-by-Step Instructions
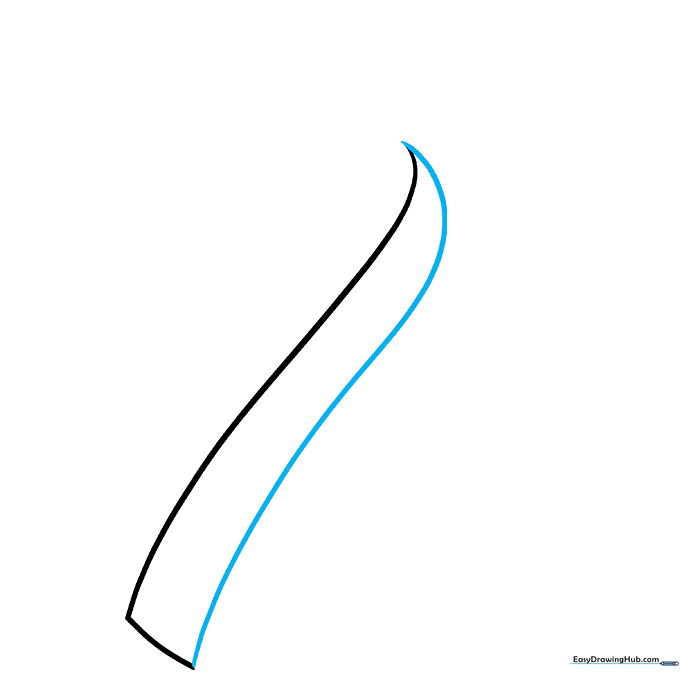
Step 1: Sketching the Ribbon Edge

Begin by drawing a long, gentle curved line to form the outer edge of the ribbon. At the bottom, add a short horizontal line to create the folded end. Teacher's Tip: Keep your pencil pressure light so you can easily adjust the shape if needed.
Step 2: Creating the Fold
From the bottom of your first line, draw another curve that travels upward to meet the top in a sharp point. This creates the illusion of a folded fabric. Teacher's Tip: Think of this as drawing a 'V' shape with a curve—it gives the ribbon a realistic 3D look.
Step 3: Adding the Crossover
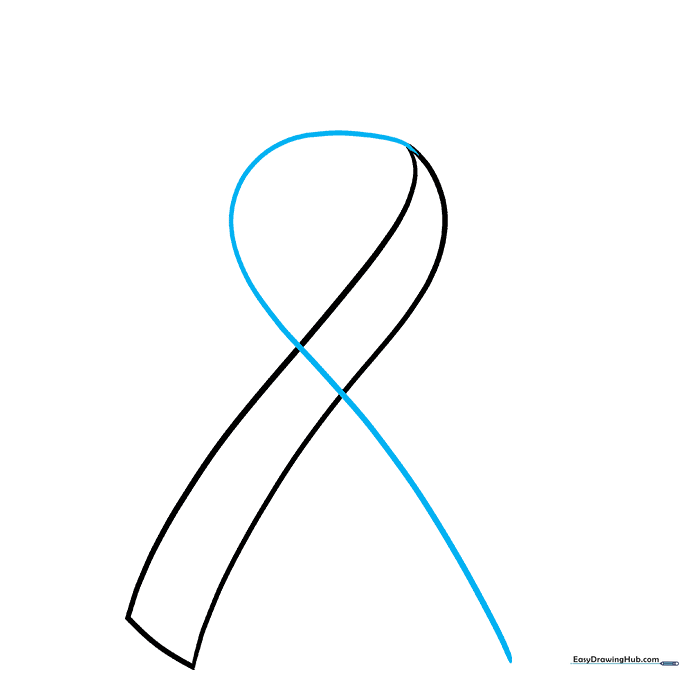
From that sharp point, draw another long, graceful curve that crosses over the section you just drew. This adds depth to your ribbon. Teacher's Tip: Don't worry if the lines aren't perfect; ribbons are soft and flowy, so natural curves look best.
Step 4: Mirroring the Shape
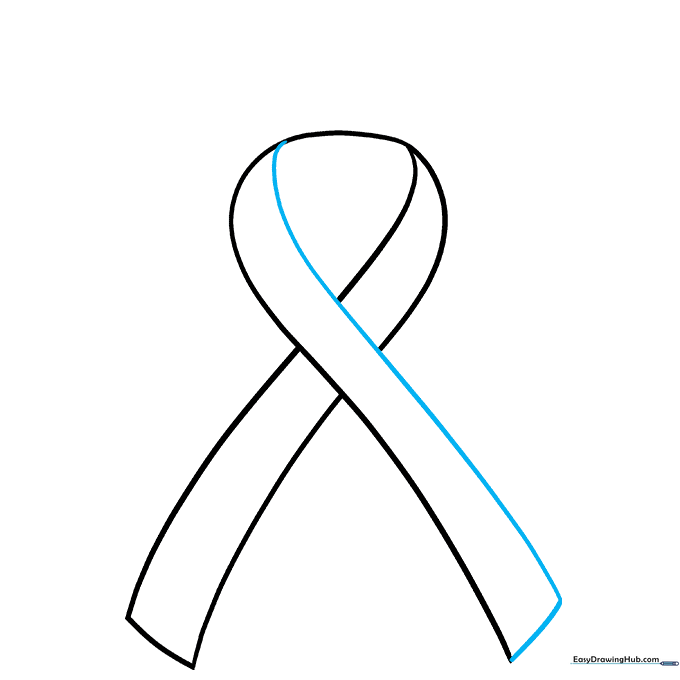
Draw a short base line and a long curved line on the opposite side to mirror the first half. Once finished, use your eraser to remove any overlapping lines inside the ribbon to make it look like one continuous piece of fabric.
Step 5: Adding Stars
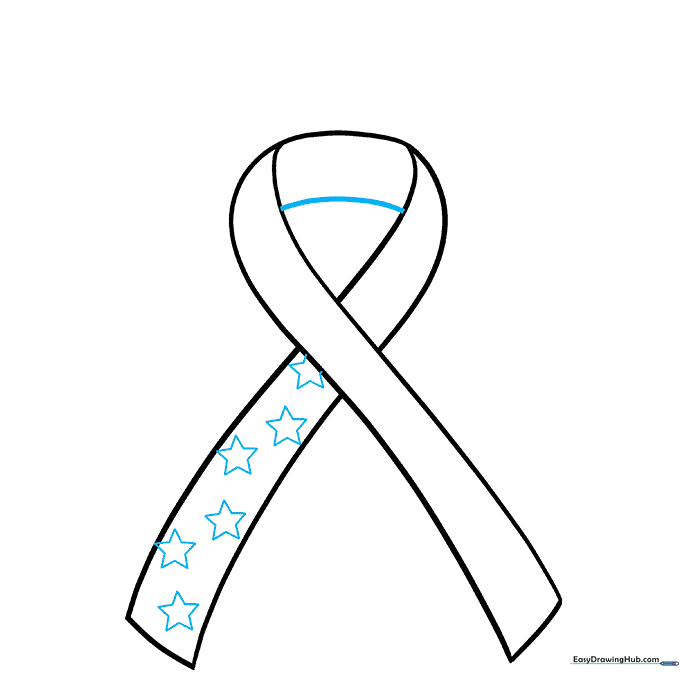
Connect the top of your ribbon with a final curved line. Now, it's time to decorate! Draw a few five-pointed stars on one side of the ribbon. Teacher's Tip: If drawing stars is tricky, try drawing a small 'X' first and connecting the points.
Step 6: Starting the Stripes
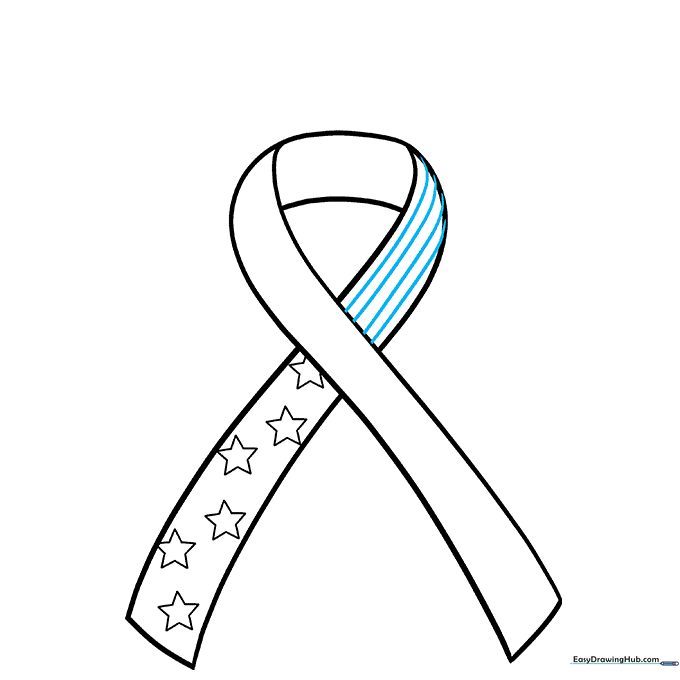
Add stripes to the top section using four parallel curved lines. This creates five distinct bars. Teacher's Tip: Keep your spacing consistent so the stripes look neat and professional.
Step 7: Continuing the Pattern
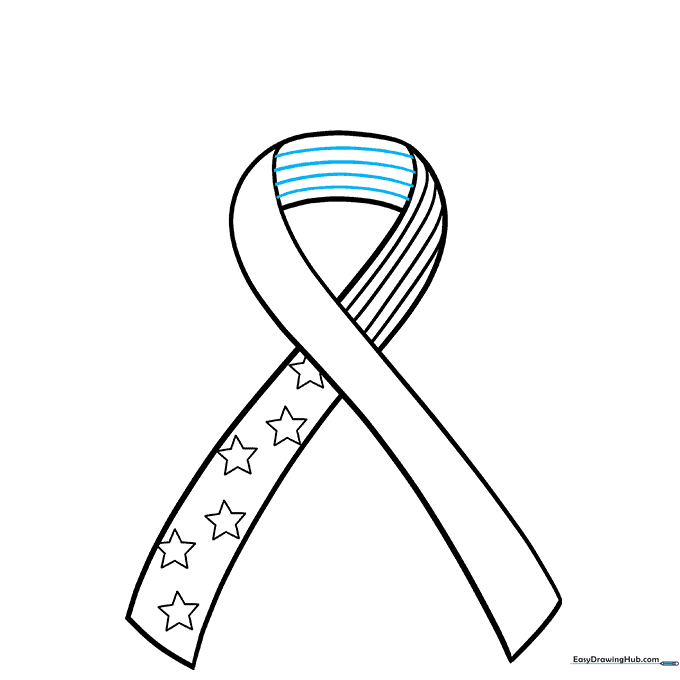
Extend those stripes further down the ribbon. Use the same technique of four parallel lines to maintain the pattern. Teacher's Tip: Follow the curve of the ribbon with your lines to make it look like the stripes are wrapping around the fabric.
Step 8: Finishing the Stripes
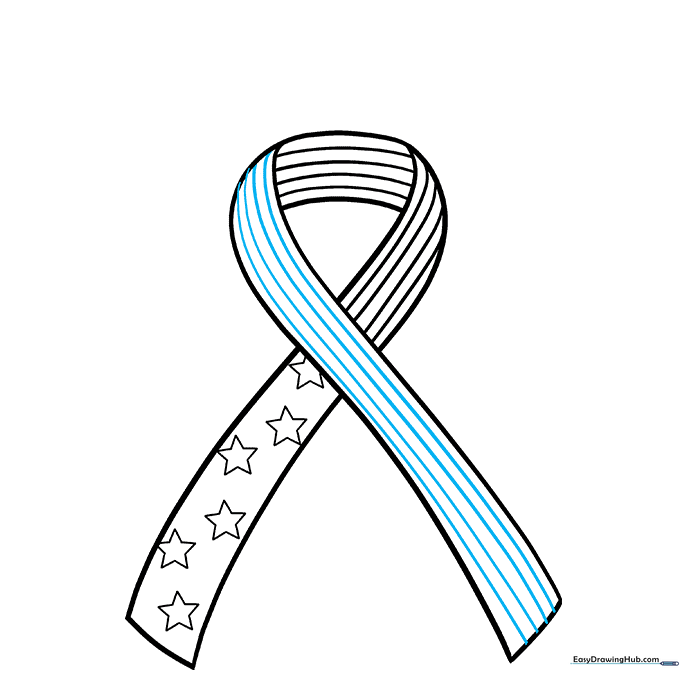
Carry the stripes down to the remaining side of the ribbon. Ensure they align with the ones you drew previously for a clean, finished look.
Step 9: Adding Text
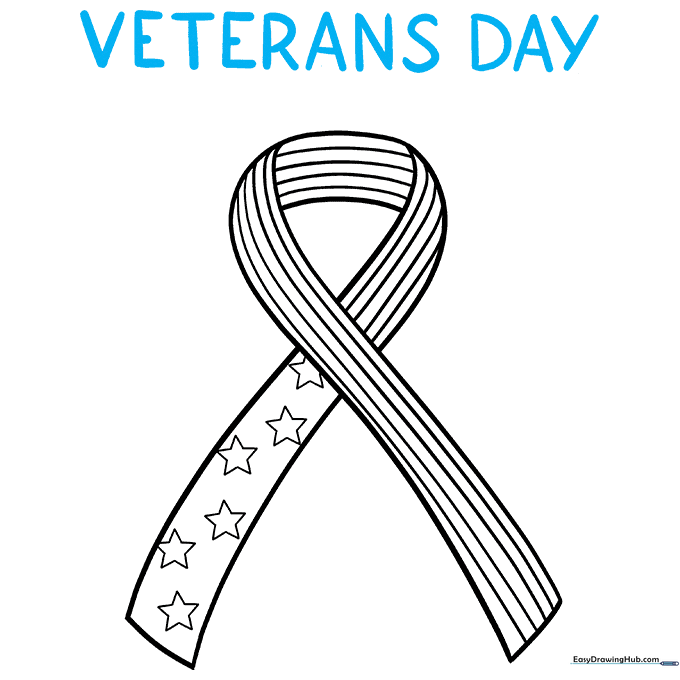
Complete your drawing by writing 'VETERANS DAY' in bold, clear letters across the top. This makes your tribute official and easy to read.
Step 10: Coloring Your Ribbon
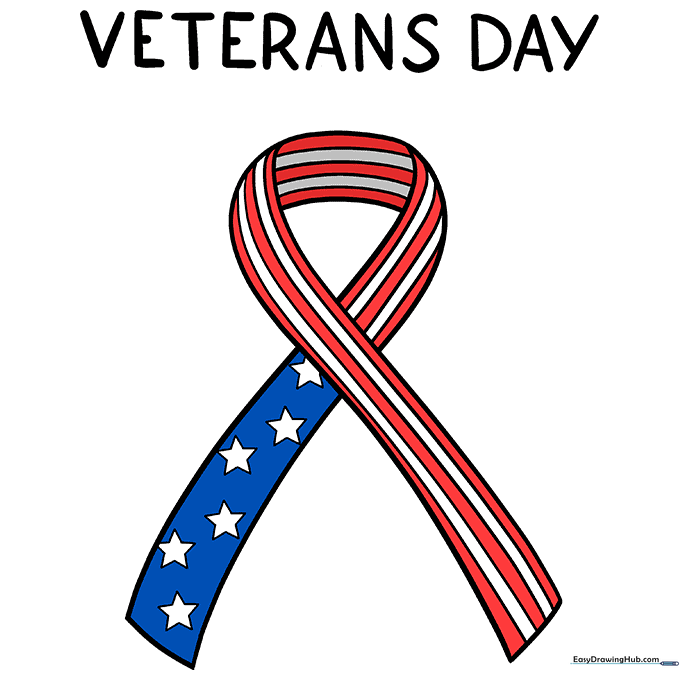
Bring your ribbon to life with color! Use red for the stripes and dark blue for the field behind the stars. Teacher's Tip: Use a ruler or a steady hand to keep your color blocks within the lines for a polished result.
More Tutorials


