How to Draw a Velociraptor: Easy 9-Step Dinosaur Guide
Ready to bring a prehistoric predator to life? This tutorial is perfect for young artists ages 6+ who want to master dinosaur anatomy. You only need a pencil, an eraser, and paper to follow along. By the end, you'll have a fierce, cartoon-style Velociraptor ready for your coloring markers.
🎯 Final Result

Step-by-Step Instructions
Step 1: Sketching the Head and Eye
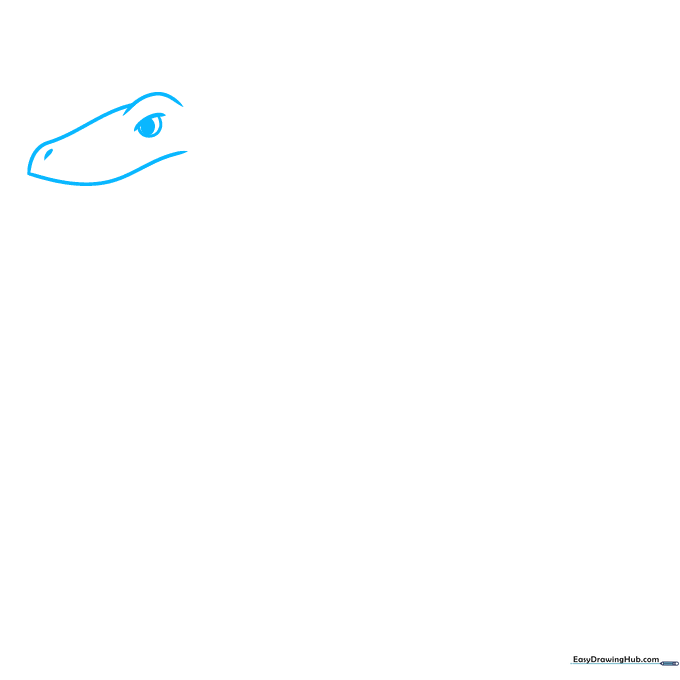
Start by drawing the head using a series of overlapping curved lines to create the snout and eye ridge. Tip: Keep your pencil pressure light here. Draw a small teardrop shape for the nostril and a half-circle for the eye with a dark, round pupil.
Step 2: Defining the Jaw and Teeth
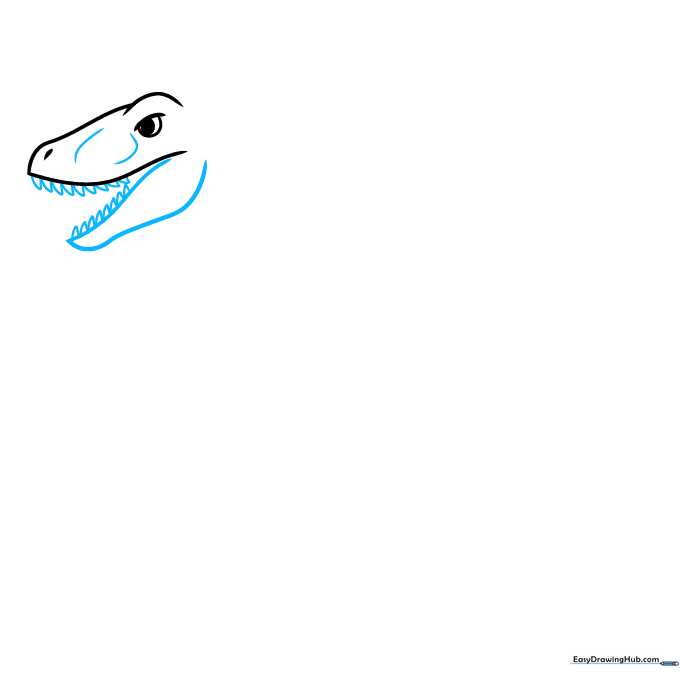
Draw the lower jaw using two lines that meet at a sharp point. Add small, triangle-shaped teeth along the mouth line. Tip: Make the teeth slightly uneven to give your dinosaur a more natural, 'wild' look.
Step 3: Shaping the Neck and Back
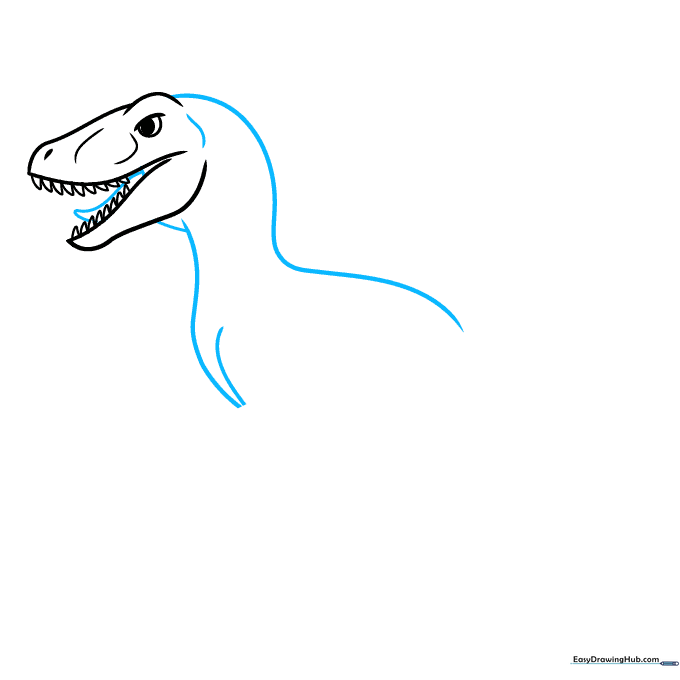
Use a long, sweeping curved line to form the back of the neck and the spine. Add a small, doubled-back line inside the mouth to represent the tongue. Tip: A smooth, continuous line for the back helps the dinosaur look agile.
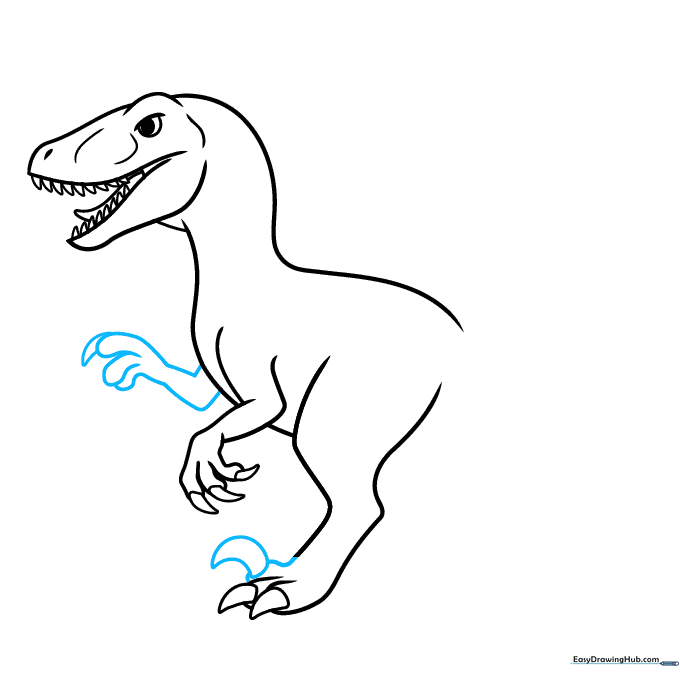
Step 4: Sketching the Forearms
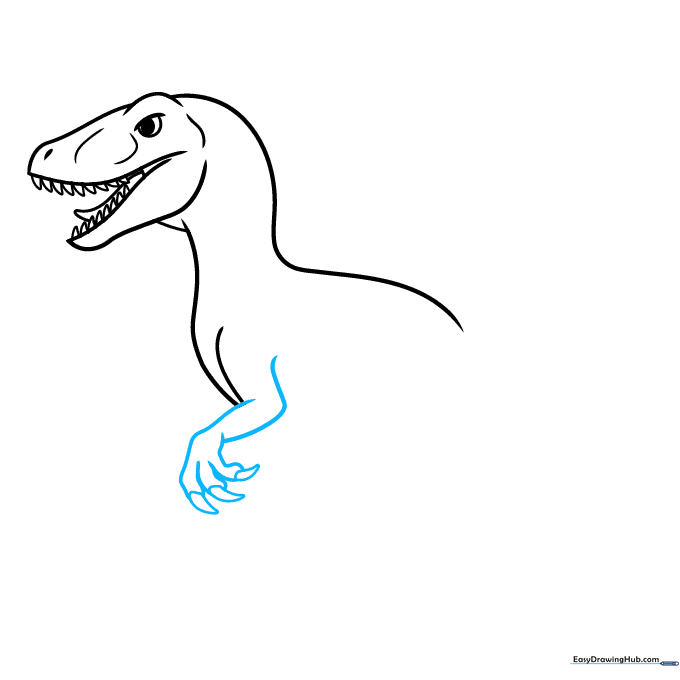
Draw the forearms using curved lines and finish them with sharp, triangular claws. Tip: Velociraptors were known for their grasping hands, so make the fingers look slightly bent as if they are reaching out.
Step 5: Adding the Powerful Rear Legs
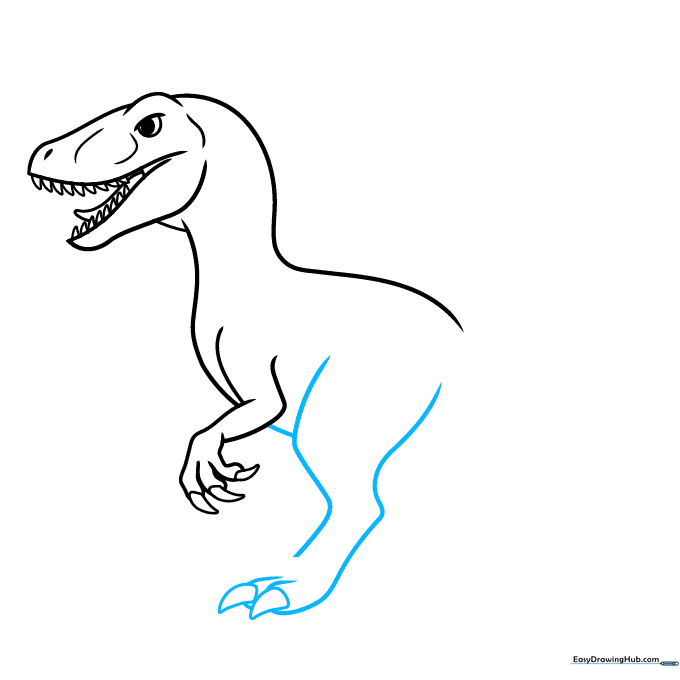
Draw the thick, muscular rear legs using long, sweeping curves. Connect these to the belly area. Tip: Think of the legs like a bird's legs—they should look strong and ready to jump.
Step 6: The Signature Claw
Draw the famous, sickle-shaped toe claw on the rear foot using a crescent-moon shape. Tip: This is the Velociraptor's most iconic feature, so make sure it looks sharp and prominent.
Step 7: Refining the Feet and Claws
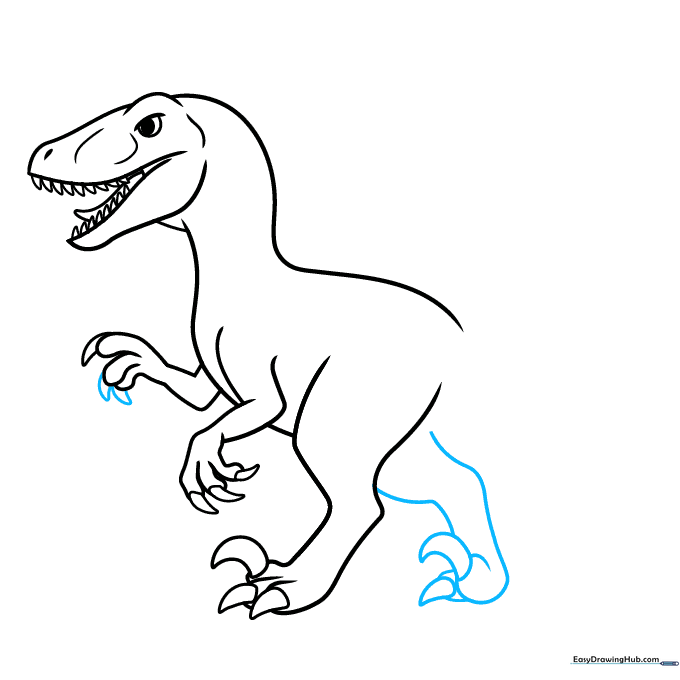
Complete the remaining toes and claws on both the front and back feet. Use teardrop shapes for the smaller claws. Tip: Check that your claws are pointing in the same direction to keep the movement of the drawing consistent.
Step 8: Adding the Tail
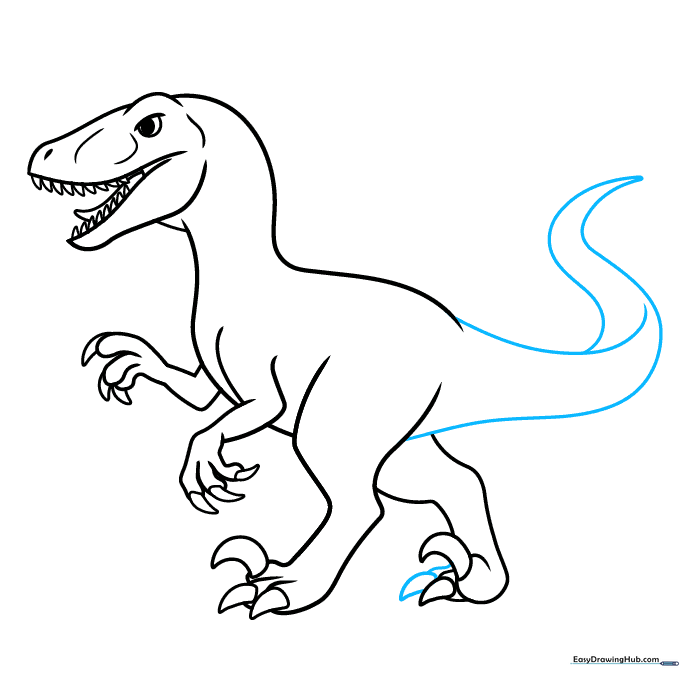
Draw a long, tapering tail using three curved lines. Tip: The tail acts as a counterbalance for the dinosaur, so draw it extending straight out behind the body to show balance.
Step 9: Final Outline
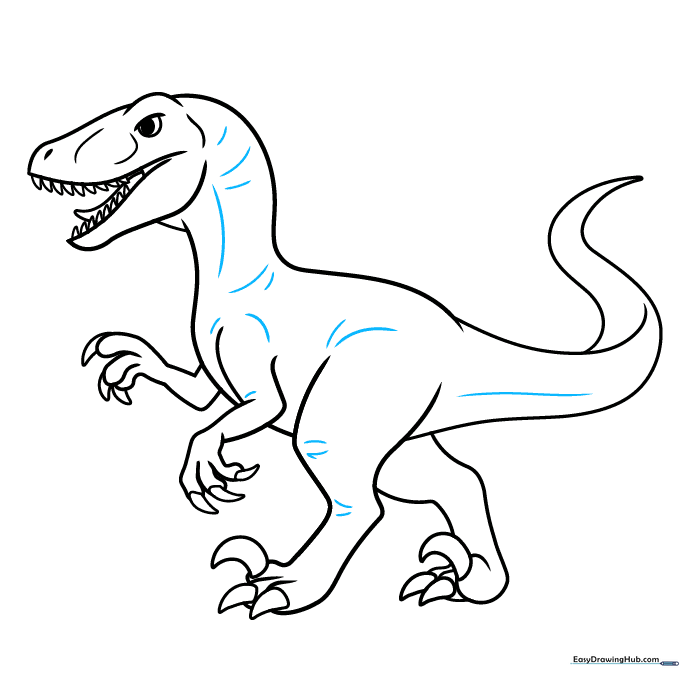
Review your drawing and darken the final lines with a firm pencil stroke. Erase any stray guidelines from your initial sketch. Tip: Now is the time to add any skin texture or small scales if you want extra detail!
Step 10: Bringing it to Life with Color
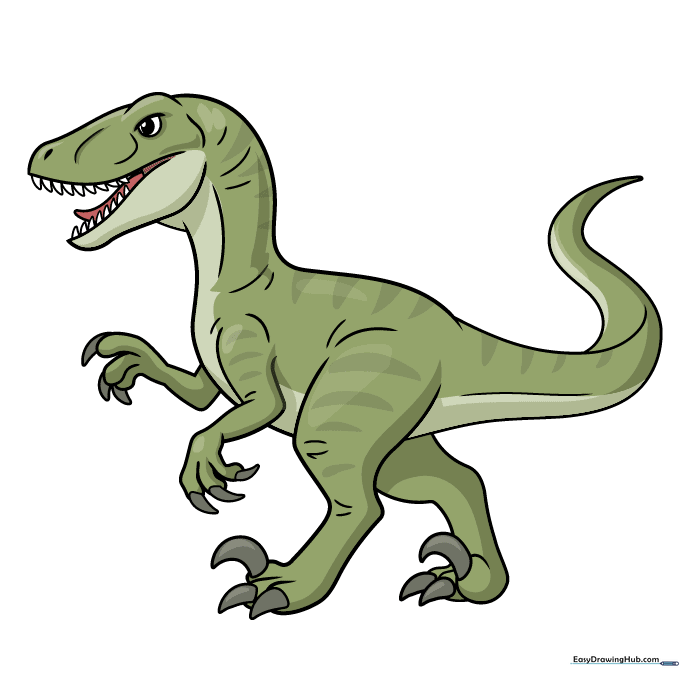
Time to color! Use shades of grey, brown, or green. Tip: Try adding stripes or spots along the back to make your Velociraptor look like it's camouflaged in the jungle.
More Tutorials


