How to Draw a VE Day Card: Easy Step-by-Step Guide
Celebrate history with this engaging VE Day card drawing project, perfect for students ages 8 and up. You will need a pencil, eraser, and markers to bring this commemorative scene to life. Follow these steps to build confidence in character sketching and composition while learning about this important historical milestone.
🎯 Final Result

Step-by-Step Instructions
Step 1: Sketching the Soldier's Helmet

Start by sketching the soldier’s head. Use a pair of gentle curved lines to form the helmet. Then, outline the face, nose, and eyes. Teacher's Tip: Keep your pencil pressure light here; these are just guidelines to help you place the features correctly before adding detail.
Step 2: Defining the Neck and Collar

Complete the head shape and add the ear. Draw a chin strap using two curved lines to secure the helmet. Add a 'V' at the neck for the shirt collar. Teacher's Tip: Ensure the collar points are symmetrical to give the uniform a neat, professional look.
Step 3: Sketching the Shoulders and First Arm

Use smooth, curved lines to sketch the shoulders, torso, and one outstretched arm. Add a curved line on the sleeve to represent the cuff. Teacher's Tip: Think of the arm as a soft tube; keep the lines fluid rather than rigid.
Step 4: Drawing the Second Arm and Fist

Draw the second arm to match the first. Use overlapping curved lines to form the fist and fingers. Teacher's Tip: Drawing hands can be tricky! Focus on the rounded shapes of the knuckles rather than trying to draw every individual finger.
Step 5: Adding Gear and Belt Details

Draw the belt, buckle, and a small pouch at the waist. Add a small oval for the buckle prong. Teacher's Tip: Adding these small accessories adds 'character' to your drawing and makes the soldier look authentic.
Step 6: Completing the Uniform

Connect the pouch strap to the shoulder. Outline the bottom of the shirt and the legs of the trousers. Teacher's Tip: Keep your lines long and sweeping to suggest the drape of the fabric.
Step 7: Adding Boots and the Flagpole
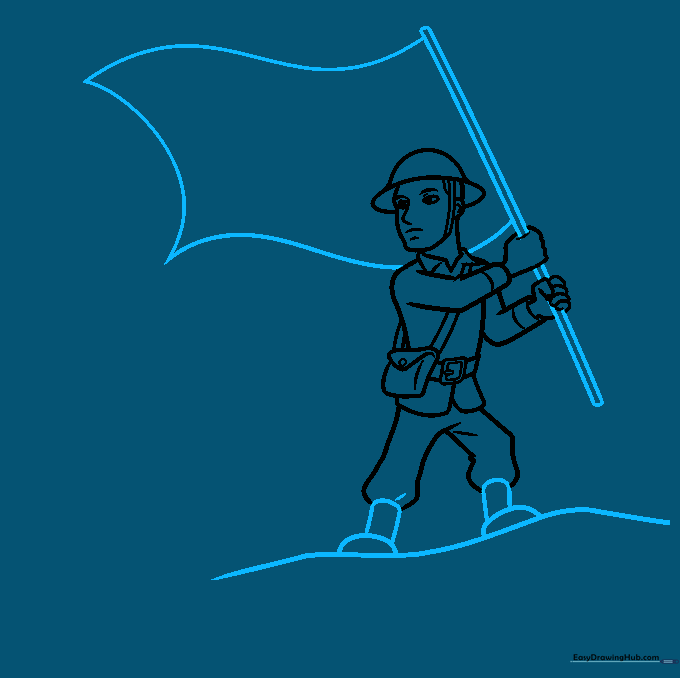
Draw the boots at the bottom of the legs and a ground line. Sketch the flagpole held in the hands. Teacher's Tip: Use a ruler if you want the flagpole to be perfectly straight, or keep it freehand for a more organic, artistic feel.
Step 8: Designing the Flag and 'V' Symbol
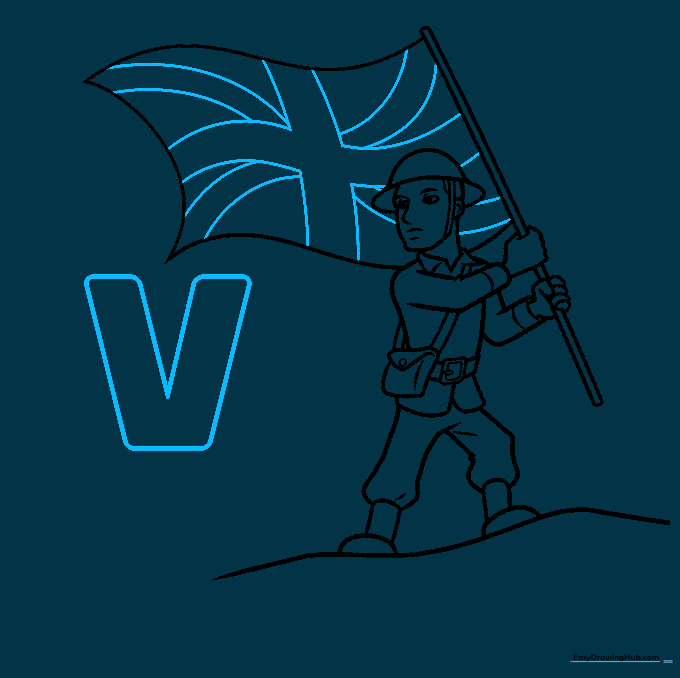
Draw a large 'V' and the Union Jack pattern on the flag. Teacher's Tip: Start with the cross in the center of the flag to keep your proportions balanced before adding the diagonal lines.
Step 9: Adding the Final Message

Write 'IS FOR VICTORY' to complete the phrase 'V IS FOR VICTORY.' Teacher's Tip: Use block lettering to make your message stand out clearly on the card.
Step 10: Bringing Your Drawing to Life with Color
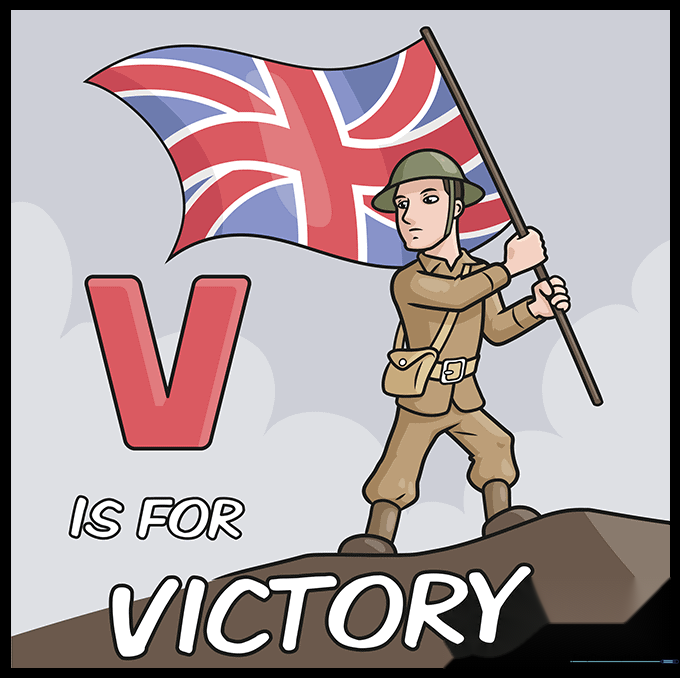
Add color to your soldier and flag to finish your VE Day card. Teacher's Tip: Use traditional colors—red, white, and blue for the flag—and earthy tones like olive green or brown for the soldier's uniform.
More Tutorials


