How to Draw a Vase: Easy 10-Step Guide for Kids
This tutorial is perfect for young artists ages 5 and up looking to practice symmetry and decorative patterns. All you need is a pencil, an eraser, and a piece of paper to get started. Follow along to create a beautiful, custom-designed vase that you can fill with your own imaginary flowers.
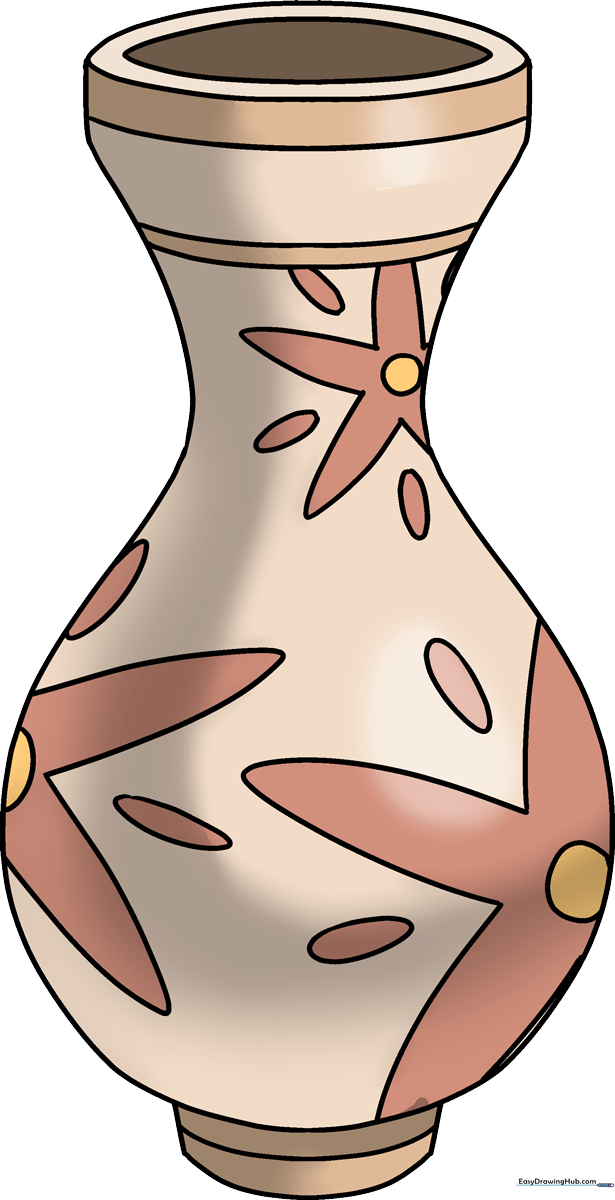
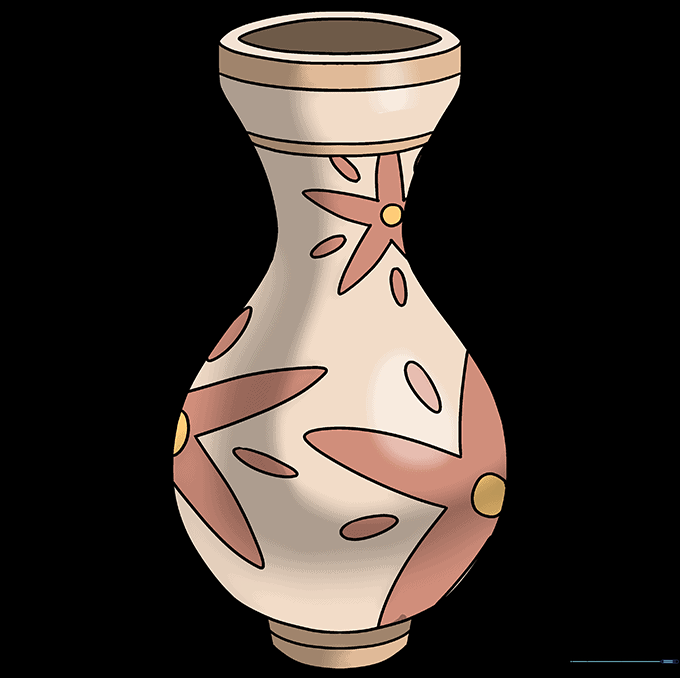
🎯 Final Result
Step-by-Step Instructions
Step 1: Sketching the Main Body
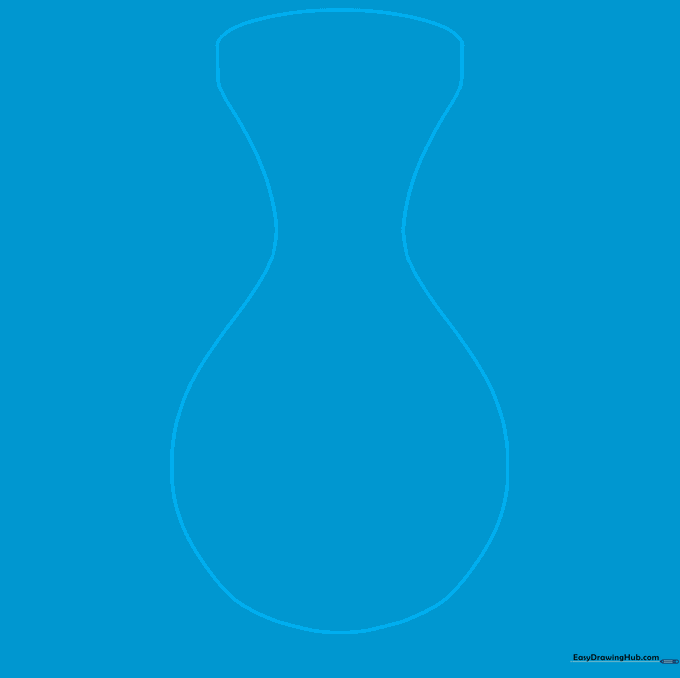
Start by sketching the silhouette of your vase. Use a short curved line for the top opening and a long, graceful curve that loops back to form the belly of the vase. Teacher's Tip: Keep your pencil pressure light so you can easily adjust the shape if it looks a bit lopsided.
Step 2: Defining the Lip

Draw a curved line across the top to create the mouth of the vase. Add two small, gentle curves to form the lip. Teacher's Tip: Think of this like the rim of a cup; keeping it rounded makes the vase look 3D.
Step 3: Shaping the Neck
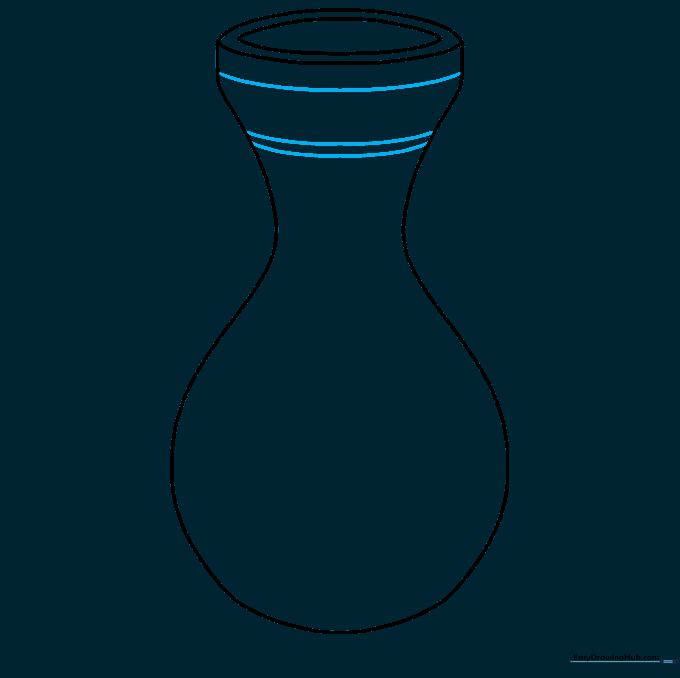
Add curved lines across the neck area to give the vase structure. Teacher's Tip: These lines help define where the neck ends and the body begins, adding depth to your drawing.
Step 4: Starting the Floral Pattern
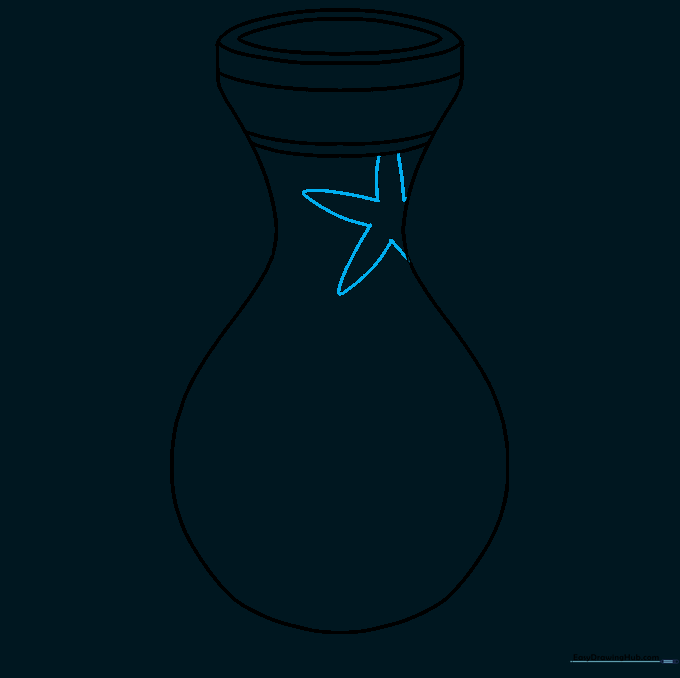
Begin decorating your vase by drawing the outline of a flower or a five-pointed star. Teacher's Tip: Don't worry about perfect points; organic, slightly curved lines often look more natural on pottery.
Step 5: Expanding the Design
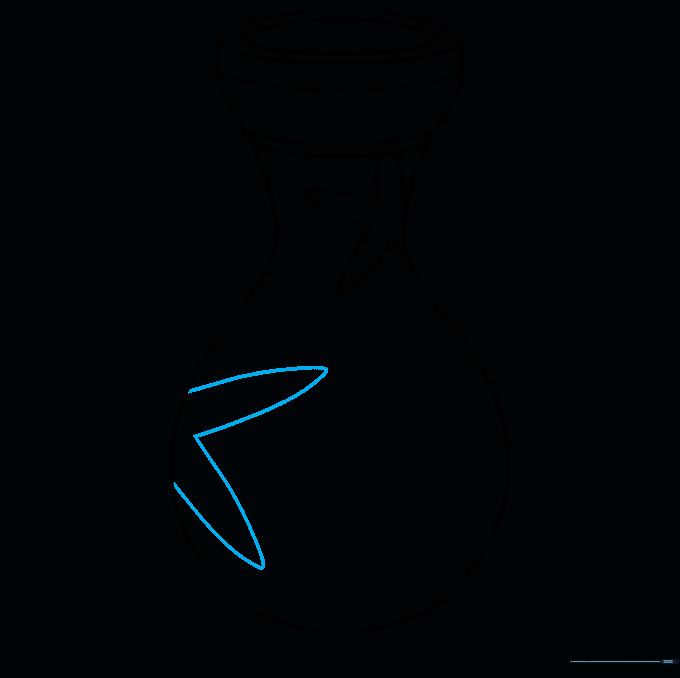
Continue the pattern by drawing a partial star shape on the body. Teacher's Tip: Overlapping shapes creates a sense of space and makes the vase look like it has a wrap-around design.
Step 6: Adding More Stars
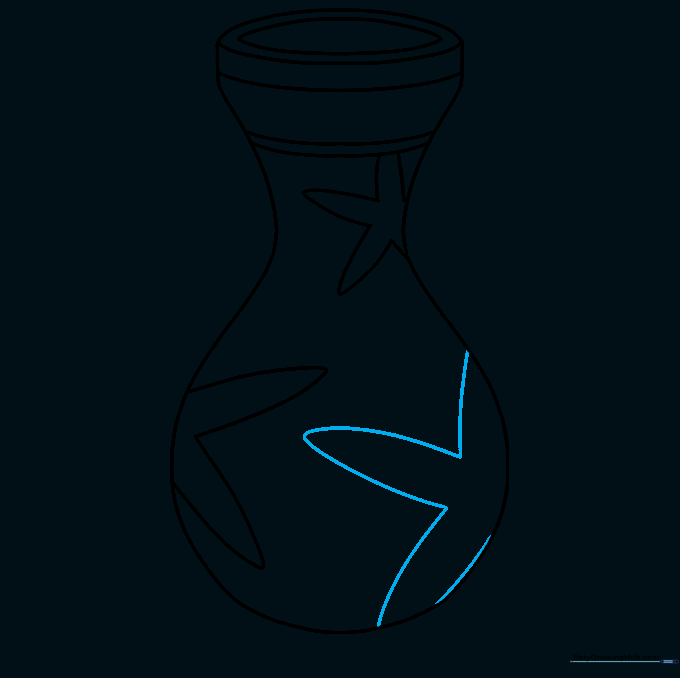
Draw another partial star shape elsewhere on the vase body to balance the design. Teacher's Tip: Try to space them out evenly to make the pattern look intentional.
Step 7: Creating Flower Centers
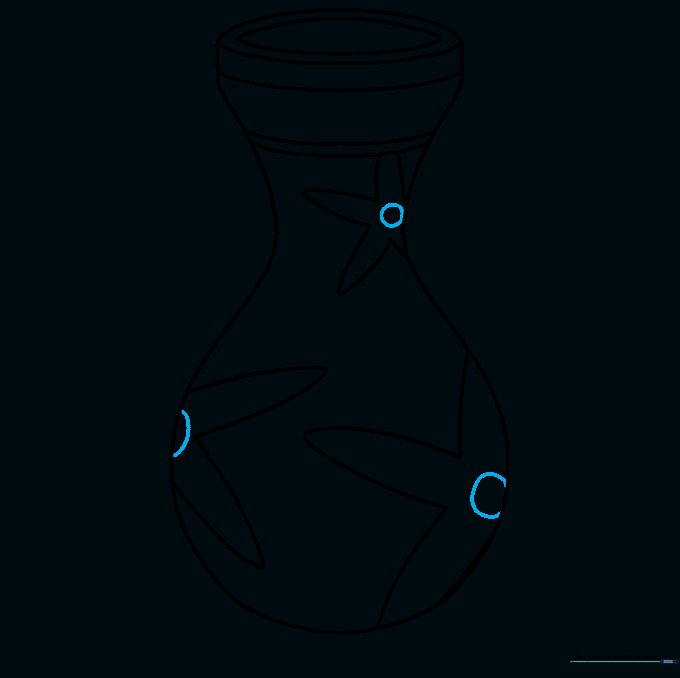
Turn your stars into flowers by drawing a small circle in the center of each one. Teacher's Tip: A small circle acts as the 'stamen' of the flower and makes the star look much more like a blossom.
Step 8: Adding Petal Details
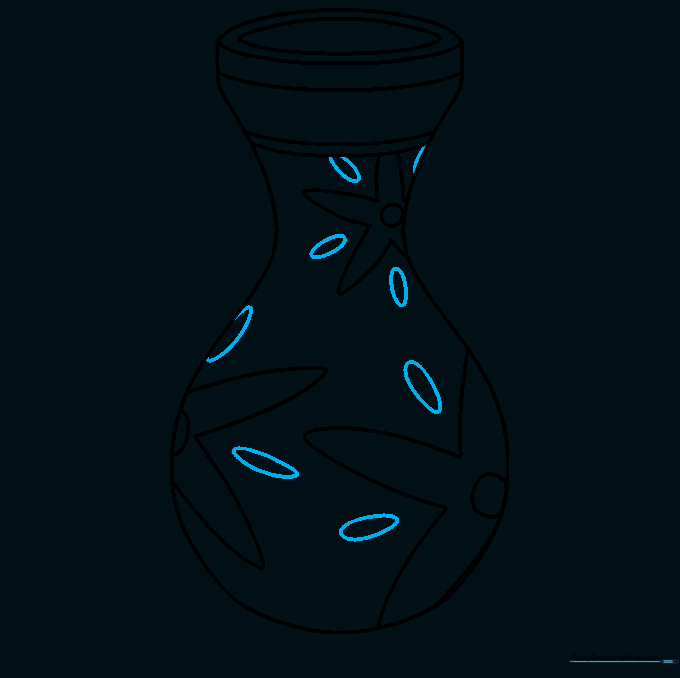
Draw small ovals between the petals of your flowers to add texture. Teacher's Tip: This adds a lovely, intricate detail that makes your vase look like professional pottery.
Step 9: Drawing the Base

Draw the foot of the vase by extending two short straight lines downward and connecting them with a curved line. Add a band across the foot. Teacher's Tip: A solid base makes your vase look stable and grounded on the page.
Step 10: Adding Color
Bring your vase to life with bright, vibrant colors! Teacher's Tip: Use complementary colors for the flowers and the vase body to make the design pop off the paper.
More Tutorials


