How to Draw a Valentine’s Day Gnome Card: Easy 10-Step Guide
Looking for a screen-free way to celebrate Valentine's Day? This tutorial is perfect for ages 5 and up, requiring only paper, a pencil, and your favorite coloring markers. Follow these steps to create a charming, personalized gnome card that builds confidence and fine motor control in young artists.
🎯 Final Result

Step-by-Step Instructions
Step 1: Sketching the Nose and Mustache

Start by drawing a small oval for the gnome's nose. From the sides of the nose, draw two long, sweeping curved lines to form the mustache. Teacher's Tip: Keep your pencil lines light so you can easily adjust the shape if the mustache looks a bit lopsided!
Step 2: Shaping the Floppy Hat

Use a series of soft, curved lines to outline the gnome's floppy hat above the nose. Notice how the lines don't meet at the very top, giving it a relaxed, whimsical look. Tip: Think of it like a soft sock resting on his head.
Step 3: Adding the Hat Tip and Pom-Pom
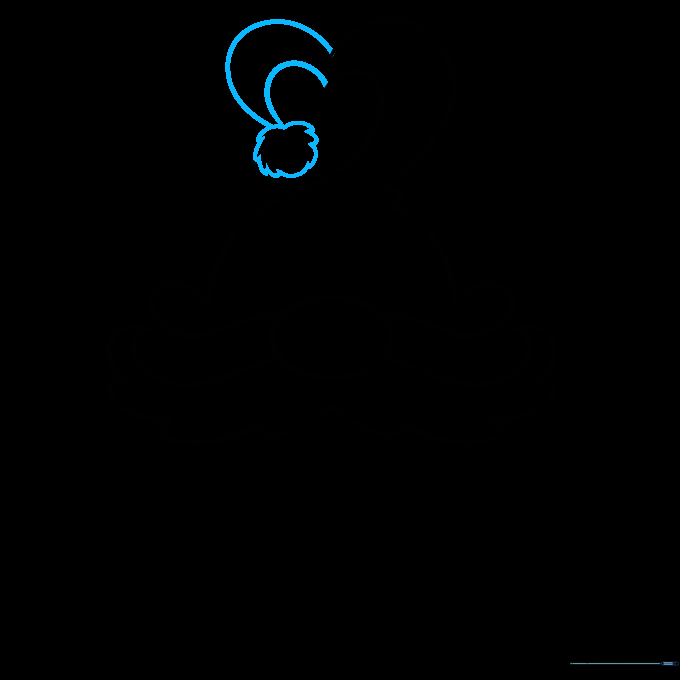
Extend two curved lines from the hat opening to create a point, forming an incomplete heart shape. Add a fluffy, cloud-like circle at the end for the pom-pom. Tip: Use short, quick strokes to make the pom-pom look fuzzy rather than perfectly smooth.
Step 4: Defining the Face and Beard

Connect the hat and mustache to enclose the face. Use pairs of curved lines that meet at sharp points to start the beard, and sketch the arms reaching out. Tip: Keep the beard lines flowing downward to show gravity.
Step 5: Completing the Beard
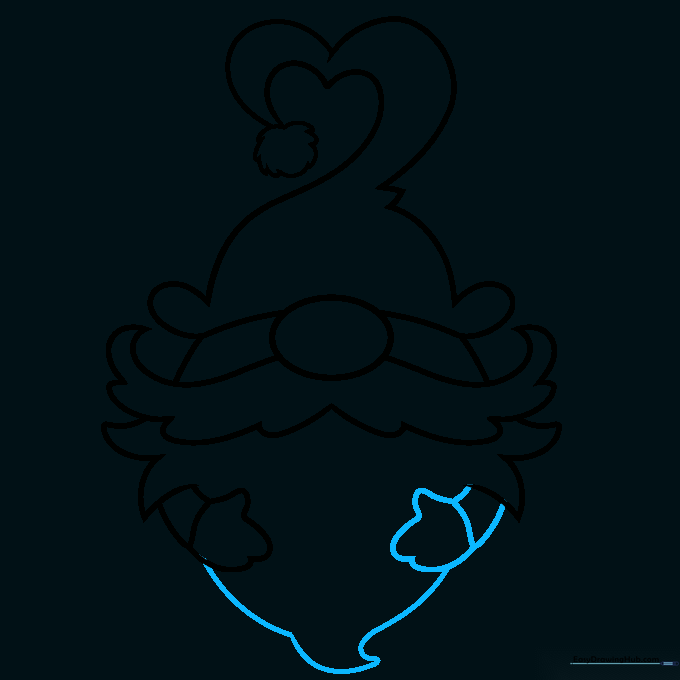
Draw the second arm and hand, then extend curved lines from both hands to meet at a central point, finishing the shape of the long, flowing beard. Tip: Make sure the beard is wide enough to look cozy!
Step 6: Drawing the Valentine's Gift

Draw the gnome's legs by doubling back curved lines from the beard. Between the hands, draw a rectangle to represent a gift box, adding rectangular ribbons on top. Tip: Use a ruler if you want the gift box to look perfectly straight.
Step 7: Adding the Gift Bow
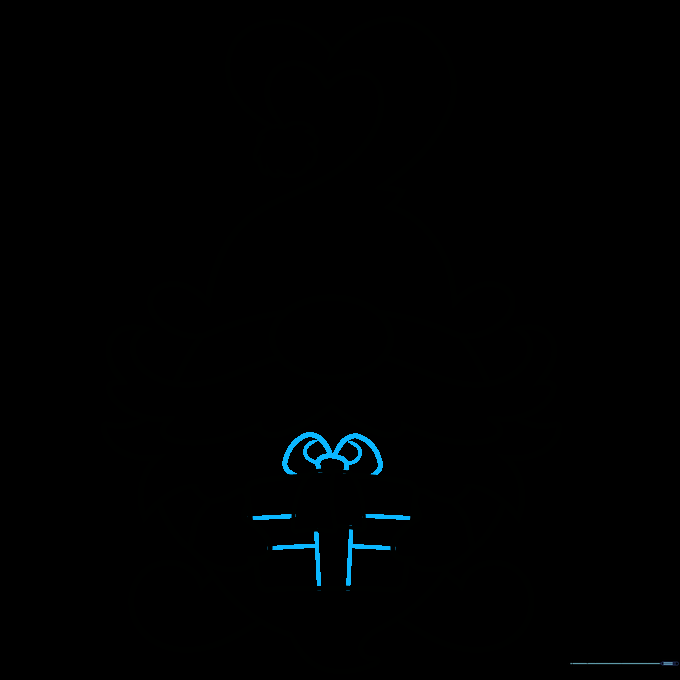
Add a decorative bow on top of the package using curved lines. Add extra ribbon details across the box. Tip: A bow is just two loops and two tails—don't overthink the shape!
Step 8: Adding Festive Details
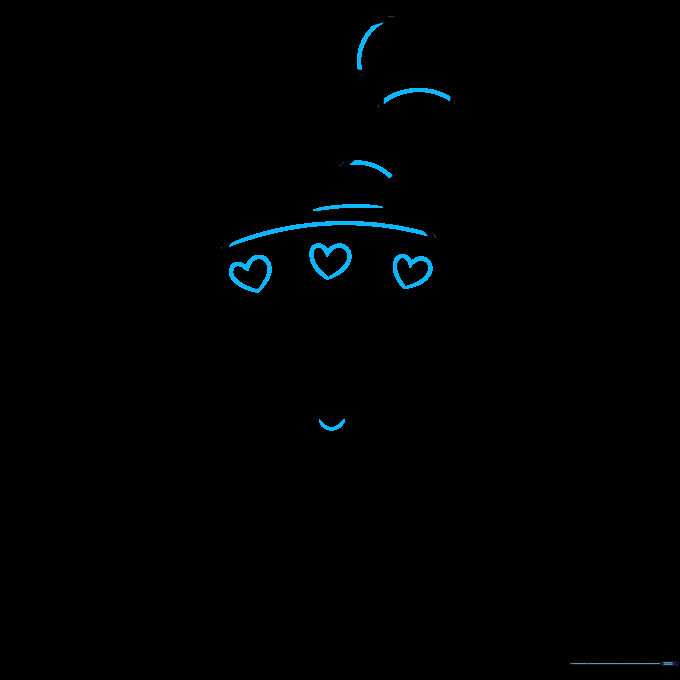
Add texture to the hat and mouth with small curved lines. Draw a few small hearts along the bottom edge of the hat. Tip: Vary the size of the hearts to make the design look more professional.
Step 9: Adding the Message
![Gnome drawing with 'I [heart] U' message written on the hat.](https://easydrawinghub.com/wp-content/uploads/2026/05/how-to-draw-a-valentines-day-gnome-card-valentines-day-gnome-card-step-by-step-drawing-tutorial-step-9-1.png)
Outline bold letters 'I' and 'U' on the sides of the hat's curly top. Place a heart in the middle so the message reads 'I [heart] U.' Tip: Use a pencil to lightly space out your letters before committing with a marker.
Step 10: Coloring Your Masterpiece

Your gnome card is ready! Use traditional reds and pinks for a classic Valentine's look, or experiment with your own favorite colors. Tip: Use light pressure with your colored pencils for soft shading, or firm pressure for vibrant, bold colors.
More Tutorials


