How to Draw a Unicorn: Easy 9-Step Guide for Kids
Bring a touch of magic to your sketchbook with this easy-to-follow unicorn tutorial, designed specifically for young artists ages 5 and up. You will only need a pencil, an eraser, and a piece of paper to get started. By focusing on simple geometric shapes, you'll build confidence while creating a whimsical mythical creature.
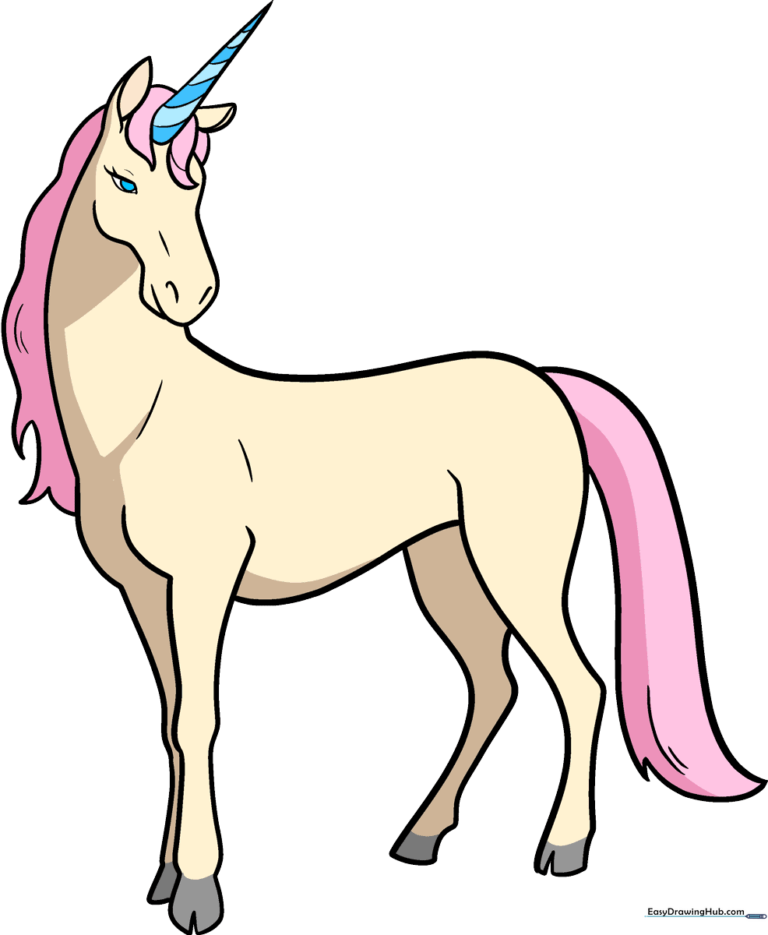
🎯 Final Result
Step-by-Step Instructions
Step 1: Sketching the Unicorn's Face
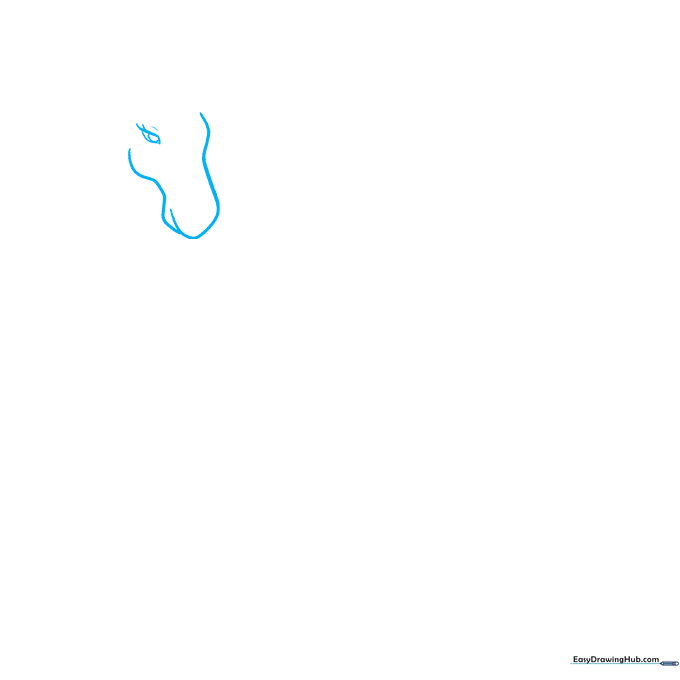
Start by sketching the profile of the face using soft, curved lines for the snout and jaw. Add the eye as a double-pointed shape with a small circle inside for the pupil. Teacher's Tip: Keep the eye near the top of the head to give your unicorn a cute, youthful appearance.
Step 2: Adding the Horn and Mane
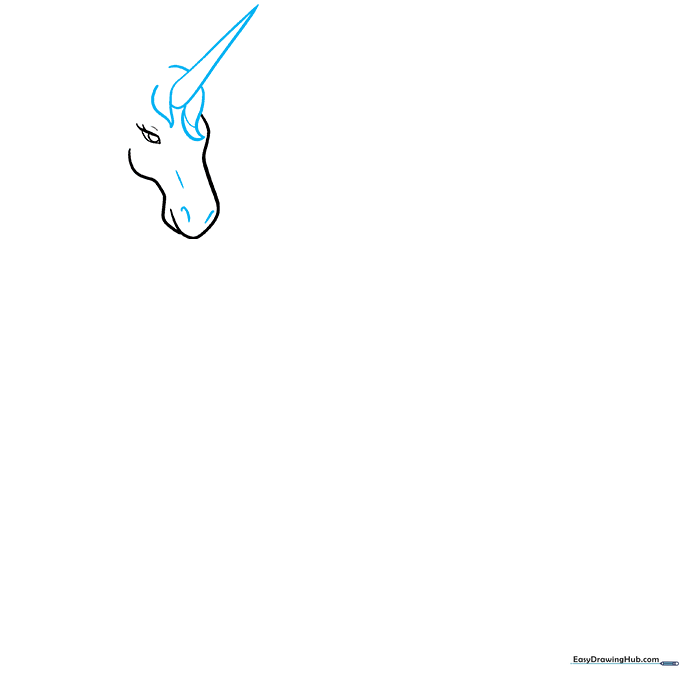
Draw a narrow triangle on the forehead for the horn. Add small, curved locks of hair on either side of the horn to represent the mane. Teacher's Tip: Make the horn slightly tilted to give your unicorn a dynamic, playful look.
Step 3: Defining the Ears and Neck
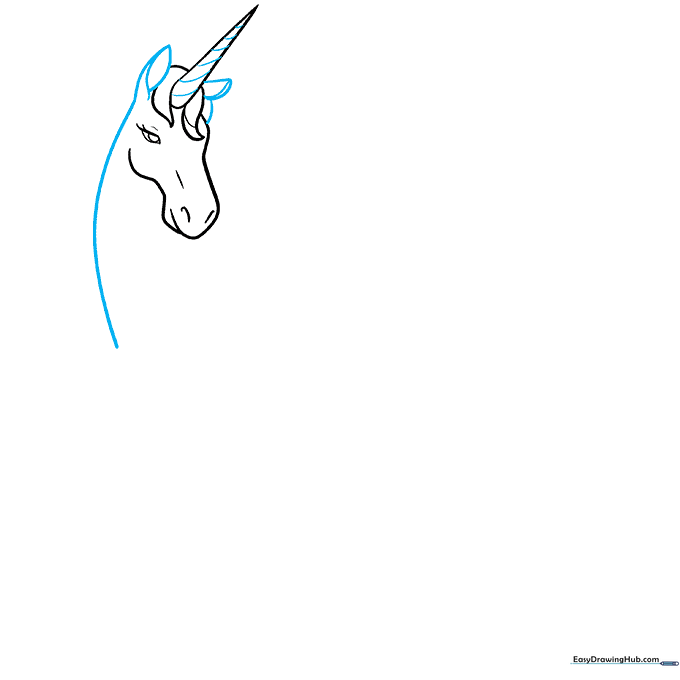
Sketch the ears using two pointed shapes at the top of the head. Connect the head to the body with a long, graceful curved line for the neck. Teacher's Tip: Use a single continuous motion for the neck to keep the line smooth and elegant.
Step 4: Styling the Mane
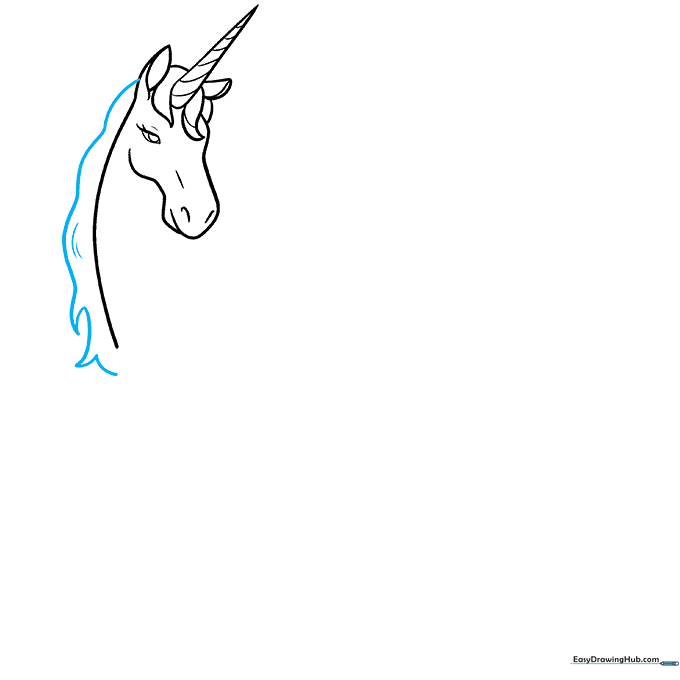
Add volume to the mane by drawing long, jagged curved lines flowing down the neck. Teacher's Tip: Vary the length of the hair tufts to make the mane look soft and flowing rather than stiff.
Step 5: Sketching the Front Legs
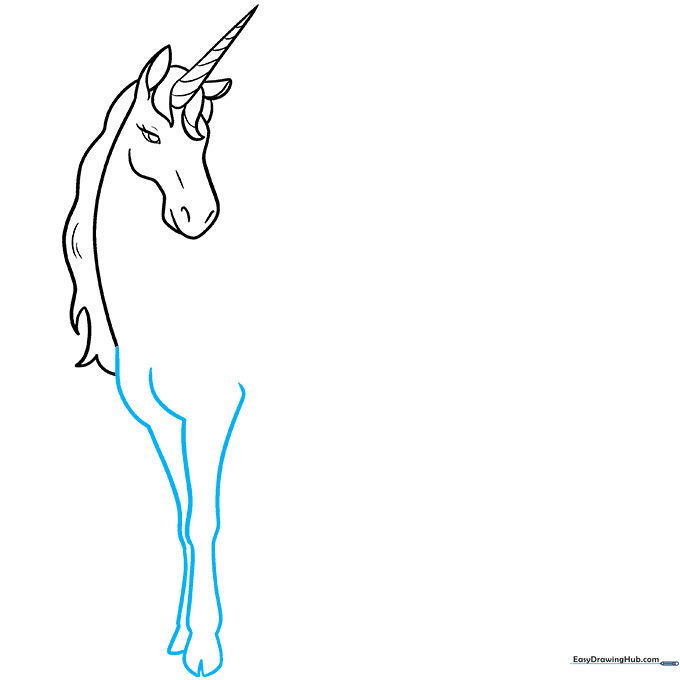
Draw the front legs using long, slightly curved lines. Include small bulges for the knees and finish with a 'V' shape at the bottom for the hooves. Teacher's Tip: The 'V' shape is a great way to help children understand how to create depth in a hoof.
Step 6: Forming the Belly
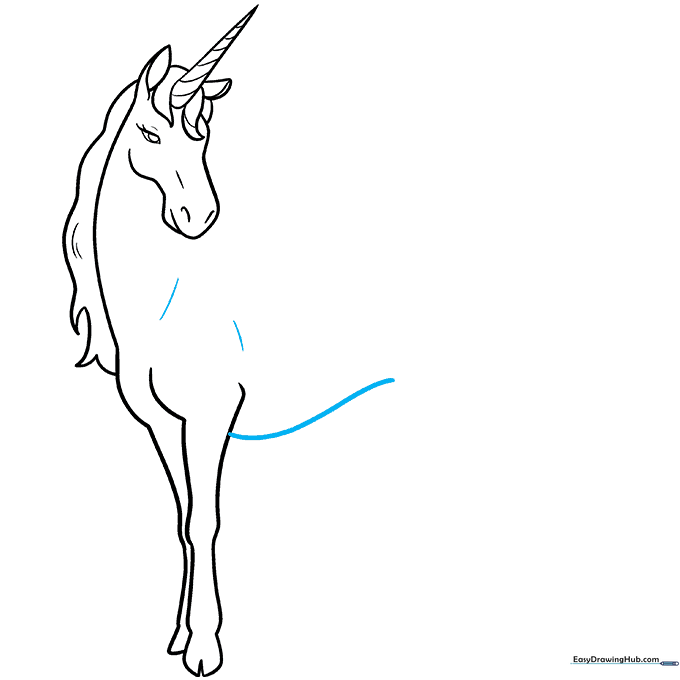
Connect the front legs to the rest of the body with a long, sweeping curved line for the belly. Teacher's Tip: Keep this line rounded to give your unicorn a friendly, sturdy appearance.
Step 7: Adding the Rear Leg
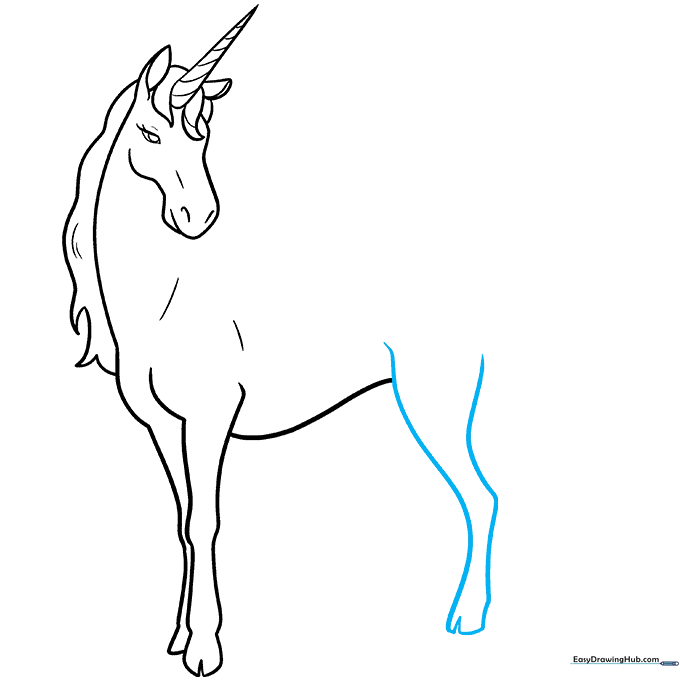
Draw the back leg using two long, parallel lines. Cap it off with a hoof matching the style of the front ones. Teacher's Tip: Placing the back leg slightly behind the front one creates a sense of perspective.
Step 8: Completing the Body
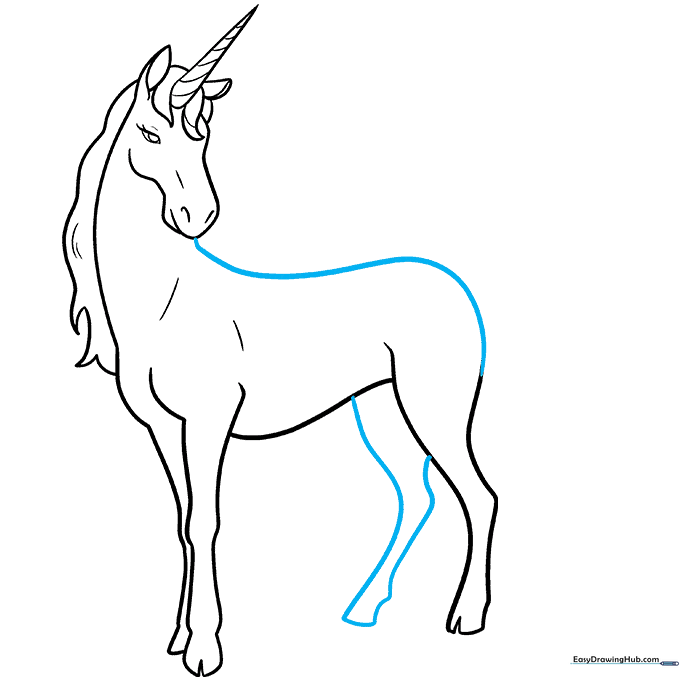
Draw a long, smooth line from the back of the neck to the rear leg to complete the unicorn's back. Add the final rear leg to balance the drawing. Teacher's Tip: Check that your proportions look balanced before moving to the final details.
Step 9: Drawing the Tail
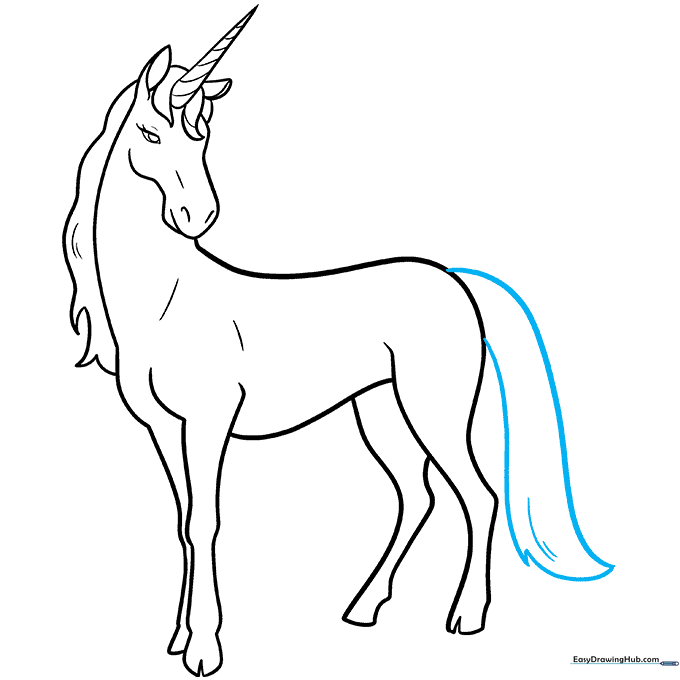
Finish your unicorn by adding a long, flowing tail using jagged, curved lines. Texture it with a few extra lines to show movement. Teacher's Tip: A big, bushy tail makes the unicorn look more magical and energetic!
Step 10: Color Your Masterpiece
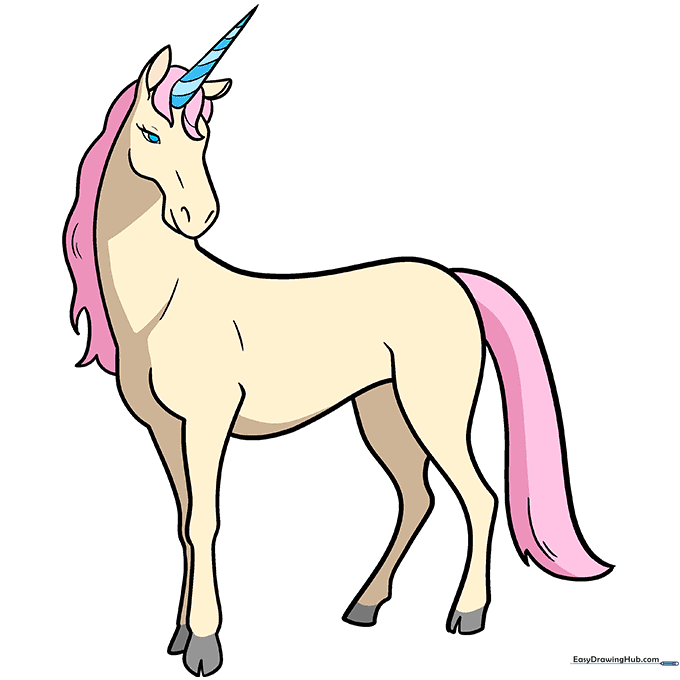
Now for the fun part! Use your favorite colors to bring your unicorn to life. We suggest a classic white body with a pastel pink mane and a bright blue horn. Teacher's Tip: Use light, circular motions when coloring to keep the texture smooth and even.
More Tutorials


