How to Draw a Ukulele: Easy 10-Step Guide for Kids
Bring the tropical sounds of music to life with this fun, beginner-friendly ukulele drawing tutorial. Designed for ages 5 and up, this activity requires only a pencil, eraser, and paper to help young artists master basic shapes and symmetry. Follow along to create your own musical masterpiece in just a few minutes.
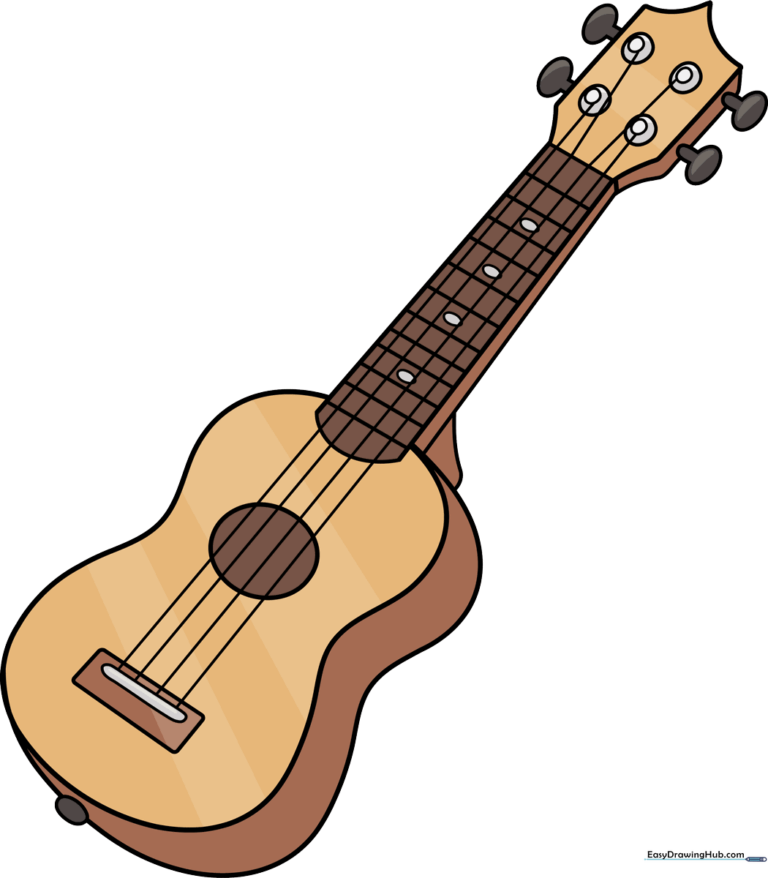
🎯 Final Result
Step-by-Step Instructions
Step 1: Sketching the Body

Draw the peanut-shaped frame of the ukulele using one continuous, smooth curved line. Add a small circle in the center for the soundhole. Teacher's Tip: Keep the shape rounded and symmetrical to make it look balanced.
Step 2: Adding Depth and the Neck
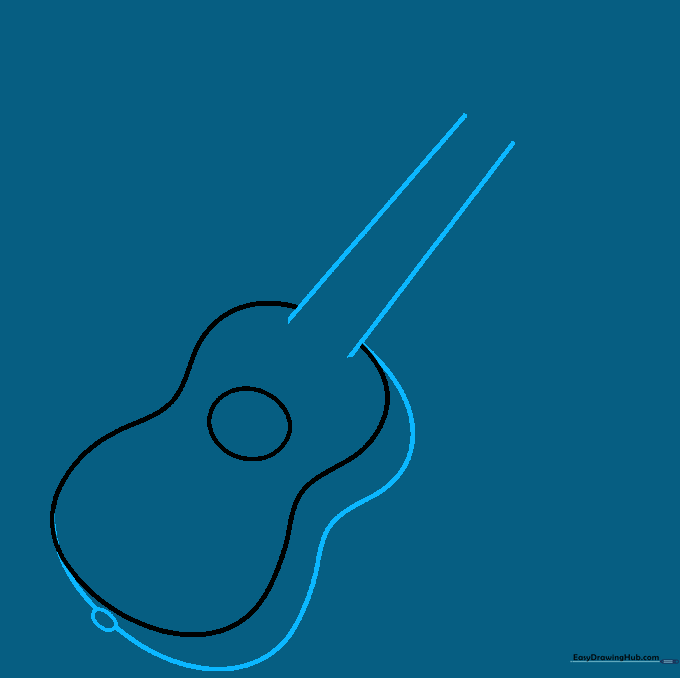
Draw a curved line along the side to create a 3D effect, then extend two straight lines upward from the body to form the neck. Teacher's Tip: Use a ruler if you struggle with straight lines, but freehand is great for building muscle memory!
Step 3: Connecting the Neck
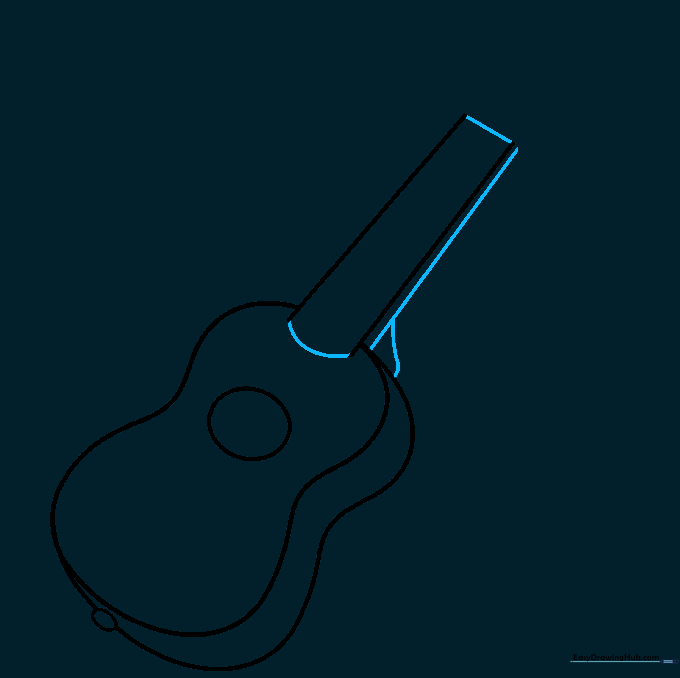
Connect the neck lines at the top and bottom with short, straight lines. Add a parallel line along the neck to give it thickness. Teacher's Tip: Imagine the neck is a long, thin rectangle attached to the body.
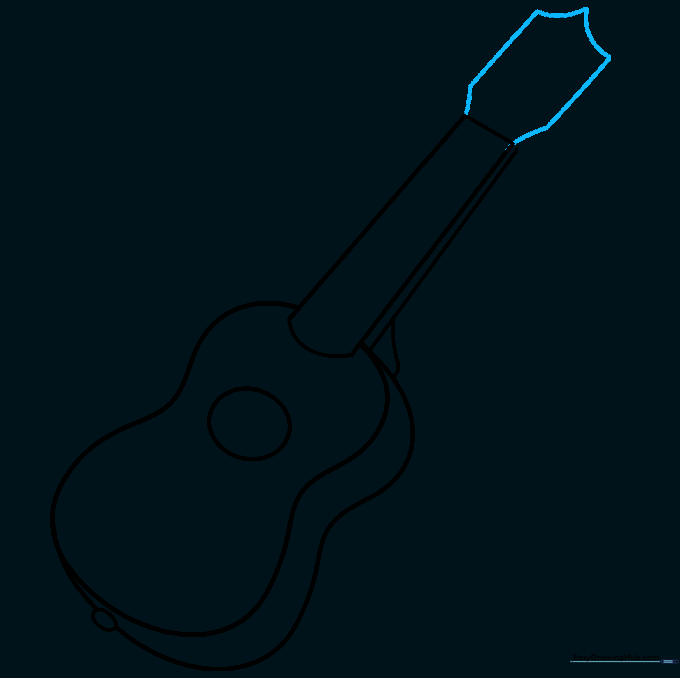
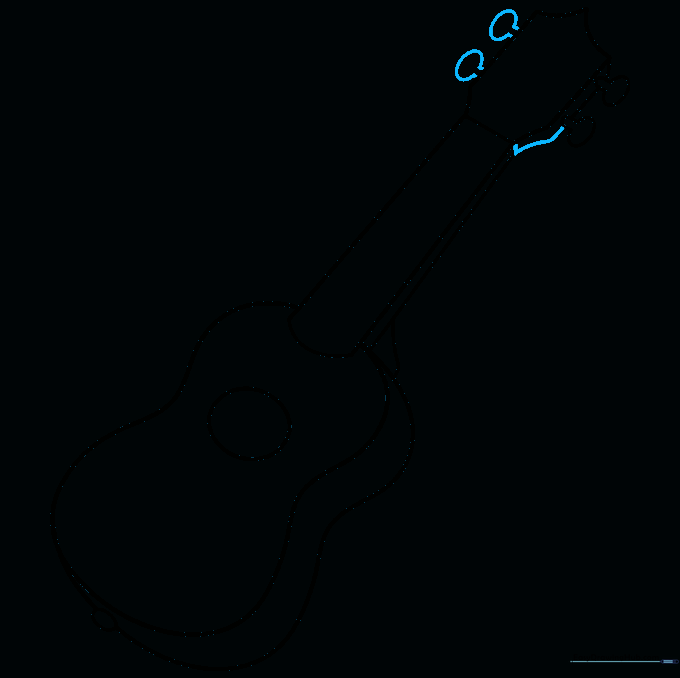
Step 4: Shaping the Headstock

Draw the headstock at the very top of the neck using a combination of straight and curved lines. Teacher's Tip: Keep this shape slightly wider than the neck to make it look realistic.
Step 5: Sketching the Tuners
Draw small ovals on the side of the headstock to represent the tuning pegs. Teacher's Tip: Make sure they are evenly spaced so your ukulele doesn't look lopsided!
Step 6: Balancing the Tuners
Add the remaining tuning pegs on the opposite side of the headstock. Teacher's Tip: If you want a more detailed look, add a small line inside each oval to show the peg turning mechanism.
Step 7: Adding the Saddle

Draw a small rectangle near the bottom of the body to create the saddle. Add tiny circles on the headstock for the string anchor points. Teacher's Tip: The saddle is where the strings 'sit' on the body.
Step 8: Drawing the Frets
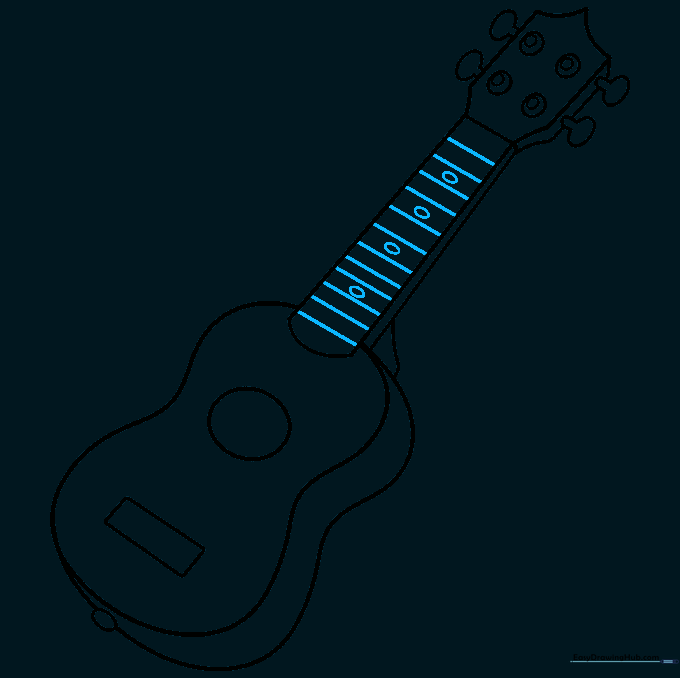
Draw horizontal lines across the neck and add small dots between them to represent the frets. Teacher's Tip: These frets are what help musicians change the pitch of the strings.
Step 9: Adding the Strings

Draw four straight lines running from the saddle up to the headstock. Teacher's Tip: Use a light touch here so the strings look thin and delicate, not heavy like the body outline.
Step 10: Coloring Your Ukulele

Bring your drawing to life with color! Use warm brown tones for a classic wood look, or choose your favorite bright colors to make it unique. Teacher's Tip: Use a slightly darker shade on the side of the body to create a sense of shadow and depth.
More Tutorials


