How to Draw a T-Rex: Easy 10-Step Guide for Kids
Ready to bring the King of the Dinosaurs to life? This tutorial is perfect for young artists ages 7+ who want to master dinosaur anatomy. Grab your pencil, eraser, and paper, and follow along to build your T-Rex from simple shapes into a roaring masterpiece.
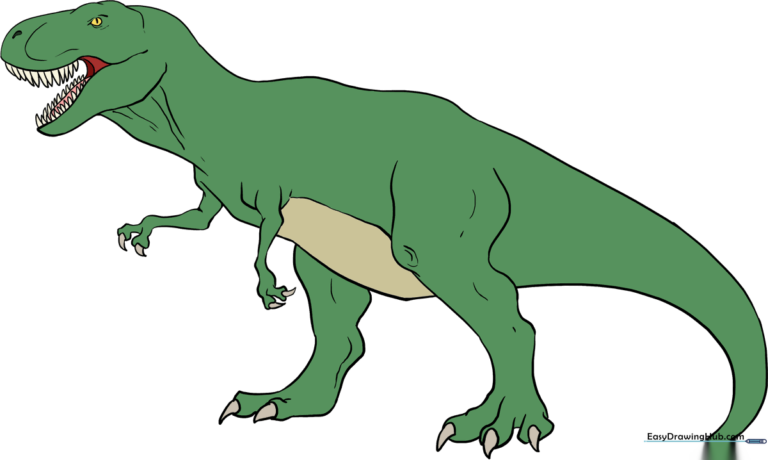
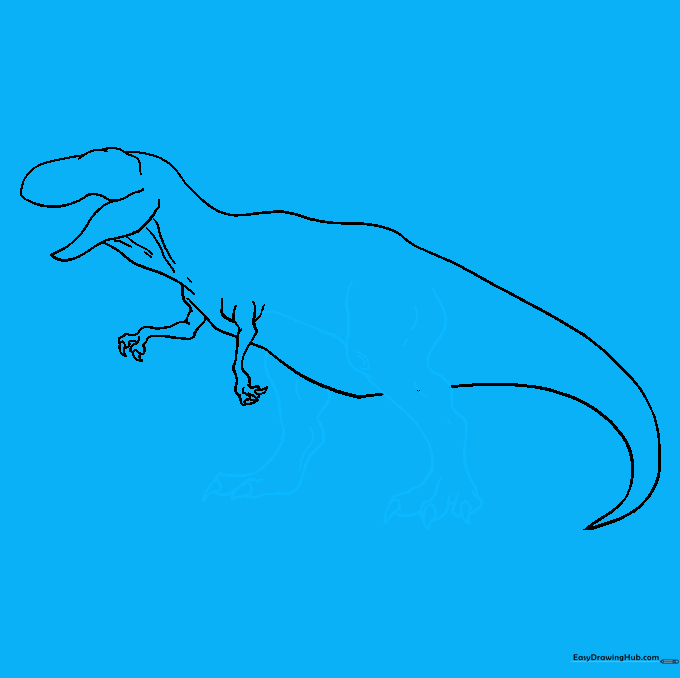
🎯 Final Result
Step-by-Step Instructions
Step 1: Sketching the Head Profile
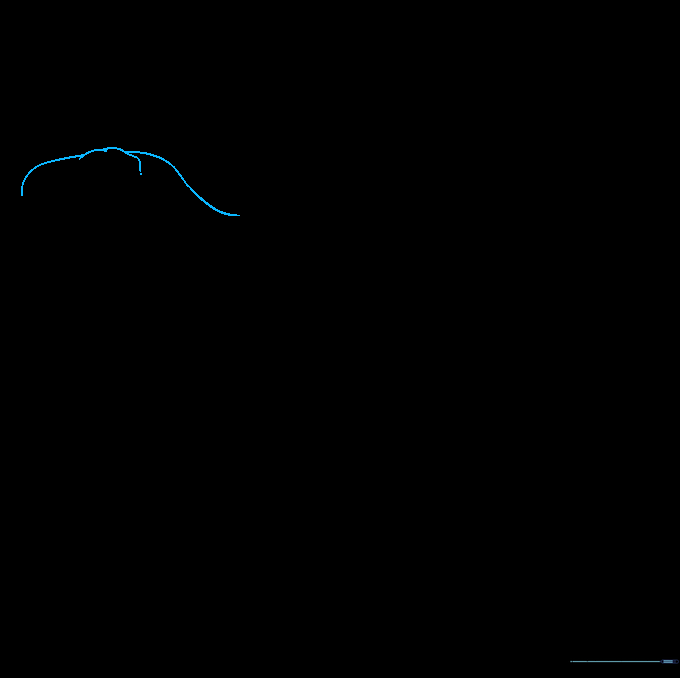
Start by sketching the top of the head. Use a gentle curve for the snout and a scalloped line for the eye ridge. Teacher's Tip: Keep your pencil strokes light and airy so you can easily refine the shape later.
Step 2: Defining the Open Jaws

Draw the dinosaur's open mouth. Sketch the upper jaw line first, then overlap it with a curved line for the lower jaw. Tip: Think of the jaw as a wide 'V' shape to give it that classic, hungry look.
Step 3: Shaping the Neck
Draw the neck using a strong, curved line. Add a small curve at the base to suggest the shoulder muscle. Tip: Add a few short, jagged lines near the jaw to create a sense of textured, leathery skin.
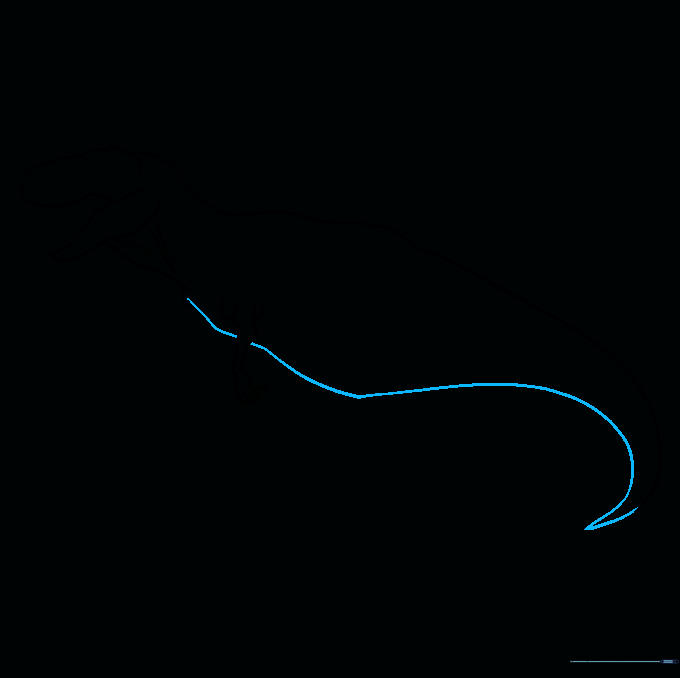
Step 4: Sketching the Back and Tail
Extend a long, flowing curved line from the neck to create the back and the long, powerful tail. Tip: Keep this line smooth; a T-Rex tail acts as a balance for its heavy body.
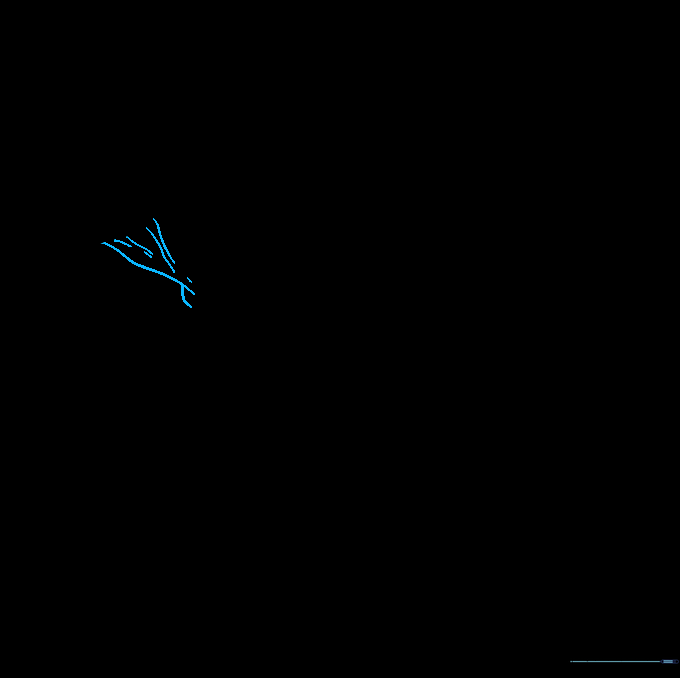
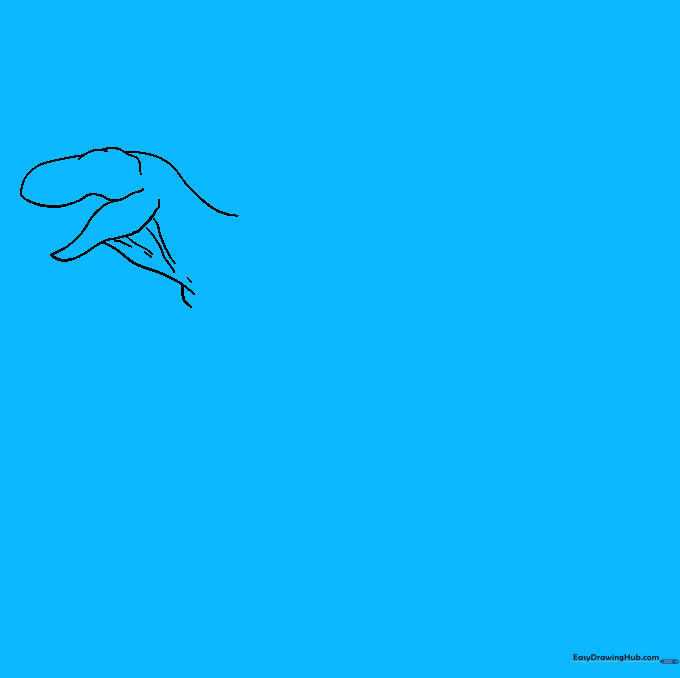
Step 5: Adding the Small Forearm
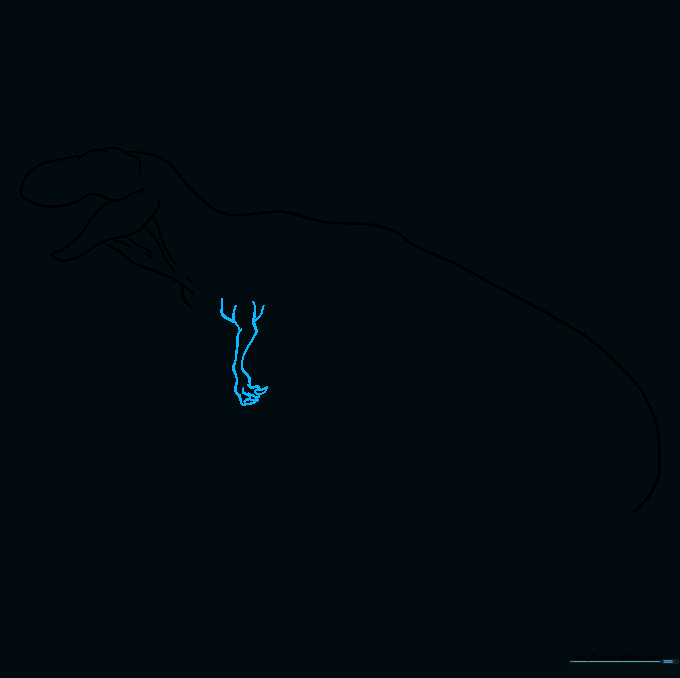
Draw the tiny T-Rex arm. Use small curved lines for the fingers and add tiny triangles at the tips for the claws. Tip: Don't make the arm too long—the T-Rex is famous for its short, mighty arms!
Step 6: Outlining the Belly
Connect the shoulder to the tail with a long, sweeping line to form the belly. Tip: This line should curve slightly inward to show the dinosaur's powerful stance.
Step 7: Drawing the Second Arm

Repeat the process for the second arm, showing the elbow and wrist. Add the tiny claws at the end. Tip: Drawing the second arm slightly behind the body adds depth to your drawing.
Step 8: Constructing Powerful Legs
Draw the thick, muscular back legs. Focus on the knee and calf bulges. Add 'U' shaped toes with sharp triangular claws. Tip: Use your eraser to remove any overlapping lines inside the legs to make them look solid.
Step 9: Adding Teeth and Facial Details

Give your T-Rex its signature bite! Draw sharp, triangular teeth along the jaws. Add the eye and nostril details. Tip: Vary the size of the teeth slightly to make the mouth look more natural and menacing.
Step 10: Bringing Your T-Rex to Life with Color

Time to color! Use earthy tones like forest green, slate grey, or sandy brown. Tip: Use darker shades near the belly and under the tail to create a simple shadow effect, making your dinosaur look 3D.
More Tutorials


