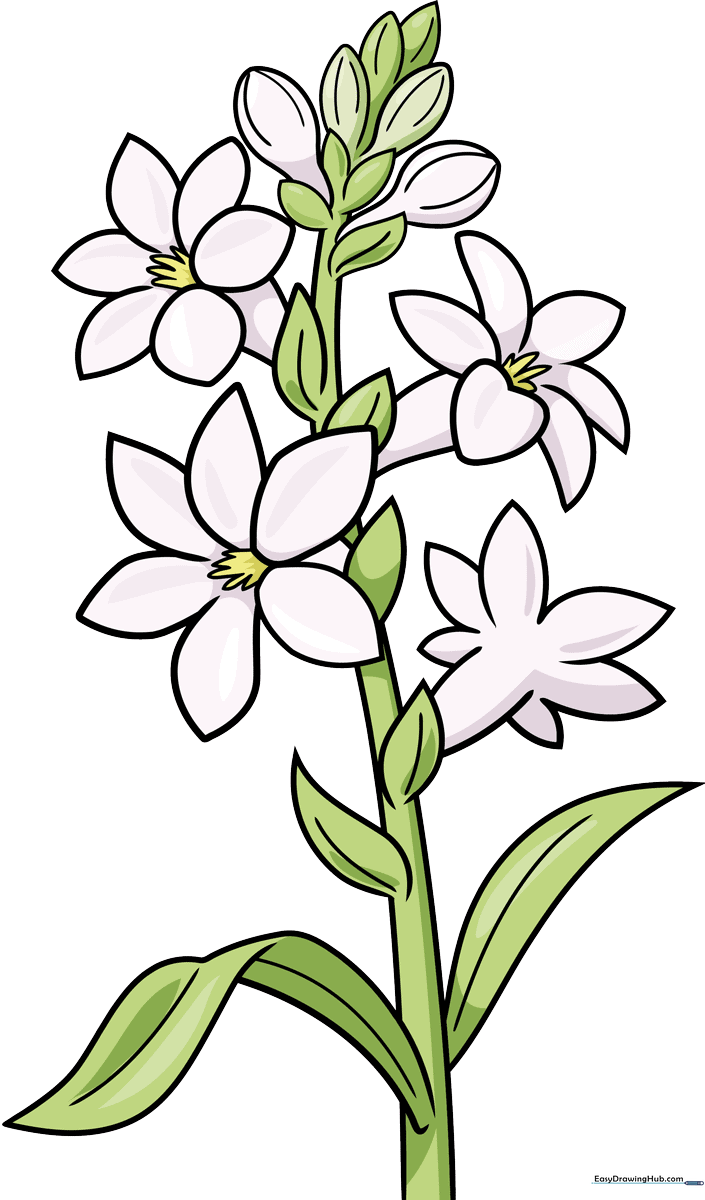
How to Draw a Tuberose: Easy 9-Step Flower Tutorial
Capture the elegance of the tuberose with this beginner-friendly drawing guide. Designed for young artists and hobbyists, this tutorial uses simple shapes to build a complex-looking flower. Grab your pencil, eraser, and paper, and let's bring this fragrant bloom to life on your page.
🎯 Final Result
Step-by-Step Instructions
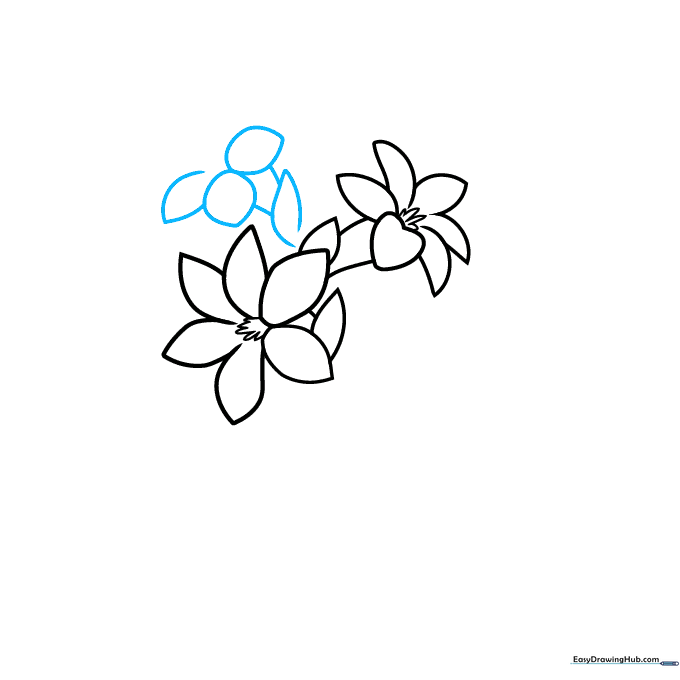
Sketching the Base Petals
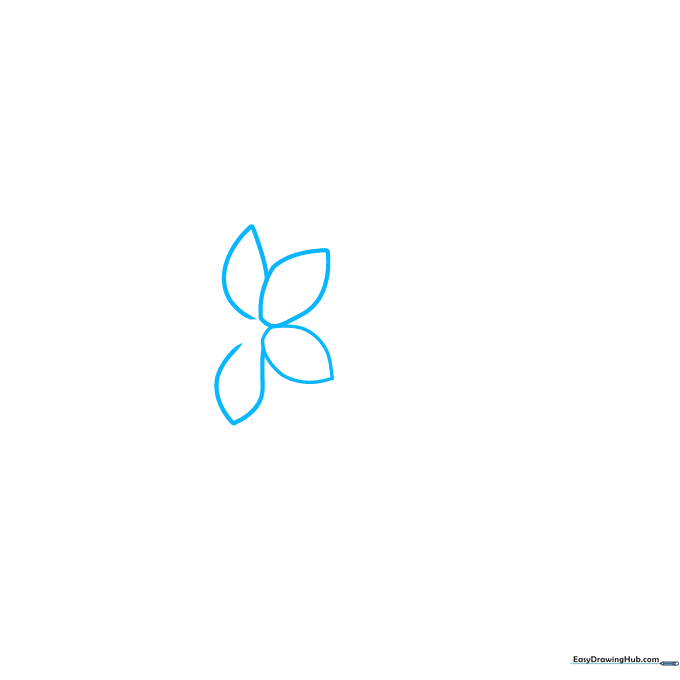
Start by drawing four loose, overlapping teardrop shapes. Tip: Keep these light and airy; think of them as the foundation of your flower head.
Adding Depth to the Bloom
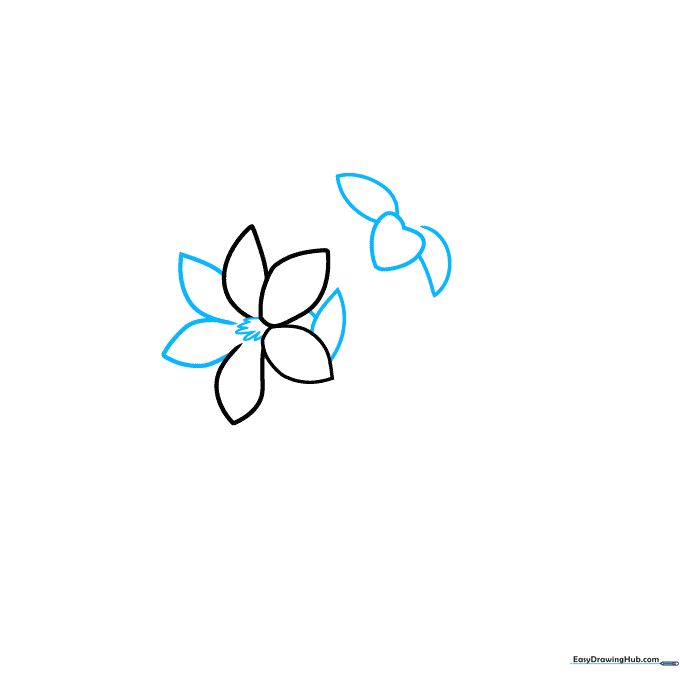
Outline two additional petals on the left, then add a vertical teardrop and a small dash to the right. Tip: Add small, sketchy tufts inside the flower to mimic the texture of the inner petals.
Building the Flower Cluster
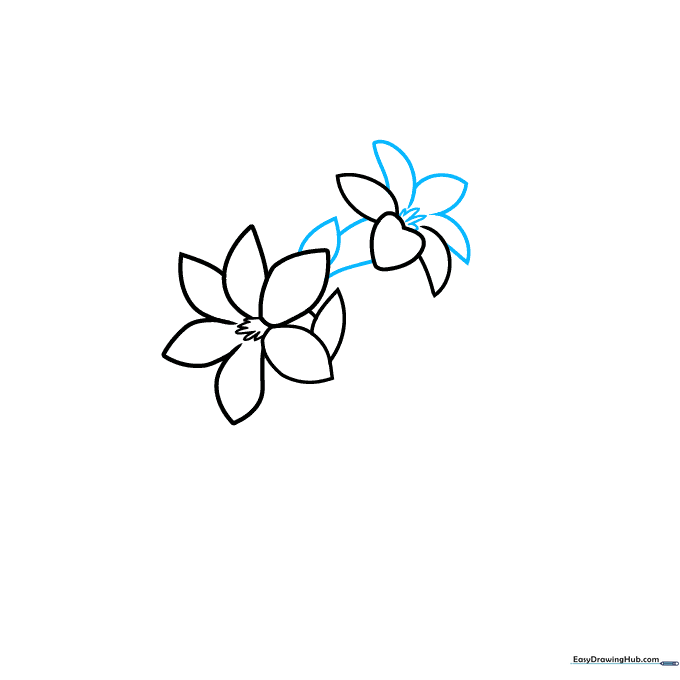
Complete the flower cluster by adding three more teardrop shapes and a central tuft. Connect the blooms with two vertical lines to form the stem. Tip: Ensure your lines are smooth to represent the natural curve of a flower stalk.
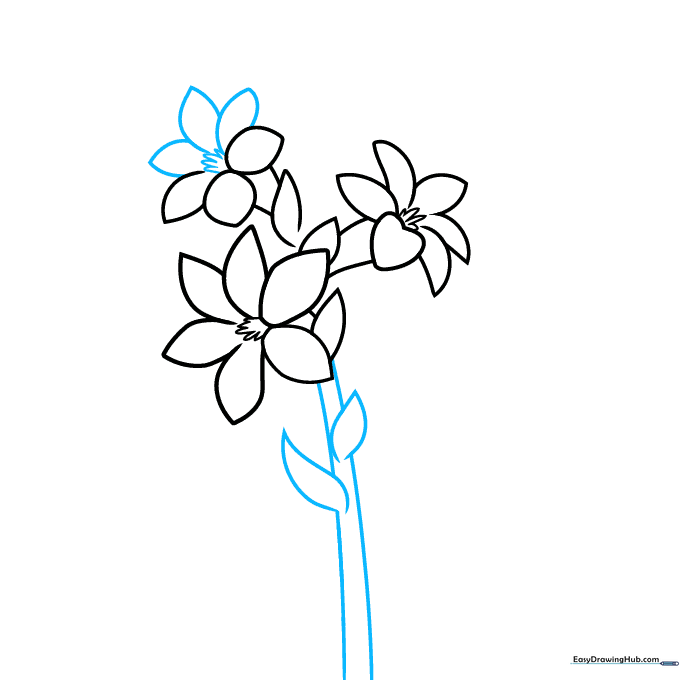
Developing the Next Bloom
Sketch three wide, football-shaped petals for the next flower. Add a narrow teardrop to the right and connect it to the main stem. Tip: Use gentle, rounded strokes to keep the flower looking soft and organic.
Adding Leaves and Stem Detail
Draw three more petals and a center tuft for the third flower. Extend the stem downward and add teardrop-shaped leaves that overlap the stem. Tip: Overlapping the leaves creates a sense of depth and realism.
Refining the Foliage
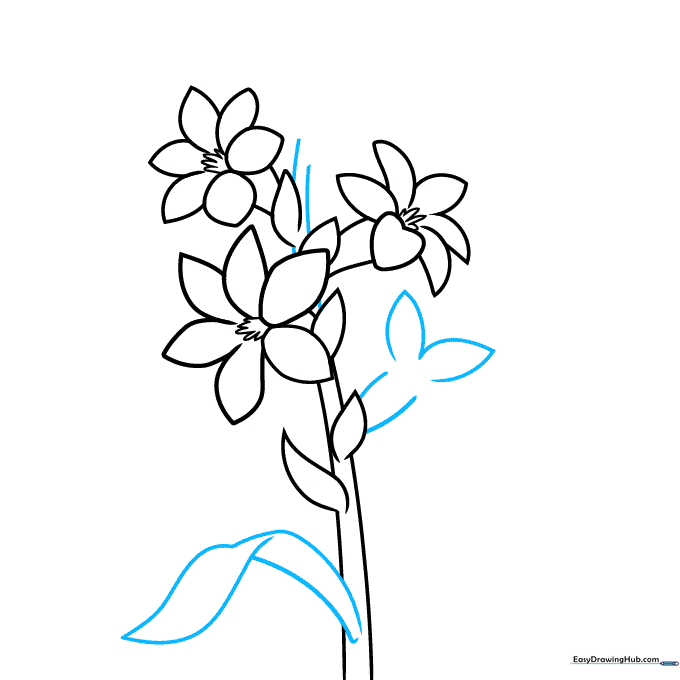
Sketch vertical lines near the top flower and add more petals to the right. Draw a long, elegant leaf with a sweeping curve. Tip: Let your wrist move freely to get that graceful, pointed curve of the leaf.
Adding Buds and Bulbs
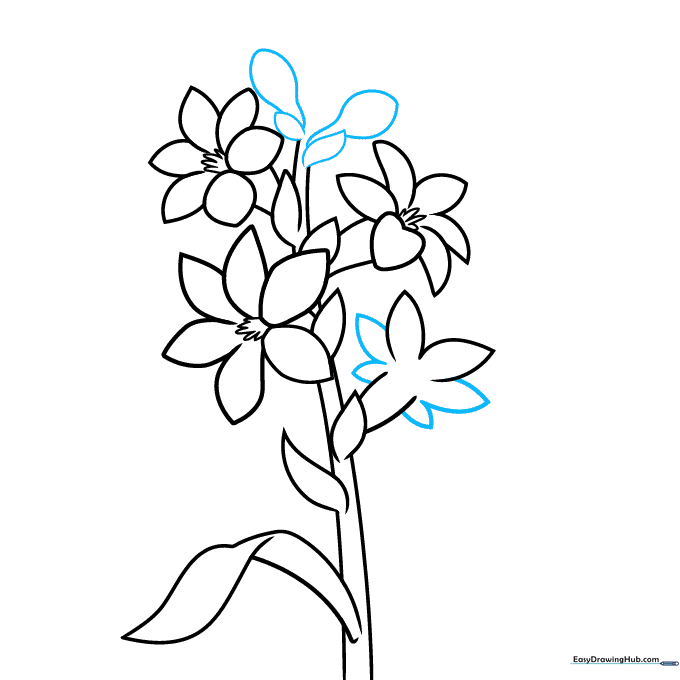
Add four petals to the fourth flower and sketch two leaves near the top. Draw two lemon-shaped bulbs at the base. Tip: Connect the bulbs to the stem with small, curved lines to show they are growing from the plant.
Finalizing the Details
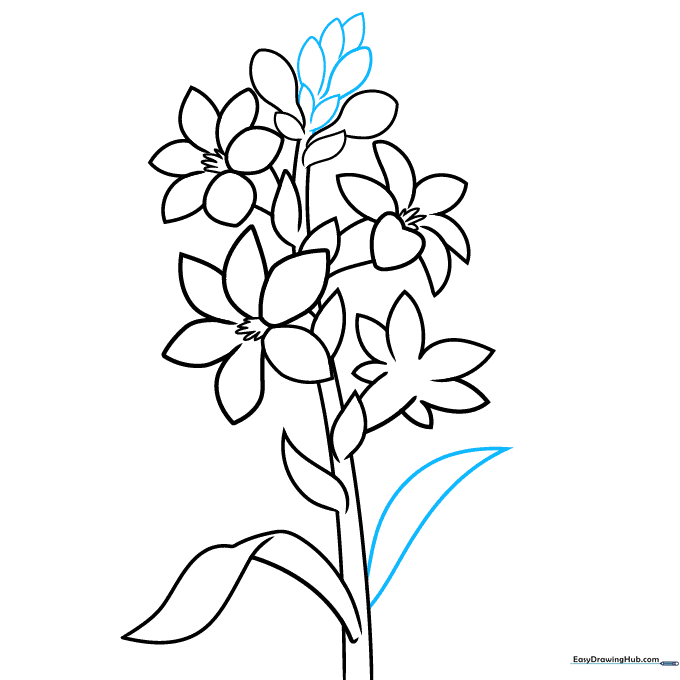
Outline six overlapping lemon shapes near the top to represent unopened buds. Add one more long, narrow leaf. Tip: Keep your lines clean and confident as you finalize the silhouette.
Clean Up and Outline
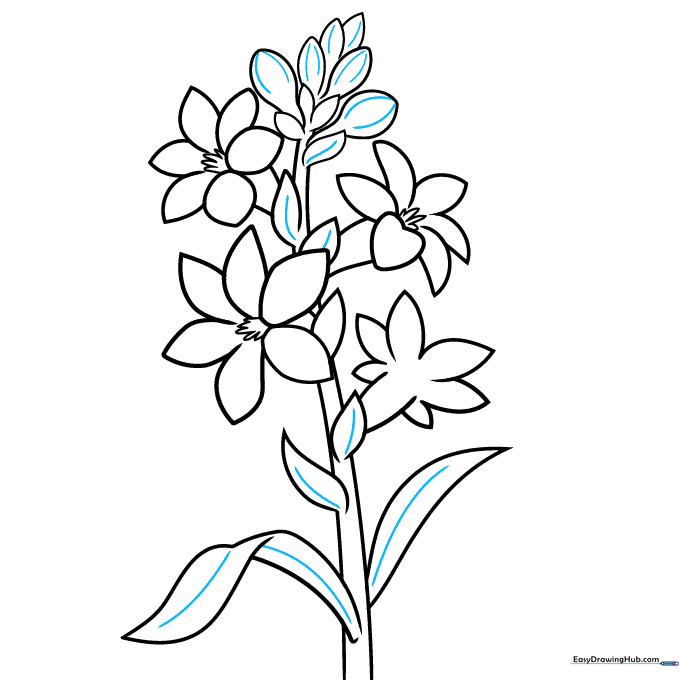
Add parallel lines inside the leaves for texture. Trace your final drawing with a black pen or marker, then carefully erase your original pencil guidelines. Tip: Use a soft eraser to avoid smudging your ink.
Bring Your Tuberose to Life with Color
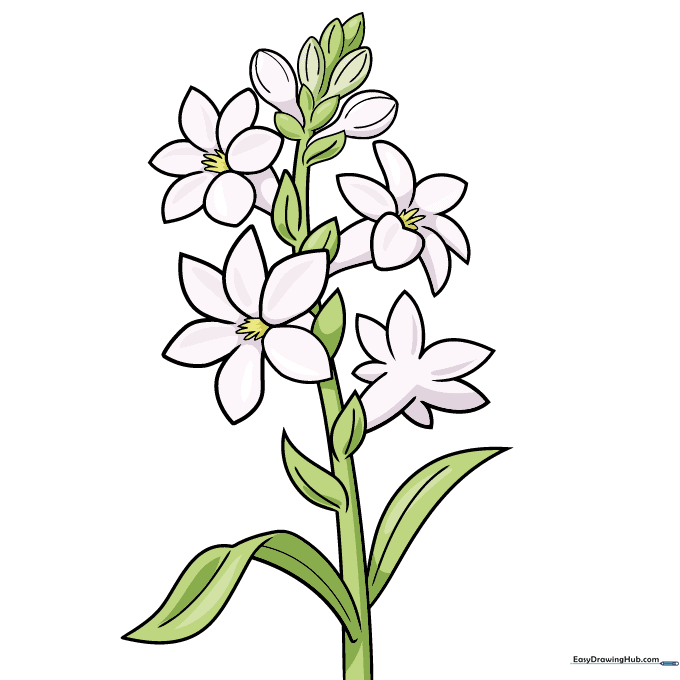
Color the stem and leaves in vibrant green. Use yellow for the inner tufts and a very light gray to shade the white petals, giving them a 3D effect. Tip: Use light, circular motions for shading to keep the colors smooth.
More Tutorials


