How to Draw a Trumpet: Easy 10-Step Guide for Kids
Bring the brass section to life! This tutorial is designed for young musicians and artists ages 5+ to master the shape of a trumpet using basic geometry. Grab a pencil, an eraser, and a piece of paper to start building your own musical masterpiece.
🎯 Final Result

Step-by-Step Instructions
Step 1: Sketching the Bell Opening

Draw a narrow vertical oval to represent the bell of the trumpet. Teacher's Tip: Keep your pencil pressure light so you can easily adjust the shape if it looks a bit wobbly.
Step 2: Forming the Bell Curve
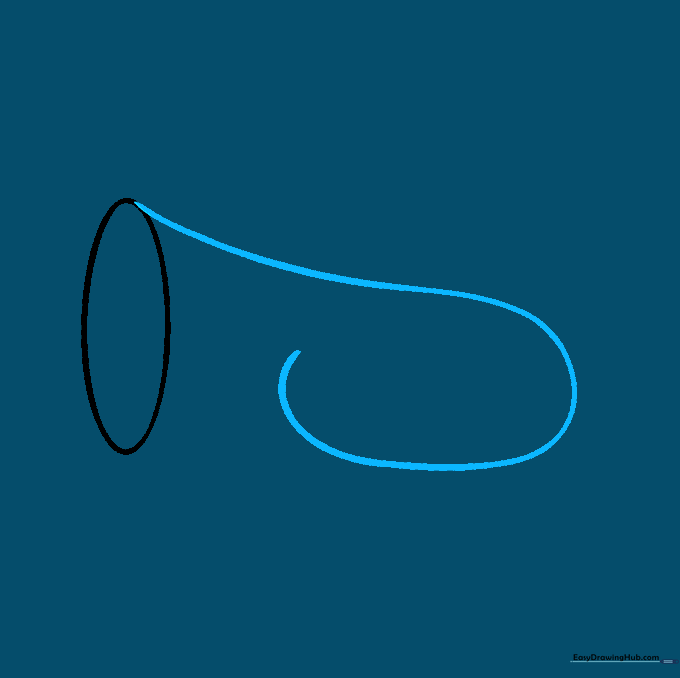
Extend a long, curved line from the top of your oval and spiral it outward. This creates the signature flare of the brass bell. Tip: Think of this like drawing a gentle wave.
Step 3: Outlining the Tubing
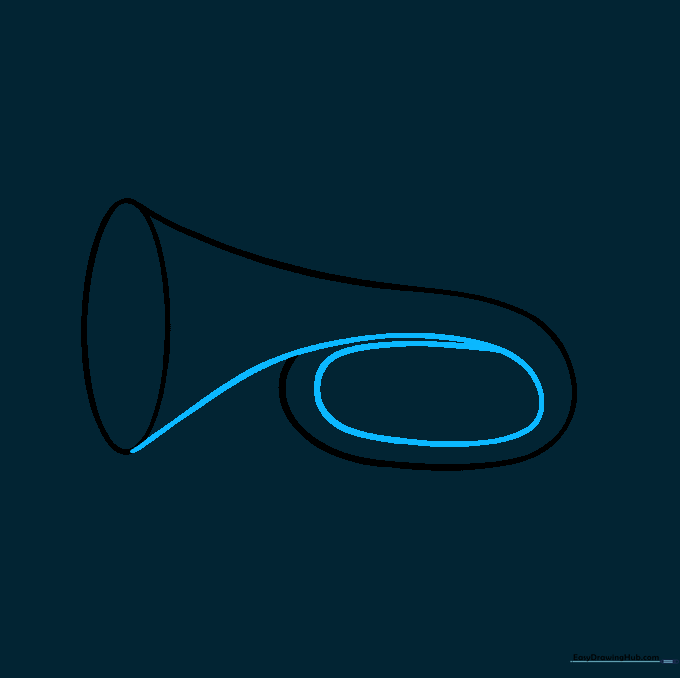
Draw a parallel curved line from the bottom of the oval to meet your spiral. This forms the main body of the instrument. Tip: Try to keep the space between your lines consistent to make the trumpet look like a real metal tube.
Step 4: Adding the Mouthpiece
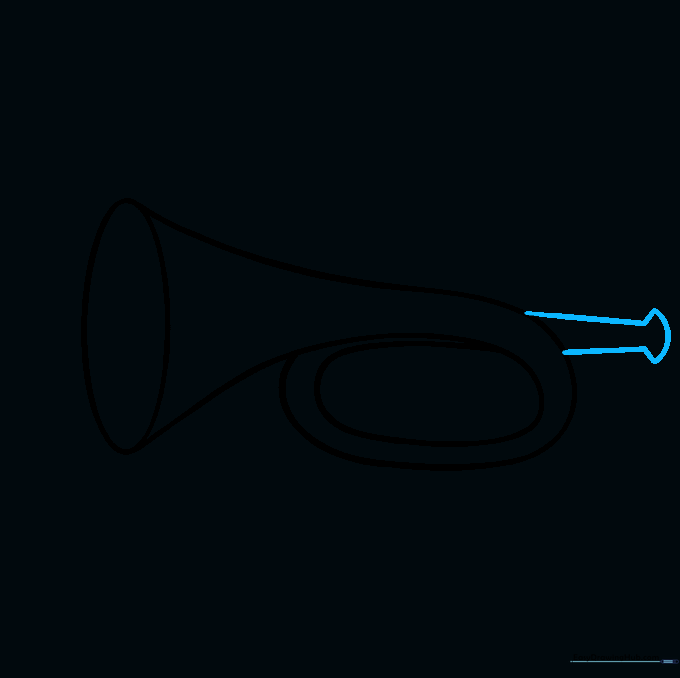
Sketch two 'L' shaped lines at the end of the pipe to form the mouthpiece. Connect them with a small curve. Tip: This is where the musician blows air, so make it look sturdy!
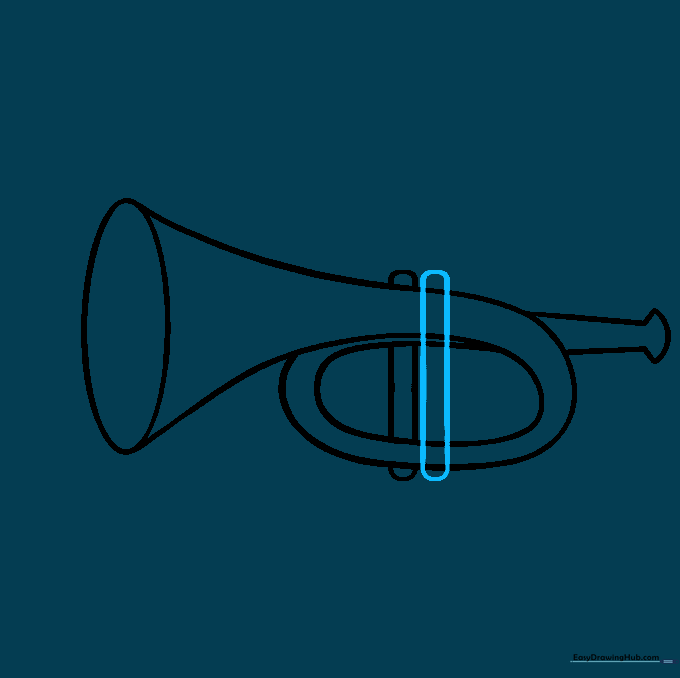
Step 5: Drawing the First Valve
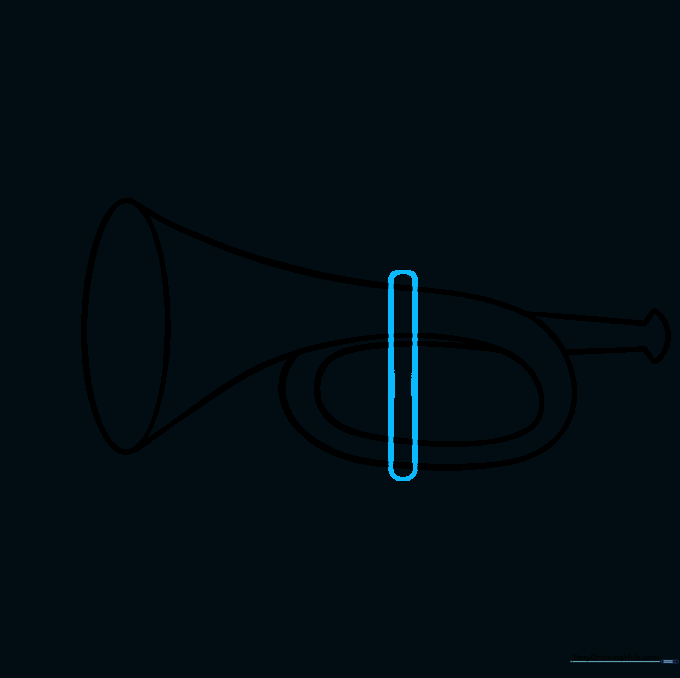
Draw two vertical, parallel lines across the center of the instrument. Connect them with small curves at the top and bottom. Tip: These are the valve casings—the buttons the player presses to change notes.
Step 6: Adding the Second Valve
Carefully erase the lines inside the valve casing to make it look like it's sitting on top of the pipe. Then, draw a second valve next to the first. Tip: Take your time with the eraser; clean lines make for a professional-looking drawing.
Step 7: Adding the Third Valve
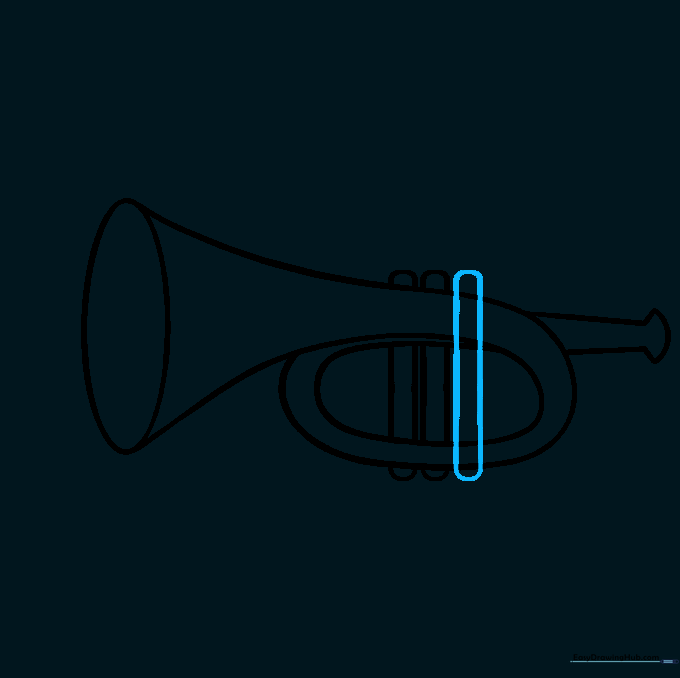
Repeat the process to add the third valve. Keep your lines straight and vertical. Tip: Most trumpets have three valves, so you're almost done with the mechanical part!
Step 8: Drawing the Piston Keys
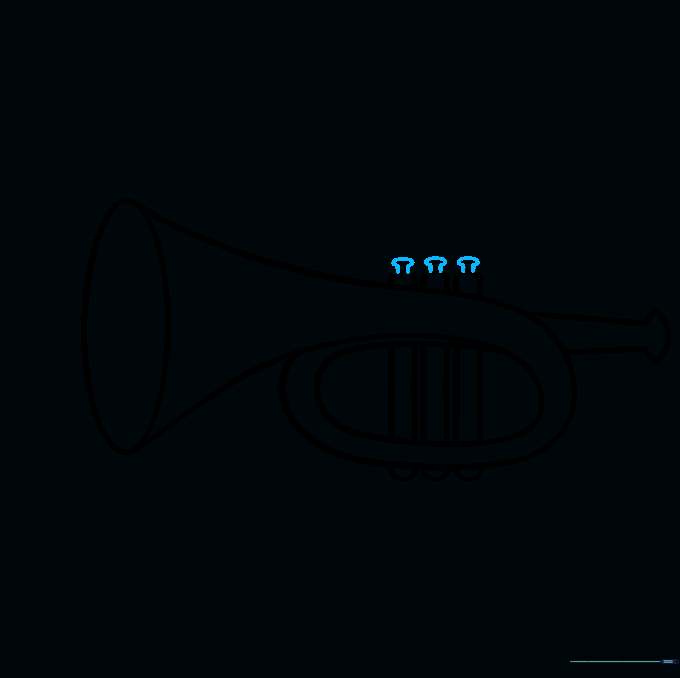
Draw small ovals on top of each valve casing to represent the keys. Tip: Imagine you are pressing these buttons to play a jazz solo!
Step 9: Adding Final Details
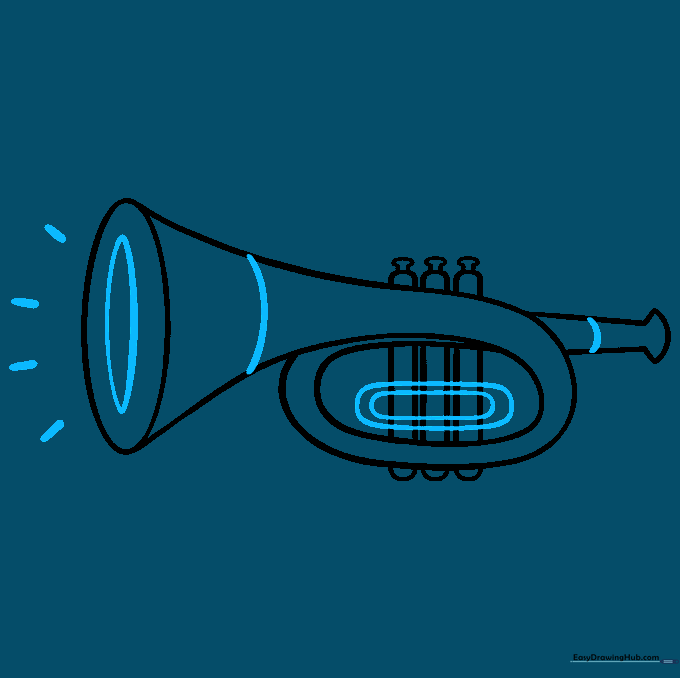
Add a smaller oval inside the bell and some short lines to show sound waves coming out. Add small details to the valves to make them look realistic. Tip: These little lines add 'energy' to your drawing.
Step 10: Bring It to Life with Color
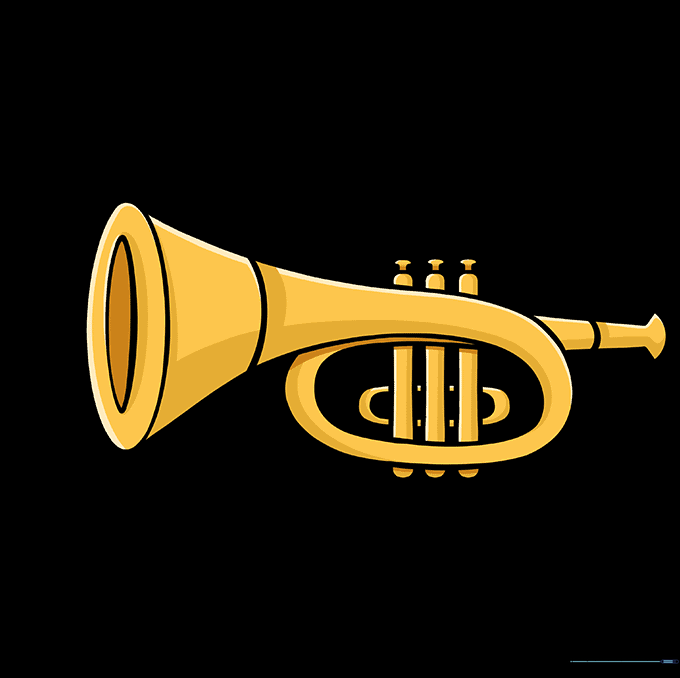
Time to shine! Use bright yellows or metallic golds to color your trumpet. Tip: Use a darker shade of yellow or brown on the edges to create a shiny, metallic shadow effect.
More Tutorials


