How to Draw a Troll: Easy 10-Step Guide for Kids
Bring a friendly mythical creature to life with this step-by-step drawing tutorial, perfect for artists ages 5 and up. You will only need a pencil, an eraser, and a sheet of paper to master this character. Follow along to build confidence in your sketching skills and create your own unique troll.
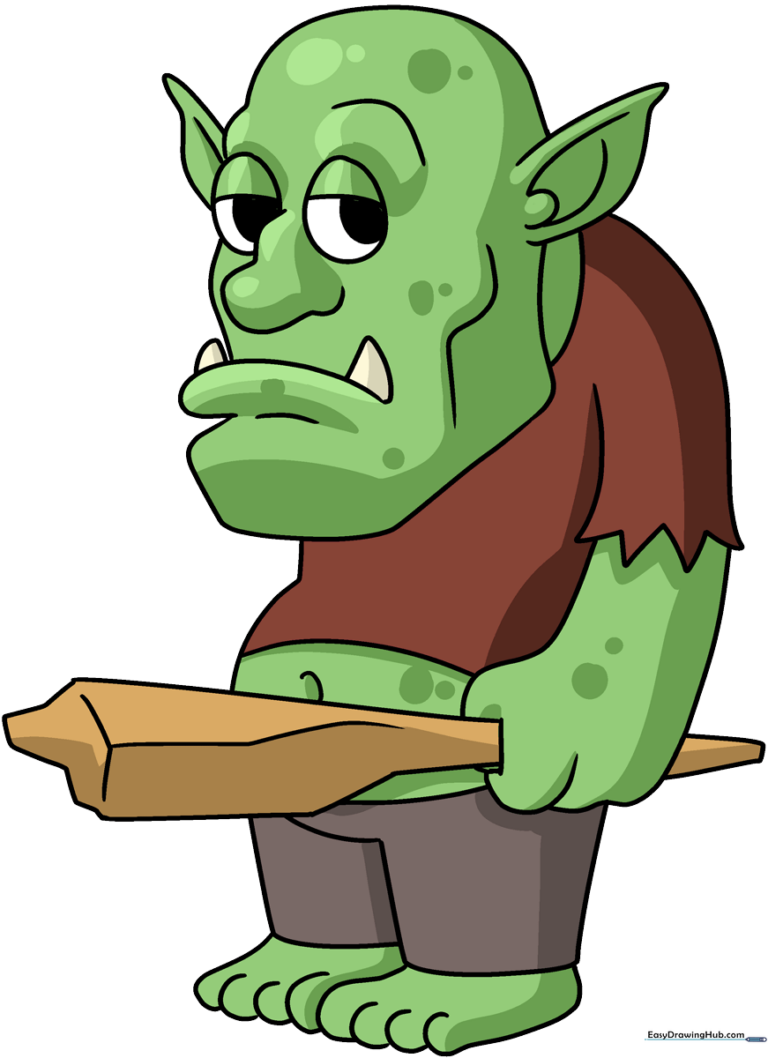
🎯 Final Result
Step-by-Step Instructions
Step 1: Sketching the Head Shape

Start by drawing a long, curved line to outline the head. Focus on the prominent brow ridge and a sturdy, square jawline. Teacher's Tip: Keep your pencil pressure light so you can easily adjust the shape if needed.
Step 2: Adding the Mouth and Teeth
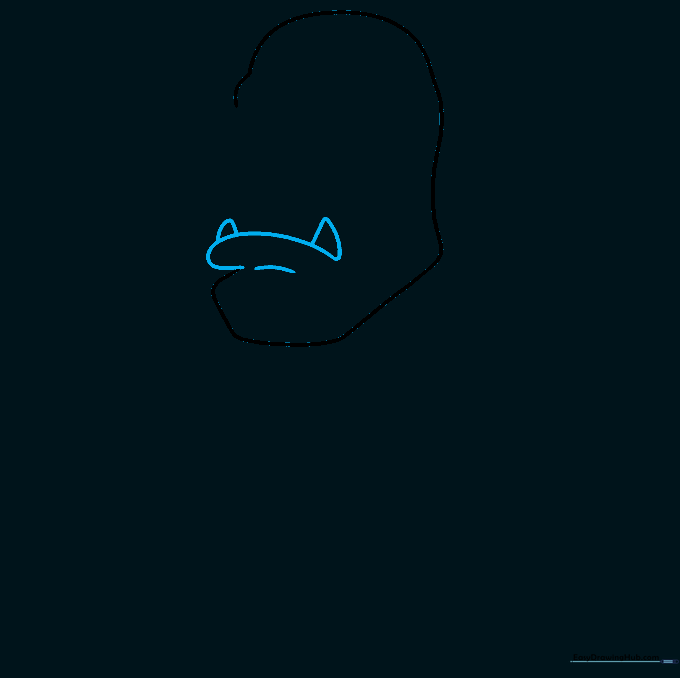
Outline the lower lip with a curved line and add a shorter curve below for the chin. Add rounded triangular shapes for the teeth. Teacher's Tip: Make the teeth slightly uneven to give your troll a silly, mischievous personality!
Step 3: Sketching the Eyes
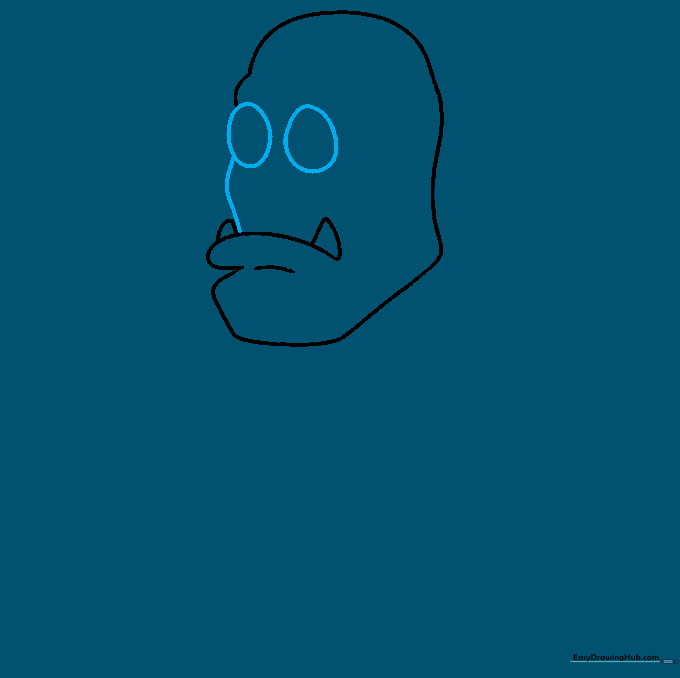
Draw two large ovals for the eyes and complete the side of the face with a smooth, curved line. Teacher's Tip: Ensure the eyes are spaced evenly to keep the face looking balanced.
Step 4: Defining Features
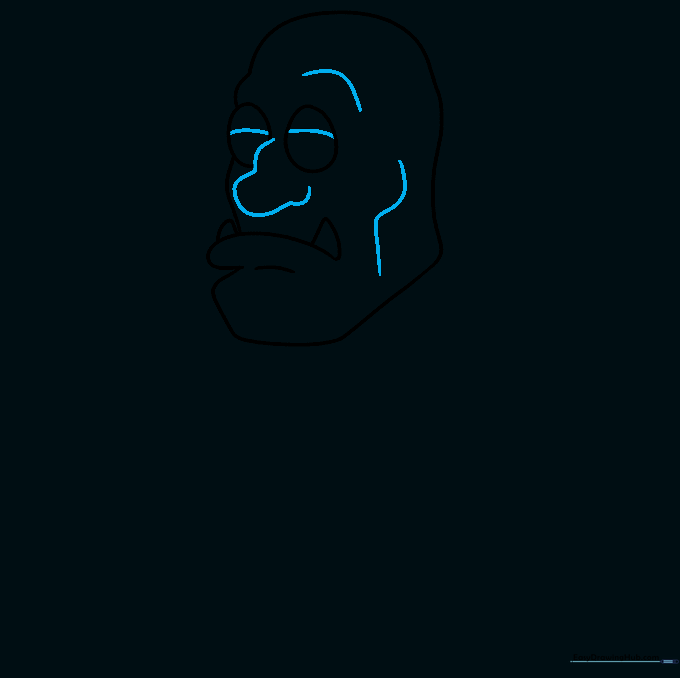
Add a curved line across each eye for the eyelids. Use long, flowing curved lines to create a crooked nose and contour the brow and cheek. Teacher's Tip: Don't worry about making the nose perfectly straight; trolls look better with a bit of character!
Step 5: Ears and Pupils
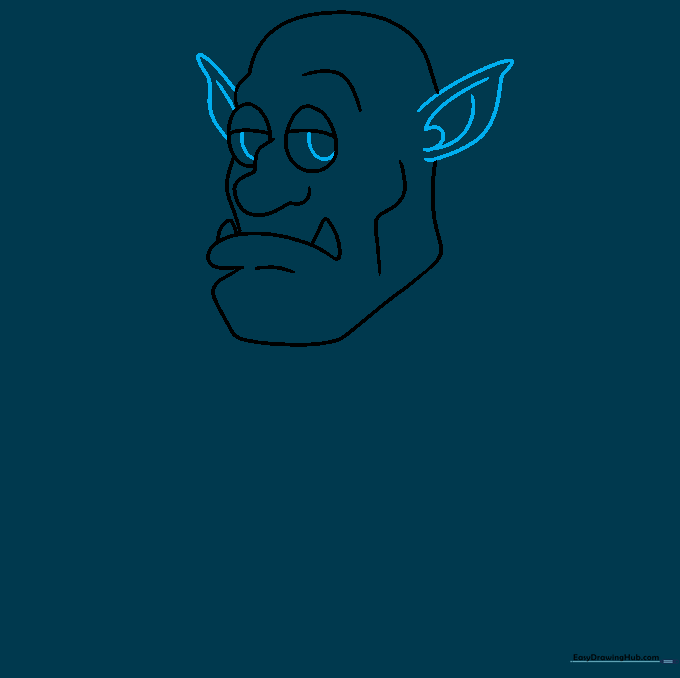
Draw the pointed ears and add detail inside them. Finish the eyes by adding a partial circle for the pupil. Teacher's Tip: Erase any overlapping lines inside the ears to make them look clean and sharp.
Step 6: Clothing and Arms
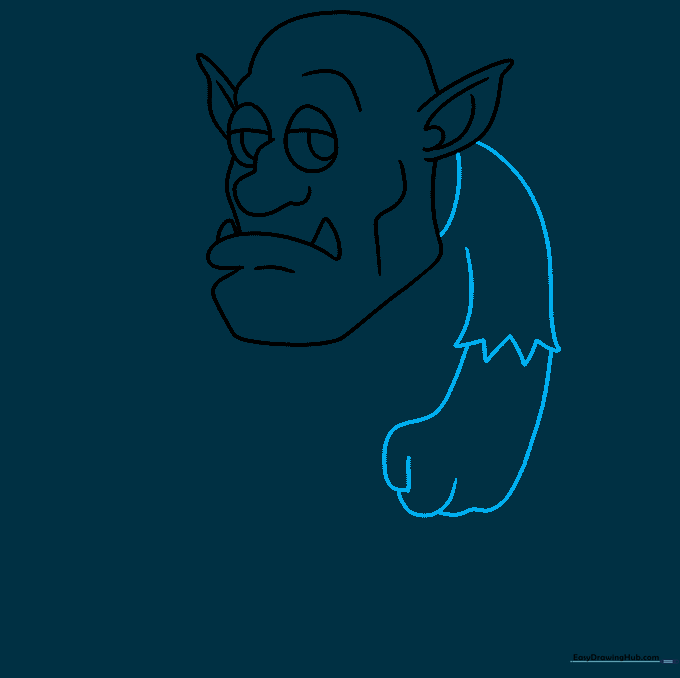
Draw the neck of the garment and the shoulder. Use jagged lines to create the frayed edge of the sleeve, then extend the arm and hand. Teacher's Tip: Use overlapping curves for the fingers to give them a natural, rounded look.
Step 7: Drawing the Club
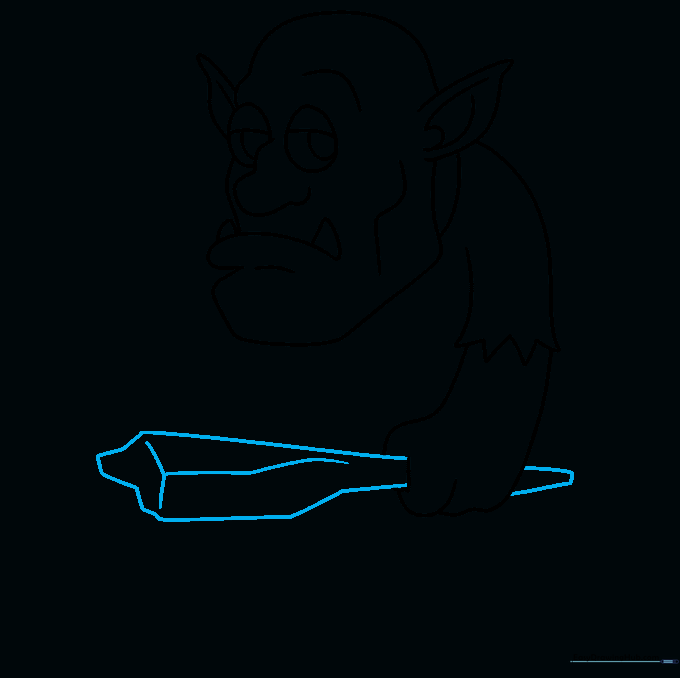
Draw an irregular shape in the troll's hand to form a club. Add a crooked 'T' line for texture. Teacher's Tip: A club doesn't need to be symmetrical; the more lumpy it looks, the more authentic it appears!
Step 8: Adding Torso Details
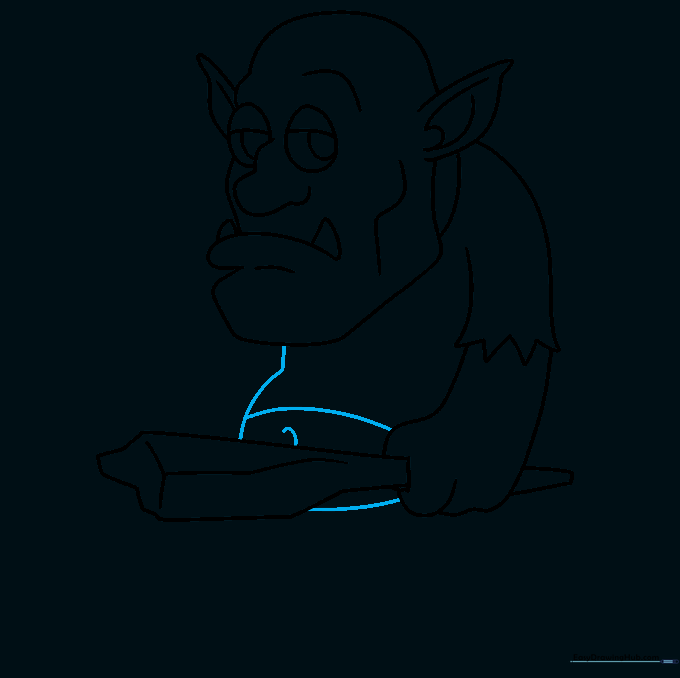
Outline the torso, belly, and shirt bottom using curved lines. Don't forget the belly button! Teacher's Tip: Keep the belly line rounded to give your troll a friendly, stout appearance.
Step 9: Legs and Feet
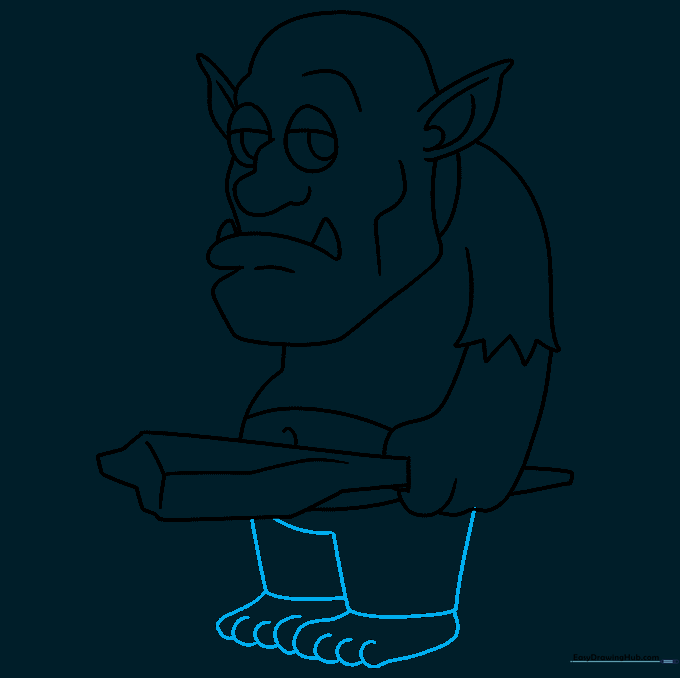
Extend three curved lines to form the legs and connect them at the bottom. Add the feet and toes with overlapping curves. Teacher's Tip: Make the feet slightly larger than the hands to ground the character.
Step 10: Bring Your Troll to Life with Color

Time to color! Use green for a classic look, or experiment with earthy tones like brown or grey. Teacher's Tip: Use markers or colored pencils to add shading to the folds of the clothes to make your drawing pop.
More Tutorials


